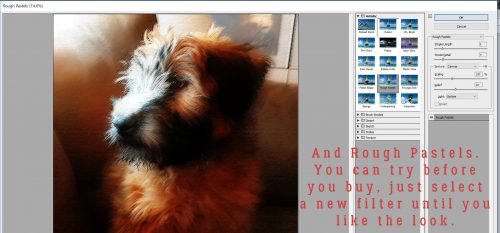
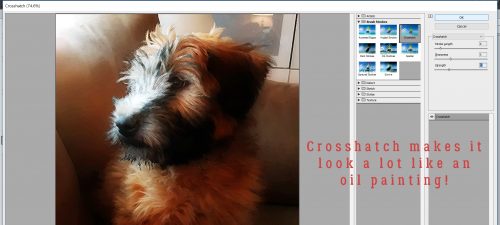
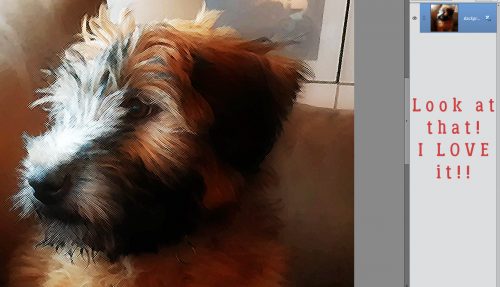
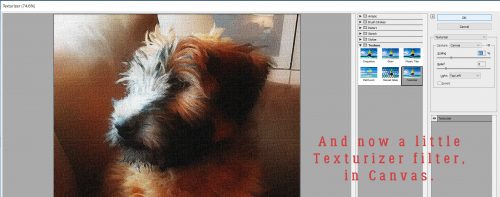
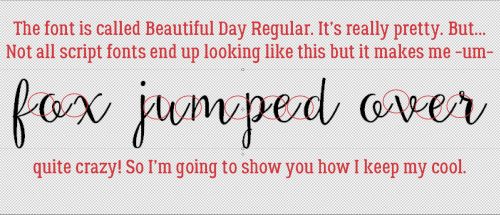
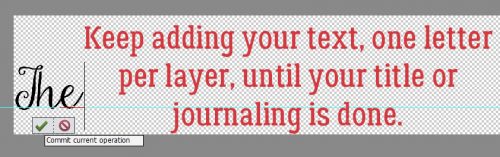
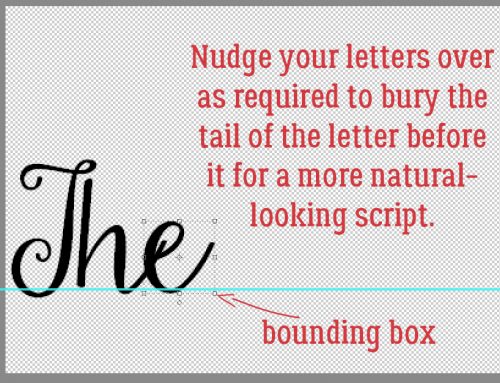
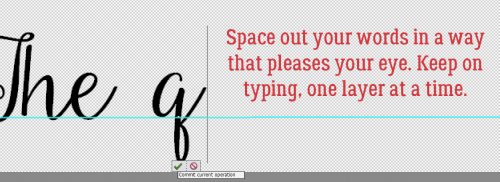
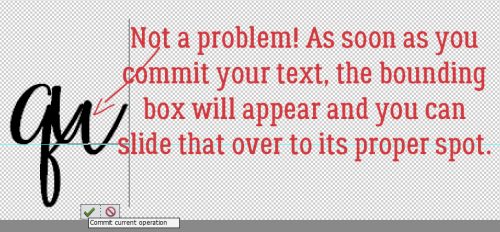
This is where I’d usually share some wacky holiday, or something, but I’m too excited for iNSD! It’s coming this weekend! So much fun is going to be had.
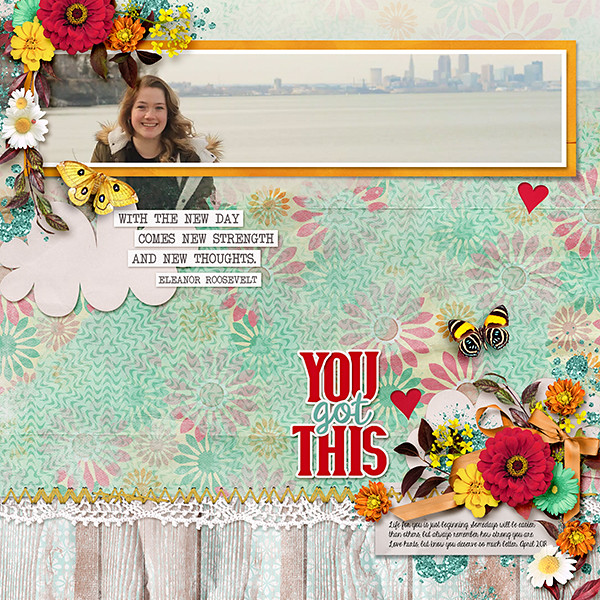
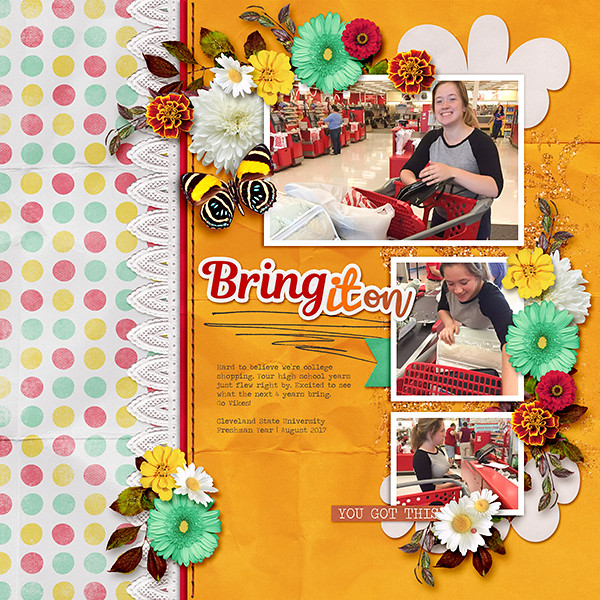
But that doesn’t mean the designers haven’t gone a little overboard for the new month of items. The Monthly Mix is gorgeous, the kits for the Buffet are amazing, and the DD will get you in such a crafty mood!
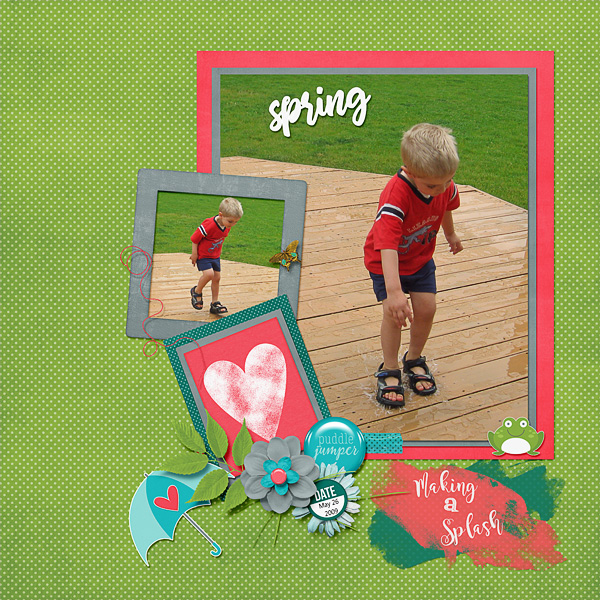
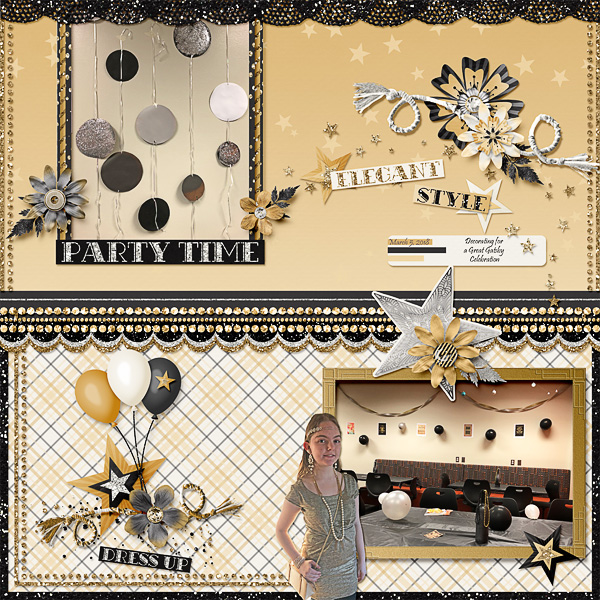
It is the First of the month, and that means the revel of our new Buffet!!
Don’t forget to check out the Buffet Bundles, one easy click to add bundles of Buffet goodies to your cart, and an amazing value too!