Quick Trick: Install that Font!
![]()
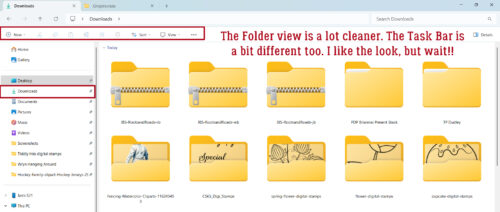
Hidee-ho, Scrappers! Today’s Quick Trick is so simple it doesn’t need any screenshots. I know, right? But I’m going to give you some anyway… I downloaded a new font so I could show you that this Trick works.
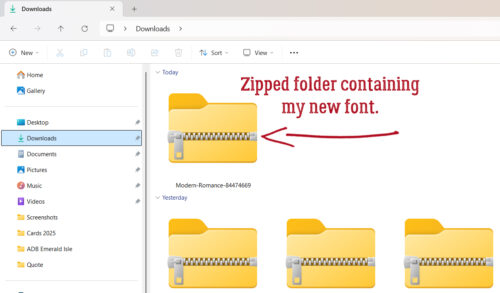
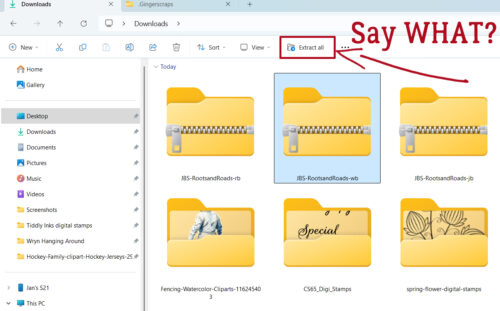
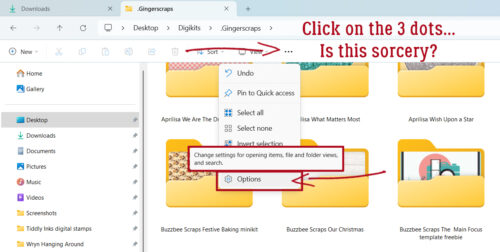
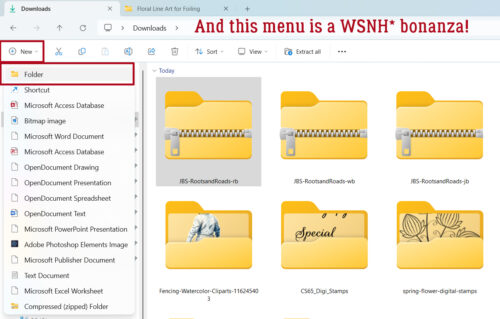
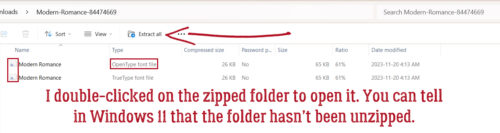
Did you know that you don’t have to unzip font folders? Nope, you don’t! You can just double-click on the folder, which will open and you can see all the fonts within. (Sorry for the blurry image.) You can tell in Windows 11 that the folder isn’t unzipped: the Extract All button has appeared. On the far left you can see the font icons. I prefer to install Open Type files so that’s what I’ll do. Double-click on the desired font.
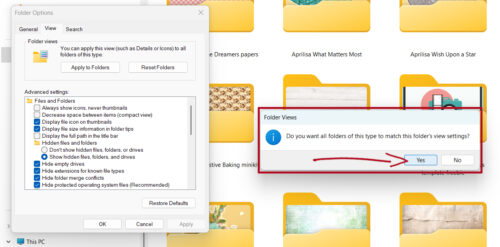
This window opens. Just click on the Install button and the font’s ready to use. You can now choose to Save the folder in case you lose your fonts, or delete it. I Copy the font into a Fancy Fonts folder so I can always find it again/transfer it to a new system. This too works without unzipping the folder.

One extra tip: For Windows 11 users, you no longer have to exit Photoshop Elements and re-enter to access those new fonts. It’s magical!! Want a new scripty font for an elegant layout and none of the ones you already have is doing it for you? Find one online that you love, install it as shown and proceed! That new font will be ready to go without any additional steps. Ta-dah!!
![]()


 Aimee
Aimee