Challenge Spotlight: Layout Bingo
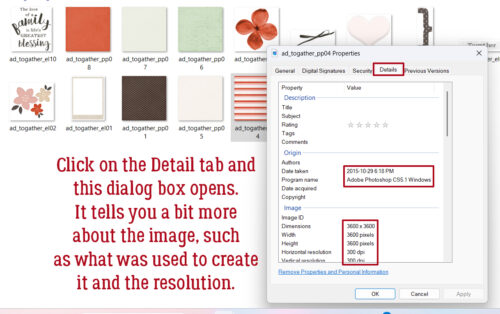
![]()
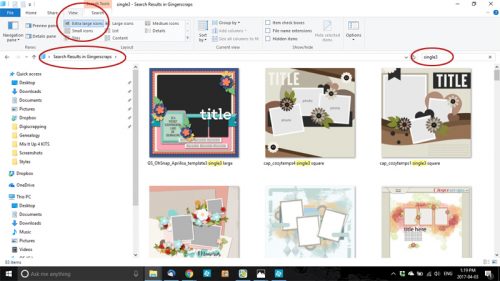
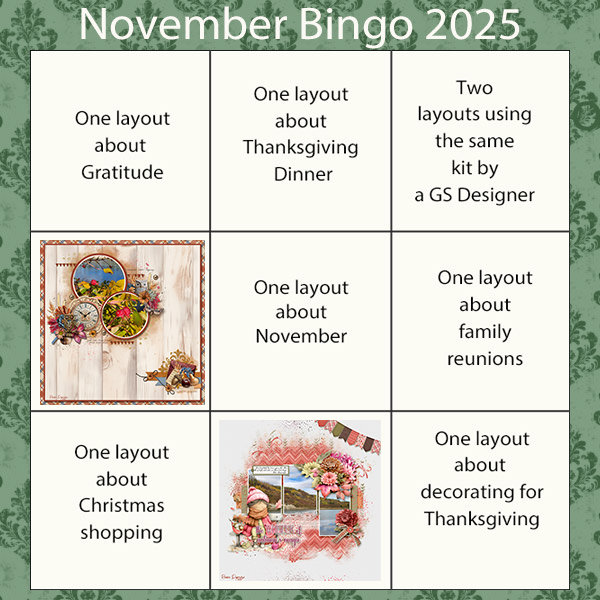
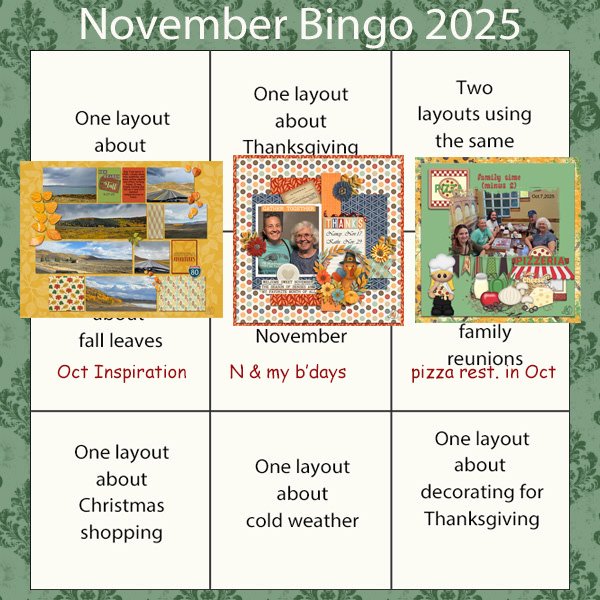
Today I’m going to do something a little different. The Challenge I’m showcasing is one that I’ve always overlooked, but now that I’ve had a peek, I might have to get with the program! I’m talking about the Layout Bingo Challenge, hosted by Tami Miller. I won’t be linking to the Gallery for this post, though, I’ll just show you the players’ bingo cards. The only “teaching” involved with this is with regard to this Challenge. (But I do have a Quick Trick keyboard shortcut to share later, so don’t go anywhere.) What’s so interesting about this Challenge? Most of us could play along without breaking a sweat! Each month, Tami creates a modified bingo card – it has 9 spaces, not 25, and there’s no Free space – and a bingo is a straight line of 3 squares, or a full card. Each space has a topic prompt, and it’s the only Challenge where you can double up with your layouts. By that I mean you can “reuse” your already-posted Challenge layouts to fill your card. However ONE layout must be specifically created for this Challenge. Let’s take a look at this month’s card.
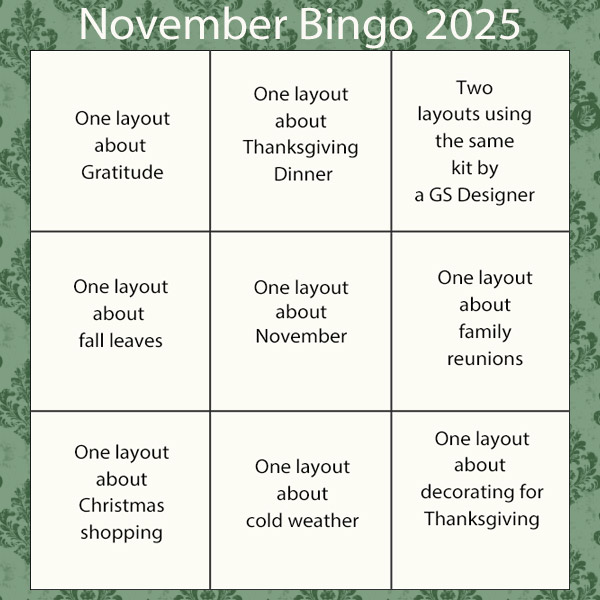
Looks pretty typical for a November, right? Think for a second. Could you make a straight line using these topics? I could fill 3 squares, but it might be a stretch to have them in a line. 😉 Oh wait… I did take a photo of our turkey last month. Maybe not such a stretch! Anyway. Let’s move along.
There were 8 GingerScrappers who posted their bingo cards in the Challenge thread, and one who has posted two layouts but no card. First up is 5grand. She’s still working on her bingo. She’ll have to pick a lane… she has several options. Left vertical, centre vertical, centre horizontal and bottom horizontal are all possible. Or… diagonal, but that would mean she might as well go for the full card.
CathyS is next. She’s got the upper right to lower left diagonal covered. Woot! She had to do two layouts for that upper corner.
Then we have robinoes66. She chose right down the middle.
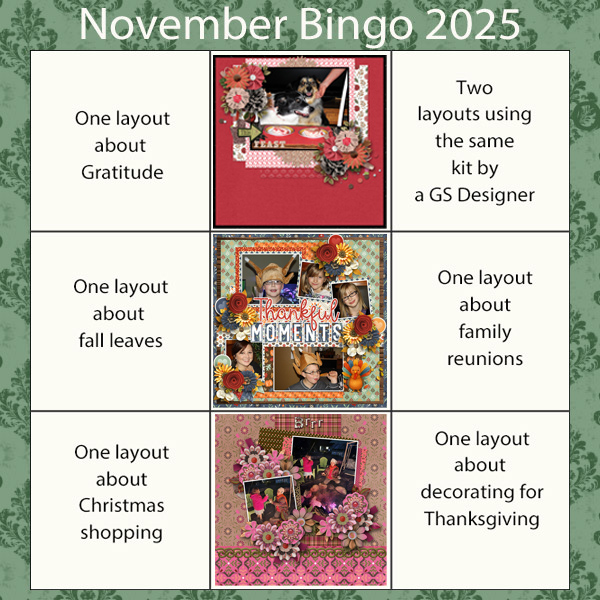
KarenDiamond took the top line and she too created two layouts for that top right square.
Here, granny5pics went across the middle and offset her layouts a smidge so the squares’ prompts are partially visible. Very accommodating!
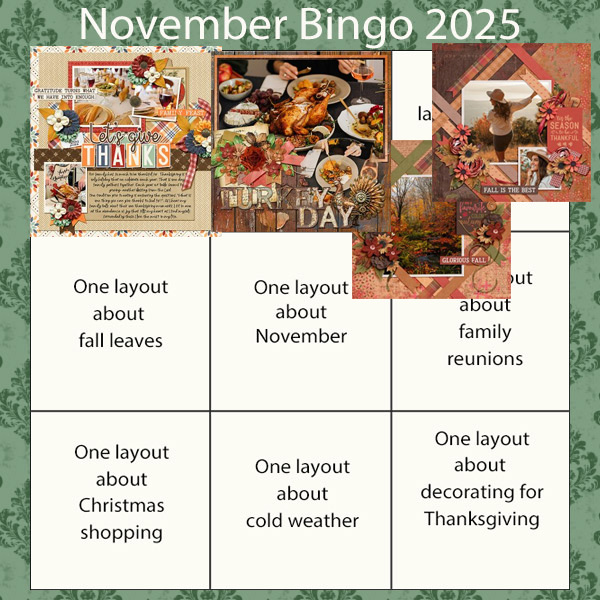
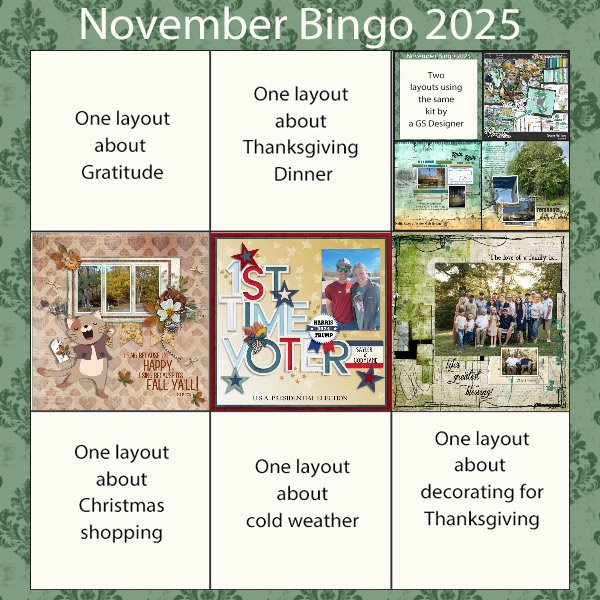
GrannyNKy seems to be going for a full card. Look at that overachievement! I love that one of her layouts celebrates the first time one of her family members voted in an election.
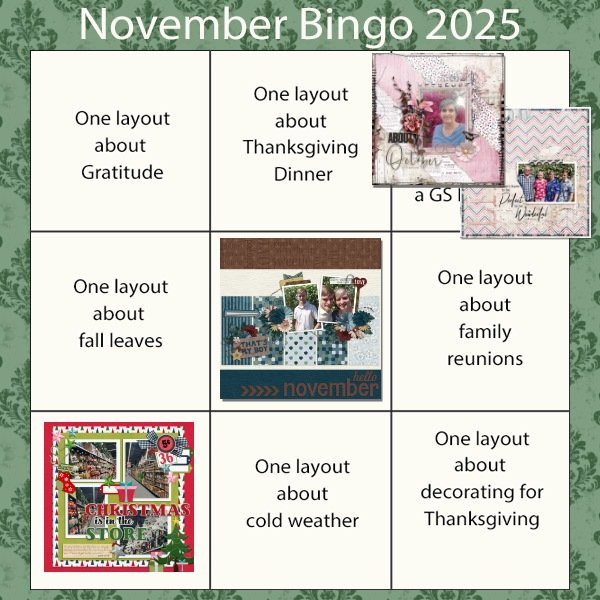
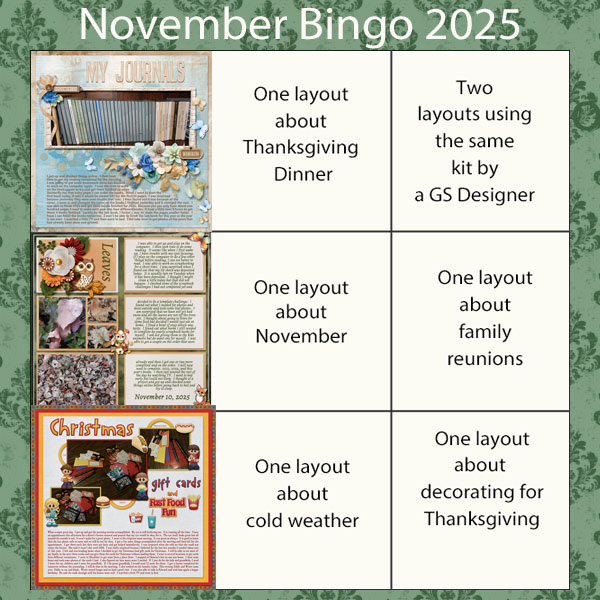
Our most prolific Scrapper, Katherine Woodin took the first vertical line. She keeps an online diary through the layouts she creates, and it’s awesome!
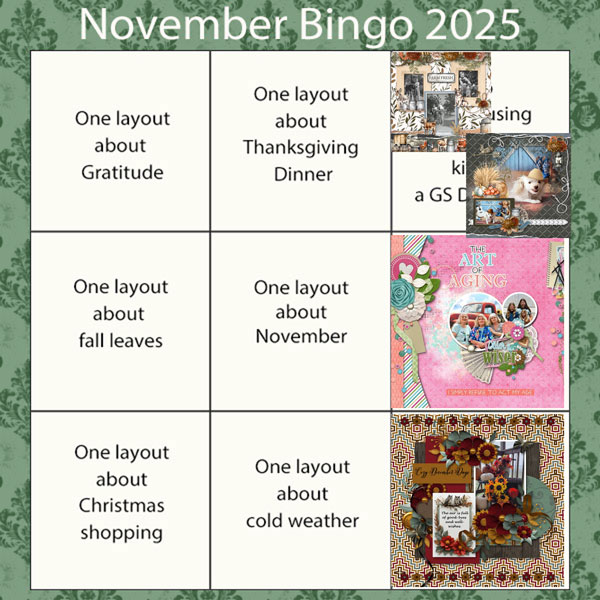
And finally, Branma took the far right side.
What do you think? Is this something you should include in your monthly plans? I’m seriously considering it.
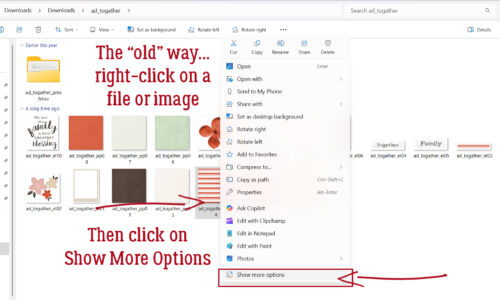
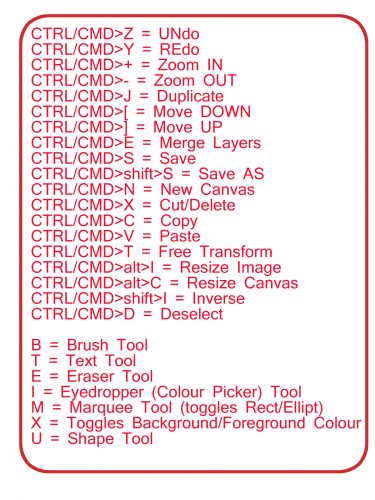
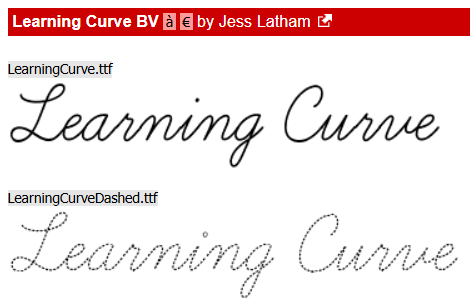
I’ve actually gotten back on the horse… I’ve worked on a couple of Challenges, although I haven’t posted them to the Gallery yet. My Scrap Lift has a lo-o-o-o-ng list of credits, as usual, and I have to be in the mood for posting that. While I was building the layout, I tripped over a keyboard shortcut that I think will be of enormous use. I recall a bunch of comments about how Photoshop Elements likes to put our embellishments where IT wants to, not where we want them. I was getting tired of moving things up my layer stack (CTRL/CMD>]) after Elements dropped it on my background layer instead of on top of the layer where I wanted it, and was using the Layer>Arrange>Bring to Front function when I paid attention to the keyboard shortcut next to it. If you want to move a layer from the bottom to the top of the Layers Panel, use CTRL/CMD>SHIFT>] and in one step it’s right there! Likewise, you can use CTRL/CMD>SHIFT>[ to send something to the back. (Caveat: It’ll end up UNDER your background layer, so there’ll still be one CTRL/CMD>] to put it on the bottom but not under the bottom. 😉 )
Next week we’ll have two Designer Spotlights, and a whole new month’s worth of Challenges. Stay tuned!
![]()