![]()
Happy end of November. Who is ready for December and the holidays? I am about half ready. I actually have some gifts bought or planned, which is further than I usually am at this point. Today I’m bringing you sneak peeks for the December Buffet and the Fresh Baked releases on Friday.
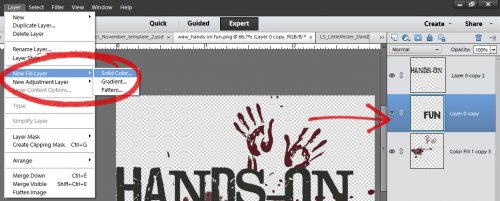
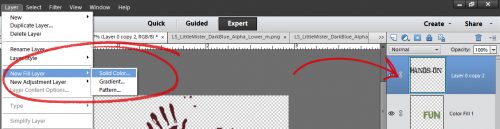
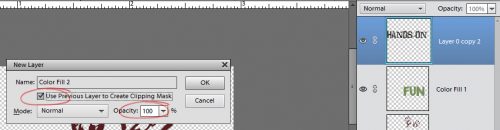
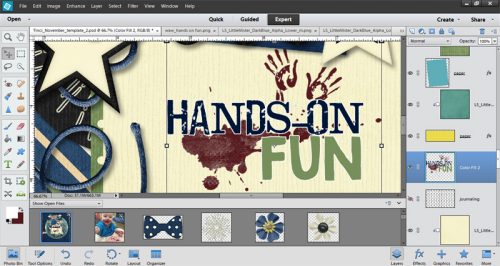
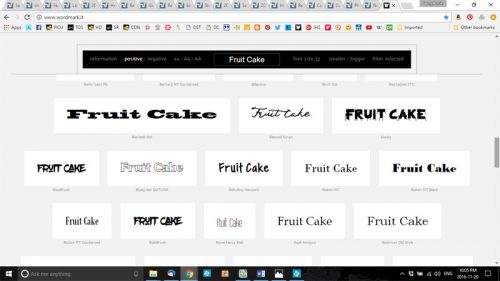
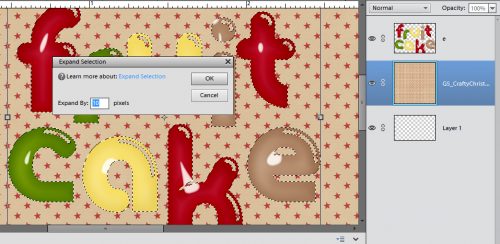
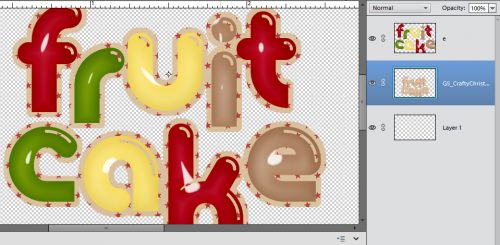
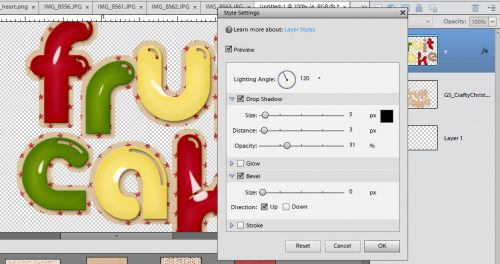
Buffet Sneak Peeks:


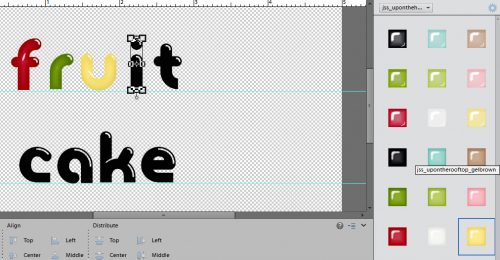
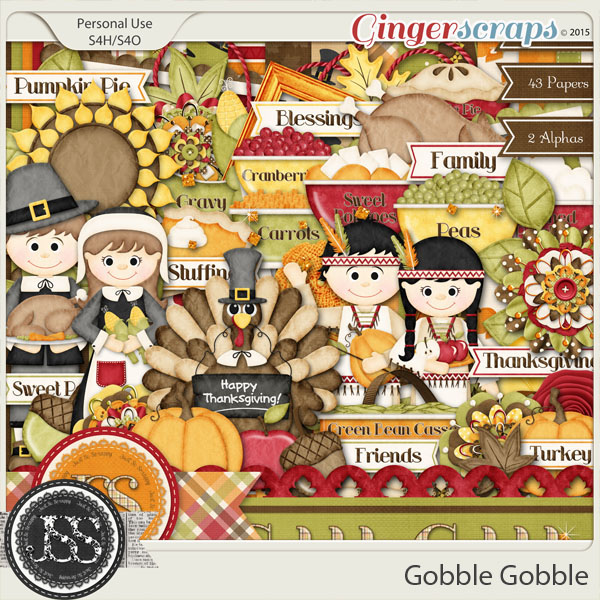
And a few Fresh Baked peeks:


Make sure to head over to the store tomorrow morning to grab the Buffet goodies.
![]()