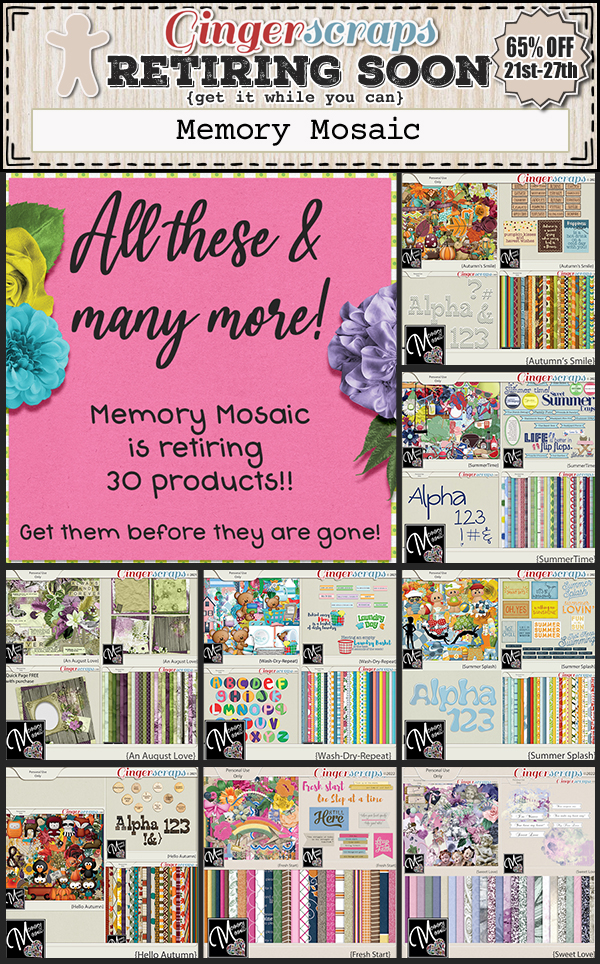
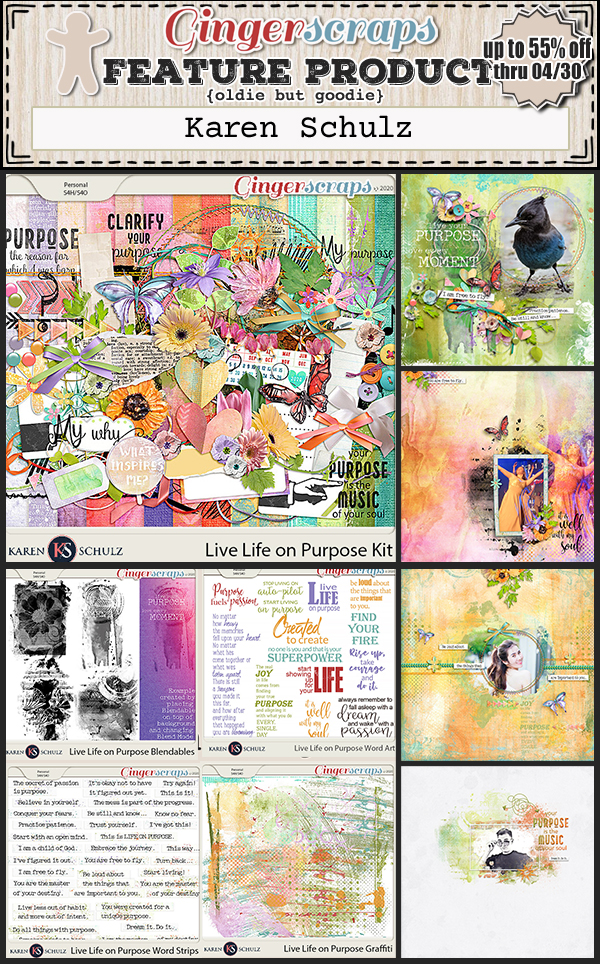
Memory Mosaic (aka Joy)
How is it even possible that one third of the year is already behind us? It’s crazy! Our Spotlight Designer for May is someone we’ve already met back when I first started writing the Spotlight posts. Joy is the creative mind also known as Memory Mosaic. We had a little chat so I could catch up with her and what follows is a transcript of that visit. [Click on her designer handle to check out her store!]

O: Joy! It’s good to see you again. What’s new?
J: Well, for years I designed on my lap book, a MacBook, but in the last couple months I have started designing on a 24inch iMac…. That has been a big difference. I had to get a trackpad, because I was used to using that on my laptop, and I just couldn’t get used to using a mouse. But I have to admit that the larger screen is a huge plus. I use Photoshop in making my designs. I have also been using Procreate on my iPad, to create some new elements.
O: Ooh, nice! I’m not an Apple fan – I’ve only had problems with any of their products, but I know a lot of folks who swear by them. I hear you about the trackpad… I use a laptop pretty much exclusively, so when my husband wants me to check something out on his desk top PC, I fumble with the mouse. A LOT. Which is funny to me because when I was still working, I used a mouse to chart, all the time. But then, it’s been almost 4 years since I retired, so I should expect to be rusty, right? When you switched to a desk top system, did you also revamp your workspace?
J: I have just in the last few months turned a small bedroom into my own personal office! It has been so much fun. I created word art for the walls, I have photos of my kids, and some special artwork my daughter made me. I have an antique secretary in there and a new corner desk. Beside my desk is a white board where I try to keep track of what I need to accomplish for the current month. I have a tv, which I often use to stream music, and my essential oil diffuser which I like to use to diffuse oils that help keep me in a positive frame of mind, boost creativity and peace. Having my own space has been a game changer for me.
O: Sounds like heaven! I’m still trying to organize all my non-digital hobby stuff in the room we had purpose-built… been in the house 3 years. Guess I’m just lazy! Or not motivated enough. Probably both. What inspires you when you’re designing?
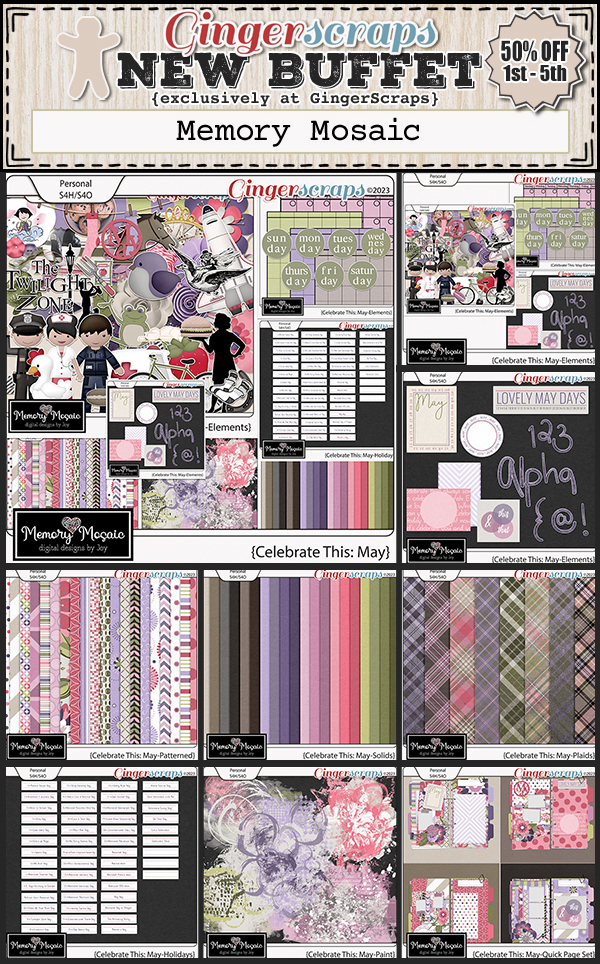
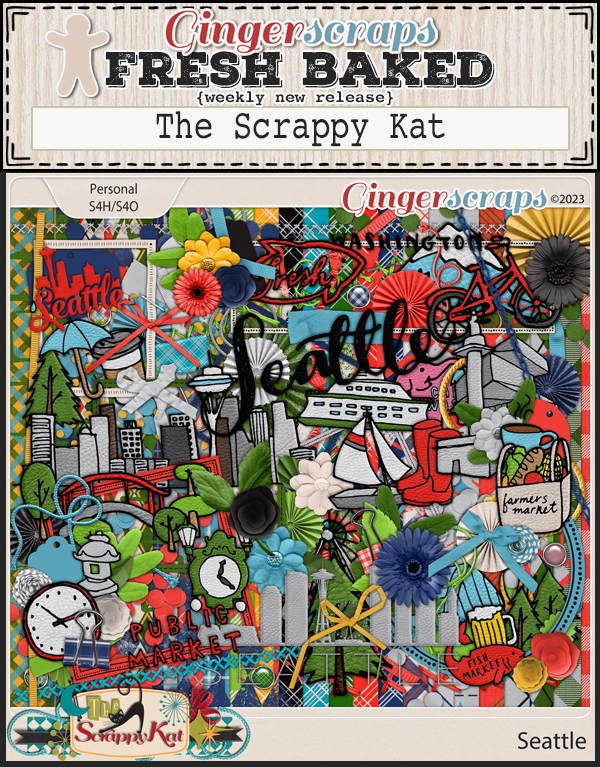
J: My family and friends are a huge inspiration to me. But also life experiences play a role. I just created a new kit in my Going Places collection, that is focused on NYC, and that was based on the years I lived in NJ while growing up and we would make trips to the City.
O: That’s great! I’ve never been to NYC. I don’t love crowds so it isn’t somewhere I ever consider when I’m planning a trip, but the history would really appeal to me. I’m curious though… what colours do you really love to work with? Which ones do you steer clear of?
J: My favorite colors are blues, with punches of yellow or red added for accents. My least favorites are oranges, although I do love fall landscapes, which are full of oranges… so maybe it is more that I don’t feel I personally look good in oranges, so I stay away from them.
O: I wore a yellow gown at work all the time and look dead in yellow, so it’s not for me. Orange looks hideous on me too. But, as you say, fall colours are so beautiful. Are you a sporty person, or do you prefer to watch others sweat and injure themselves?
J: No, not sporty, But… I love playing card or board games with my grandchildren. Right now our favorites are Ticket To Ride-Europe and Trash.
O: That sounds wonderful. I haven’t seen my grandchildren since the fall of 2018. They’re all pretty physical kids, but are also voracious readers. My granddaughter is fearless and has great potential as a junior Ninja Warrior. It’s her super power. If you could have one, what would it be?
J: Well, as a kid I always enjoyed watching Bewitched… I would love to be able to wiggle my nose and have my house clean and the laundry done! LOL! Not sure that is a “super power”, but wouldn’t it be amazing?!
O: Definitely a super power! With my luck, I’d end up more like Esmeralda than Samantha. And look like Aunt Clara… The actress who played Samantha has the same surname as my mother’s maiden name but I’m absolutely sure we’re not related. Have you ever met a famous person?
J: When we lived in Ecuador, Joni Eareckson Tada came to the school I was teaching at and I got to meet her. I don’t know if she would be considered “famous”, but it felt like it to me. 🙂
O: I’m sure she’s famous in some circles. What did you want to be when you grew up?
J: When I was little I wanted to be a teacher. I actually went to college to do that, and right out of college taught 2 years, before we started our family. Later on, when we were missionaries in Ecuador, I taught in our international school to help cover fees for my girls. Over the years I taught Pre-K4, Kindergarten5, First Grade and Third Grade. Then we adopted 3 children and our family moved to a place that didn’t have good school opportunities for our kids, so I ended up homeschooling the last 3.
O: So you made your childhood dream come true! Awesome!! Having lived in a poorer country, I’m sure you learned how to do more with less. Is there anything now that you couldn’t live without?
J: It would be hard to go without my phone. I didn’t have a “smart phone” for years, but then when we did finally get them, I wondered how we had managed without them! LOL! Some days though, I wonder what life would be like, if we just went back to everyone having landlines, at their house. (Of course that would mean going back to the time of no internet, and that wouldn’t be any fun!
O: Yeah. Dystopia! When we moved into our house, hubby was the one to supervise the service provider who set up our stuff. We have a landline. It never rings. 😉 If you could make a movie about your life, who would you want to portray you?
J: Julia Roberts. LOL! Not sure that it would be a very good fit, but I think she is amazing.
O: Oh, isn’t she?? One night when it was quiet on the unit, one of my coworkers decided we should write a script and call it PICU: The Movie. He asked each of us who we’d want to be our characters; I couldn’t think of anybody I felt was suitable. He looked at me for a long moment and then said, “I know! Judi Dench!” This was at least 15 years ago, at which time I was about 50 and Judi was… older than my mother. He thought it was a great compliment. “She’s so dignified!” Yeah, well. He redeemed himself. “Oh, wait, I was thinking of Helen Mirren.” Marginally better – she’s only 13 years older than me. James, maybe just stop digging. 🙂 Joy, thanks so much for letting our GingerScrappers get to know you better.
Ladies, before we go, I should remind you all that Joy is providing the Daily Download – found right here on the Blog – this month, as well as hosting the May Designer Spotlight Challenge. That’s in addition to her regular hosting duties for the Inspiration Challenge! She also has a coupon…

interNational Scrapbooking Day is upon us, she make sure you visit both the Forum and the Store so you don’t miss out on any of the fun.
![]()