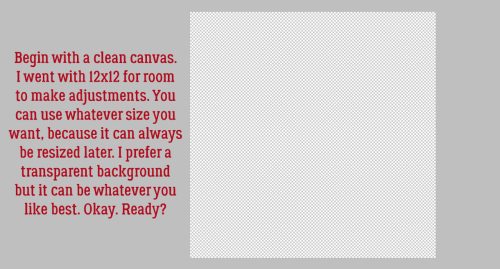
Designer Spotlight Bonus Goodies!
Dani and Neia asked if I’d pass this on. For tomorrow (September 9, 2022) ONLY, subscribers to their newsletters will have the opportunity to grab some bonus freebies. Here’s a sneak peek to whet your interest.
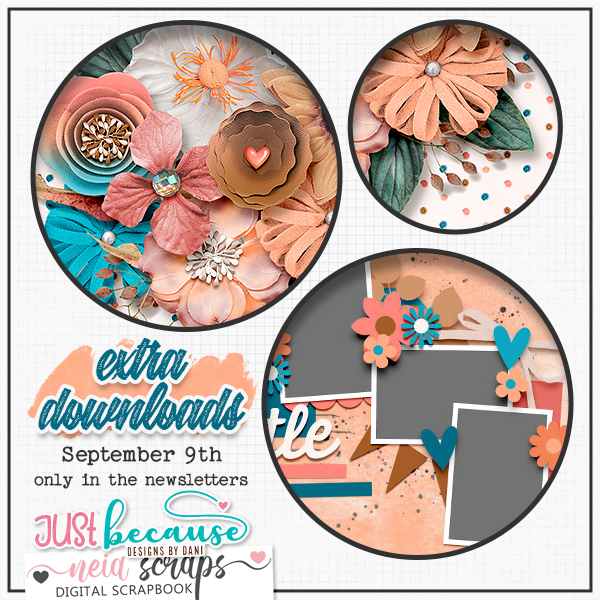
Need links? Dani’s newsletter sign-up is HERE.
Neia’s newsletter sigh-up is HERE.
Run, don’t walk!!
![]()