Archives for April 2021

April 30, 2021: iNSD and Fresh Baked Fun

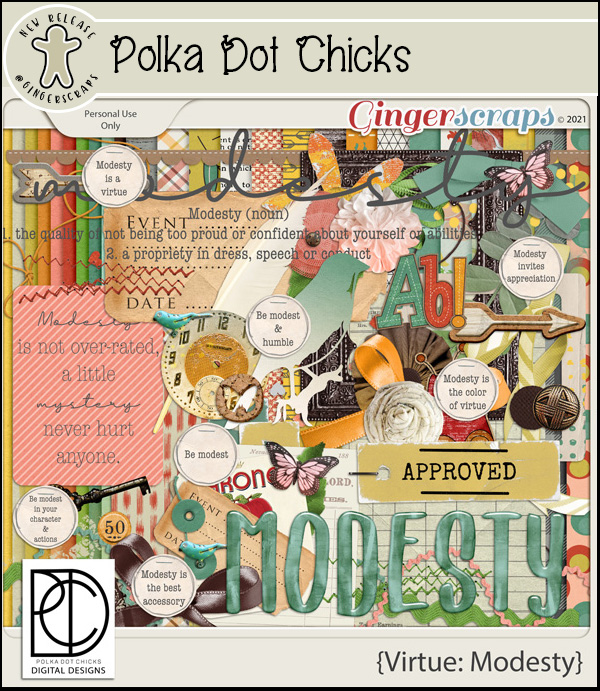
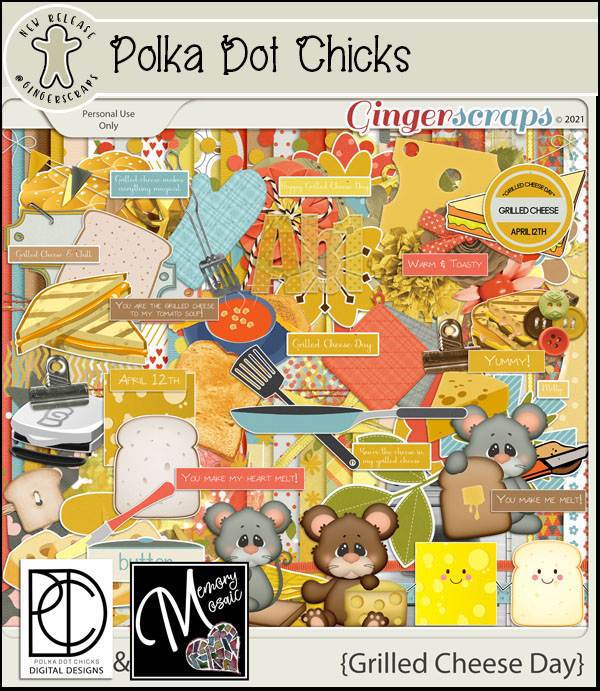
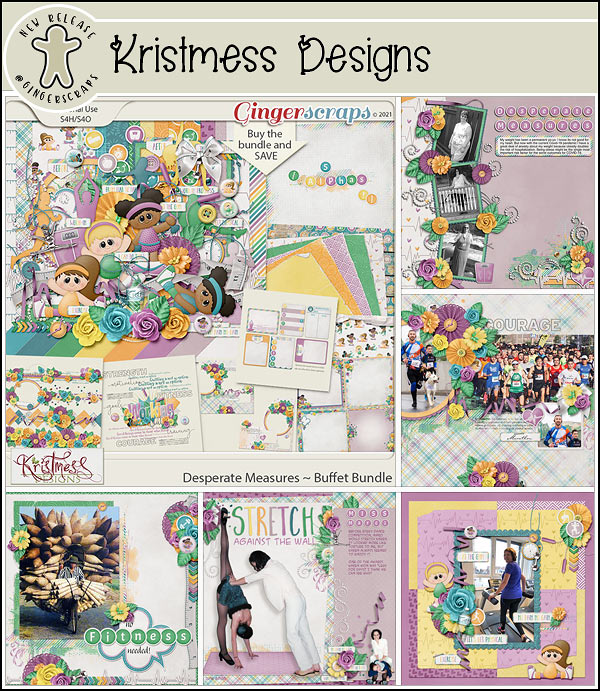
I’m not even sure I can find words for an intro to today’s post. It’s overflowing with iNSD and Fresh Baked goodies, so I’m just going to jump right into it.

First I am excited to announce that we have a new shop opening. Dear Friends Designs by Trina opens today. Her shop is 50% off starting today through May.

Now, let’s check out all the fun things we have planned for the next week.

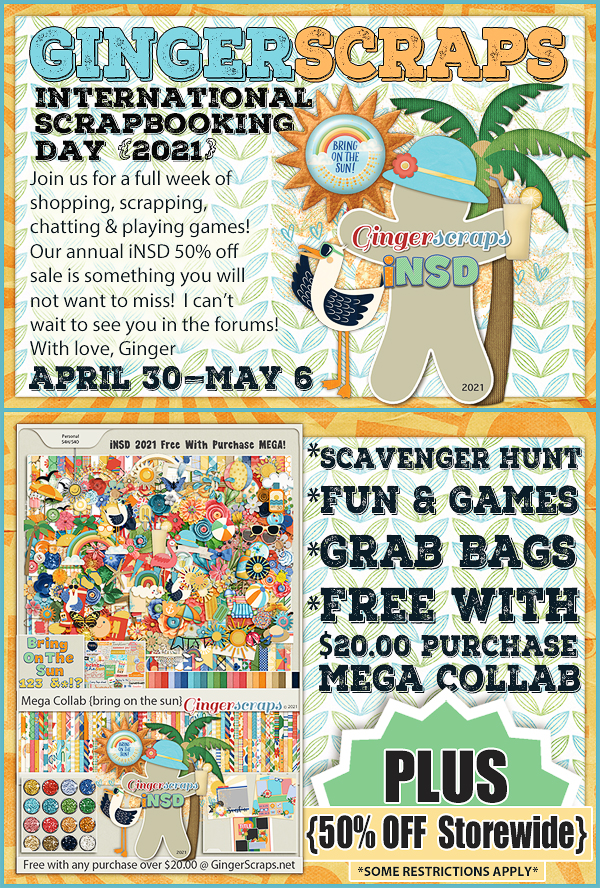
Get this amazing mega collab when you spend $20 in the store. Let’s {Bring on the Sun}!!

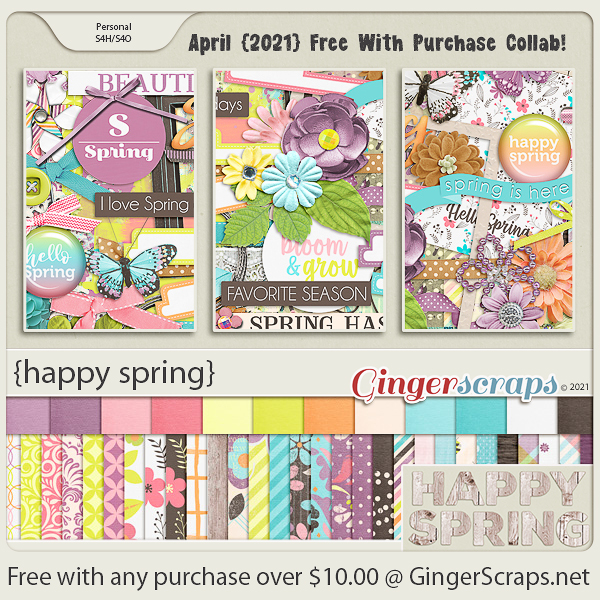
In addition, you will get this great collab when you spend $10 in the store.

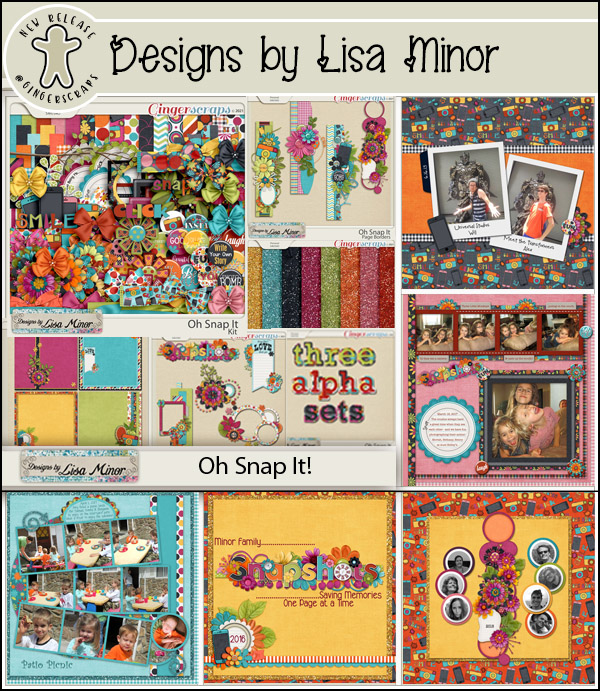
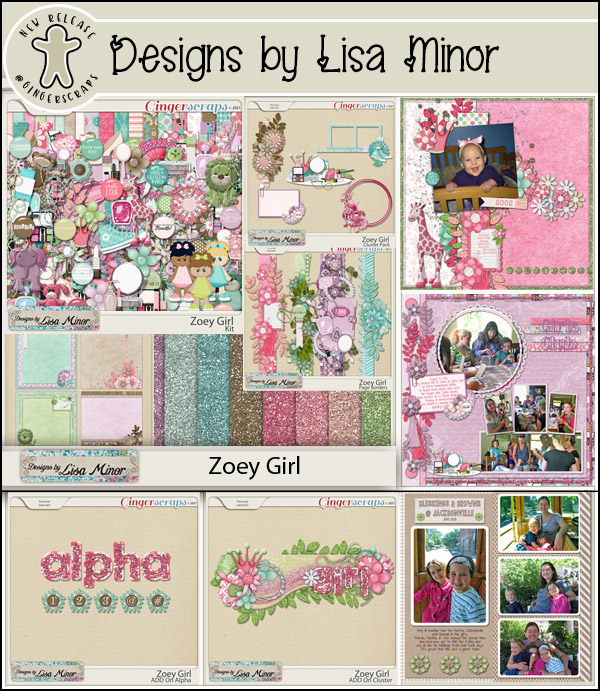
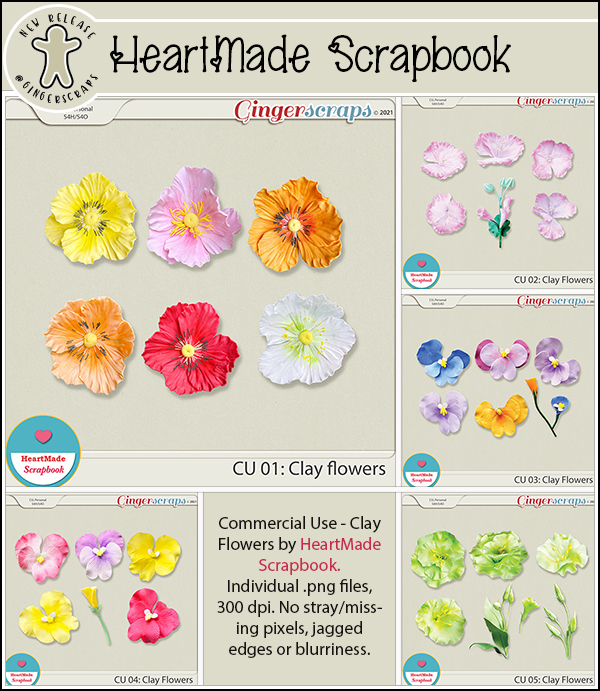
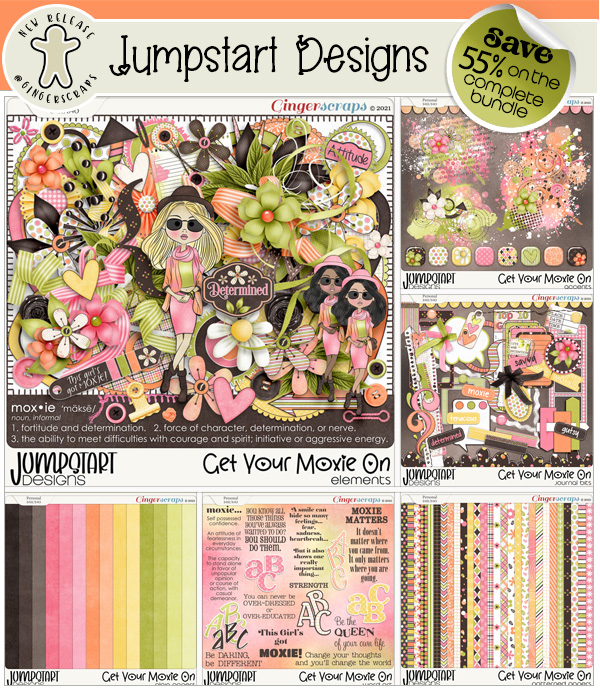
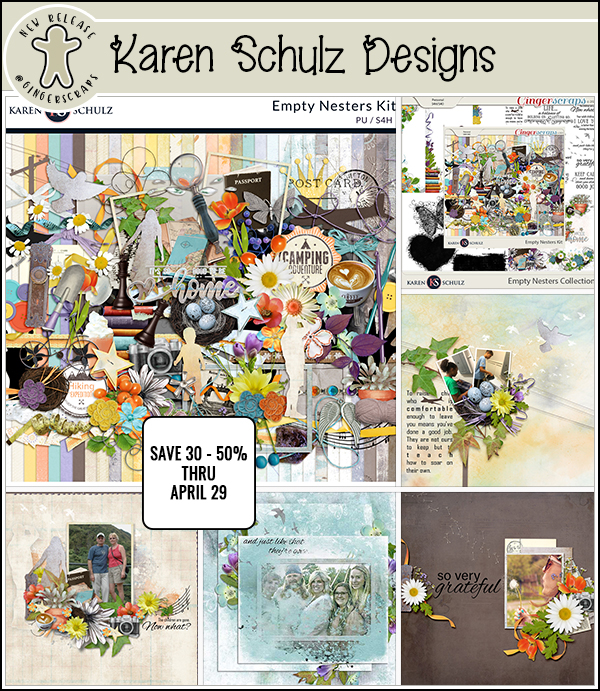
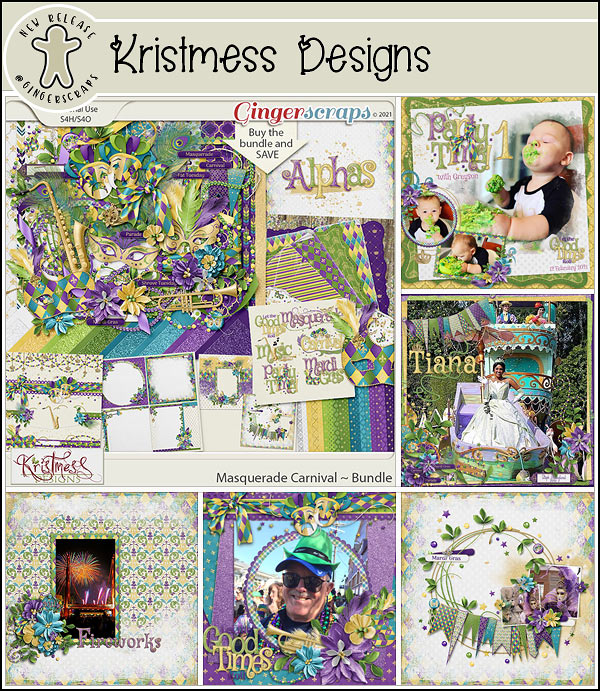
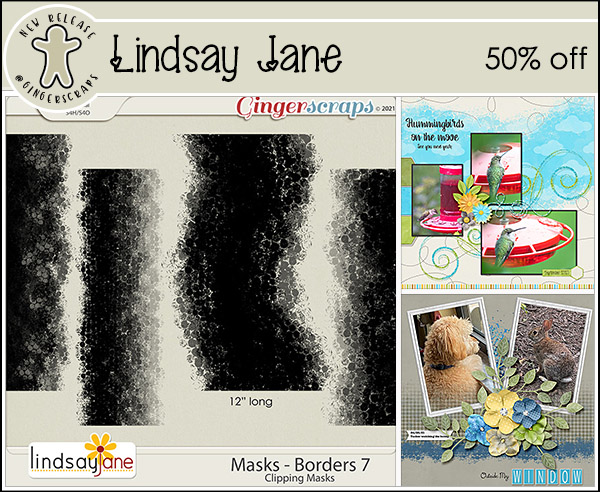
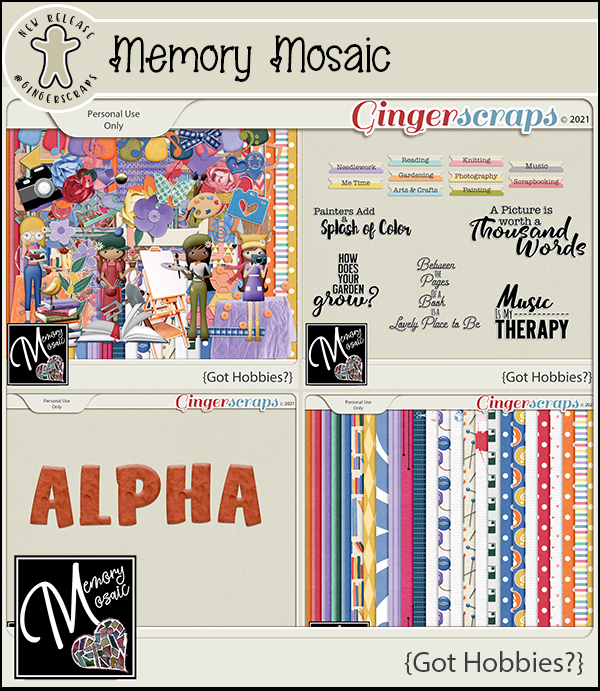
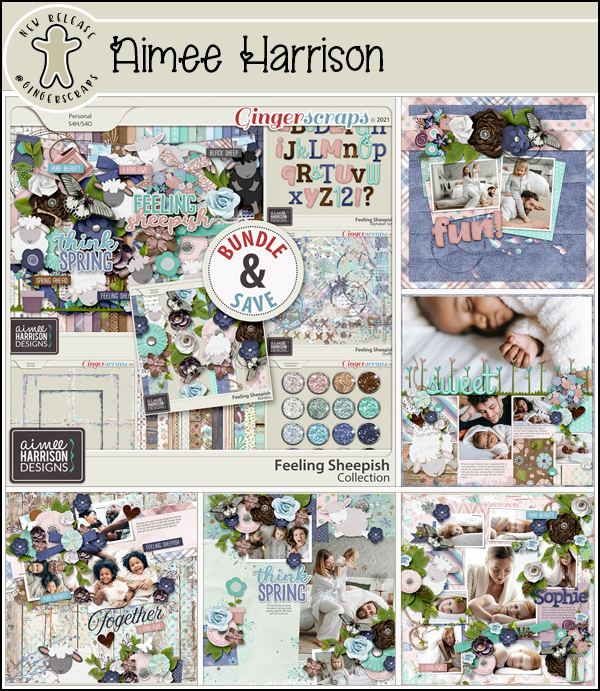
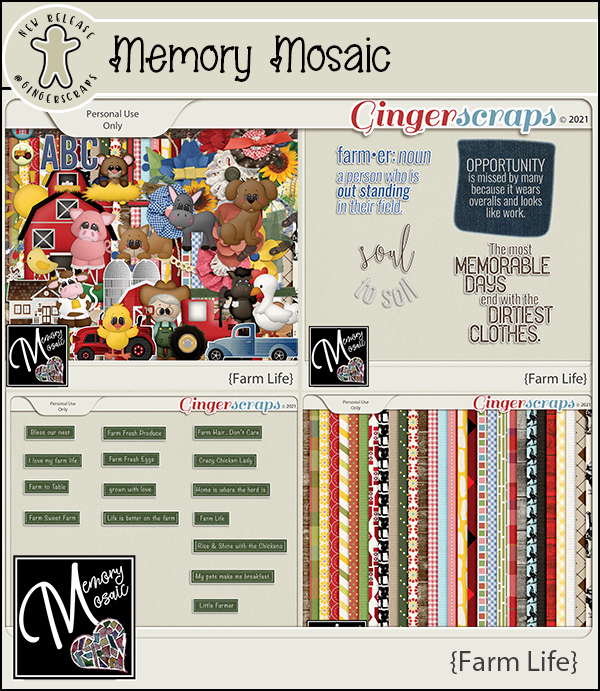
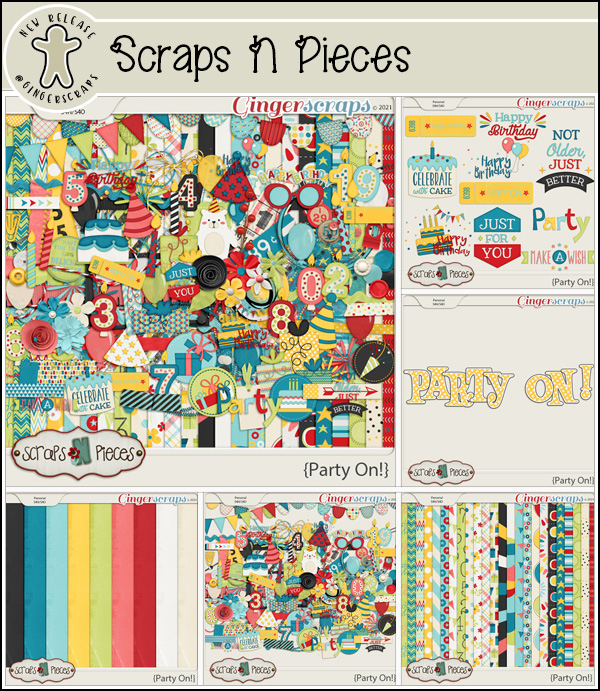
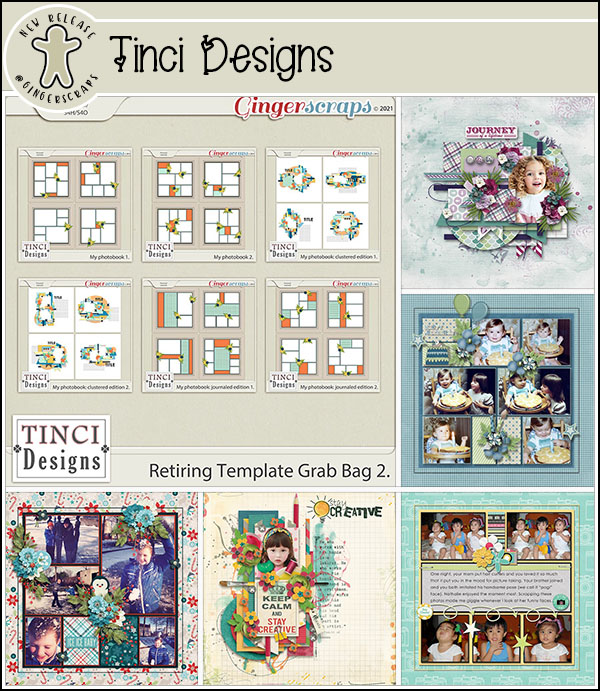
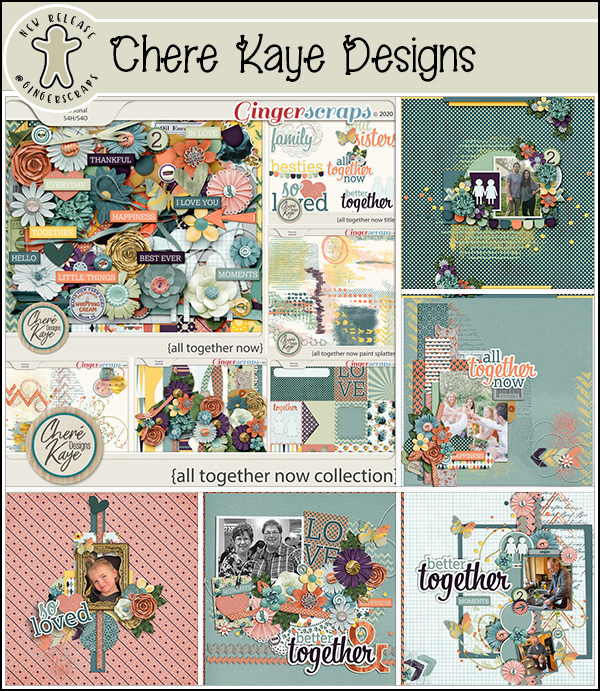
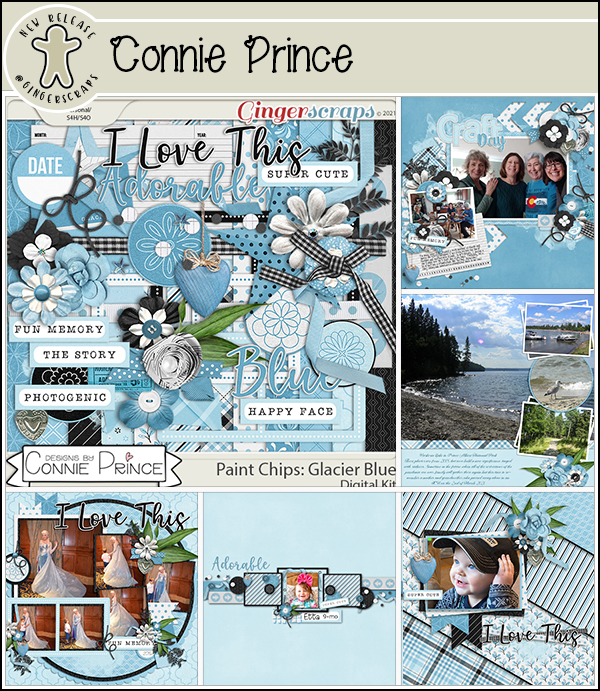
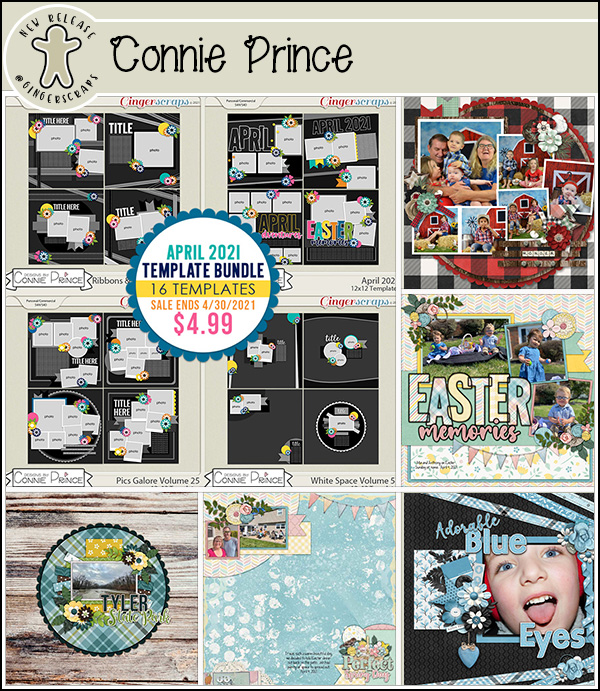
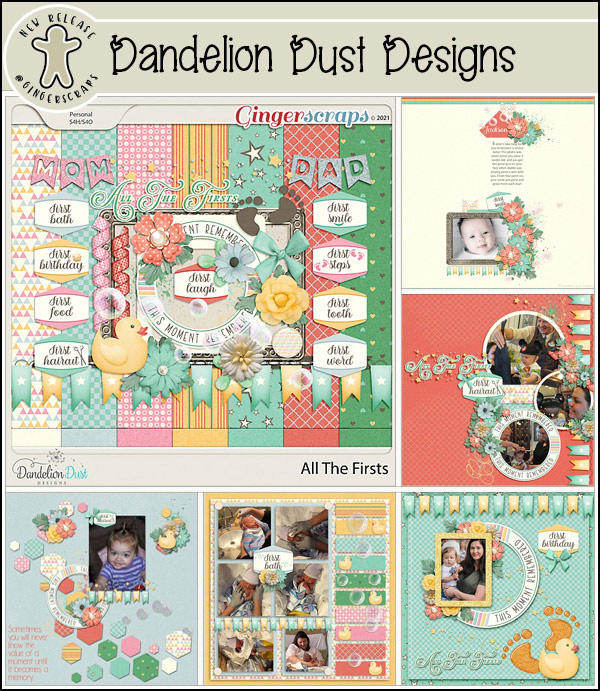
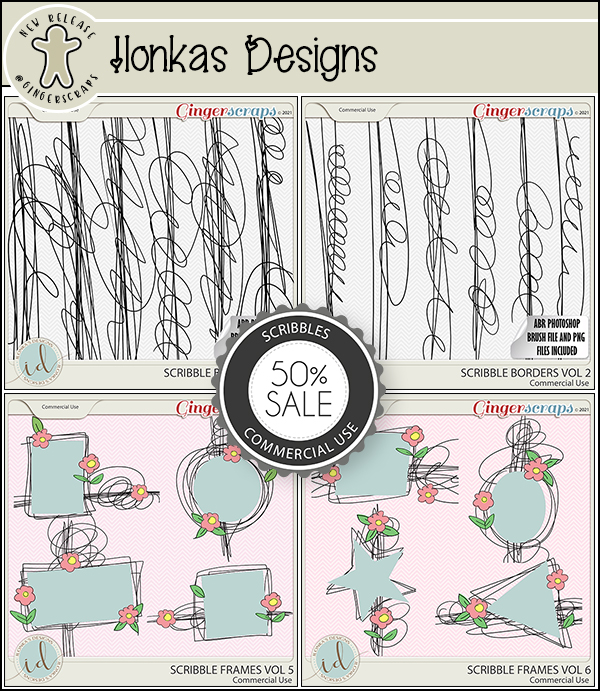
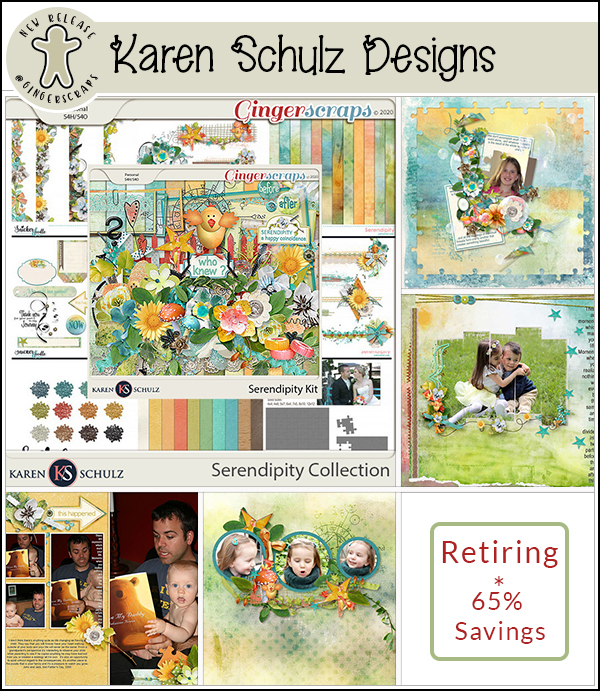
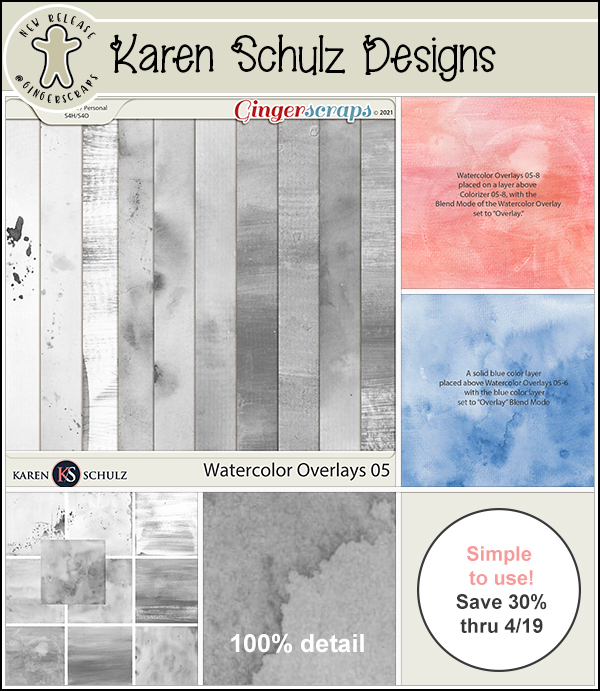
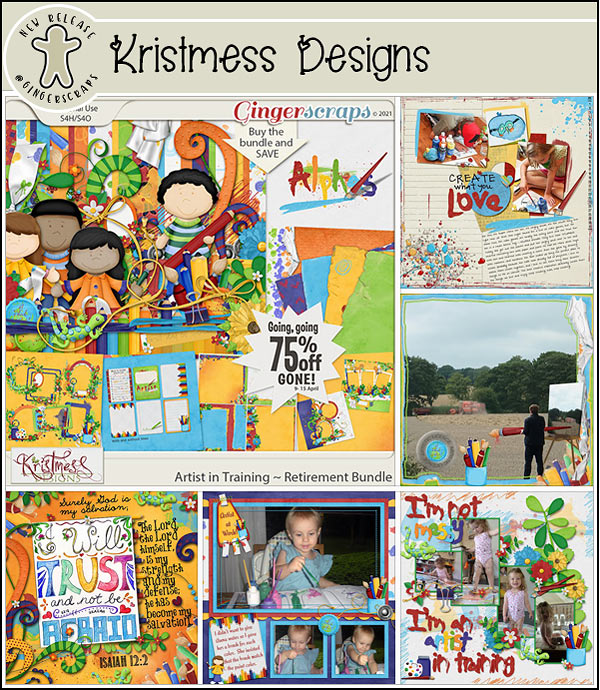
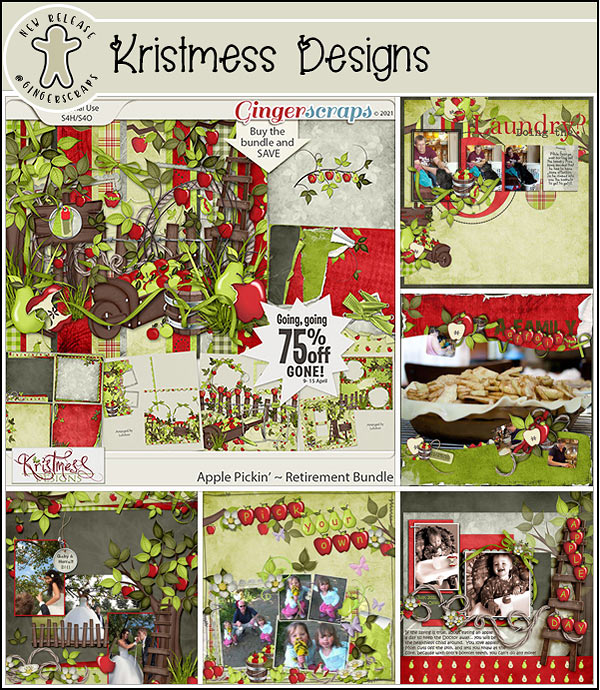
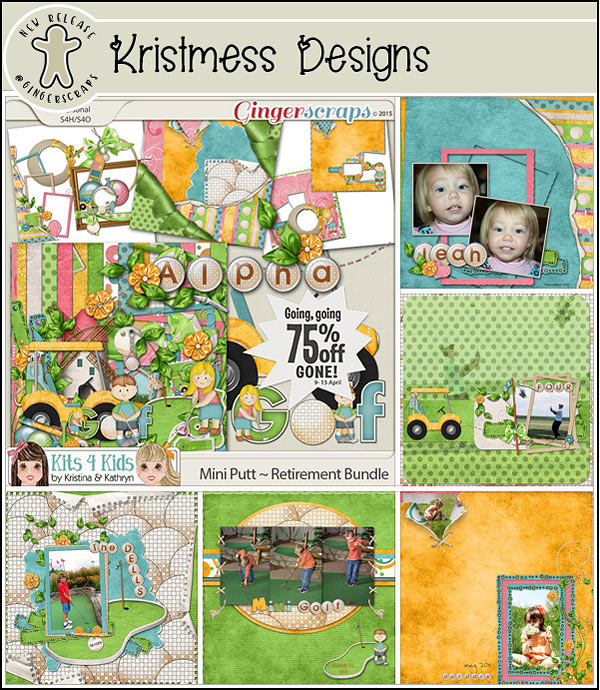
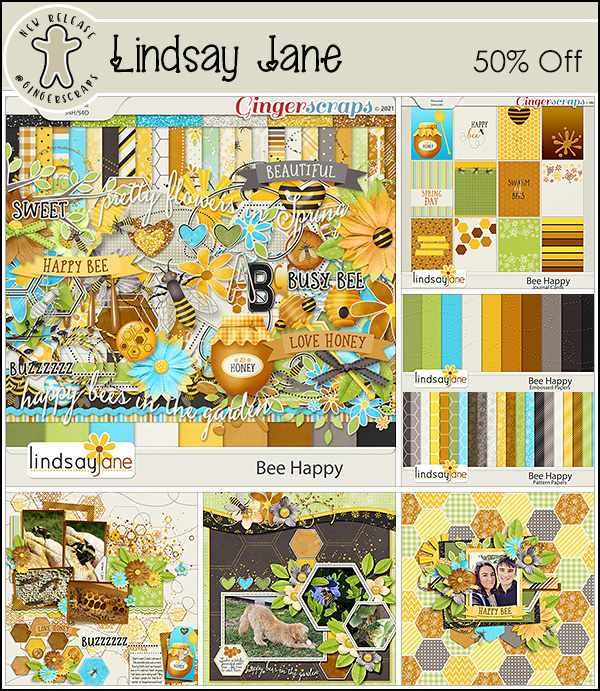
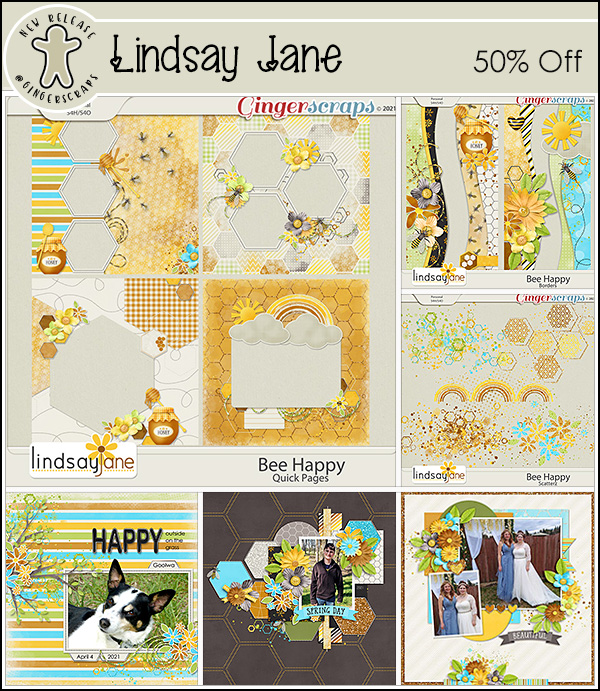
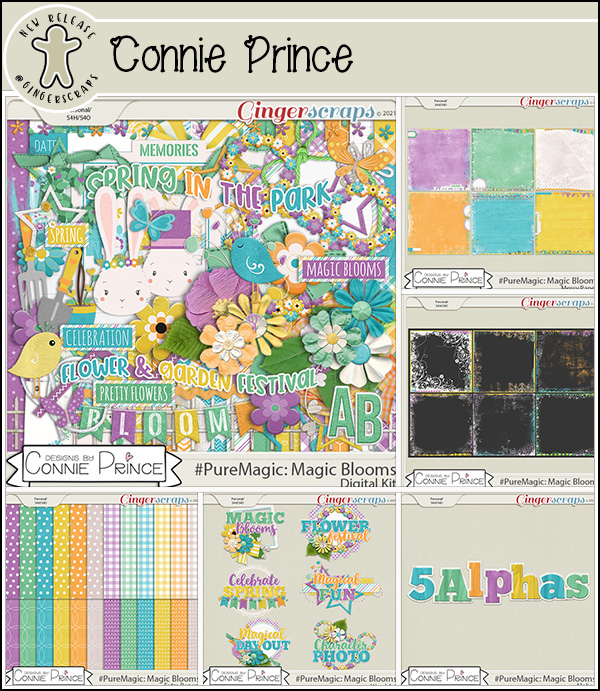
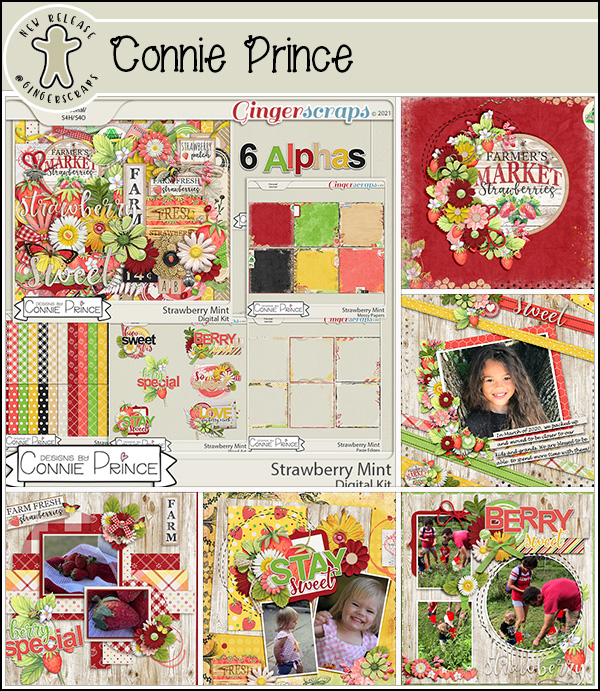
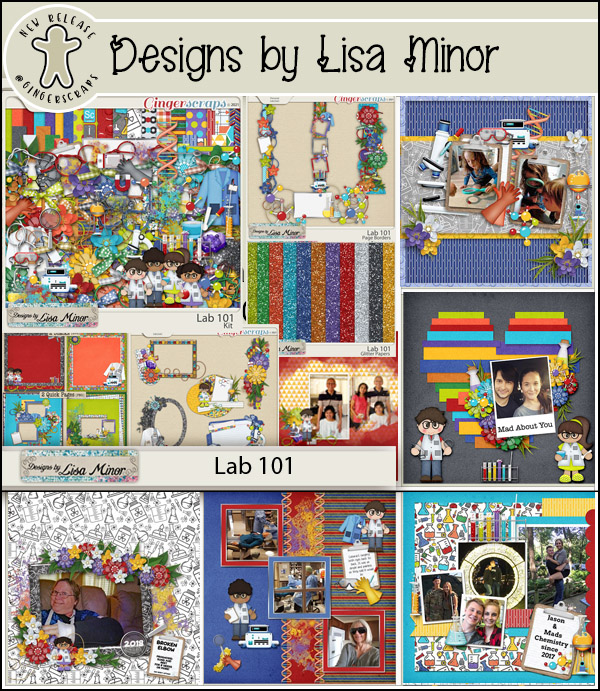
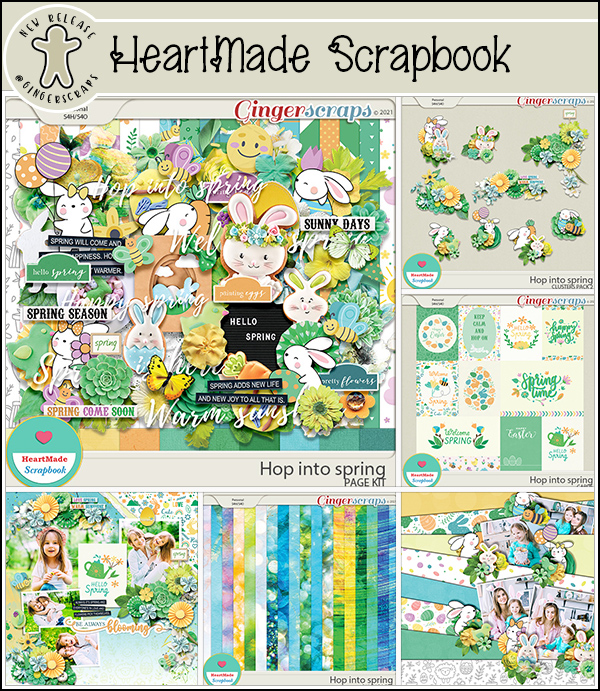
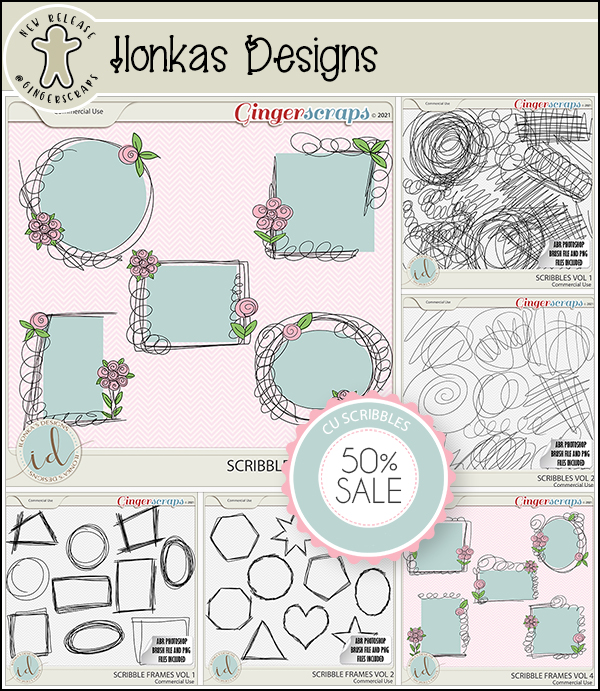
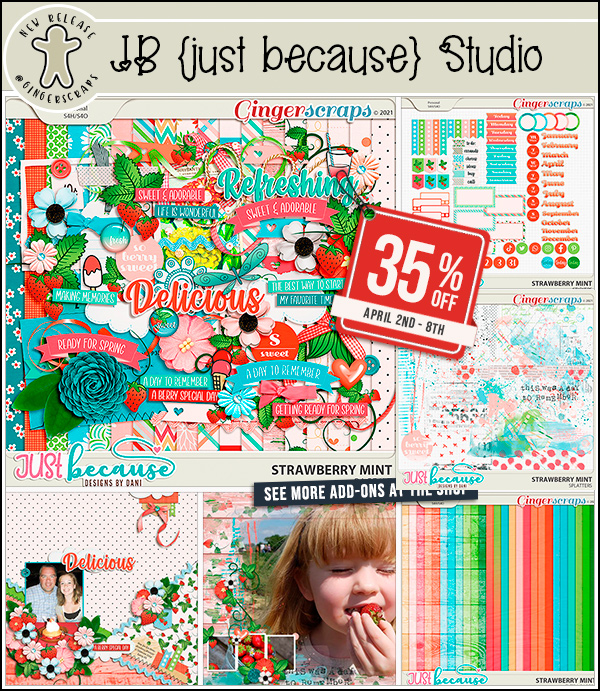
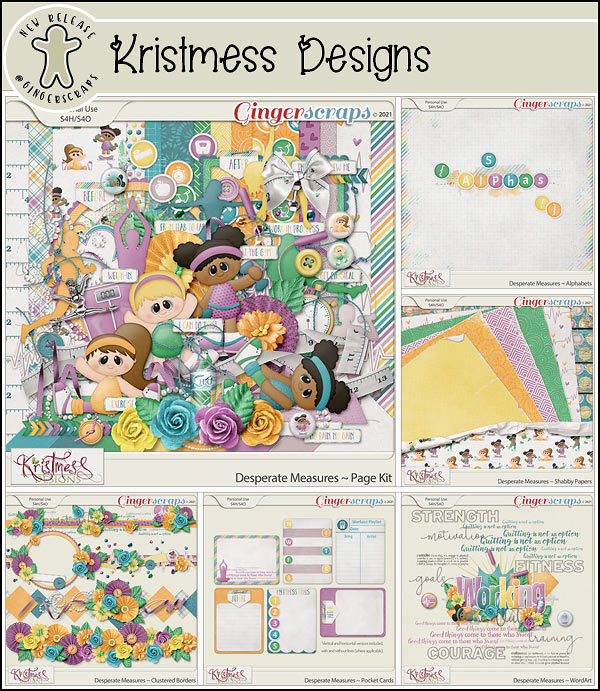
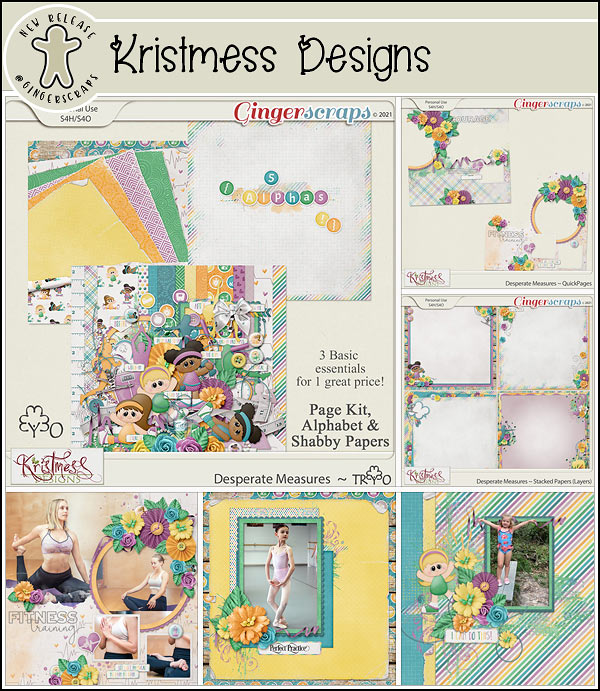
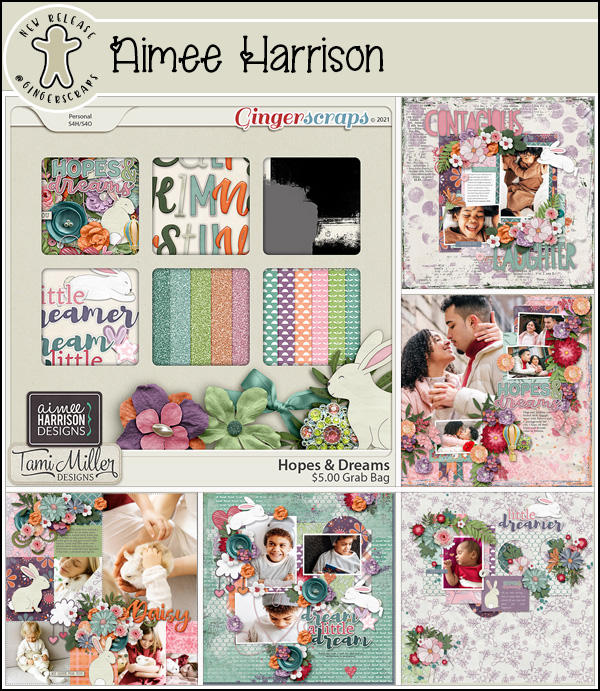
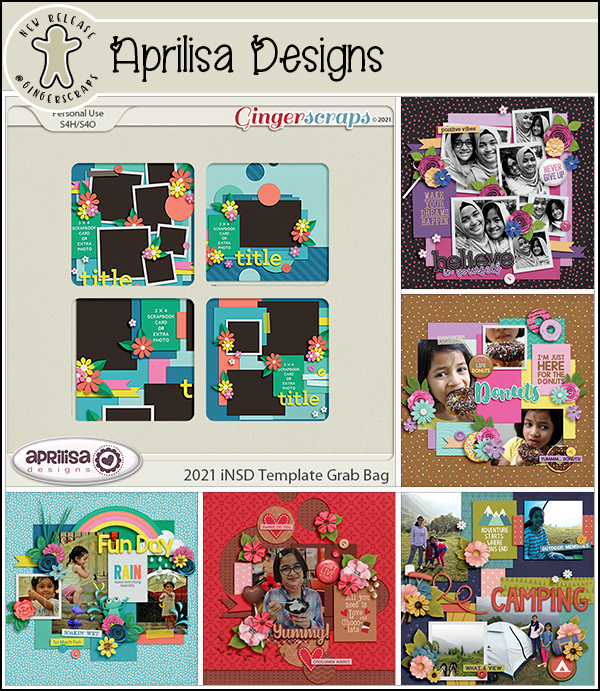
Now let’s get into what the designers are offering for this week of fun!

Aimee Harrison Designs

Tami Miller Designs

Aimee Harrison Designs

Chere Kay Designs

JB Studio

Neia Scraps

Isn’t that an amazing lineup?

Don’t forget to get your challenges in for April. You’ll get this collab as a reward.

Tutorial Tuesday (Photoshop Elements)

Selectively Colouring Your Brushes

I apologize for the slightly-late breaking tutorial. Technical difficulties with my laptop yesterday had me at the absolute limit of my tolerance for frustration (and the limits of my attention span!). By the time I got it sorted out it was time for bed… and I’m sleeping a lot, still. Anyway, let’s see what I’ve been playing with. I hope you like it!

I have quite a collection of brushes in my stash; the brushes created by the designers at GS are fantastic and there’s always a free one in the Challenge forum each month. I chose one of those monthly challenge brushes from ADB Designs for this technique (and then asked myself why I picked such a complex one…) and recoloured EVERYTHING. I chose a neutral paper from the GingerBread Ladies‘ collab Christmas of Long Ago. It has s bit of glitter, and I love it. I put my brush on its own layer – it’s a really good habit to get into – so I can play with it without messing up anything else. This is the time to adjust the size of your brush image, because it’s not easy once all the colours have been added.

I added an Adjustment layer to the top of my layer stack by clicking on the two-tone circle icon at the top of the layers panel and then choosing Solid Color… from the drop-down menu.

This is where you get to be creative. The fun part. I’ve got flowers so my colour choices are flowery colours. I used the Color Picker, but the Eye Dropper tool and the colours in your photos or paper choices are also possibilities.

My brush is still there, behind the solid colour Adjustment layer. To apply the colour to the brush, I right-clicked on the Adjustment layer and chose Create Clipping Mask from the drop-down menu.

Depending on the brush you’ve chosen, this might be all you need to do to it! But if you want to add more colours, there are a few more steps.

Next I converted my Adjustment layer/clipping mask to a LAYER MASK by Inverting it. CTRL/CMD>I and the mask turns black. It’s supposed to do that.

I made sure my foreground colour was white. When working with Layer Masks, white reveals and black conceals. Then I selected the Brush tool for a Basic round brush. You can use hard or soft for this part, but a hard brush will give you sharper edges and will be easier to control. You’ll need to adjust the size of the brush as needed to get you into the nooks and crannies of your brush, but use the largest size you can wherever possible to make the job go faster.

Then I decided which of my flowers would be that lilac colour and “painted” them pale purple with my brush. If you look at the layer in the layers panel you can see on the mask where I’ve recovered the colour.

Let’s do another colour. I clicked on the brush layer and then the two-tone circle icon and chose Solid Color… from the drop-down. Doing it this way eliminates the Create Clipping Mask step!

Here I chose a hot pink from the Color Picker. See how the parts of the brush I’ve already masked show up as pale purple and everything else is pink? This shows where the colour will go and where it won’t on this Adjustment layer.

Then I again Inverted the layer mask by clicking CTRL/CMD>I. Now I can choose the flowers that should be pink.

As I worked, I discovered that all the areas I’d already masked on the lilac layer stay masked on the other layers. That meant that where my pink flowers butted up to my purple flowers, I didn’t have to be as cautious and precise as I painted in my pinks. If my brush rode over into the purple it didn’t matter. But I DID still have to be careful around the black and gray areas.

Time for a new colour! To recap: Click on the brush layer, then the two-tone circle icon and choose Solid Color… from the drop-down menu.

This time I decided on a golden-brown for some of the foliage.

With the mask layer Inverted (CTRL/CMD>I) I painted back in the frondy-looking foliage.

Then I added some blue… Look at the layer masks and see all the areas I’ve already masked. Each layer is a little less fiddly because more and more of the brush is masked.

I found parts of the brush that I’d overlooked that should have been one or another of the colours I’d already used, so I clicked on the LAYER MASK of the layer with the colour I should have used and added those bits to the existing mask.

The result wasn’t as awesome as I’d hoped it would be, but I learned a bunch about this technique. So I found a different brush I could play with and when it was time to paint in the colours I chose, I used a misty water-colour brush. I adjusted the size and angle of the brush as I randomly painted in the colour areas. Now THIS I love!

Can you see yourself giving this one a try? I’m going to make it part of my automatic activities, I think!

The PDF version of today’s tutorial is HERE.

Fresh Baked: APRIL 23, 2021

Happy Friday everyone! Did you have a good week? I hope so. We’ve got some great goodies to share with you.

Remember any $10 spent in the GingerScraps store and you get this {happy spring} collab as a gift!

Let’s see what’s new in the store this week.

How are those challenges going? Only 10 completed challenges will get you this {spring beauty}.

Tutorial Tuesday (Photoshop Elements)

3D Photos – Yes, You CAN!

Thank you all so much for your kind messages of support! I feel a lot better, although I really poop out quickly if I’m doing something strenuous. And brain fog is a real thing. I’m thankful that my husband and son didn’t catch COVID from me and that we’ll all be vaccinated soon.

So, given I’m still having some issues with concentration and attention, I’ve whipped up a little trick I’ve been thinking about for a long time. I’m going to show you how to give a photo a 3D look. It’s not exactly what I was trying for, and I may play with it some more, but it’s still a neat look. The inspiration for this goes back a long way, to a Canadian TV show called Ancestors in the Attic (2001-2006), where the images on the screen had an obvious 3D look to them. I didn’t quite get it right, but I like it anyway.

If you decide to try this, I recommend looking for a photo with sharp contrast between the subject you want to bring forward and its background. I chose this photo I took in Las Vegas quite a few years ago. The flamingo wasn’t too difficult to extract. I’m not going to do a step-by-step review of extracting, but you can try any of the methods I’ve shown you here and here. I went with a Layer Mask so I wouldn’t have to think too much!

To be able to have the control needed to go forward, I Simplified the extraction layer. Right-click on the layer in the Layers panel, then choose Simplify Layer.

Next I added a drop shadow, using a shadow styles set from Karen Schulz. (It’s named for Snickerdoodles Designs, her former moniker.) In this set there are actually two 3D shadow styles, right at the top of the list. I chose the second one. It’s not quite right, but easily fixed.

To adjust Layer Styles, double-click on the fx symbol on the layer you’re adjusting. This menu opens up with the defaults for the style you used. First, I made sure the shadow on my flamingo was falling in the same direction as the shadows already in the photo. Don’t overlook this step! Otherwise it’ll look really faked. I increased the Size (which softens the edge), the Distance (which makes the shadow wider/larger) and the Opacity. I went all the way to 100%. The 3D effect shows now.

Here’s the original for comparison purposes.

And with the extraction and shadow…

Then, just for fun, I Copied the extraction layer and changed its Blend Mode to Luminosity. What do you think?

I might try this with a photo of the mountains we see from our deck, and maybe I’ll be able to fine-tune it. Who knows? It’ll be fun trying it.

Here is the PDF version of this tutorial: https://bit.ly/3h2BEFb


Fresh Baked: APRIL 16, 2021

Happy Friday Scrappers. It’s the middle of the month so that means it’s Bake Sale time!! Head over to the store and see what great kits our designers are offering for only $1 each this month!

Remember, any $10 spent in the store gets you this {happy spring} collab.

Let’s see what our designers have for us this week!

Polka Dot Chicks

Memory Mosaic

Have you picked up the Monthly Mix for April? Love the bright spring colors.

How are those challenges going? Remember you only need to complete 10 challenges to get this collab as a reward.

Tutorial Tuesday (Postponed)

I wanted to drop by and let you all know that I haven’t written a tutorial for this week, and to tell you why. On April 2, I tested positive for COVID. The symptoms I’d attributed to allergies… weren’t. I was in full isolation until yesterday; I had a “mild” case of the disease, but it has taken a lot out of me. Nine days of fever and ten days of continuous headache were not fun. I’m expected to recover completely but I’m really fatigued and having a lot of trouble concentrating. With rest and some TLC from my family (so far healthy!), I hope to have a new tutorial for you next week.

Fresh Baked: APRIL 9, 2021

Are you ready for another big sale in April? It’s our Retiring Products Clearance Sale!!

Make sure you grab what you want from this sale as once the sale is over, the products will be gone.

And remember, when you spend $10 in the store, you will get this great full collab for free.

Let’s see what our designers have this week.

Alexis Design Studio

Key Lime Digi Design

Polka Dot Chicks

Memory Mosaic

How are your challenges going? Any 10 completed challenges gets you this reward.

Tutorial Tuesday (Photoshop Elements)

Gradient Border Masks – So Many Options!

The other day, I got a message from Ginger that a customer was looking for information on how to use Lindsay Jane‘s border masks, and wanted to know if I had a tut for that. Well, I didn’t. The customer specified she had Border It 28, so I popped over to the shop and bought them. And then I played with them.

A close-up look at one of the border masks reveals a gradient effect. What this means is that whatever is Clipped to it will also have a gradient. Where the mask is solid black, the paper or photo clipped to it will be 100% visible. As the mask becomes more transparent, more of the paper behind it will show through. This can be a really interesting look, but it’s going to require some experimentation to find a look that appeals to the beholder.

I’m using papers from a retired kit from Lindsay Jane‘s store, called Denim and Flowers. I’ve pulled a couple of solids and a couple of patterns to play with. Let’s give it a shot!

I love the retro look of these patterned papers. This lavender one is so pretty.

There are actually 3 ways to achieve the same result of Clipping papers to masks. Clicking on Layer>Create Clipping Mask is one. Right-clicking on the paper layer then choosing Create Clipping Mask is the second. The keyboard shortcut method was changed in Version 14. Prior to V14, CTRL/CMD>G works. Version 14 and later the keyboard shortcut is CTRL/CMD>ALT>G.

Well, guess what?!! I don’t have the bottom of the mask right at the bottom of the background paper. Easy to fix.

Because this mask has what looks like rows of stitches, I decided to see what it looks like with a shadow style applied to it.

More experimentation. It’s the only way to know what will work and what won’t for this kind of mask.

Yeah… not loving this look! This is why I believe Undo (CTRL/CMD>Z) is a digi-scrapper’s best friend.

This look reminds me of a t-shirt I had when I was 19! I made 2 Copies of the striped mask and spread them out evenly then Merged the mask layers. (Right-click and choose Merge Layers or CTRL/CMD>E) Then I Clipped the flowery paper to the solid. That combo could be a nice background for a spring layout.

Ewwww. Nope!! Don’t like this look at all!

This one is okay. It’s not my favourite, but it looks okay.

Don’t forget that you have lots of other tools at your disposal. Blend Modes and Opacity changes are two of those, Here I’ve taken the blue-floral-on-green-solid and changed the Blend Mode of the floral PAPER layer to Luminosity.

If I change the Blend Mode on the MASK layer to Luminosity, this is what it looks like.

Here I’ve just decreased the Opacity of the MASK layer to 75%. (Decreasing the Opacity of the PAPER would only allow more of the black/gray of mask to show through.)

The solid navy blue paper is actually a denim, so this look is going to be a fun one, I just know it!

YES! Again, I’m thrown back to the 70s!! My very first pair of bell bottoms was navy with tiny flowers. This look though reminds me of the time I opened up the outside seam at the bottom of my straight jeans and sewed in a wedge of floral fabric, turning them into bell bottoms.

This might be fun… I’m going to Merge these mask layers into a single one.

Now that I’ve played with these masks and papers a bit, I’m getting a sense of what will work and what won’t.

That’s pretty close to what I expected. I like it.

But the navy blue is a tad harsh, so I dropped the Opacity of the MASK layer to 50%. I like this look a bit better.

But papers aren’t the only option for Clipping to these masks. What does a photo look like? I chose this stock photo because of the pinecones.

Repeating shapes!

I really do think this stripped mask is my favourite. Again, I lined up 3 Copies of it and Merged them together. Then I Copied the mask layer and Rotated it 90°. Plaid! This is just the masks with their Opacity decreased to 50% at this point and might be what you like.

Here I’ve clipped the floral paper to each of the mask layers. I love this look!

Can you think of other ways to make use of these masks? Please feel free to share in the Comments!!

I hope this tutorial makes sense. I’ve been under the weather and I’m not at the top of my game. Thanks for bearing with me!

Here is the PDF version of this tutorial : https://bit.ly/3cSdBGm

Designer Spotlight: April 2021

The Cherry on Top!

Lisa, the designer also known as The Cherry on Top, didn’t have time to sit for an interview so she instead sent me a little bio. Here she is in her own words:

Lisa-Lisa here, from The Cherry On Top.
I grew up State side, where I worked as a teacher.  What a wonderful job to have.  I often found myself underwhelmed by the typical curriculum and so I created a lot of my own, more visually appealing activity sheets and encouraged the kids to also show more creativity in their work. History can be pretty boring for most. I was pleasantly surprised to learn that even teenagers liked to construct scrapbooks to show off their knowledge of historical events.  I didn’t realize, at the time, that I was actually “designing” digitally.  I had next to no program or computer experience.  I even struggled learning how to do e-mail.  Ha!
I originally started scrapbooking traditionally and took those skills with me, over the pond, to Belgium, where I presently reside.  I wanted to make something that I couldn’t find anywhere in paper format.  So, I scoured the internet looking for images and “pieced” together exactly what I needed.  Funnily enough, I thought I invented digital scrapbooking, until I stumbled across the digital scrapbooking world.
I dove in the deep end!  After a couple of months, I was on a praise team at Scrap Take Out where I met a lot of fantastic designers like Fran B and Amanda from A-Manda Creation.  Slowly, I worked myself on to Creative Teams.  At one point, I was on 28 teams.  Talk about a junky! Ironically, I despised templates.  I still cannot get over the grudge I had against them.  Until I realized what a wonderful starting point or catalyst they can be.  Especially, when your mojo is low or the inspiration just isn’t there.  Now, they are my passion.
I find ideas for templates, everywhere.  In an advertisement, greeting card, sketch, nature…I’m always coming up with new ideas, techniques and I make designing unique, easy to use templates my main objective.  They truly are a wonderful tool and certainly an excellent way to learn how to digital scrapbook.  They save so much time, too.
I started off using PowerPoint to scrapbook.  I know, right?!  Then I moved to My Memories for a few years and then Photoshop Elements.  I still mostly use Elements.  It is incredibly user friendly and perfect for designing templates, for the most part.  Occasionally, I jump over to PS when PSE doesn’t offer a particular function I need and I’m pretty sure, that one of these days I’ll morph over to PS, but I still have so much to learn in PSE.
I do design a lot of other products besides templates, but templates are still my favorite.
Thanks for letting us get a peek into your creative process Lisa! Ladies, don’t forget that Lisa‘s also presenting the Daily Download this month. And she has a $2 coupon for her GingerScraps store (linked above in pink): the code is tcotspotlight.
See you again soon!

Fresh Baked: APRIL 2, 2021

Welcome to Friday and a new batch of Fresh Baked goodies. Have you checked out our No Joke Sale?

REMEMBER THIS SALE WILL END ON APRIL 2 AT 11:59PM EASTERN TIME!
Make sure your checkout is complete prior to the close of the sale, as soon as the clock strikes midnight the sale prices will disappear.

Remember, any $10 spent in the store will get you this great collab for free.

And now our Fresh Baked goodies.

Have you gotten started on your challenges yet? Do you have favorites? Remember, any 10 completed challenges earns you this kit as a reward.