Archives for March 2024

Fresh Baked! March 29, 2024

We’re almost at the end of another month. The end of March marks the end of the Spring Scrap-a-thon. Make sure you get all your layouts posted in order to get all the great prizes.

Remember, if you spend $10 in the store, you will get this great collab for free.

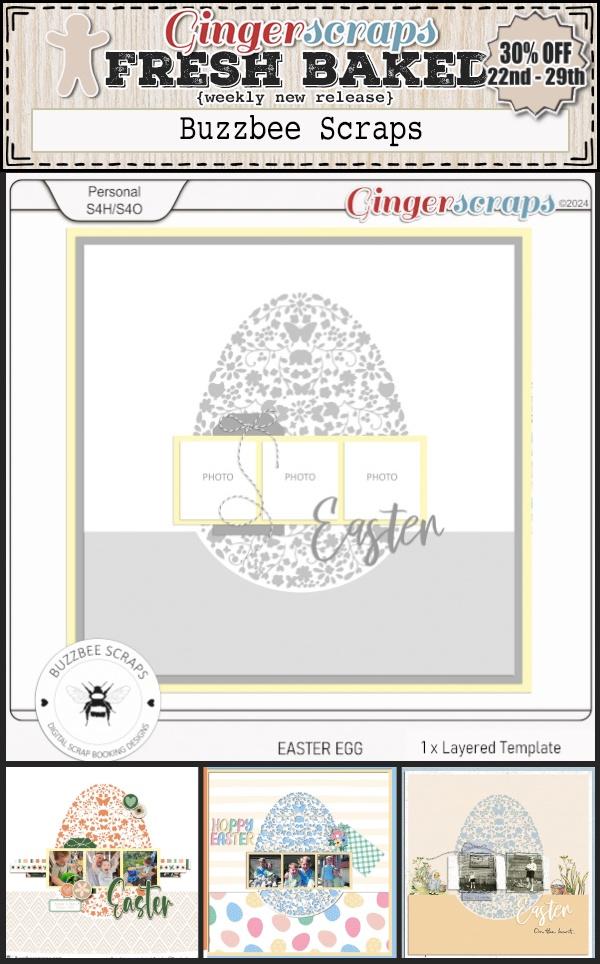
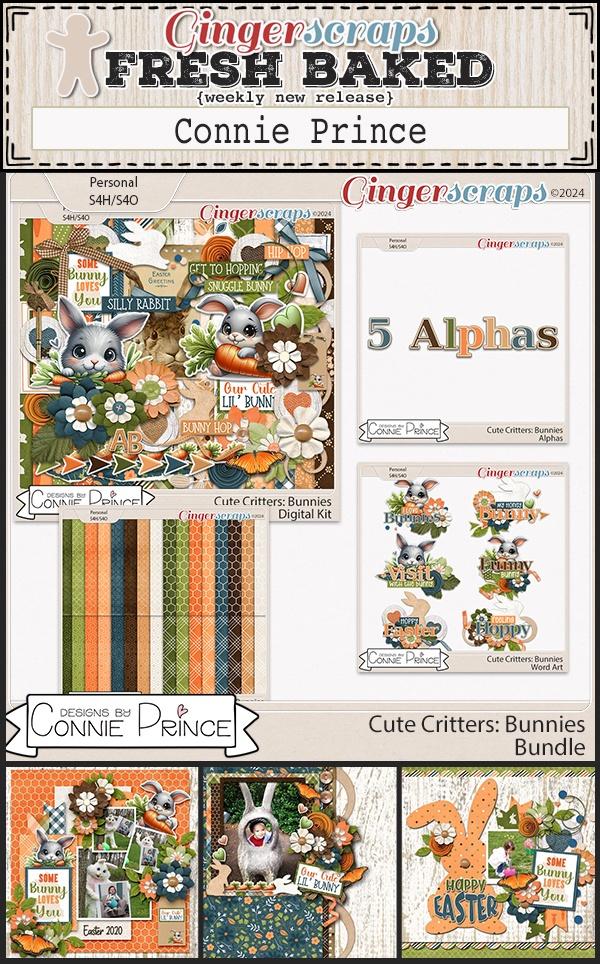
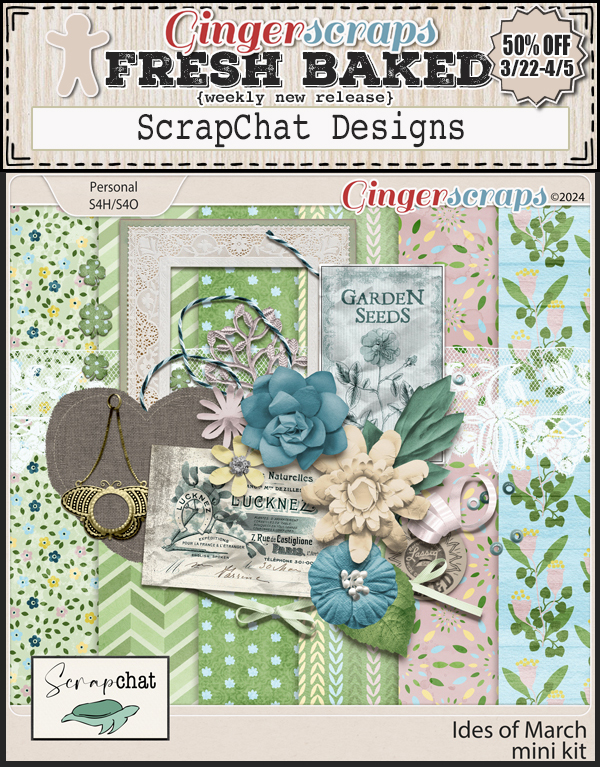
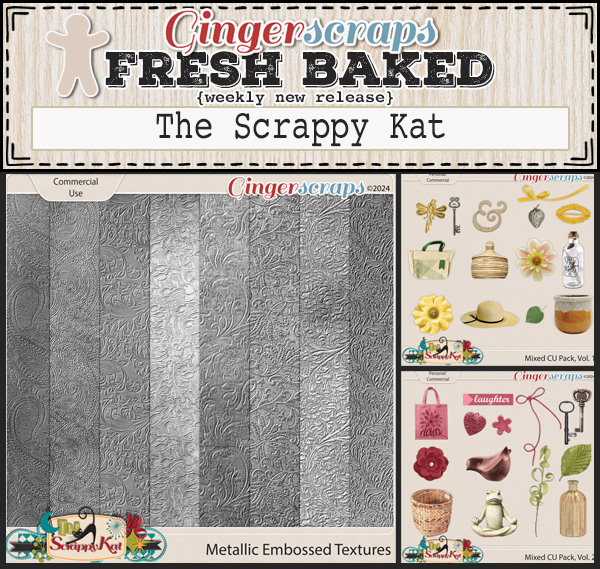
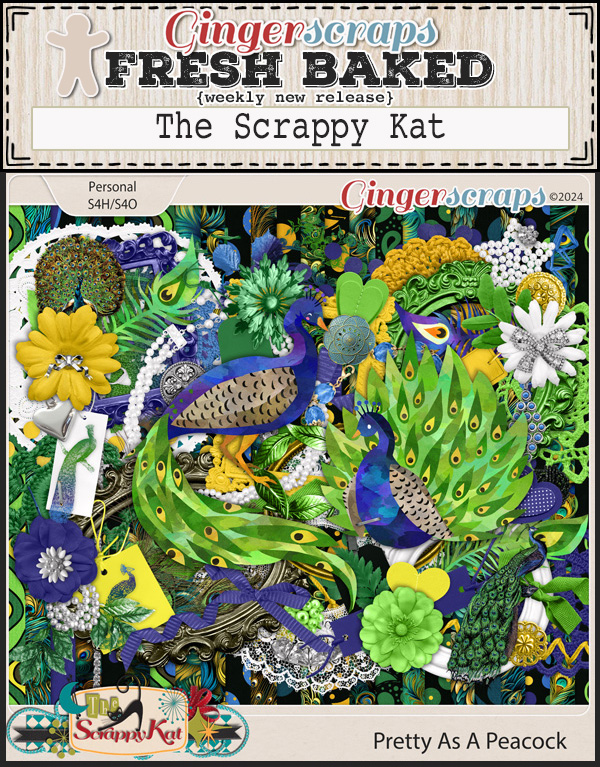
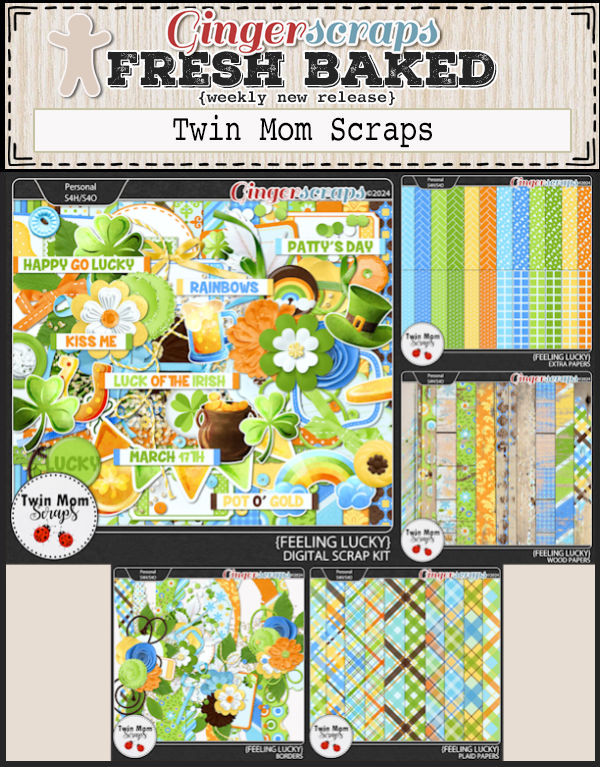
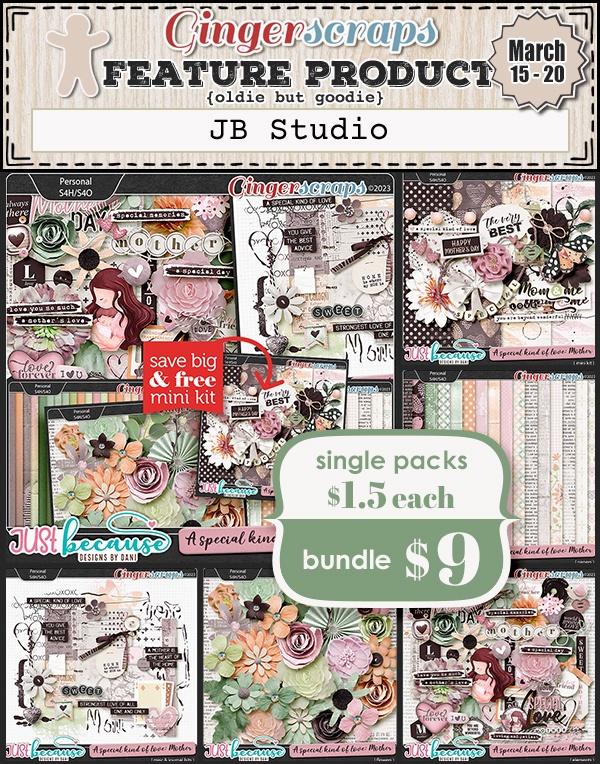
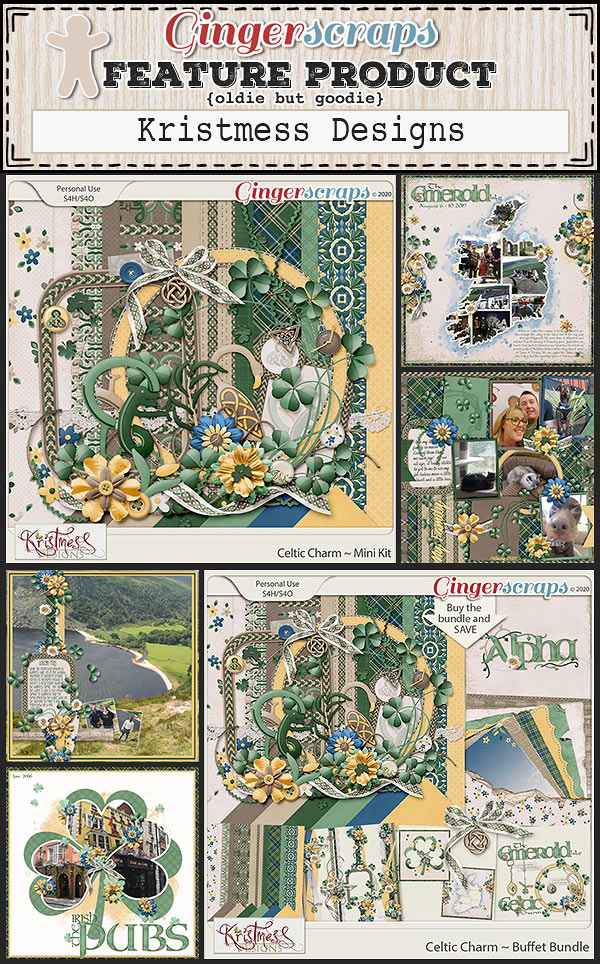
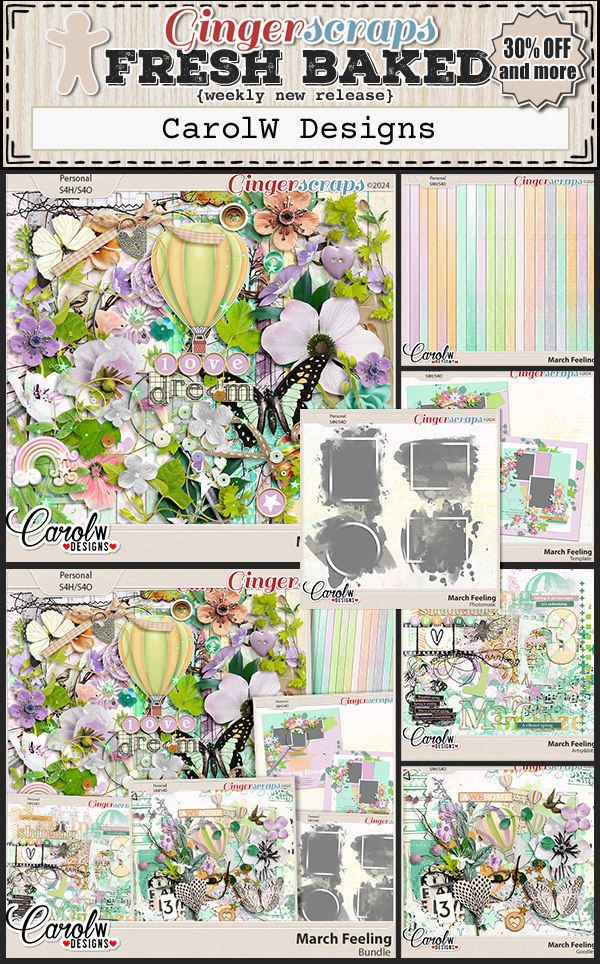
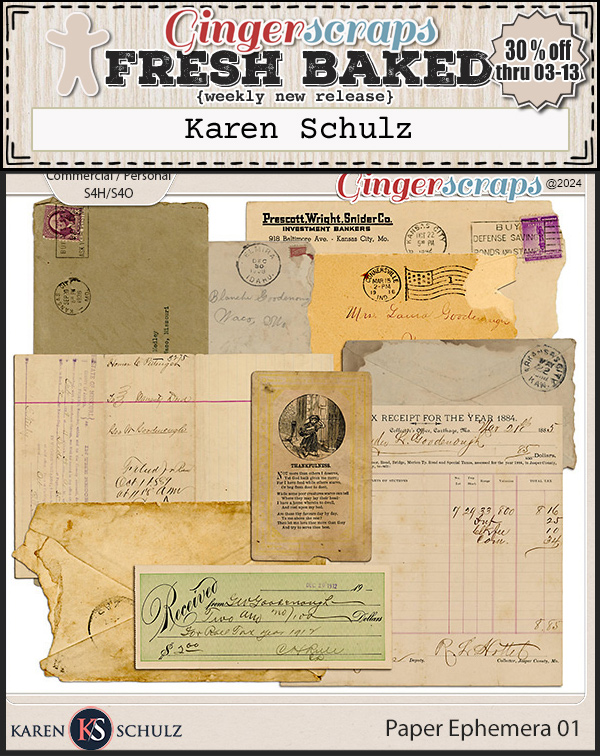
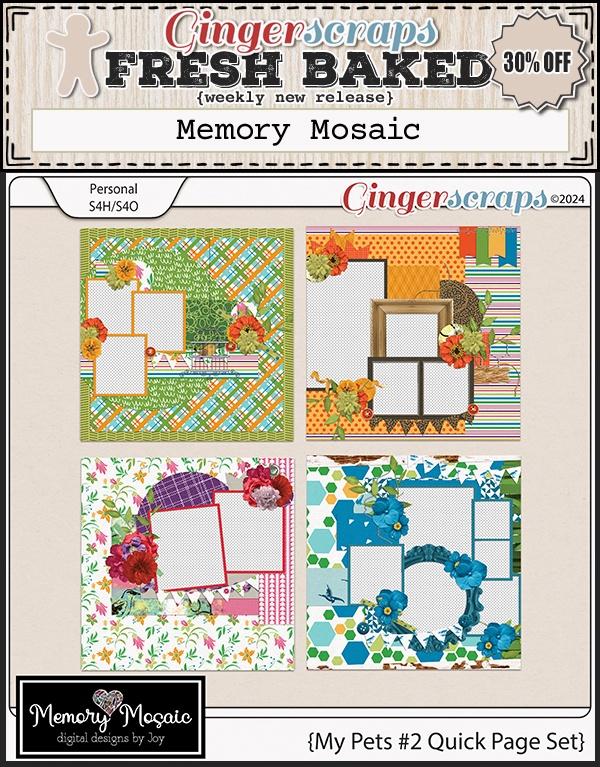
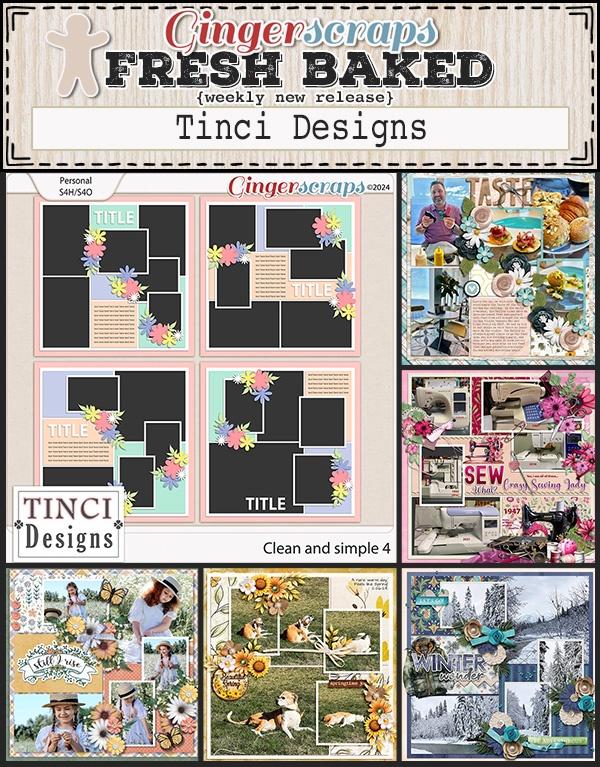
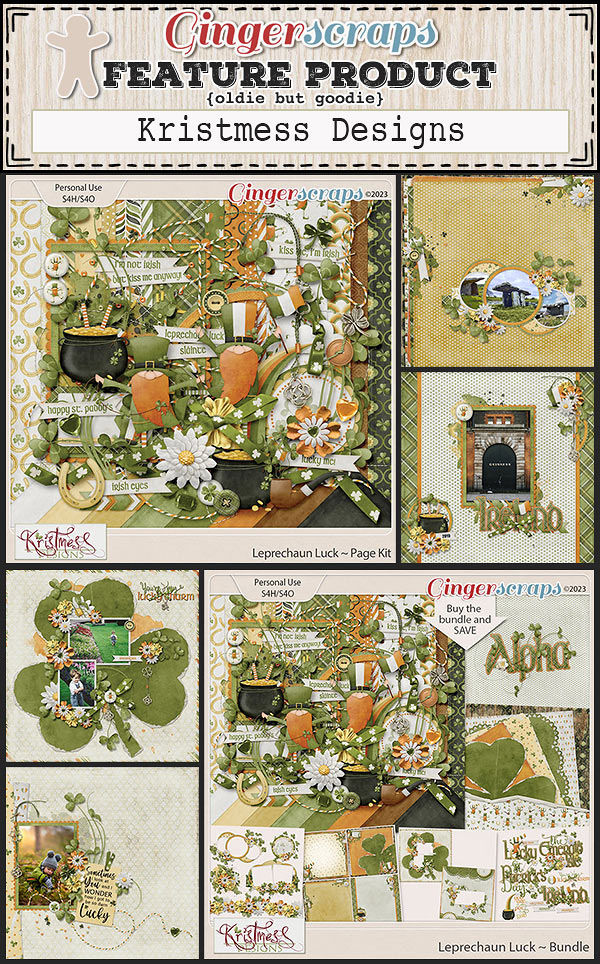
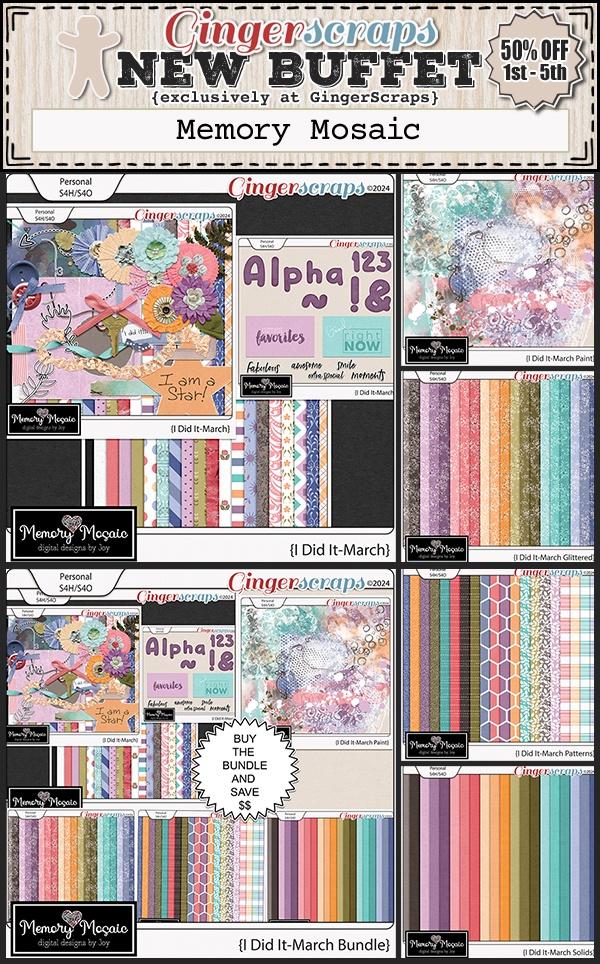
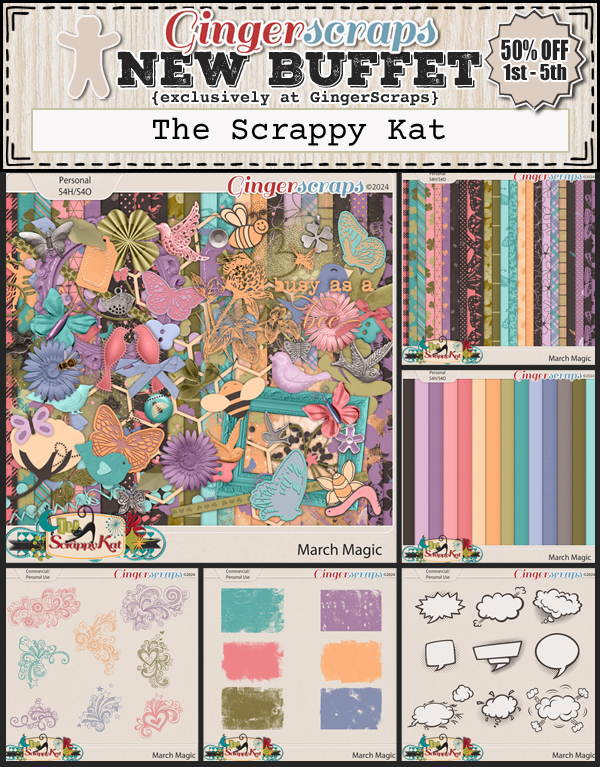
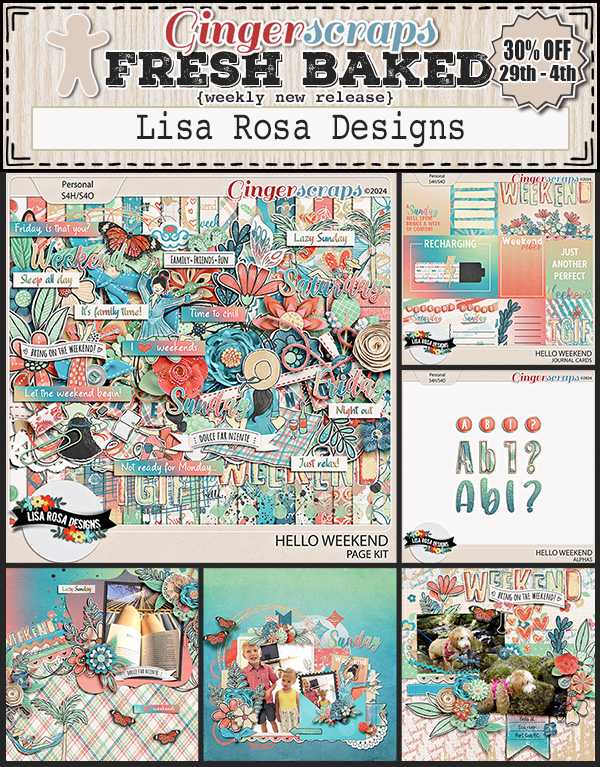
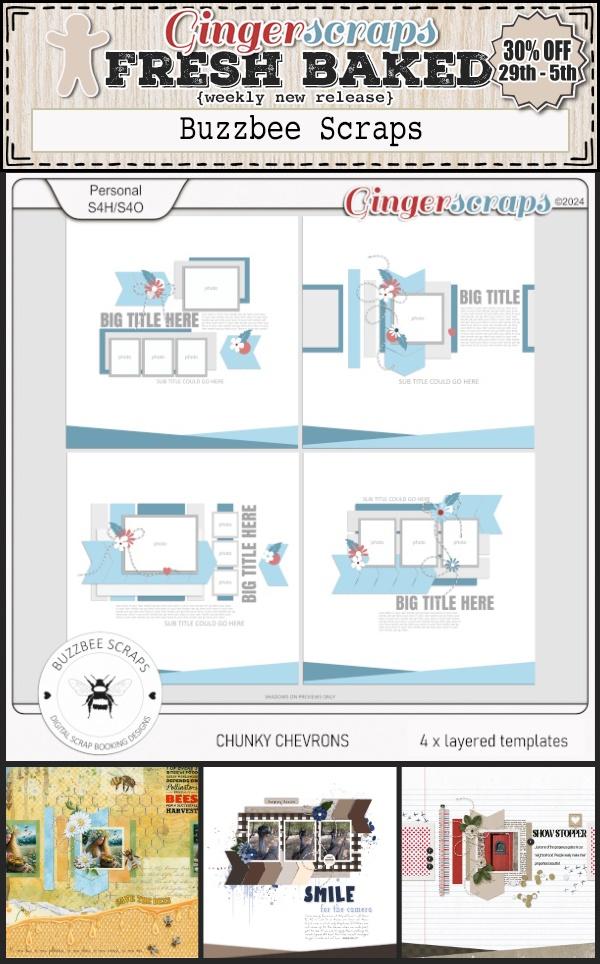
Let’s see the great new items in the store this week.

How are your challenges going? Complete any 10 challenges and get this great collab as a reward.

Tutorial Tuesday (GingerScraps Forum)

Quick Trick: Cleaning Out the Cookie Jar

PDF Version : https://bit.ly/3PzYww0

I’ve noticed when I’m adding my Cookie Jar entry for the month that a lot of GingerScrappers fill their Cookie Jars with lots of unnecessary text, and I think that has to make life for Missi much more difficult than it needs to be. She checks every Cookie Jar every month to make sure Challenge Rewards are distributed to all who qualify. Sifting through the chaff to find the wheat takes time. Right? So I thought I’d show you all a way to ONLY have Cookies in your Jars.

I think we all understand the basics of Copy-and-Paste when it comes to putting the Gallery links into our Jars, so I won’t spend a lot of time on that. But I will tell you how I do things so that I’m Working Smart, Not Hard. My method is probably not what IT security folks would call safe, but it’s worked for me for 14 years, so I’m not gonna change it now. I always have three GingerScraps tabs open. One has my Cookie Jar (so I don’t have to remember what page it’s on, since I usually end up somewhere around page 90) all ready to edit. One has the Gallery open so I can quickly upload my new layouts. And one has the Forum open, so I can move between Challenges quickly, both for making sure I’m meeting the requirements of the Challenge and adding my finished layouts to the Threads. [editor’s note: If you do this, you’ll need to Refresh the tabs before you can do any editing of posts. Ask Jan how she knows.]

Let’s start by going to my Cookie Jar tab. (I reallyreallyreally wish I could make these screenshots bigger so you can see things better. Sorry…) In this image, I’ve clicked on the Edit button to get into the actual post so I can add my new layout.

The first thing I do after that is change the number of Challenges Completed. So I don’t forget to do it! When I set up my Cookie Jar post, I only Copy-and-Paste the first bolded line from Missi’s Cookie Jar post. I leave the bold format in, because I like it. 😀 I don’t bother with all the possible Challenges, because I know I’m not going to do them all. Or even most of them… Doing this gives me a place holder in the Thread.

Then I type in the name of the Challenge I’ve completed, followed by a colon and the name I’ve given my layout. As a modified Type A, I insist the Challenges are in alphabetical order. You can see how I’ve done that in the screenshot, if you squint.

Next, I Highlight just the name I’ve given my layout by click-dragging my cursor over it. Then I click on the button in the Control Panel that has a globe-with-links-of-chain on it, the one to the right of the emoji icon.

If I’ve remembered to Refresh the tab, this dialog box will open up. The outlined bar is where the layout’s URL from the Gallery goes. It’s been copied and pasted into the box. Then I click OK.

All that’s left is to click Save, so the name of my layout becomes a clickable link to the Gallery, making it super-easy for Missi to check if she needs to. And the bonus is that my post takes up very little space in the Thread while being simple, tidy and straight-forward. It can be scrolled past in a matter of one second…

Do you think you might switch to this method? You might find you like it!

GingerScraps: Fresh Baked! March 22, 2024

Happy Friday, scrappers! I hope you made some special memories this past week. Is the spring weather coming your way yet? I know we have scrappers from all over the world, so I can’t assume you are even in the spring months where you live, but here in my neck of the woods, it has been a beautiful week!

There are only 9 days left to complete your March Scrap-A-Thon layouts! Make sure you reach your goals, you don’t want to miss your chance to get all those fun prizes!

Are you ready to see some wonderful new scrapping products?

Remember, if you spend $10 in the store, you will get this great collab for free.

Let’s see the fun new items in the store this week.

Remember we also have the Spring Scrap-a-thon going on.

How are your challenges going? Complete any 10 challenges and get this great collab as a reward. Complete more and earn even more during the March Scrap-A-Thon!

Tutorial Tuesday (Individual Style)

Challenge Spotlight: Word Art

Whew! I wasn’t sure I’d get this tut out to you today. We started the day with an unplanned trip to the dentist – Adam lost a filling that had only been in there a short time and it was RIGHT IN FRONT!! He needs IV sedation for dental work and that adds a ton of time to everything. But in the end, he was awake enough to get him into the car before noon so here I am! I’ve chosen the Word Art Challenge this month; the Challenge is to use the provided word art as inspiration and have it on the page somewhere. The host for this Challenge is Cheré Kaye and this is the word art she created for us. There are so many ways this can be used!

March is a brutal month for choosing a Spotlight ChallengeScrap-a-Thon being in full swing. The Gallery is overflowing!! So, in a bit of a departure, rather than showing you every layout that has been submitted for March I decided to go with every OTHER layout. Otherwise we’d be here all week. 😉 The layouts are in the order they were uploaded, the GingerScrapper‘s user name is the direct link the the layout in the Gallery so you can get a closer look and leave a comment or two (I hope you’ll also look at the others, they’re awesome!) and I’ll be making my own comments as we go.

First up is Karen Diamond. She preserved the gradient colour of the word art, using it as her title, and took colour palette cues from it. It’s a little ironic that she chose the humble dandelion as her focus – they seem to “awaken” earlier than a lot of other plants.

This layout from jojores is a true original. The word art title looks a bit muted, but in the original gradient colours. I like the detail she’s added to the upper corners and how she included food-related elements to riff on the book covers in her photos.

For her layout demma_b13 also used the word art as is, and drew her palette from it. I can almost hear birds singing when I look at her layout, and don’t know how the woman in the photo can sleep through it!

Look at all the white space tillykaye has given us. The simplicity of her layout lets her photo shine. As the others have, she pulled colours from the word art for her palette.

Dhariana has given us more white space with her layout. She’s scaled everything down to draw the eye to the butterfly in her photo. I like the washi tape holding the photo in place. Against the buttery-yellow background the colours in the word art seem a bit brighter.

It’s interesting how the background colour can change the way our eyes see something, as biche57 shows us here. The gradient colours of the word art look more purple. It’s a perfect accent.

Let’s look at photocrazy‘s entry. See?! By putting the word art against a bright yellow background, the colours in the word art pop yellow too! She’s the first one (of this baker’s dozen) to use the wings that Cheré included with the word. The blue provides beautiful contrast.

AHA! AlyciaIN recoloured the word art!! Such a rebel. 😉 In the same way nature changes all the brown to green, she’s given the word art a lovely, shimmery look.

Jill went in a different direction with the “awaken” theme, and it works really well. Her shadows really give the brushes and paintbox realism and dimension. The word art colours appear in the paint splatters to tie it all together.

I like how greenfiend27 created contrast with the teal and blue elements to coordinate with her photo. Using a gradient paper in one of the shades in the word art is next-level thoughtful.

CathyS opted to recolour the word art to pick up the sandy, beachy look of her photos. Good choice!

Windswept has gone Easter-candy with her colour palette. The beautiful pink of her photo demands some drama. Clever girl, she used the same font to build her own addition to the word art, and she eliminated the white border around the words. Pretty!

Lucky 13 belongs to Zanthia. And her layout is stunning! She used the word art as created, pulled colour from it and reinforced the theme with her photos.

We’ve had four days of record-breaking warm days in a row here, and there are already two wildfires in the area. What will it take to awaken people to the climate crisis? I don’t know, but I’m really not looking forward to fire season. Please send rain!

March 15, 2024: Fresh Baked and NEW Guest Designer

Happy (almost) St. Patrick’s Day. Do you have plans for all things green on Sunday?

Remember, if you spend $10 in the store, you will get this great collab for free.

Let’s see the fun new items in the store this week.

We have a new Guest Designer starting this week!

Buzzbee Scraps

BIO:
I am so very happy to be guesting at GingerScraps. Here’s a little about me:

My name is Karen and I live in the UK on the South Coast. I have been scrap booking for around 20 years. Both traditional and digital. Then a couple of years ago, I ventured into designing. I absolutely loved it and so here I am today. I live with my husband Paul, and my rescue dog Tilly. Most days see me hiking around the countryside or walking on the beach. Plus gardening, crafting of all kinds, listening to lots of music and, of course, scrapbooking. I work 2 days a week as a children’s nanny. Which leaves lots of time for designing. I also have 3 grown kids all living away from home and I love visiting them.
Scrap wise, I enjoy simple designs with lots of white space. And I love to focus on family, everyday life, gratitude and nature.
I am really looking forward to getting to know everyone here!

Today also starts the March Bake Sale.

Remember we also have the Spring Scrap-a-thon going on.

How are your challenges going? Complete any 10 challenges and get this great collab as a reward.

Tutorial Tuesday (Photoshop Elements)

Tucked Photo Frames Made Easy

PDF Version : https://bit.ly/3VmV2R8

Anyone who has spent any time touring the GingerScraps Gallery knows that we have some inordinately talented and creative scrappers in our midst. And some equally superlative Designers. If you’re ever needing a healthy dose of inspiration, you won’t have to look far. Karen found a layout using one of these fabulous tucked frames in the Gallery and had to try it for herself. Turns out Sheri (Jumpstart Designs) has already done ALL the work and all we have to do is customize. Here’s a link to the product in her Shop.

So how easy is it to use these gems? I’ll show you! While I’m at it I’m going to add my tucked photo to a template from this month’s Spotlight Designer, Connie Prince. (Alas, it’s discontinued, but this will work regardless.) As you can see in the screenshot below, I’m using a layered file, in this case a PSD.

The only difference with using PNG files for this is that you’ll have to add them to the template’s photo spot manually, one at a time, aligning them as needed. I dropped this photo of my grandson Aaron onto the Photo Mat layer of the PSD.

When I Resized my photo, I found it still wasn’t a great fit; there were important details I didn’t want to crop out.

But… I CAN Resize the rest of the layers to fit to the photo. I Activated all those layers EXCEPT the photo and made my adjustments. The nice thing about the Photo Mat layer being black is that it’s easy to see if the Resized frame still isn’t right.

Did you notice the tab is partially covered by the photo – which isn’t the look I want? To solve that problem I just Clipped the photo to the Photo Mat layer. There are always multiple ways of doing these types of things in Elements, and I usually will show you two of them. Right-click>Create Clipping Mat is one way. The keyboard shortcut for Elements 14 and earlier versions is CTRL/CMD>G. For Elements 15 and more recent it’s CTRL/CMD>ALT/OPT>G.

Simply by Clipping the photo to the Mat, the tab now looks like it’s part of the paper the photo/frame combo is tucked into!

Now to move it all to the template. I just moved the whole stack as one object onto the photo spot on my template. Will it still work like a PSD though? One way to find out!

Brilliant! All I did was turn visibility for the template’s photo spot off and the tab looks like it’s the same paper that’s under the photo.

As you can see on the finished layout, Clipping a paper to the template did exactly what I wanted it to do, and my photo is neatly tucked under some brown cardstock.

Now I can’t wait to try the others in the package!!

Next Tuesday, it’s YOUR turns to shine! Which Challenge will be in the Spotlight?


March 8, 2024: Fresh Baked

Happy Friday everyone. Has spring “sprung” in your area yet. We’ve had some great temperatures this week. I’m sure it will get cold again before spring hits for good. Don’t forget we have the Gingerscraps {Spring} Scrap-a-thon going on.

Gingerscraps {Spring} Scrap-a-thon!

Remember, if you spend $10 in the store, you will get this great collab for free. I just these bright colors.

Let’s see some of the new items in the shop this week.

How are your challenges going? Are you participating in the Scrap-a-thon? If you complete any 10 challenges, you will get this kit as a reward.

Tutorial Tuesday (Photoshop Elements)

Text on a Custom Path – Keeping the Path

PDF Version : https://bit.ly/3ToXcyv

One of the very first tutorials I wrote for GingerScraps was about putting text on a path – geek-speak for lettering that isn’t on a straight line. (If you want to see it, look here.) Early last week I got this message from Karen: “I found your tutorial on how to put text on a wavy line but what I want is for the line to stay with the text. I just cannot accomplish that.” So immediately – literally – I opened up Elements and figured out how to do it. We decided it would be a good tutorial topic, so here’s what I did.

If you’re a frequent reader, you know one of my mantras is to put things on their own layers so they can be manhandled without manhandling anything else. So of course, first thing to do is to create a new, blank layer to put your wavy line on. Then activate the Pencil Tool, with a hard, round tip at about 5 pixels in diameter. It can be thicker, but it’ll be more jaggy if it’s thicker, so choose accordingly. (It can be made thicker later if desired.) You can choose a colour now, or add a Fill Layer>Solid Color later. Set the Opacity at 100%.

Now, draw your wavy line. Moving your mouse quickly with the left button down, drag the cursor in a swooping motion. The faster you move the mouse, the smoother your line will be.

The font you choose will make or break this technique. If you’ve got a bit of a bumpy curve, using a font with a slightly wandering baseline will disguise that. But those really fancy fonts might look a bit weird. Choose one you like, and give it an audition. If it’s not what you were looking for you can change it later. I’m using one called Natalia Regular.

Activate the Text Tool and then choose Text on Custom Path Tool. The icon looks like a capital T sitting on a snowboard. The Tool will default to Draw.

The Tool Tip will look like the nib from a fountain pen. For those too young to have seen those, here’s one.

Carefully click-and-drag the Tool Tip along your curvy line. I find it easier to pull when doing this; I’m much more shaky when pushing.  But this can create problems when the text goes the wrong direction. 😉 So my advice is to draw your guideline in the direction you want your text to travel. You can take a break if you need to; to find out where you stopped, turn visibility for the master line layer off momentarily and you’ll be back in the game. Go slowly and try to stick as close to your master line as you can.

Once you’ve gotten your text line in place, click on the Modify Button in the Tool Options. Wherever your text line departs from your master line, Elements will put a dot – they’re your “handles” to move the text line to where you want it. Click-and-drag the dots closer to your master line until you’ve got the text line and master line touching each other.

Know where your Text Tool is going to put your letters. Mine is usually set to Center, so I’ve put my cursor there and clicked to activate. You’ll know you’ve actually activated the Text Tool when a blinking line appears. If you have yours set to start at the left side, that’s where you start. Now I’ll just type my text.


The text may not fit properly on your master line. You can easily resize it, or add some extra spaces, change the Tracking if you’re using a more recent version of Elements… or you can change it to a completely different font. Until you Simplify it, you can make all the changes you want. Once it’s Simplified, the text line that told Elements where to put the text will disappear.

All that’s left is to decide how far away you want your master line. Nudge it with your arrow keys. If your master line seems a bit too jagged at the size you’re going to use this, add a small Stroke, centered on your line. That’s easier that trying to Refine it.

Here’s another sample, this time using an arrow brush.

And then I did this, which is when I found out the Tool takes its direction from – well – the direction the text line was drawn. I had started at the top of the bell and drew down to the lower left edge, and the text ended up on the inside of the line, not the outside. UndoUndoUndo! If I Rotated the Stroke line layer, I was able to get the Text where I wanted it.

I might have to try this one again, but with a shamrock, to celebrate my Irish heritage. [Editor’s note: Shamrocks have 3 leaves, to represent the Holy Trinity, not 4. Those 4-leaf clovers aren’t shamrocks!] See you next week!

Designer Spotlight: March 2024

Connie Prince

I think everybody already knows Connie. Some of us know her quite well, either as one half of North Meets South Studios (she’s the South half) with Trixie Scraps, or through her Shop at GingerScraps. But a Spotlight is a Spotlight, so she agreed to (another) chat with me. She’s had a hectic year so far, so this was a gracious act on her part… This is how our chat went.

J: Connie, thank you so much for taking a few minutes with me so I can introduce you to all the new folks in the GingerScraps community and to maybe give the rest a bit more of a glimpse into your creativity. I think this is our fourth Spotlight together, so I hope you’re not bored! Let’s talk creativity for a moment and then we can just gab. What are your most favorite and least favorite colors?

C: I love primary, bold colors. Pastels are my least favorite!

J: I think anybody who’s browsed your Shop would know that. <winks> We’ve talked about all the other mundane stuff, like what got you started and how your workflow goes a few times already so let’s talk about fun stuff! Can you play a musical instrument?

C: Yes, piano and it soothes my soul so much!

J: I know I’ve mentioned this before, that I took piano lessons as a middle-schooler. I wish I could have kept it up, but we didn’t have a piano at home and practicing was very challenging. I love music and, like you, I find it very therapeutic. This is a weird question so let me set it up for you. When we moved into our new house back in May 2020, for the first time in my life I had a BIG walk-in shower. I feel like we could have a party in there! I put a waterproof Bluetooth speaker in there and play my Amazon playlists while I’m unwinding. So, are you more likely to dance or sing in the shower? I do both…

C: Definitely dance!

J: Yeah, a good, non-slip base is really dance friendly. But boy am I glad no one can see me doing it! Good thing my family know I’m… um… quirky. What one word would your friends and family use to describe you?

C: Loyal.

J: Well, that’s a lot better than weird! And it’s an amazing quality to have. I wonder if I can guess your answer to this one. What would you do if you won the lottery?

C: Travel, travel, & travel some more!

J: Yep, nailed it! I “travel” vicariously with you through your Facebook fan group. Except when you cruise. I just can’t… the ICU nurse in me won’t. So, let’s shift to what your dream vacation looks like.

C: Anywhere tropical works for me!

J: I’ve done a few semi-tropical vacays – Florida, Louisiana, California – but the only truly tropical locale I’ve visited is Jamaica. I’ve never been a lie-on-the-beach-baking-in-the-sun kinda gal, but I’d absolutely go back to Ireland any time. England, Scotland and France too. Excuse me a second, I’ve got spaghetti sauce needs stirring. Ah. If you could only eat one meal for the rest of your life, what would it be?

C: Steak and salad!

J: Hmm, not very tropical! <winks> So, tell me. Aside from the necessities like food, water, sleep and exercise, what one thing could you not live without?

C: My phone!

J: I know, right?! My husband doesn’t understand how I can use my phone as much as I do; maybe it’s because he needs his text super-huge so he can read it, he doesn’t really know where his phone puts things or how to get to them, and his fingers just don’t behave accurately enough for a phone keyboard. I don’t know. (I’ve had to teach him how to send text messages, and how to attach photos to them, as well as how to use most of the apps he has.) But I use mine for everything! It’s one of my super powers. If you could have a literal super power, what would you like it to be?

C: Manipulate time, I’d definitely make use of that one!

J: YEAH! Extend your tropical vacays!! Push back deadlines. Get out of things you’d rather not do just by skipping over that day. I could use that. Is there any one thing about yourself you’d change if you could?

C: I would love to master the art of being patient. I’m working on it, but it is for sure a big struggle!

J: I’ve been told I have the patience of a saint. I don’t know about that; there are some things that drive me absolutely crazy and my fuse is short when I have to do them. Anyhoo, I’ve taken up enough of your time. I’ll take care of the rest of the Important Spotlight Information. Thanks again for giving our community a little insider 411 on Connie!

As with all of our Spotlight Designers, Connie is the provider of the Daily Download for this month – links are found here on the Blog each day and are good for 5 days – and the host of the Designer Spotlight Challenge in the Forum. She also is the regular host of the #2024 Challenge that is in essence, a minikit challenge. This is what the March kit looks like. And did I mention it’s FREE?

So cute!!! The other Important Info is that Connie has a coupon for y’all… and a GENEROUS one at that!!!!!

Ready? Set? SHOP!


GingerScraps: New FREE with Purchase Collab, New Monthly Mix, Fresh Baked & More!!

It is the 1st of the month and you know what that means; a huge, exciting newsletter! We have a New Buffet, New Monthly Mix, New Free With Purchase Collab, New Challenge Reward, & a New Daily Download on the GingerScraps Blog!  Plus it’s Friday so we have Fresh Baked goodness as well.  It’s also the start of the Gingerscraps {Spring} Scrap-a-thon!

Gingerscraps {Spring} Scrap-a-thon!

Don’t forget to check out the Buffet Bundles. One easy click to add bundles of Buffet goodies to your cart.

These colors remind me so much of Spring! You’ll see a lot of Spring kits in the store this week too!

Remember any $10 spent in the store gets you this great collab.

Indulge in a whimsical journey with ‘Magically Delicious’—the vibrant digital scrapbooking kit that captures the essence of childhood wonder and nostalgia! Immerse yourself in a kaleidoscope of fun, bright colors reminiscent of your favorite breakfast cereal, adorned with playful rainbows, mischievous leprechauns, and glittering pots of gold. With enchanting unicorns prancing through the pages, this kit sparks imagination and invites you to create delightfully magical scrapbook layouts.

This Free With Purchase was created by ADB Designs, Alexis Design Studio, Karen Schulz, Tami Miller Designs, and The Scrappy Kat.

This collab includes: 3 Alphas {Uppercase, Lowercase, Numbers & Punctuation}, 61 Papers, and 115 Elements.

Unleash your creativity with ‘Bee YOU tiful’—the buzzing digital scrapbooking kit inspired by the enchanting world of bees! Immerse yourself in the warmth of muted yellows and natural tones as you adorn your pages with delightful bee motifs and sweet honey accents. From charming bee illustrations to honeycomb patterns, this kit offers a hive of possibilities for crafting beautiful and buzz-worthy scrapbook layouts.

This Monthly Mix was created by Adrienne Skelton, Connie Prince, Lindsay Jane, Magical Scraps Galore, Scraps N Pieces, and Tinci Designs.

This collab includes: 1 Alpha {Uppercase, Numbers & Punctuation}, 57 Papers, 110 Elements, 4 12×12 Template {page, png, psd, tif file formats}.

Now to the March Daily Download Sneak Peek. This month’s Daily Download is from Designs by Connie Prince! Make sure you are checking the blog every day to get all the pieces of this kit!

Not only do we have the wonderful Buffet and other first of the month goodies, it’s also Friday and that means Fresh Baked goodies too!

Take a look at the new challenge reward kit. If you complete any 10 challenges this month, you get this gorgeous collab as a reward!

Create cheerful spring memories with ‘Happy Happy Everything’—the ultimate digital scrapbooking kit bursting with springtime delights! Featuring an array of pastel colors and charming elements, this kit is perfect for crafting vibrant and joyous scrapbook pages. From whimsical bunnies to blooming flowers, capture every precious moment of the season.

This Challenge Reward was created by: Cutie Pie Scraps, Heather Z Scraps, Key Lime Digi Design, Memory Mosaic, and ScrapChat Designs.

This collab includes: 1 Alpha {Uppercase, Lowercase, Numbers & Punctuation}, 62 Papers, and 111 Elements.