![]()
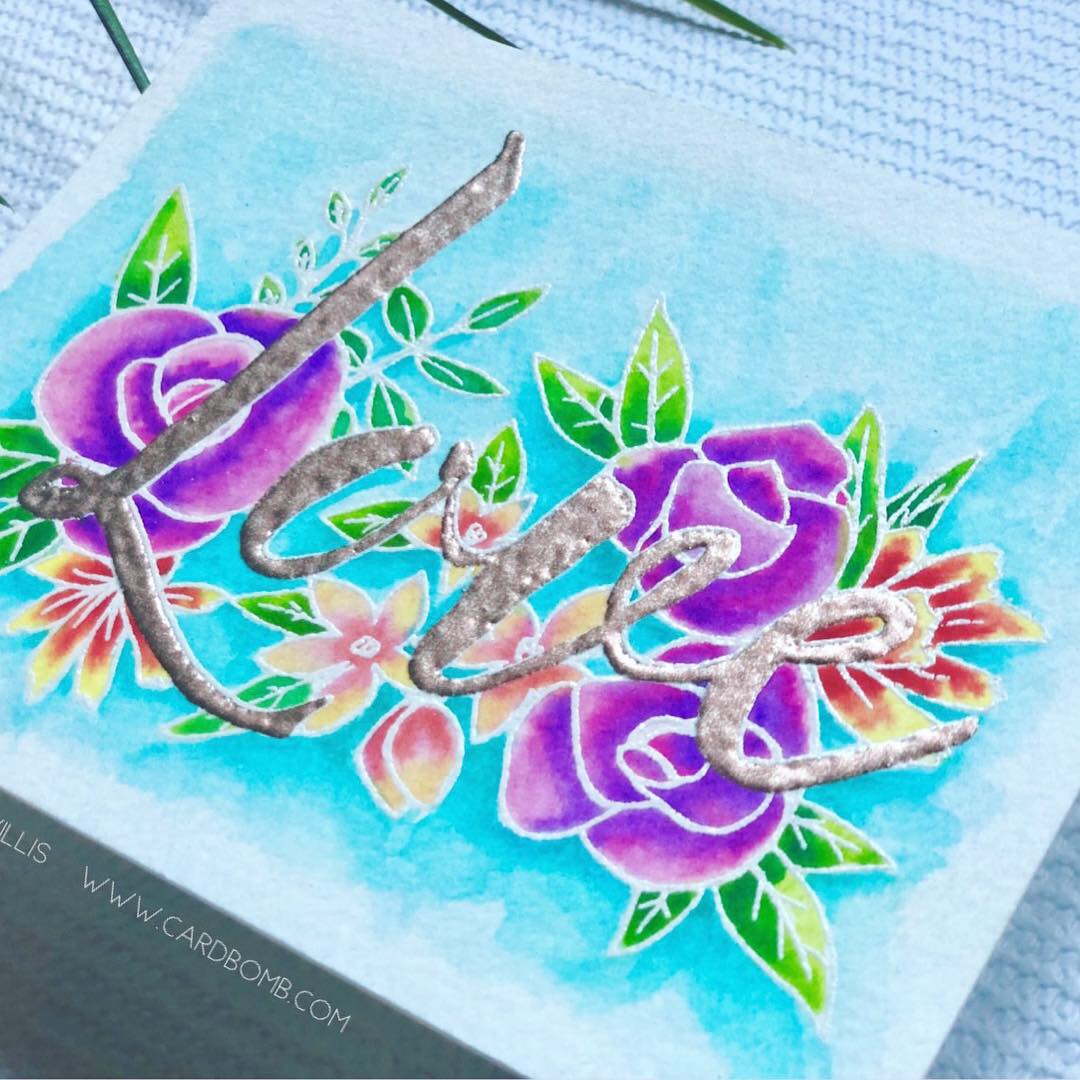
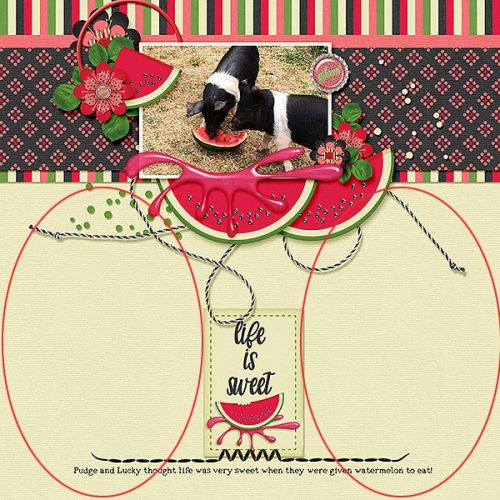
Wow – halfway through September. I admit, I’m really looking forward to fall temperatures here in the northern hemisphere. I had the joy of “chatting” with Maggie from Mags Graphics. She is our GS Feature Designer for September. And I love that she gave me this awesome graphic to use. Under it, you’ll find some scrapbooking and fun questions for her.
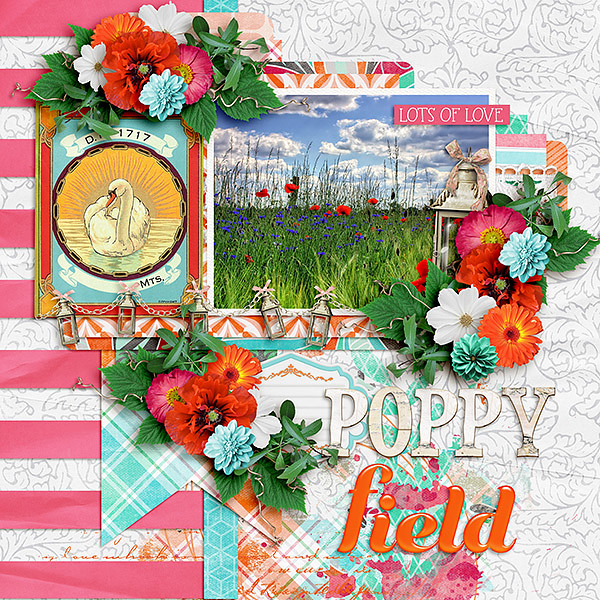
Kit used on above is “Let’s Get Crafty“.
How long have you been designing?
Since 2009
What made you decide to design?
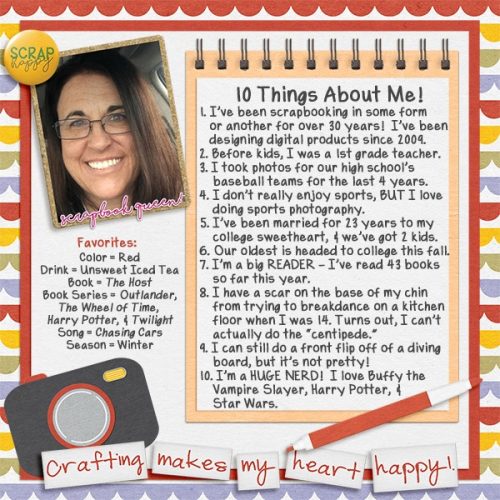
I’ve been scrapbooking in some form or another since I was 15 years old. Once I switched to digital scrapbooking vs. paper, I wanted to make kits for themes that I couldn’t find out there already.
What do you use to create your designs (program, additional tools, etc.)?
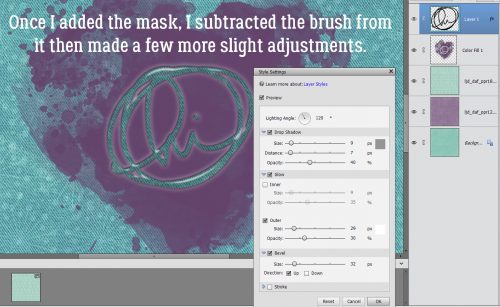
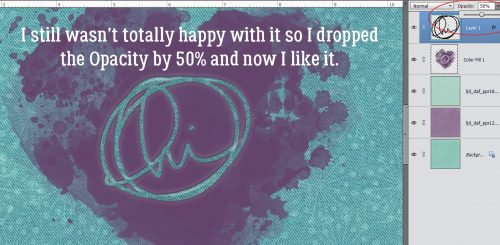
I use Photoshop CC to design. I have also used Paint Shop Pro. And I take some of my own photos for silhouettes and extractions.
Describe your design workplace.
My office is my NERD ROOM! I have over 200 Funko Pops on shelves making a perimeter of the room. I also have other shelves of Buffy and Harry Potter figures and props. Plus, my main organization involves Post-It Notes… so there is a wall of assorted ones right in front of me.
What motivates and inspires you as a designer?
I like to make kits that look like they were created with paper or real materials, even though they are digital.
What is your favorite kit currently in your GS store and why?
Ha! I like Big Stinker! Surely, there is NO OTHER kit like this out there!

What was your first job?
I started babysitting my neighbors when I was 9 years old.
Have you ever met anyone famous?
Several at the Cincinnati Comic Con: Henry Winkler, Ian Ziering, Chris Rankin (Percy from Harry Potter), Nicholas Brendan (Xander from Buffy), Jason Isaacs (Lucius Malfoy from Harry Potter), and I went to school with Carmen Electra.
What are you reading right now?
I’m re-reading The Wheel of Time series by Robert Jordan & Brandon Sanderson… one of my all-time favorites!
What is your favorite quote?
“You must strive to find your own voice. Because the longer you wait, the less likely you are to find it at all.” – Dead Poet’s Society.
What is something you want to do in the next year that you’ve never done before?
Indoor Skydiving
You have your own late night talk show, who do you invite as your first guest?
Joss Whedon (Creator of Buffy the Vampire Slayer)
If you had to delete all but 3 apps from your smartphone, which ones would you keep?
Waze, PokemonGo, iTrackBites
If you could have someone follow you around all the time, like a personal assistant, what would you have them do?
COOK all of our meals!!
Would you rather travel back in time to meet your ancestors or to the future to meet your descendants?
That’s tough! I’m intrigued by both! I’ll say Future.
What commercial jingle gets stuck in your head all the time?
None – I skip commercials! 😉
If you could turn the ocean into a liquid other than water, which one would you pick?
My husband’s amazing Bourbon Slush!
Thank you to Maggie for indulging me!! Make sure to check our her GS Store, her Facebook Fan Page, her Facebook Group, and her blog!!
Are you grabbing the Daily Download this month?
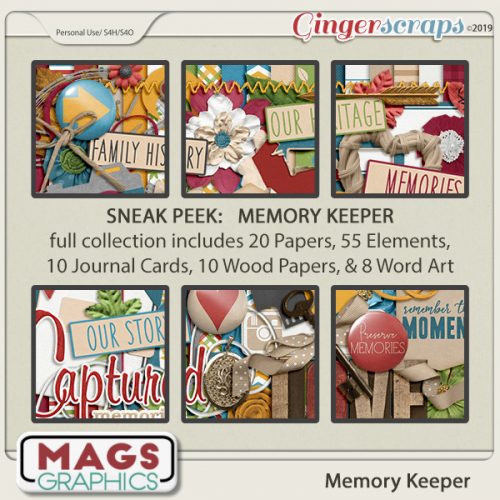
And she has these great add-on packs to match:

Plus she has a sale going until the 23rd. All sorts of goodness and fun this month!

![]()