Happy Friday. We made it to the end of 2021. Can you believe it? We are so excited about the fun things coming to GingerScraps in 2022. Make sure you are reading the blog posts on Fridays and the first of each month. You never know what fun things you will find.
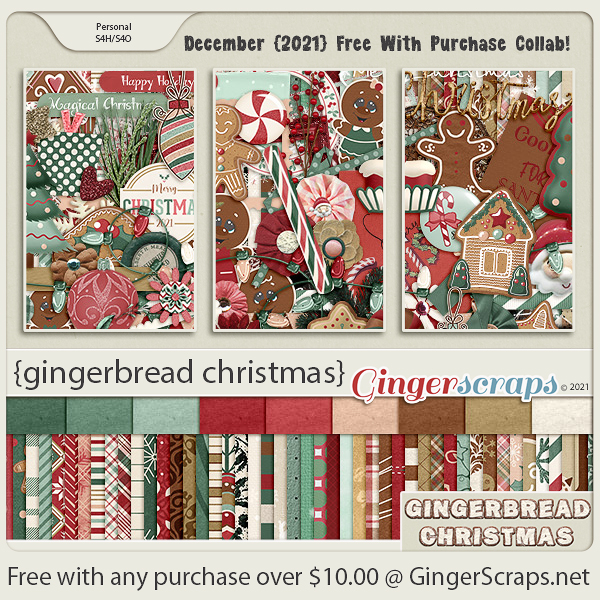
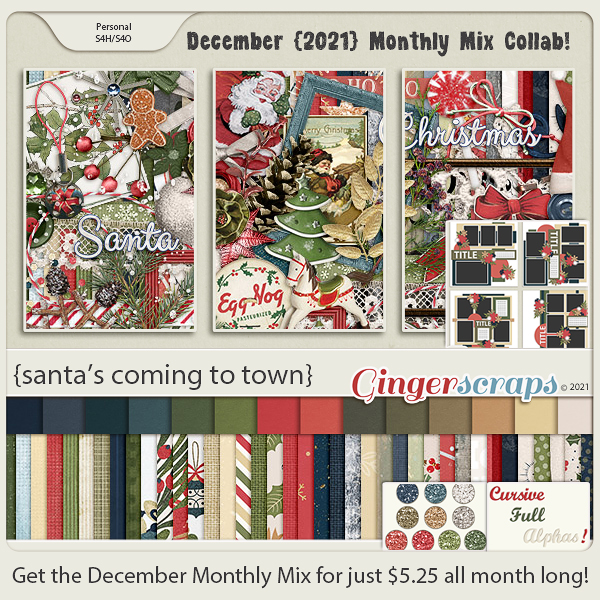
Remember, any $10 spent in the store gets you this great collab for free.
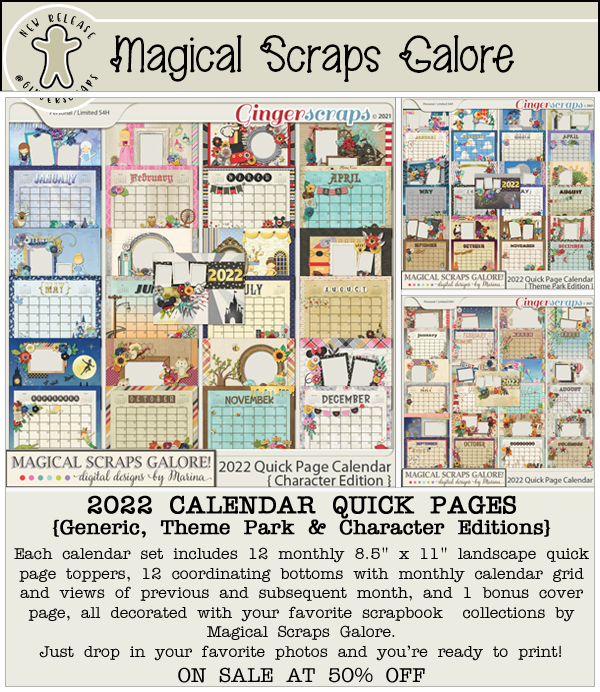
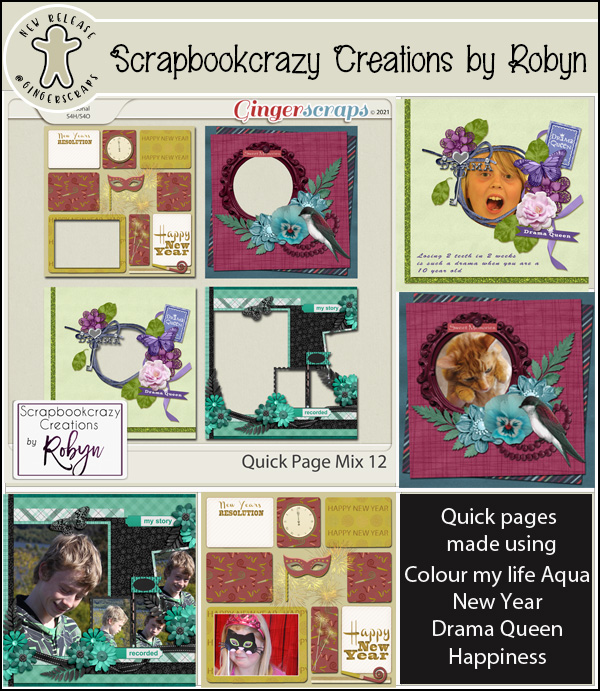
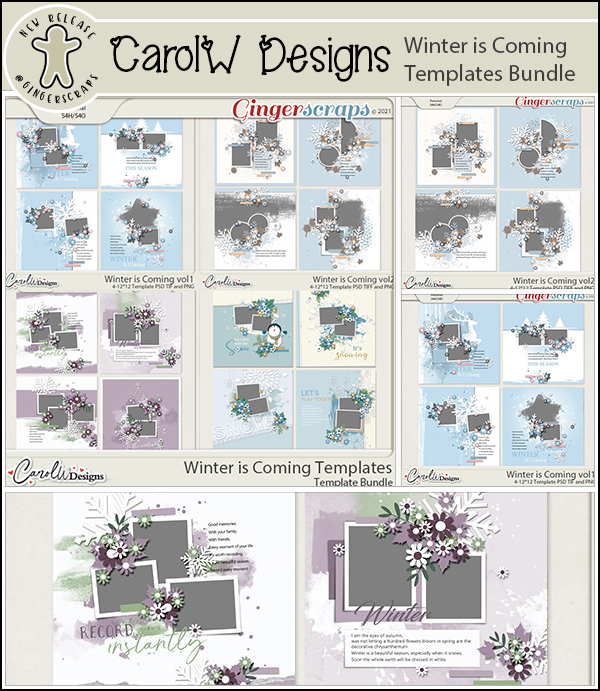
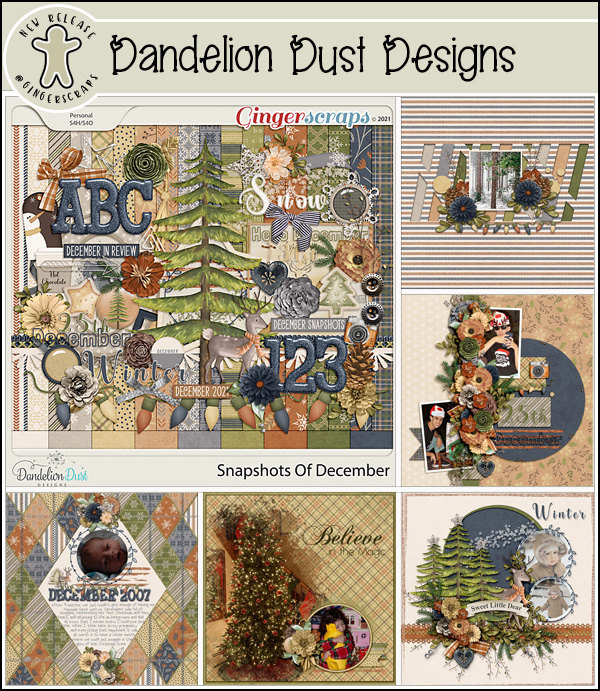
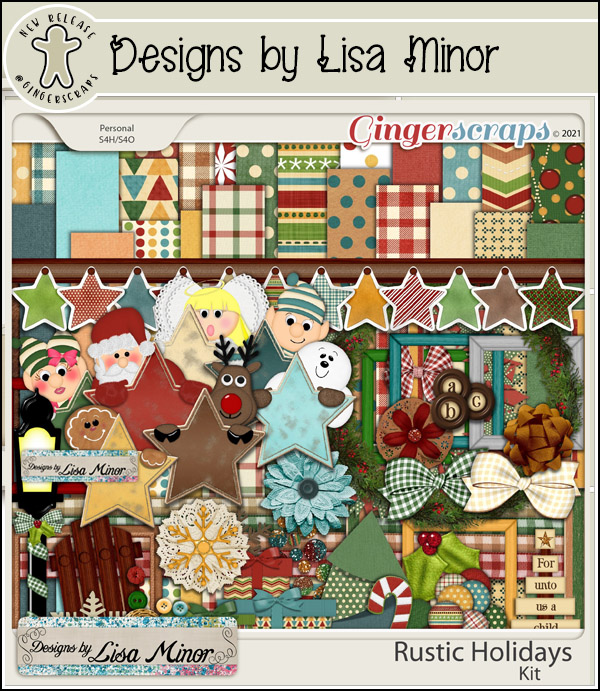
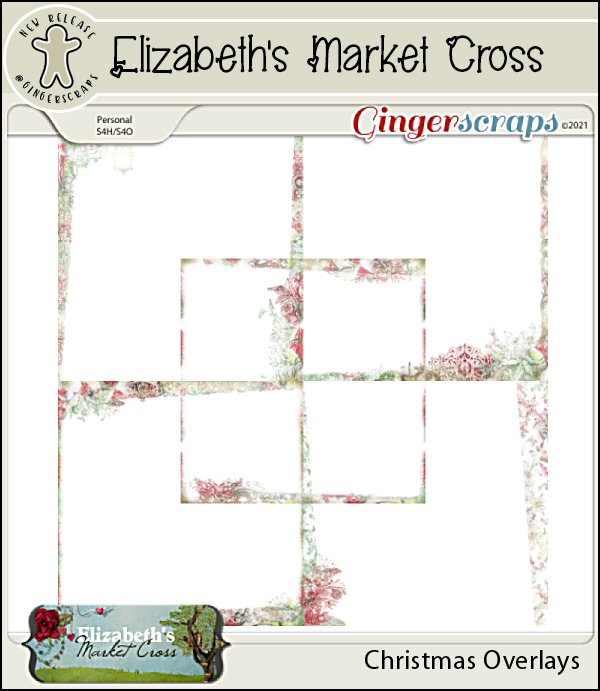
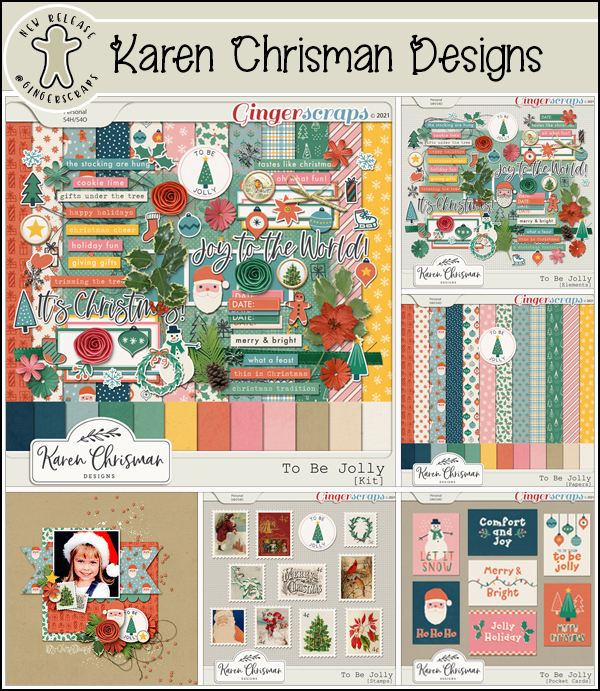
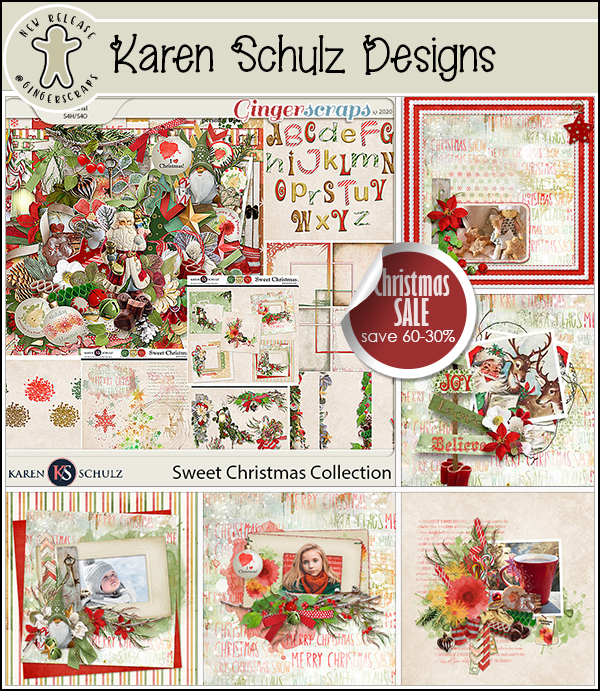
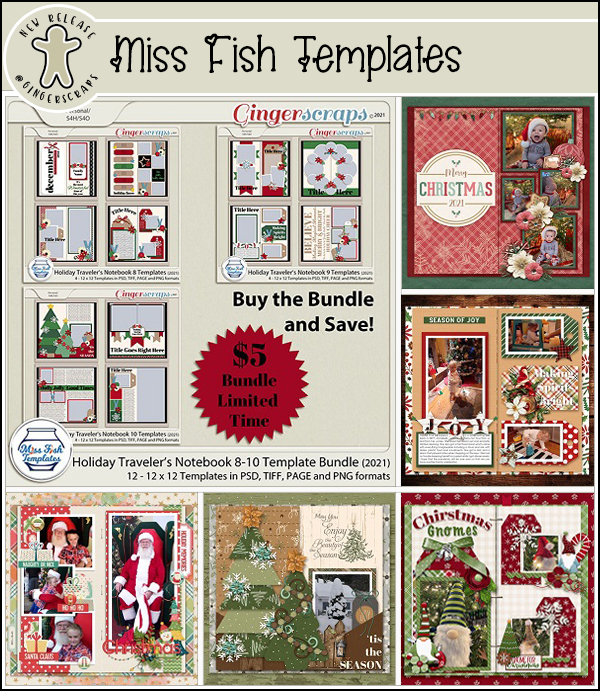
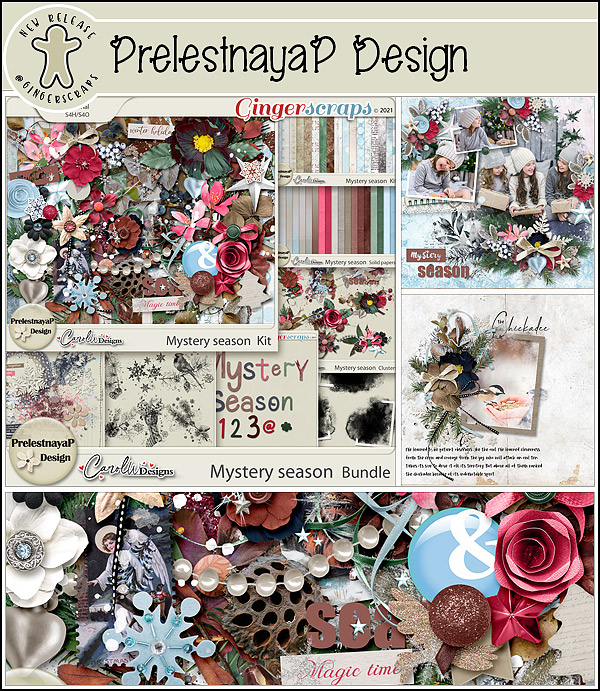
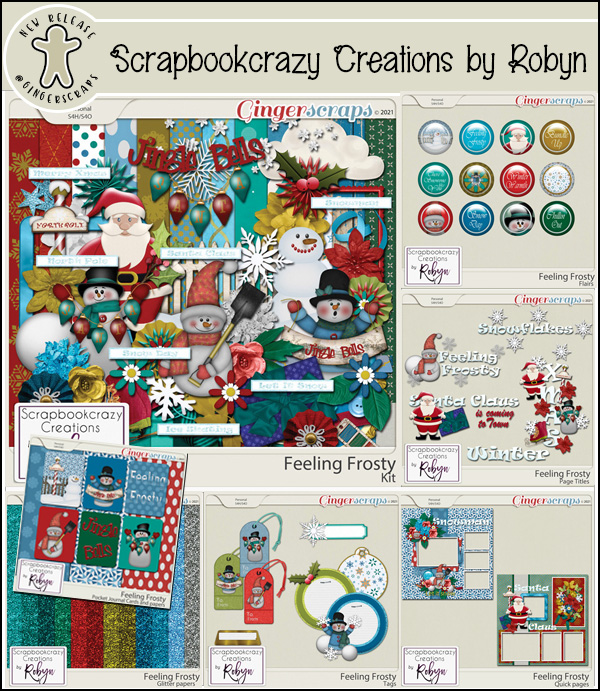
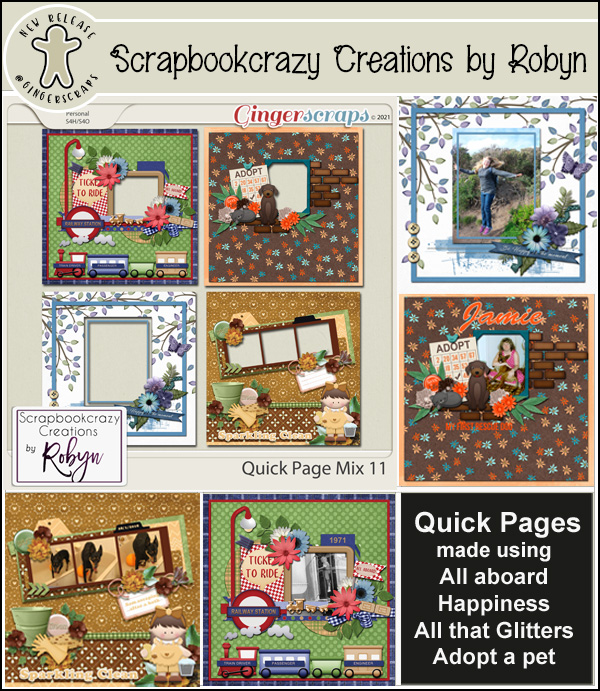
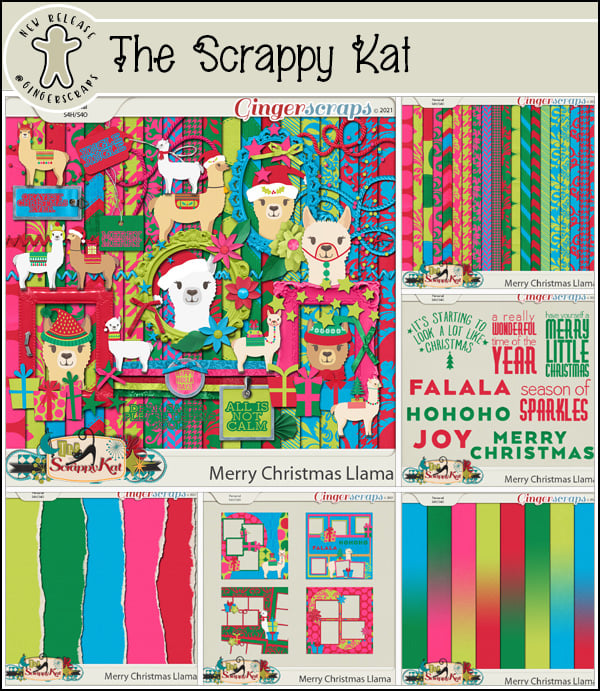
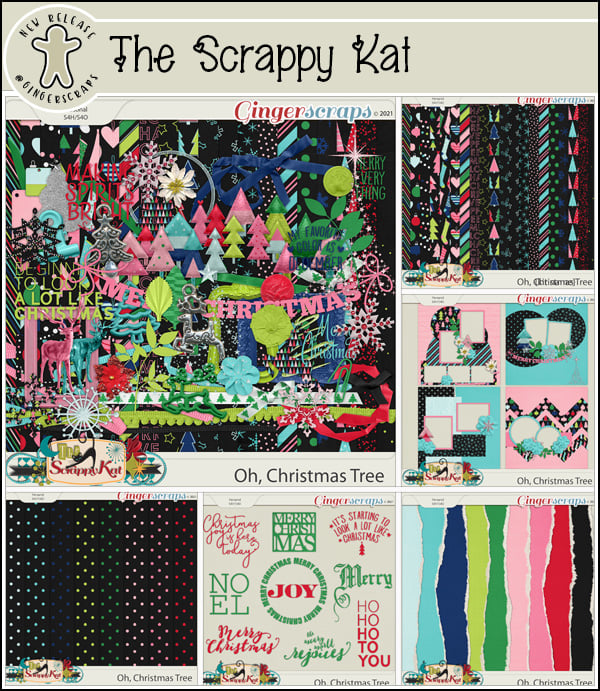
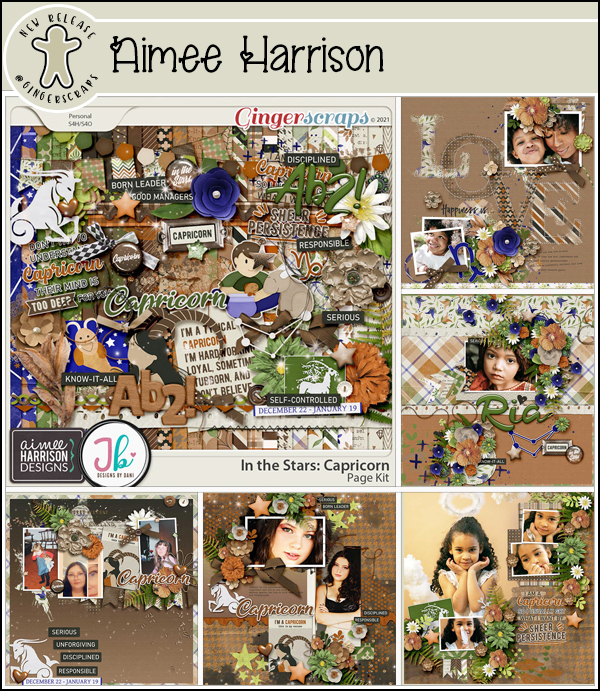
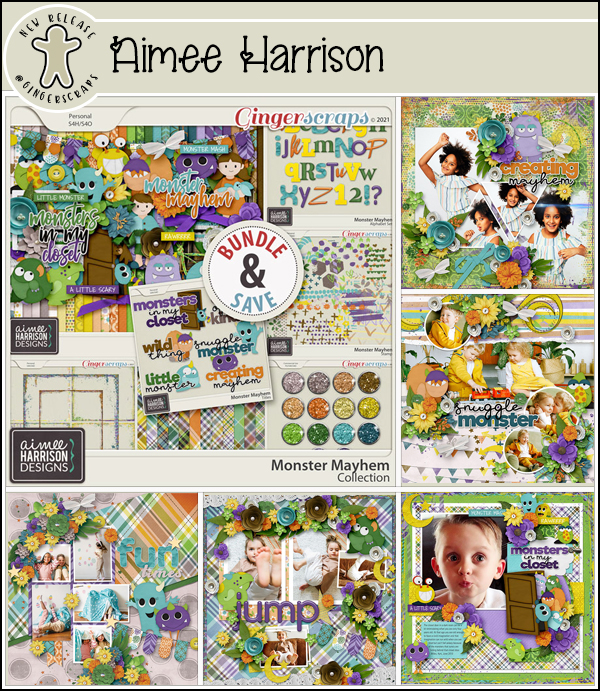
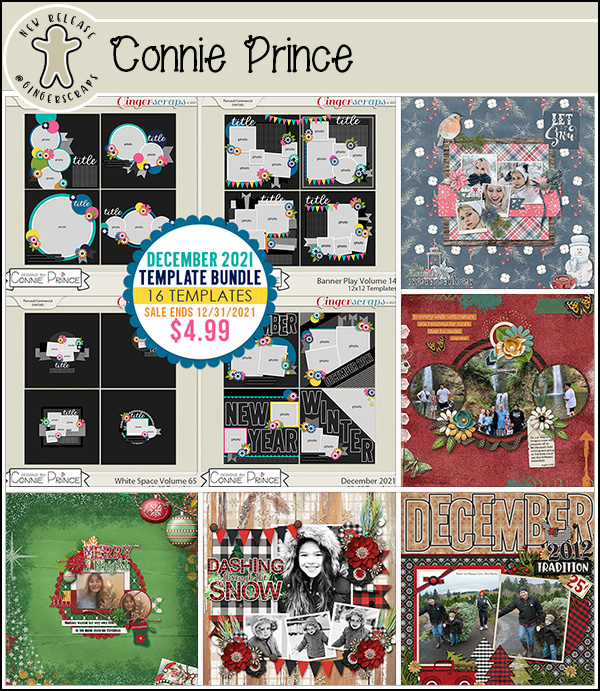
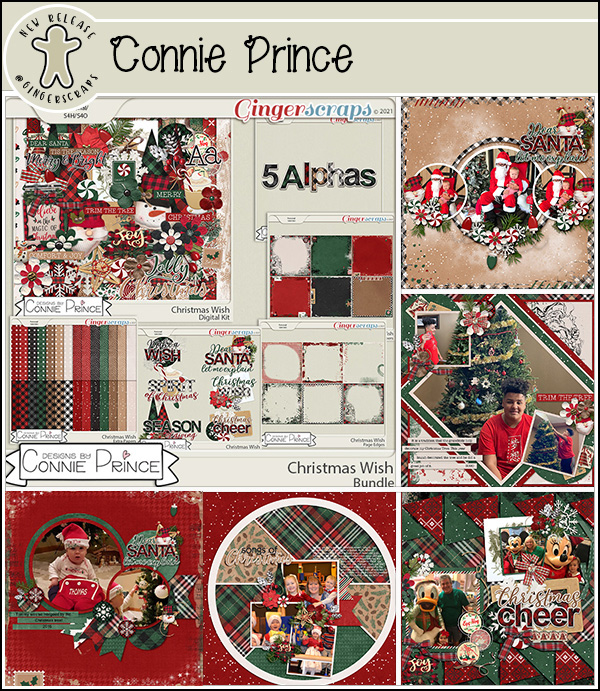
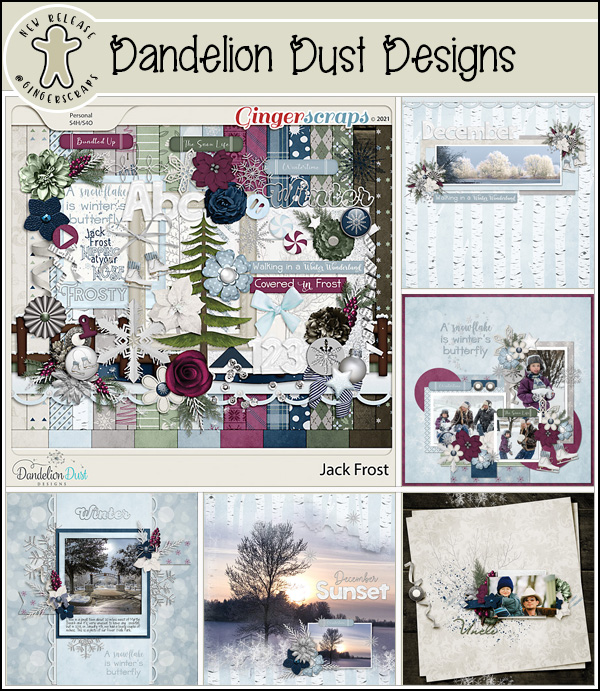
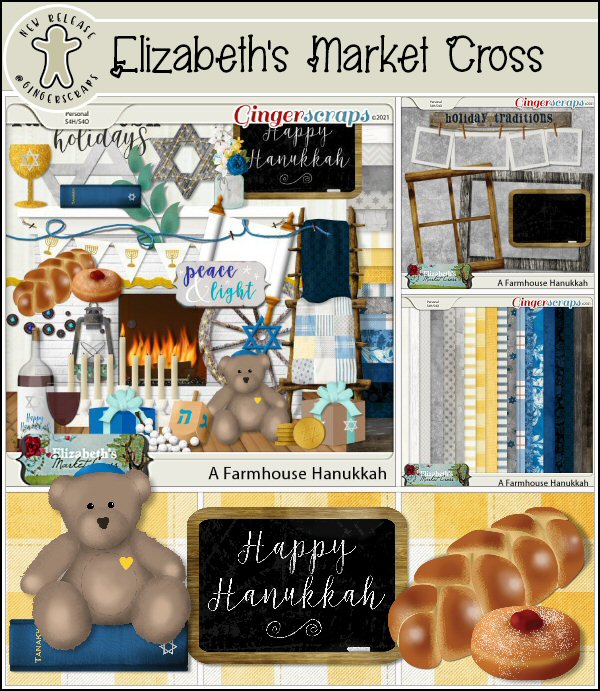
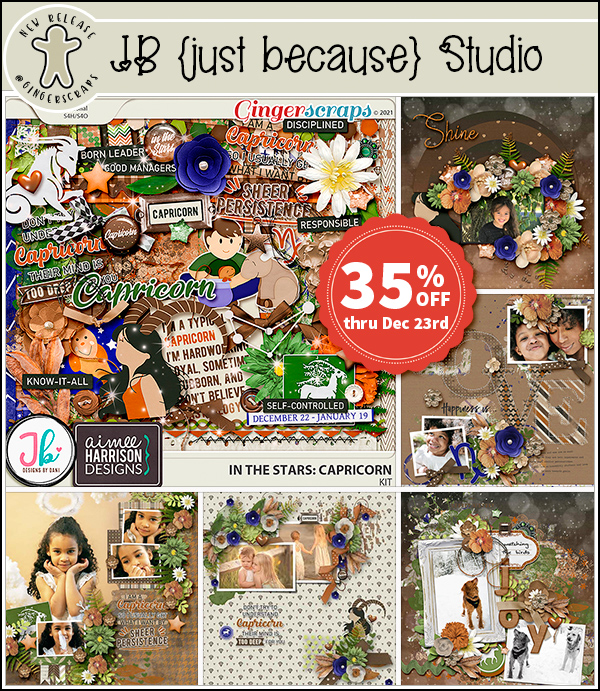
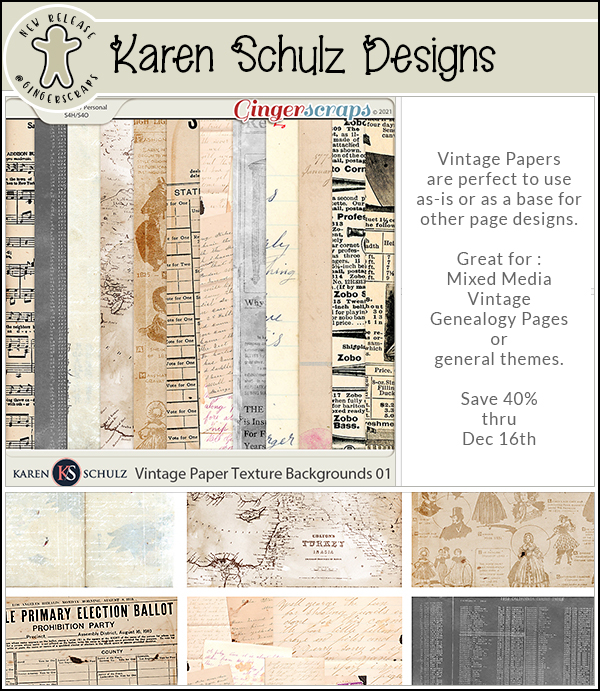
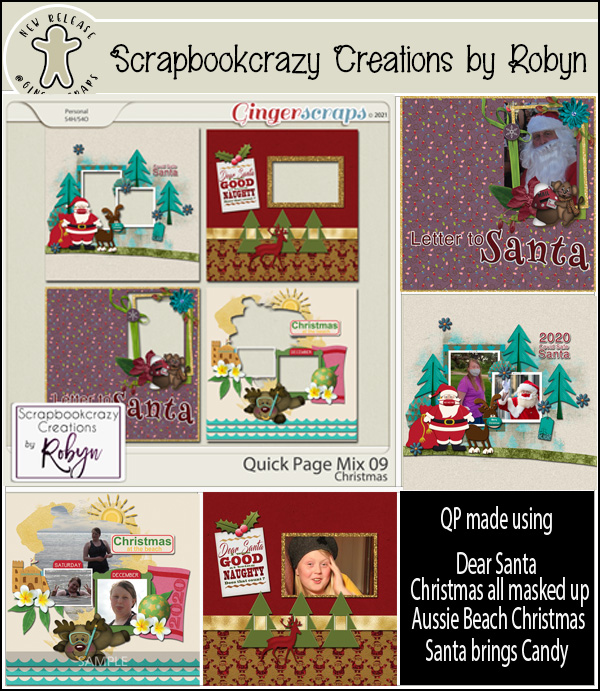
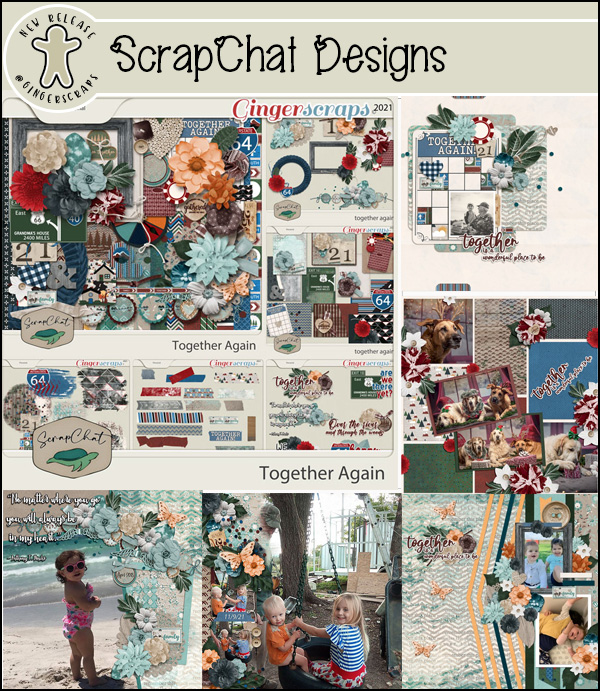
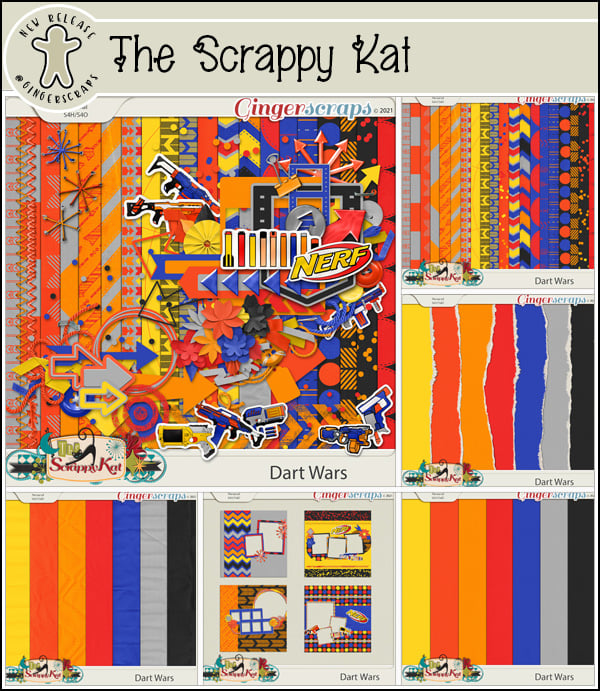
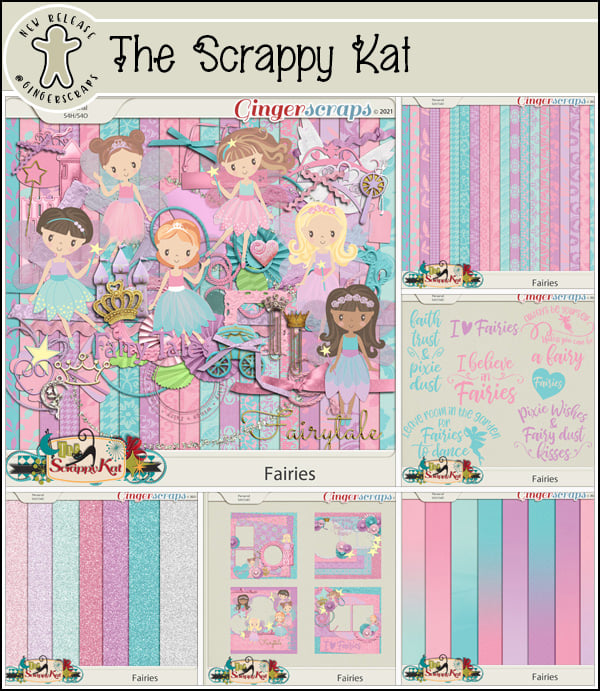
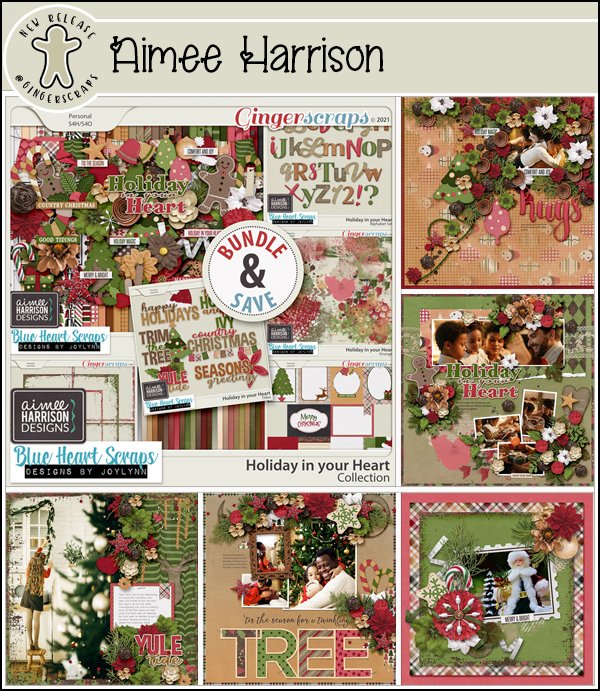
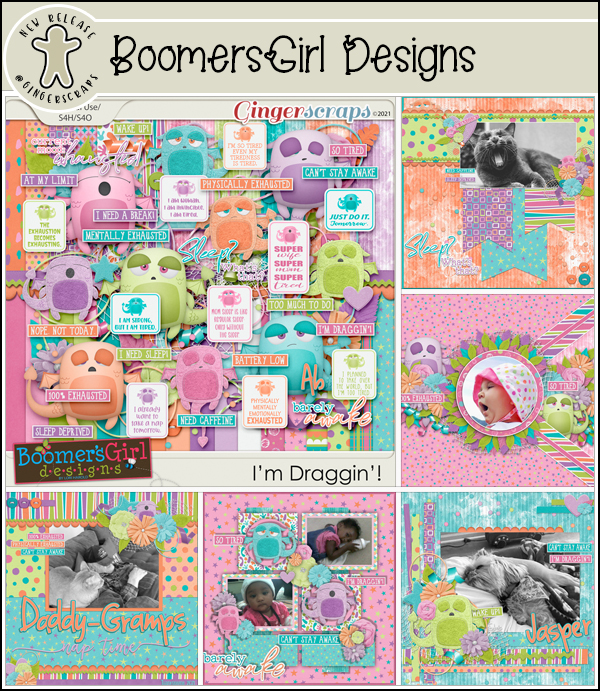
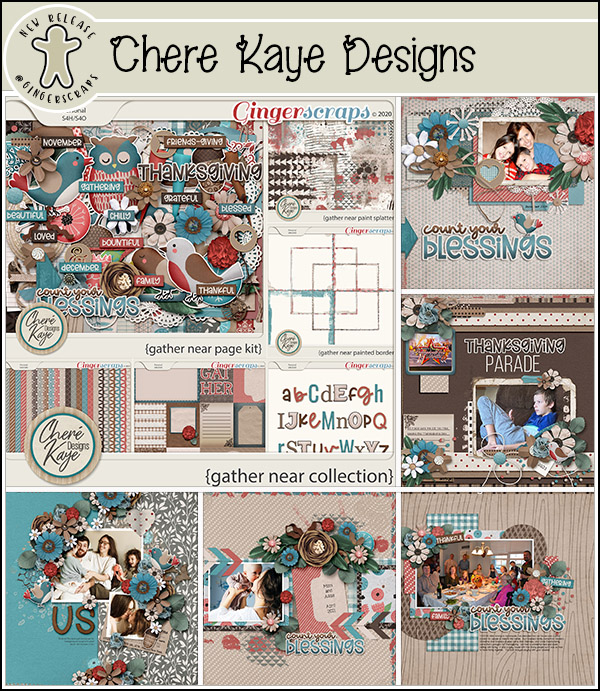
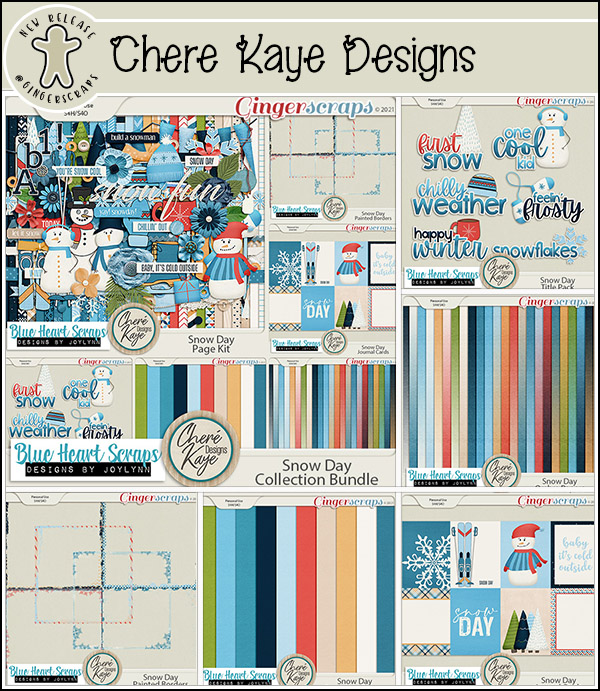
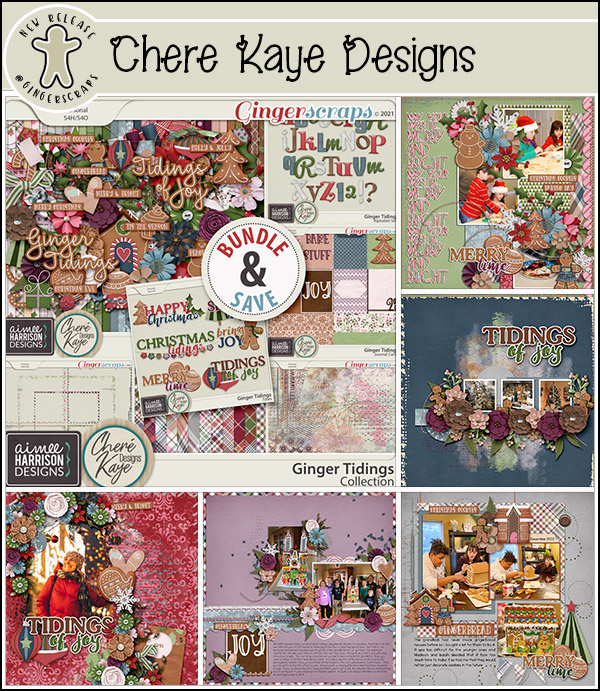
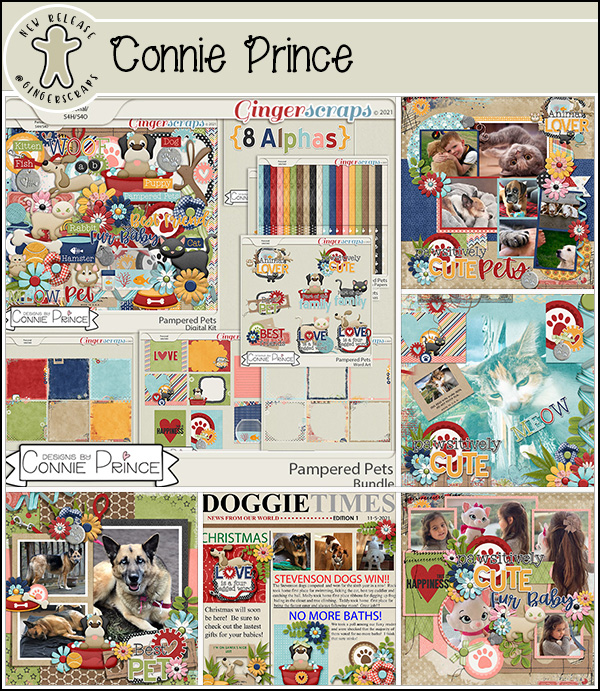
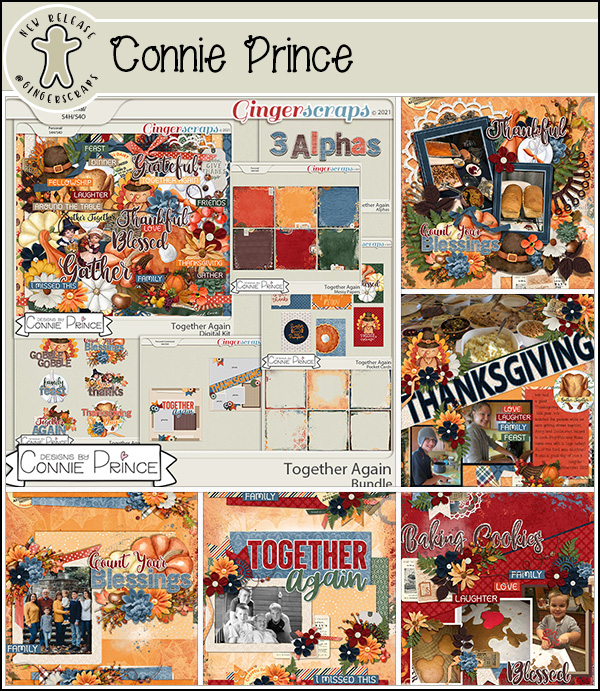
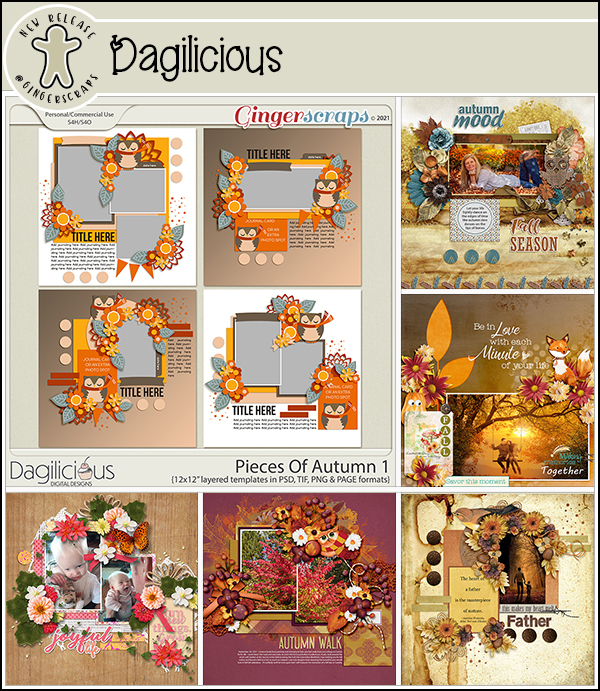
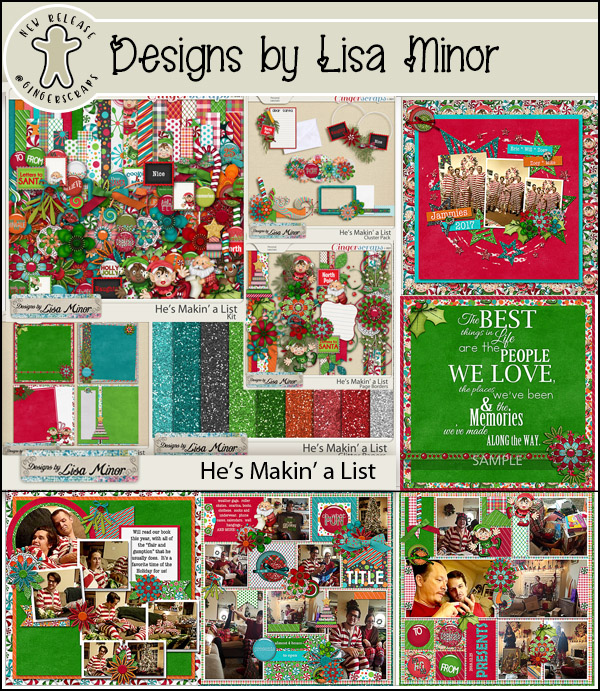
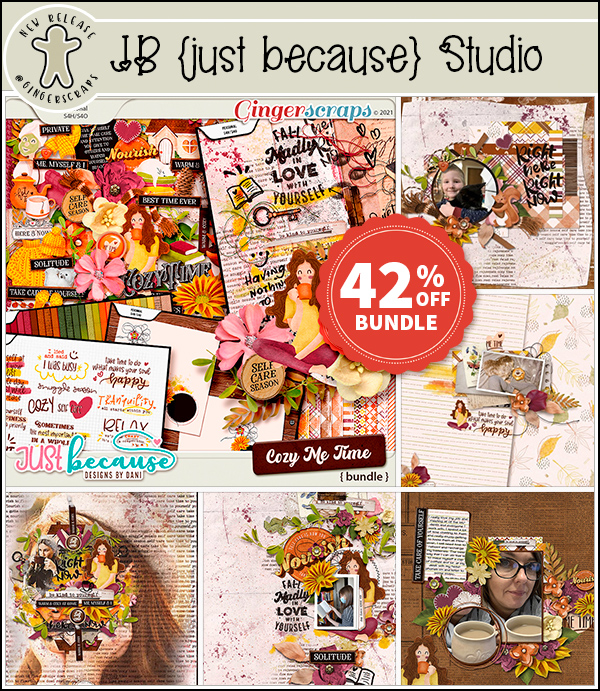
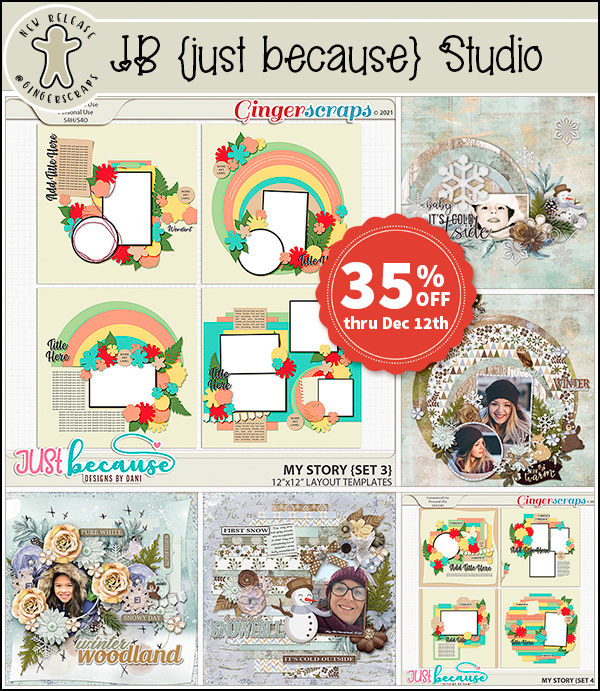
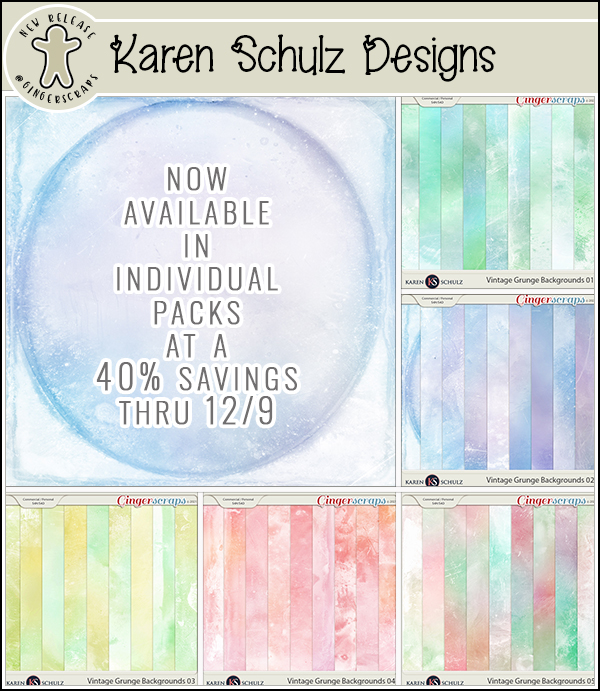
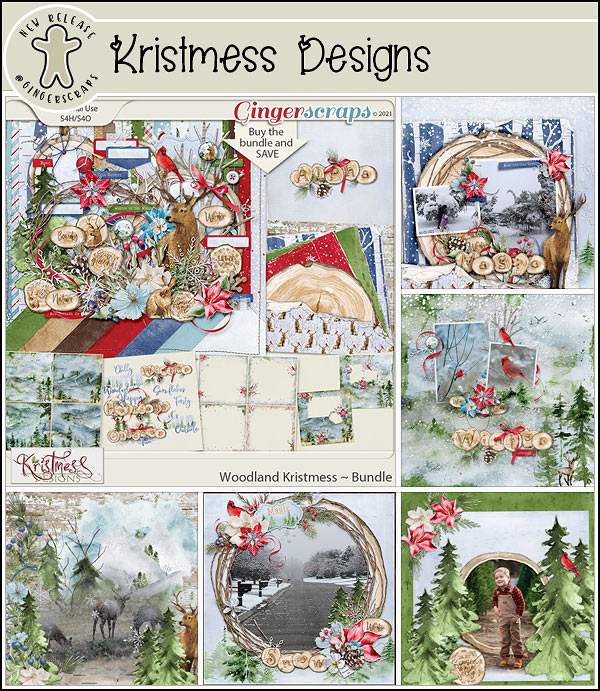
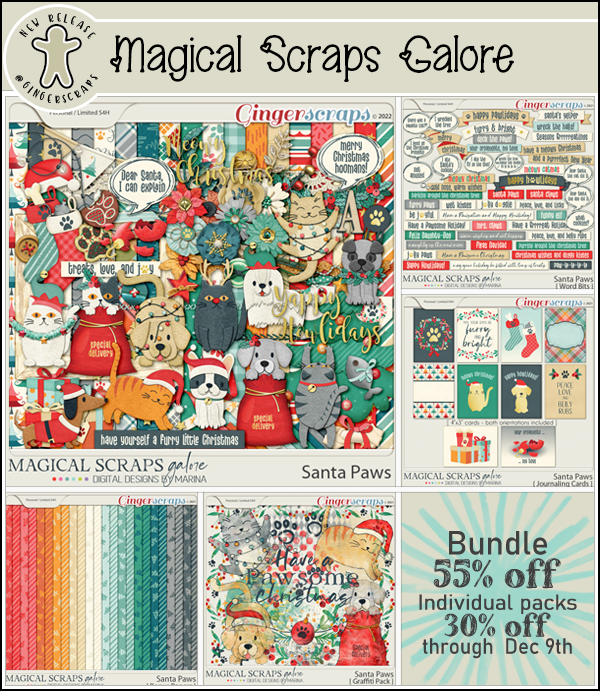
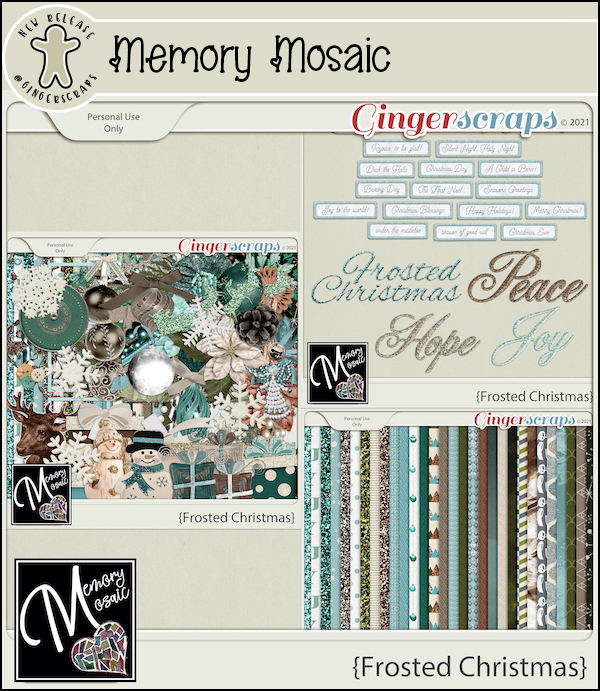
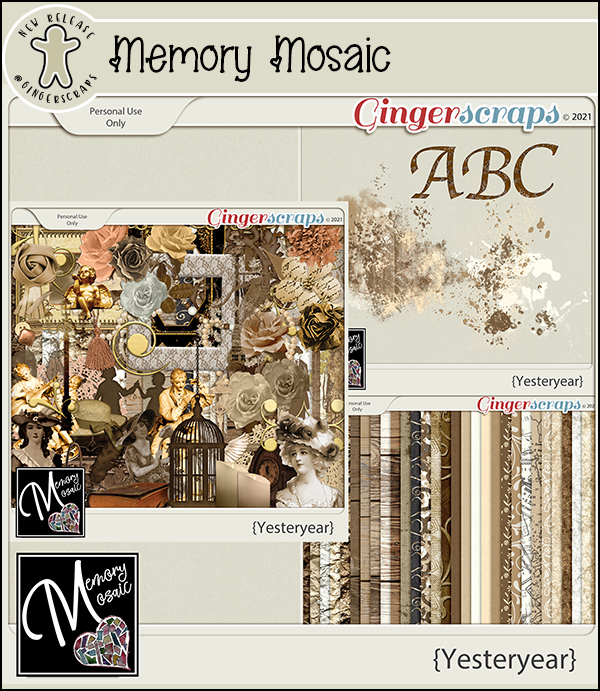
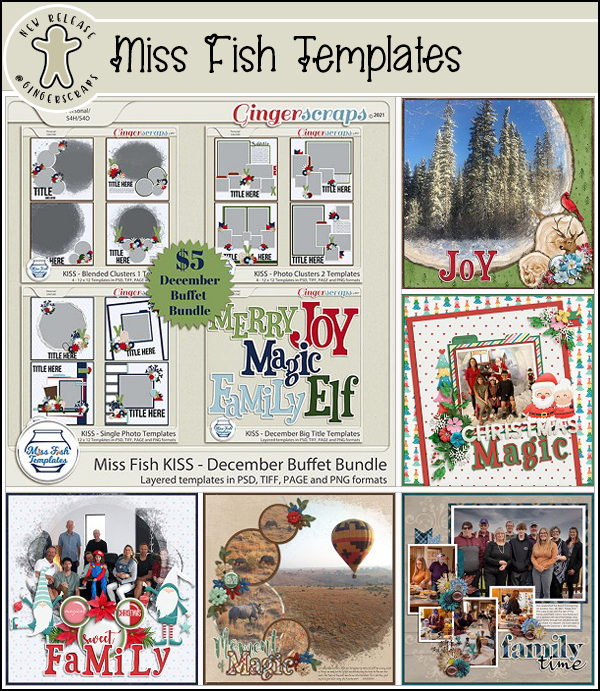
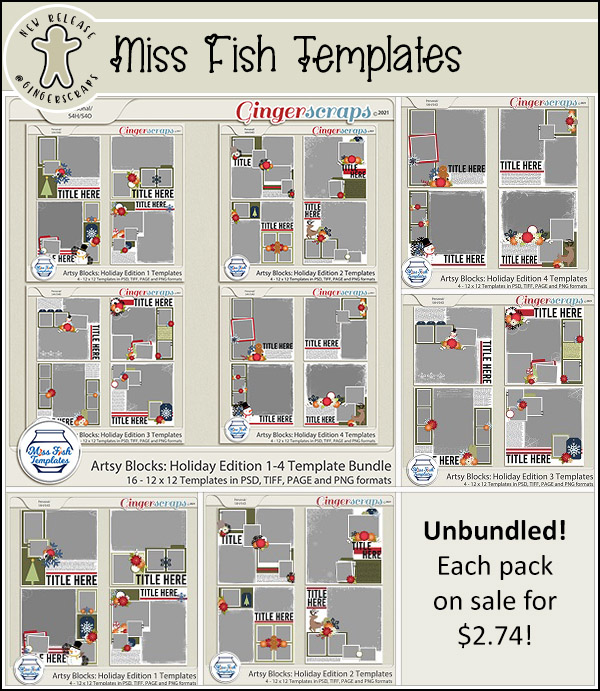
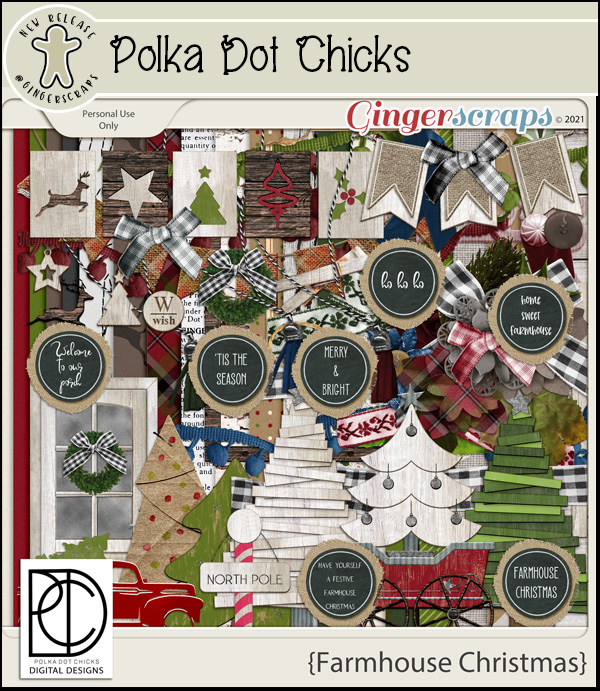
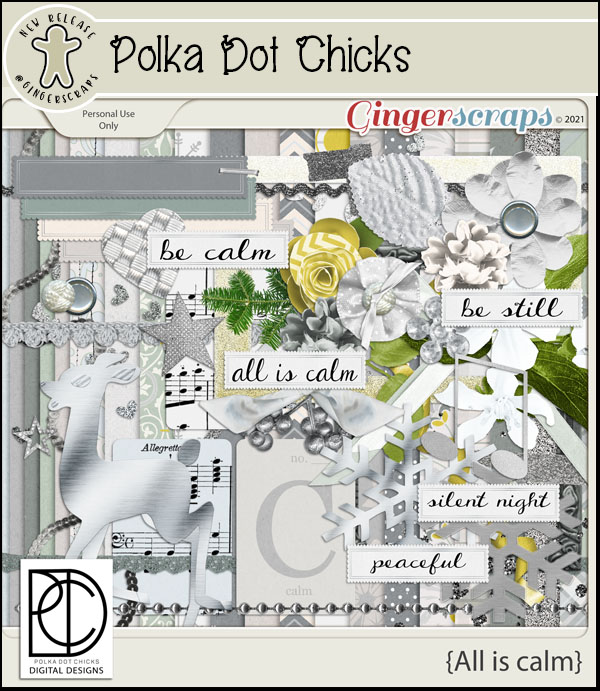
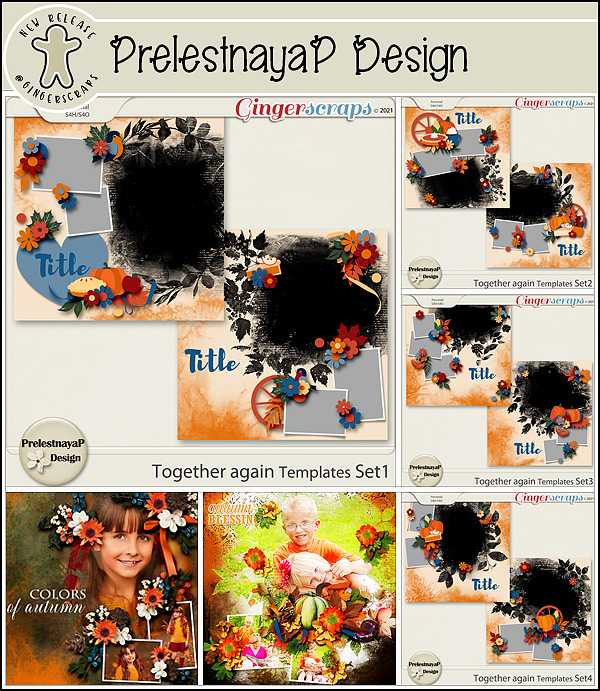
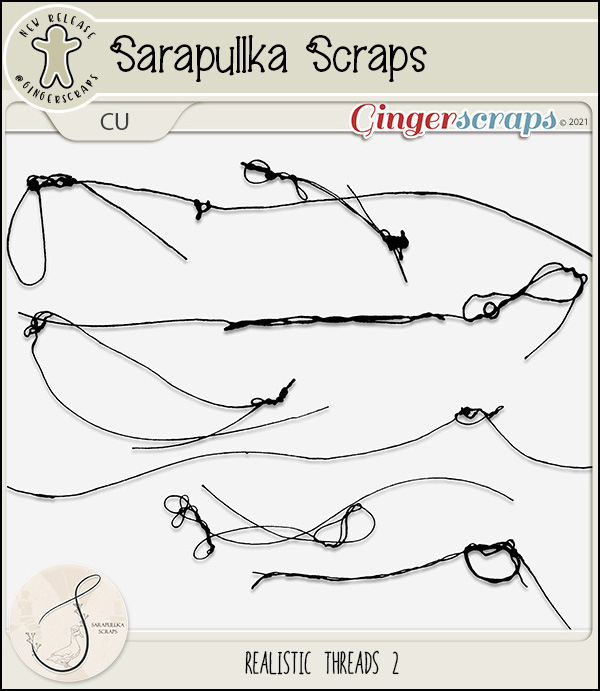
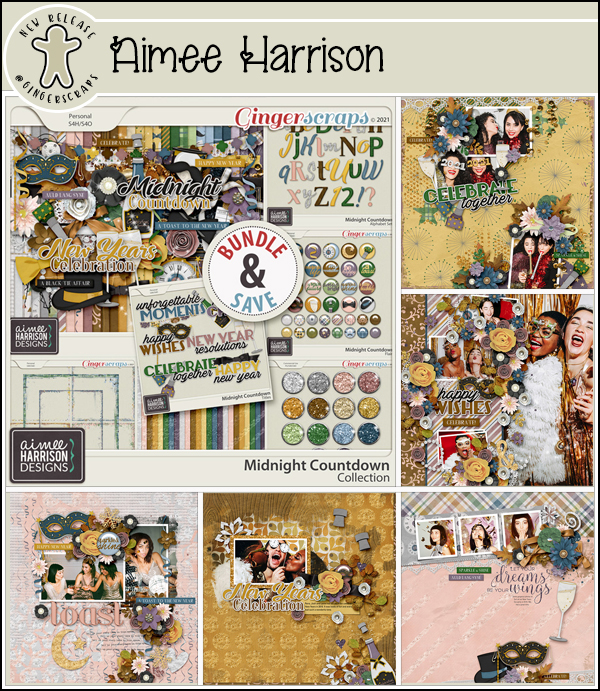
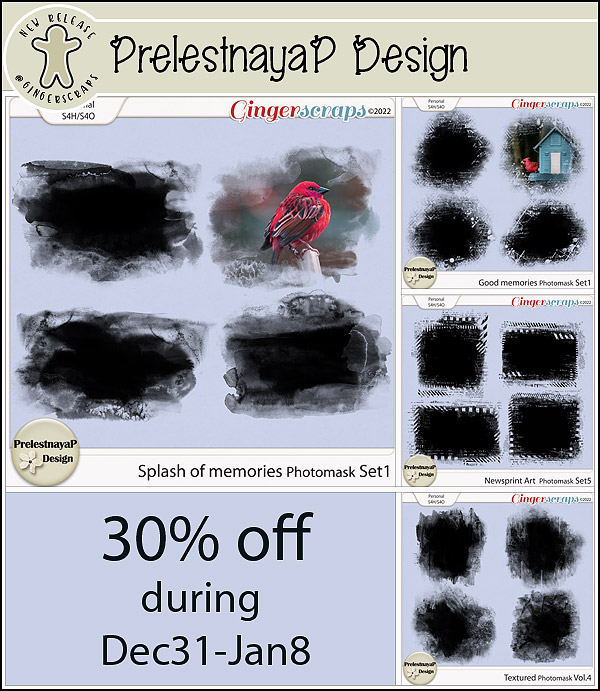
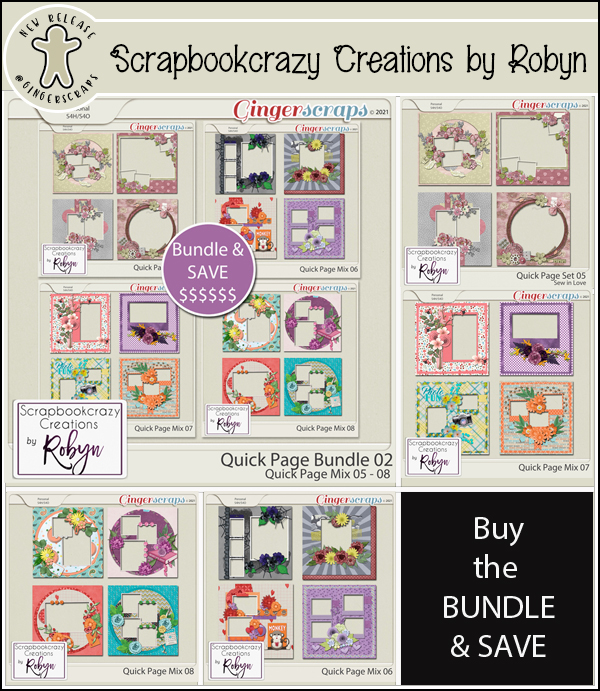
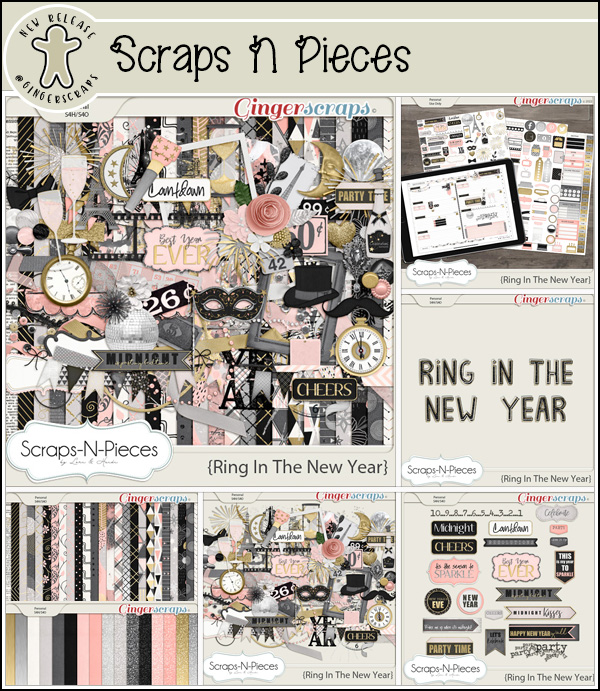
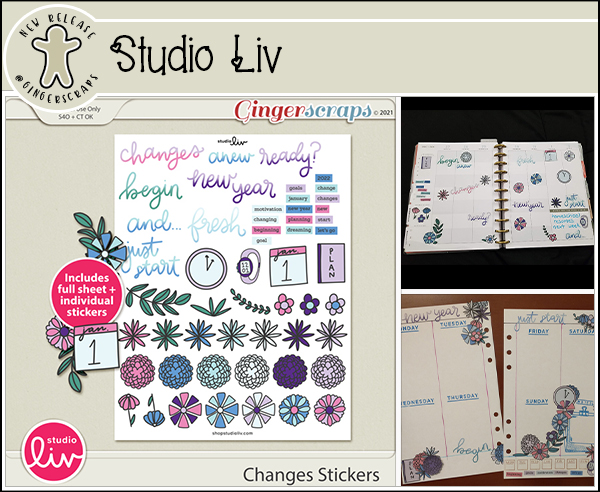
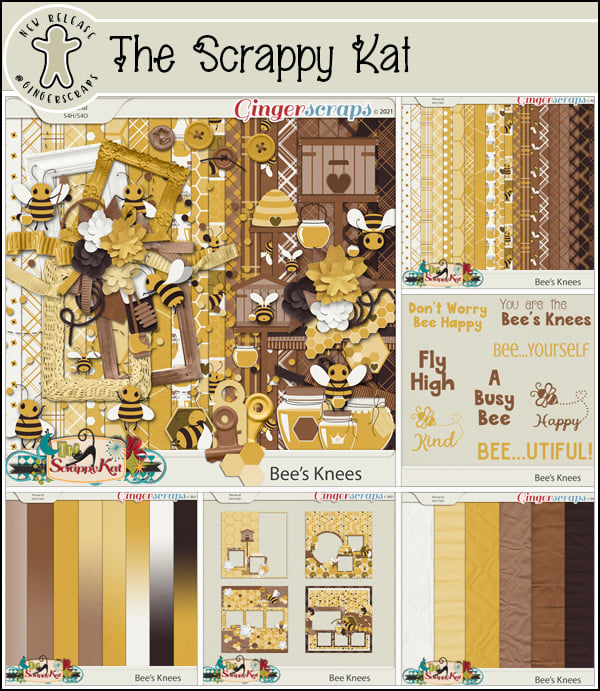
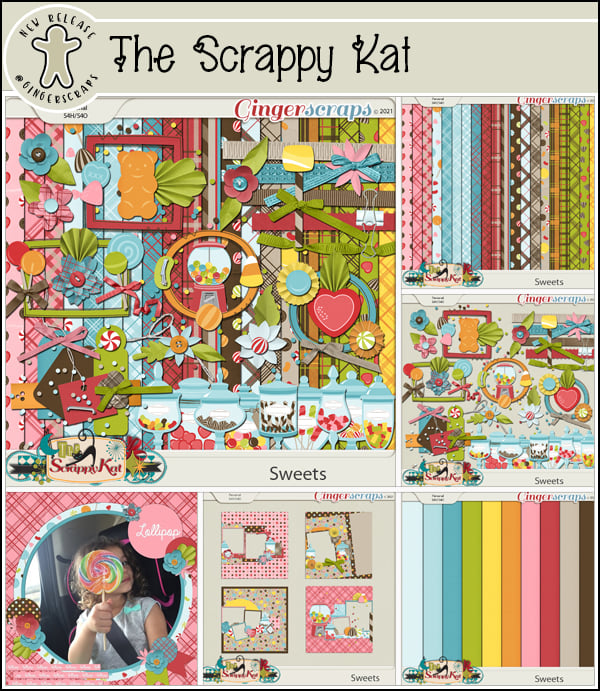
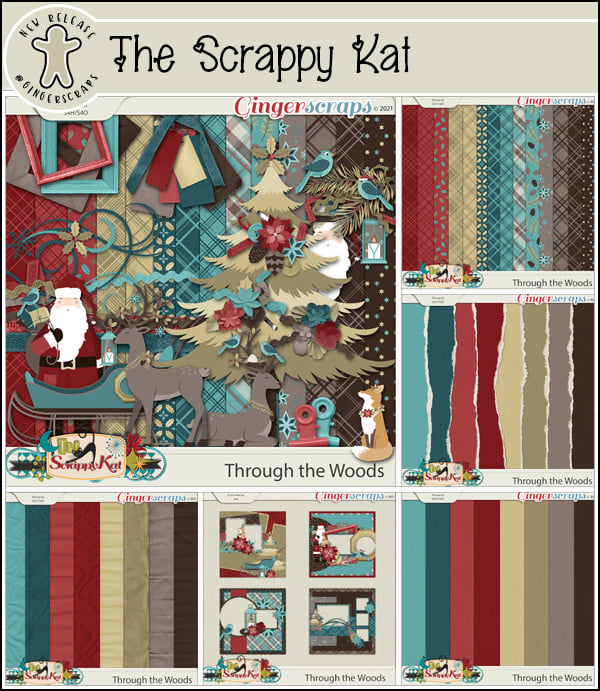
Let’s see what our designers have for the last Fresh Baked of the year.


Have you grabbed the December Monthly Mix? Last chance to get it at this price.
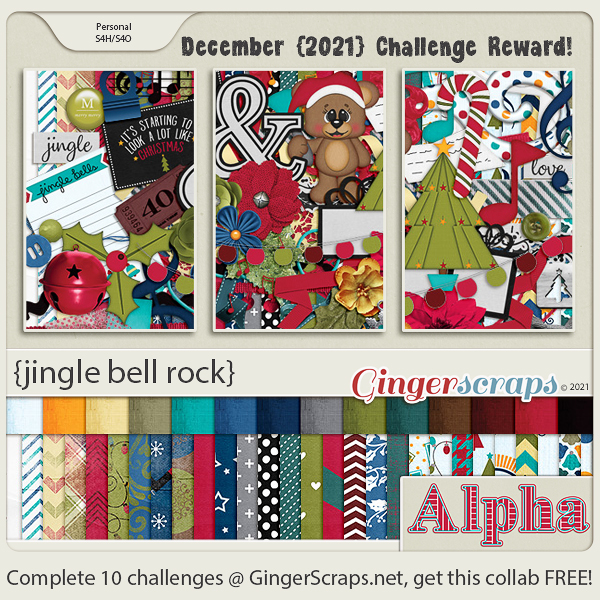
Did you get those challenges done? Make sure you get your thread updated in the forum to get credit. Any 10 challenges gets you this great kit as a reward.