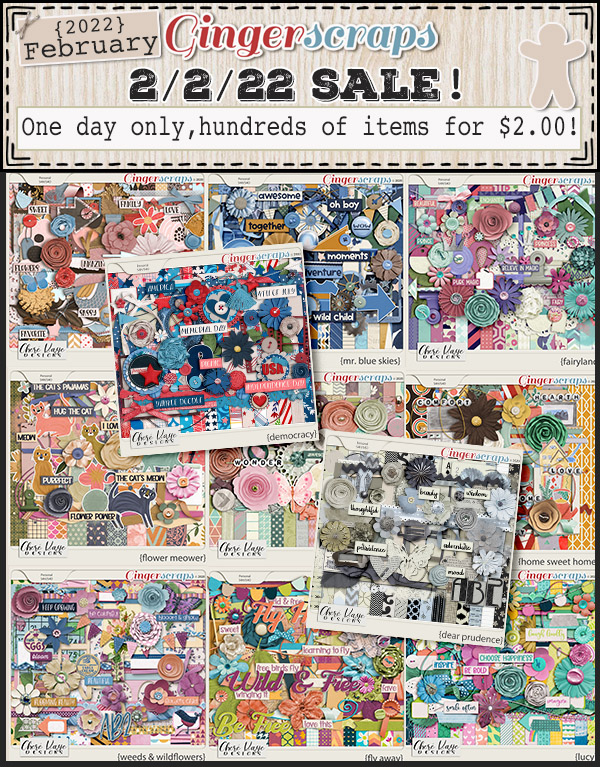
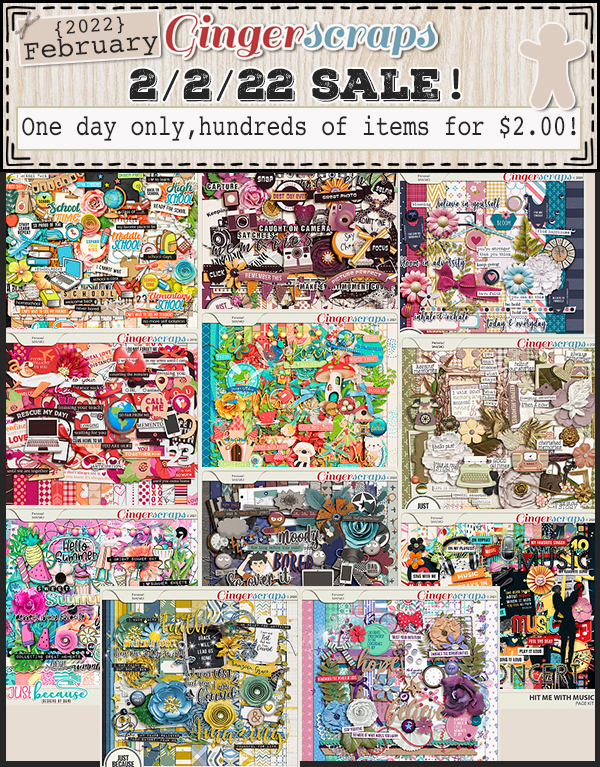
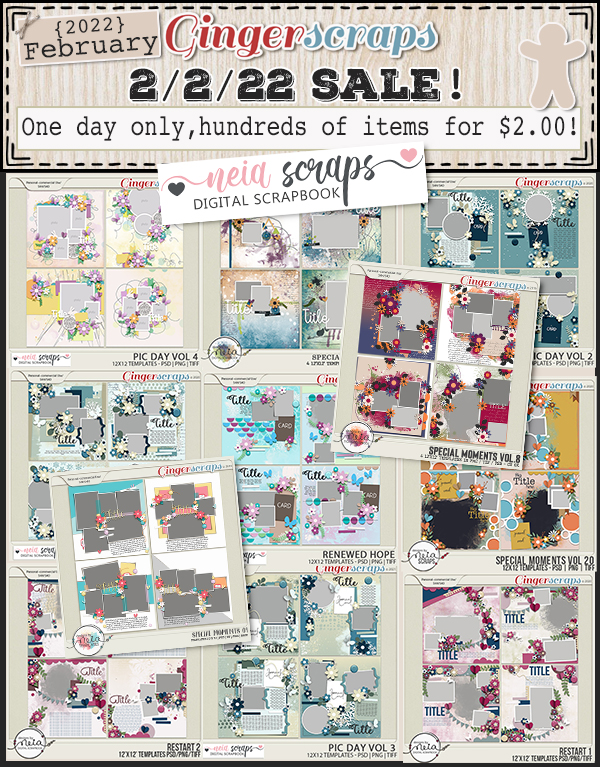
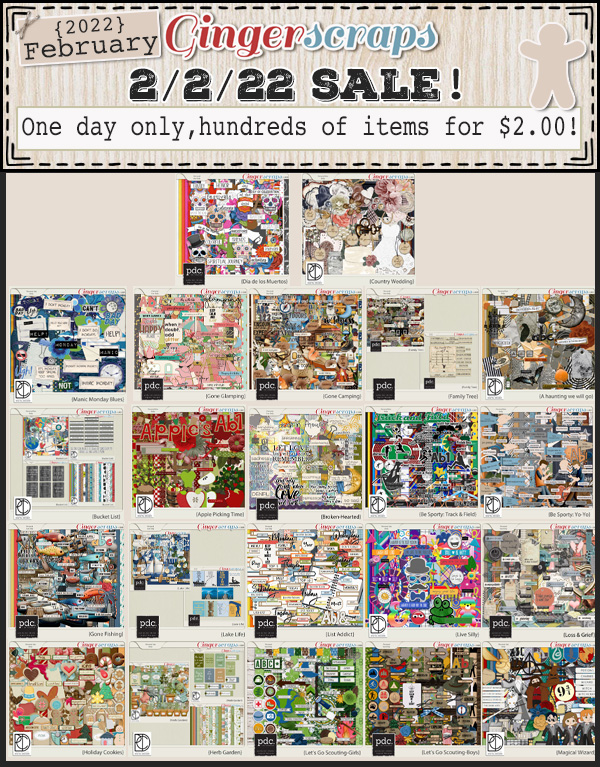
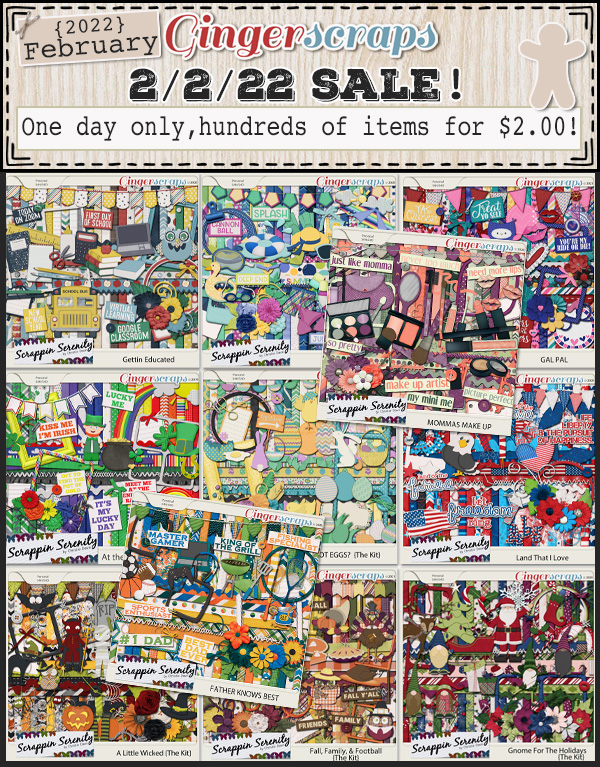
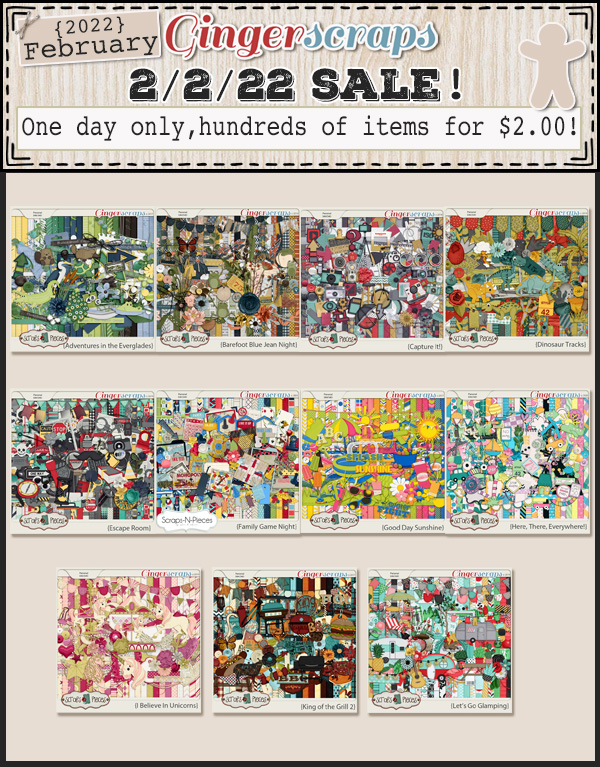
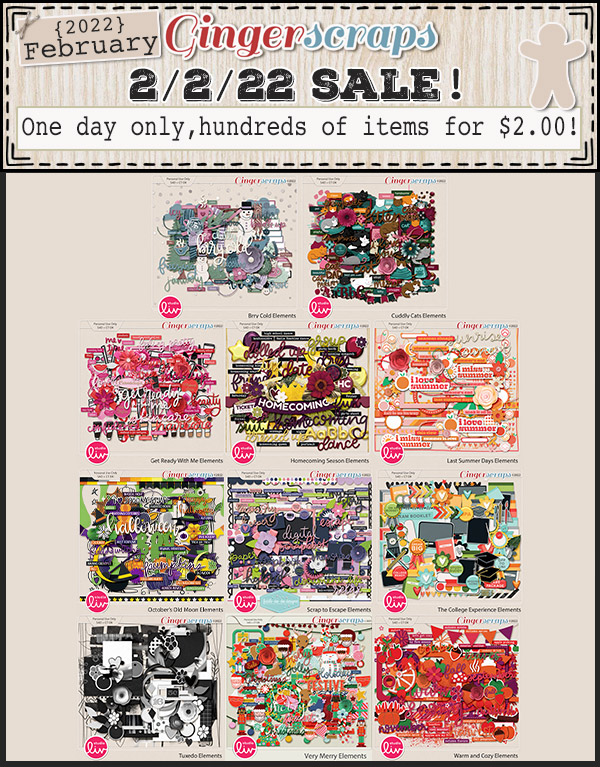
In celebration of 2/2/22 we have a HUGE $2.00 Sale for you today!
Hundreds of items all for $2.00 ONE DAY ONLY. This sale will end 2/2/22 at 11:59pm Eastern Time.
Have fun shopping!
https://store.gingerscraps.net/2-2-22-MEGA-2.00-Sale


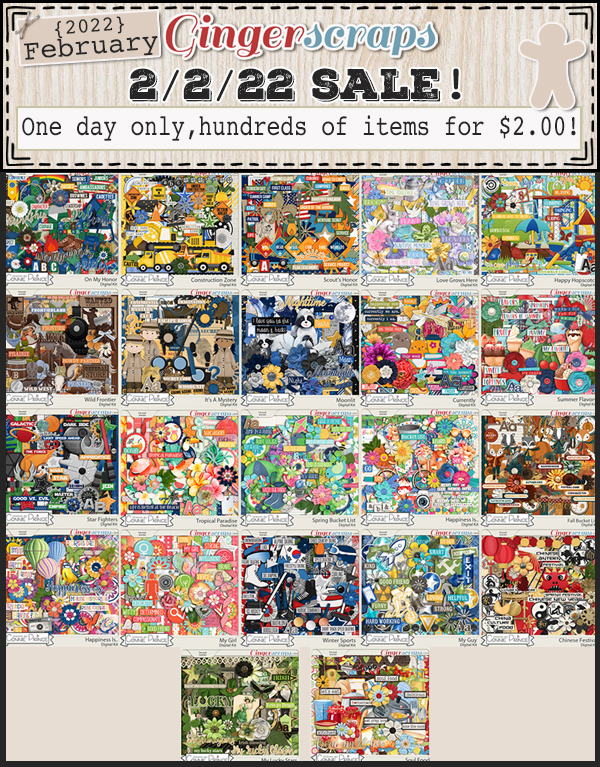


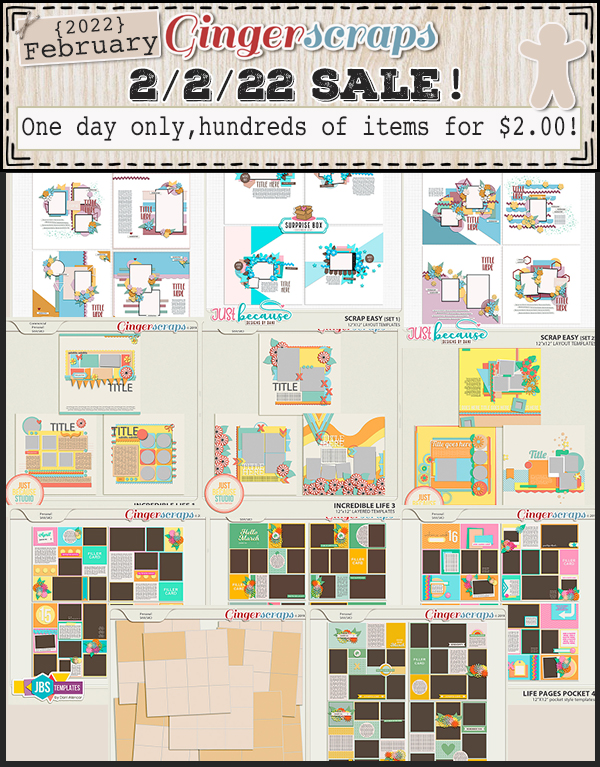


In celebration of 2/2/22 we have a HUGE $2.00 Sale for you today!
Hundreds of items all for $2.00 ONE DAY ONLY. This sale will end 2/2/22 at 11:59pm Eastern Time.
Have fun shopping!
https://store.gingerscraps.net/2-2-22-MEGA-2.00-Sale
Another Paper-to-Digi Technique: Partial Cutouts
![]()

Anybody own a Cricut? This tutorial is based on a Cricut Joy video sent to me by CalGirl (aka Steph). She asked if I could see a way to make a similar version using only digi-supplies. I’m not going to minimize the amount of work involved in recreating the folded hearts using Elements – my first attempt was so complicated that I couldn’t possibly turn it into a tutorial. CONTENT WARNING!! There are many steps to this, and it’s definitely not as quick or easy as a Cricut technique where somebody else has done the heavy lifting and all you have to do is push a button. But if you’re intrigued and think you might want to try it, read on! [Editor’s note: Read all the way through before you attempt this stunt. You’ll Work Smarter than Jan did!]
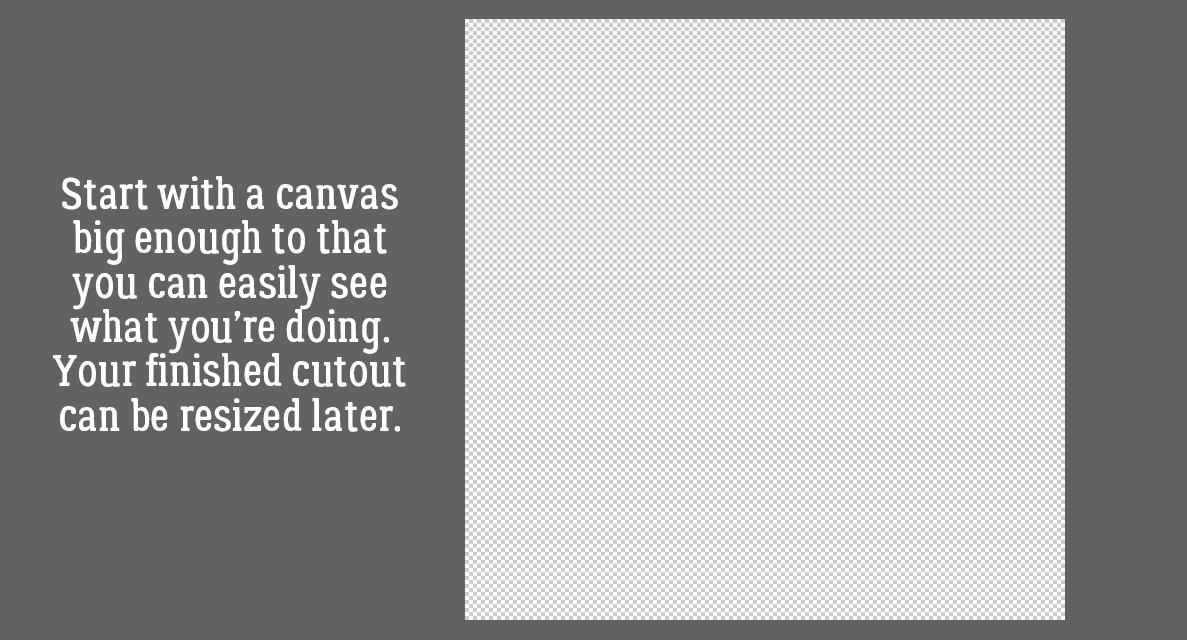
I like to start big and resize later. I want to be able to see what I’m doing and work as smartly as I can. Having said that, there are LOTS of things inside the Photoshop Elements Toolbox that I haven’t explored yet, and there are probably much better and easier ways to accomplish a lot of things. Today isn’t the day for experimenting with that, so we’ll start with a 12×12 canvas with a transparent background.
Some of these steps can be rearranged; I’m showing them to you as I figured them out so please bear with me. 😉 This is one that could wait but that isn’t how I worked it through. I chose the Custom Shape Tool (aka “cookie cutter”) and looked at All Elements Shapes to decide which shape I’d use for my demo.
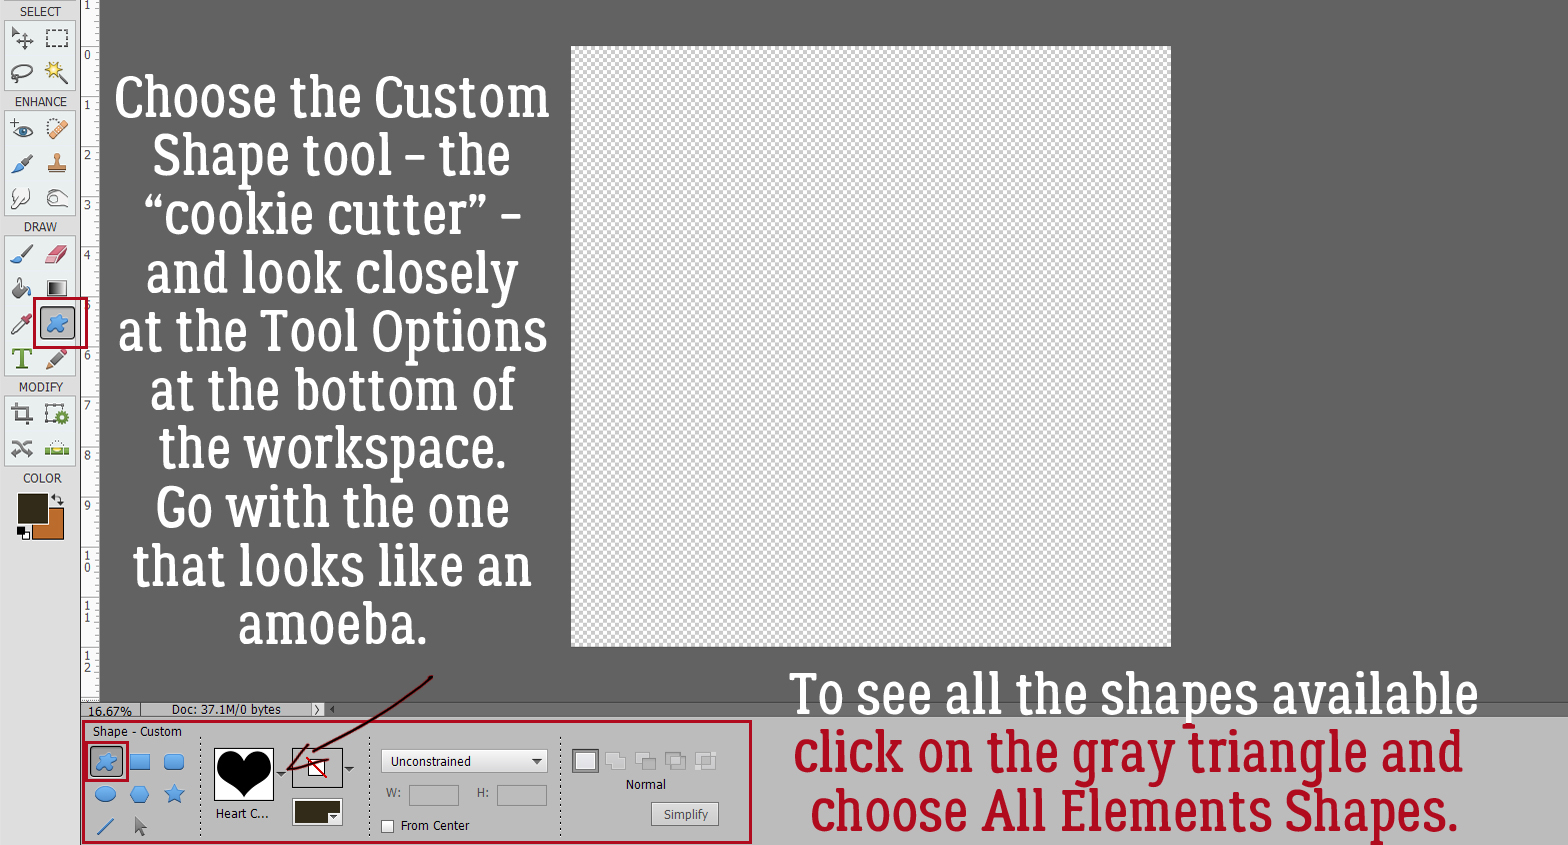
I was thrilled to see this outlined heart, so similar to the shape used in the Cricut video. Remember that when working with Custom Shapes, they will need to be Simplified before you can manipulate them. Later versions of Elements include a button in the Tool Options to make it quicker. If your version doesn’t have it, then you’ll need to right-click on the layer in the Layers Palette and choose Simplify Layer.

The next seven (yes, SEVEN) steps are optional, but they will make the rest of the technique go more smoothly by providing placement assistance. On a new blank layer I dragged out a 6 inch circle using the Elliptical Marquee Tool and centred it on the canvas.

Next I added a black Stroke to outline the circle. Edit>Stroke (Outline) Selection.
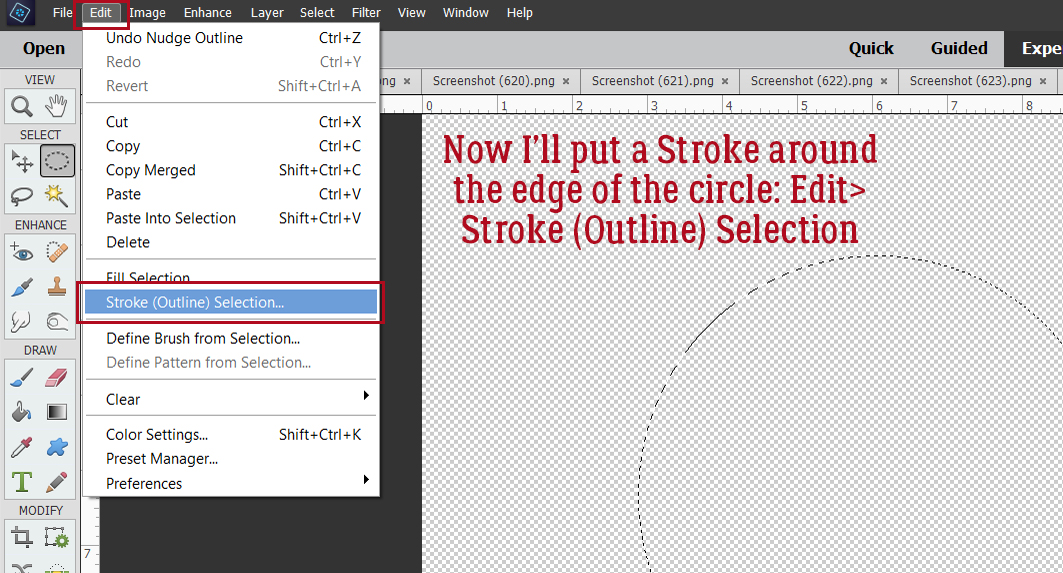
To make sure it’s visible, I used 10 pixels and put it on the Outside of the Selection.

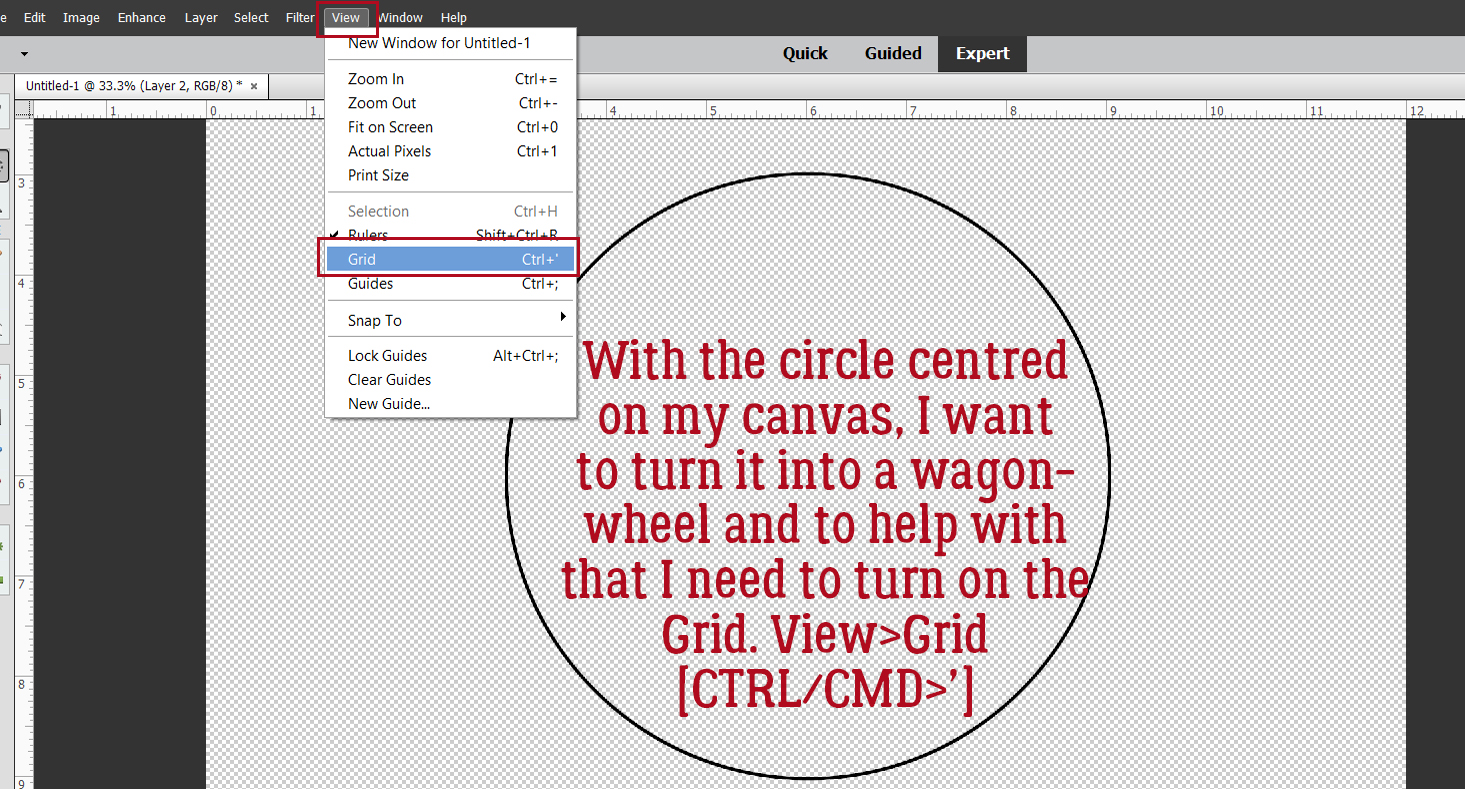
I want to turn it into a wagon wheel. The Cricut version has eight hearts, so I’ll make my wheel with eight spokes. Adding in the spokes is easier when I have the Grid visible. View>Grid or CTRL/CMD>’
Drawing straight lines is easy when you know how.
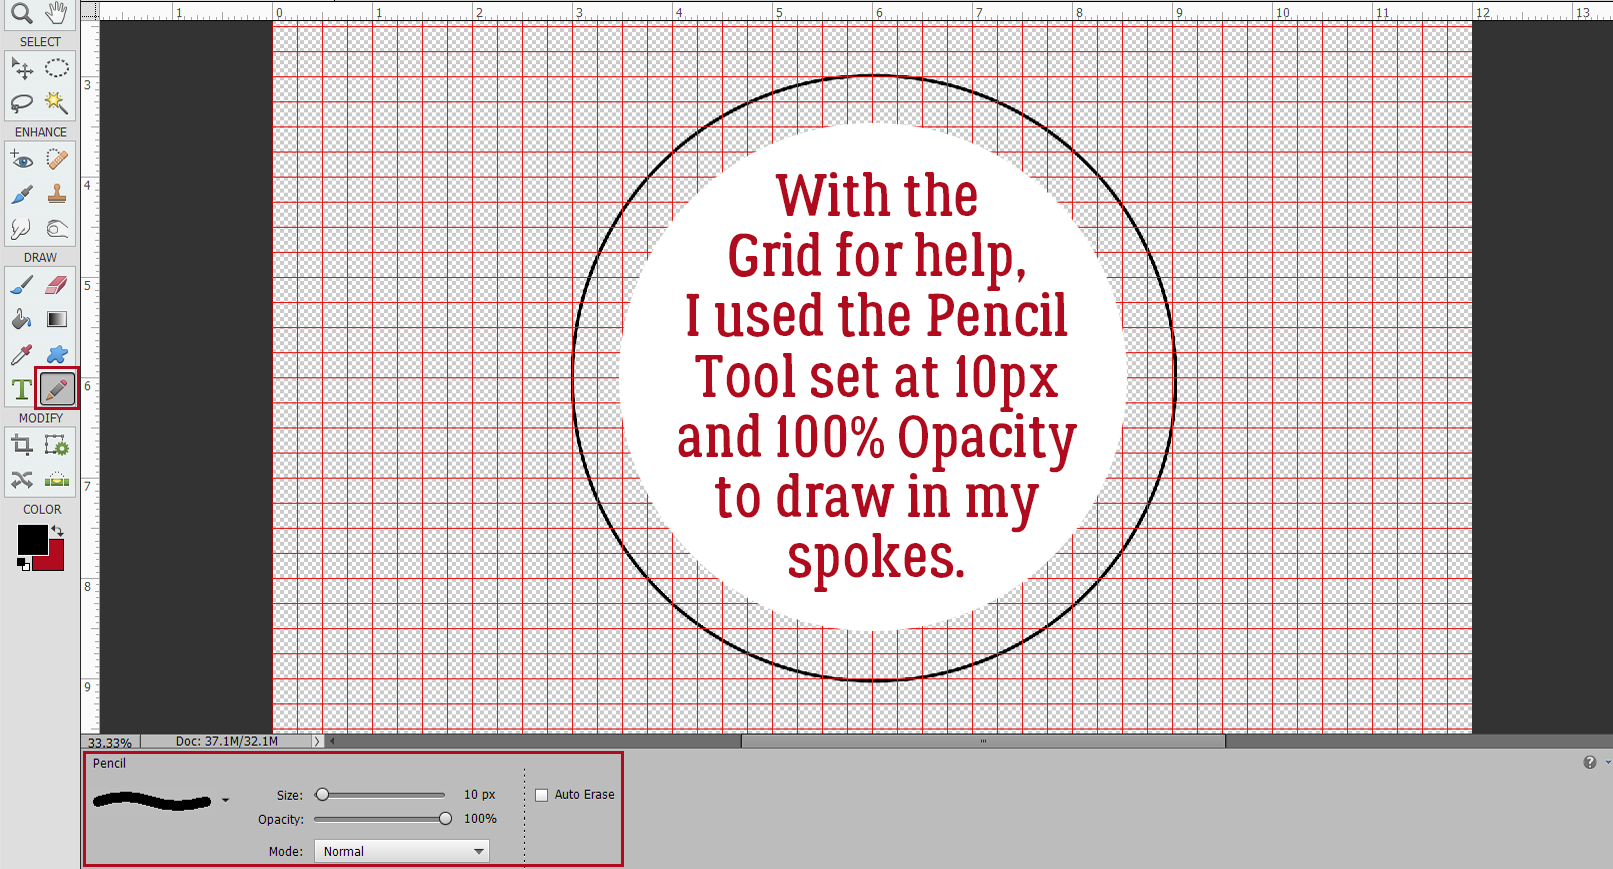
Click on the starting point. Hold down the SHIFT key and click on the end point. Easy-peasy!

Then the Grid can go away. (Pssst… this is also how you can turn on and off the Guides : CTRL/CMD>; ) If you think there might be a time when this wheel could come in handy later, Save it right now as a PNG. That’ll preserve the transparent background for you.

Now I made my first outlined heart shape. I made it symmetrical by setting Fixed Size>3 in by 3 in. It can go anywhere on the canvas to start out, then moved into position once it’s been Simplified.

Then I used the wheel to position. In retrospect, I’d put the first heart on the vertical axis and save some steps later. I always figure these things out AFTER the fact. <sigh> I made some Copy Layers. Right-click>Duplicate Layer>OK will drop the Copy right on the canvas. Or use the keyboard shortcut CTRL/CMD>J.

Because this is a demo and I didn’t want it to be too complicated, I decided I’d put four hearts in my circle, not eight. And then there’s my first stab at this, where I had eight, but it was a dumpster fire!

This is something I hope you’ll internalize, because it can really be a big time saver. Whenever I’m making something up as I go along, I make Copy layers so that if I mess up later, I’ll still have the steps that worked properly somewhere in my stack. I just tuck it away by turning Visibility off.

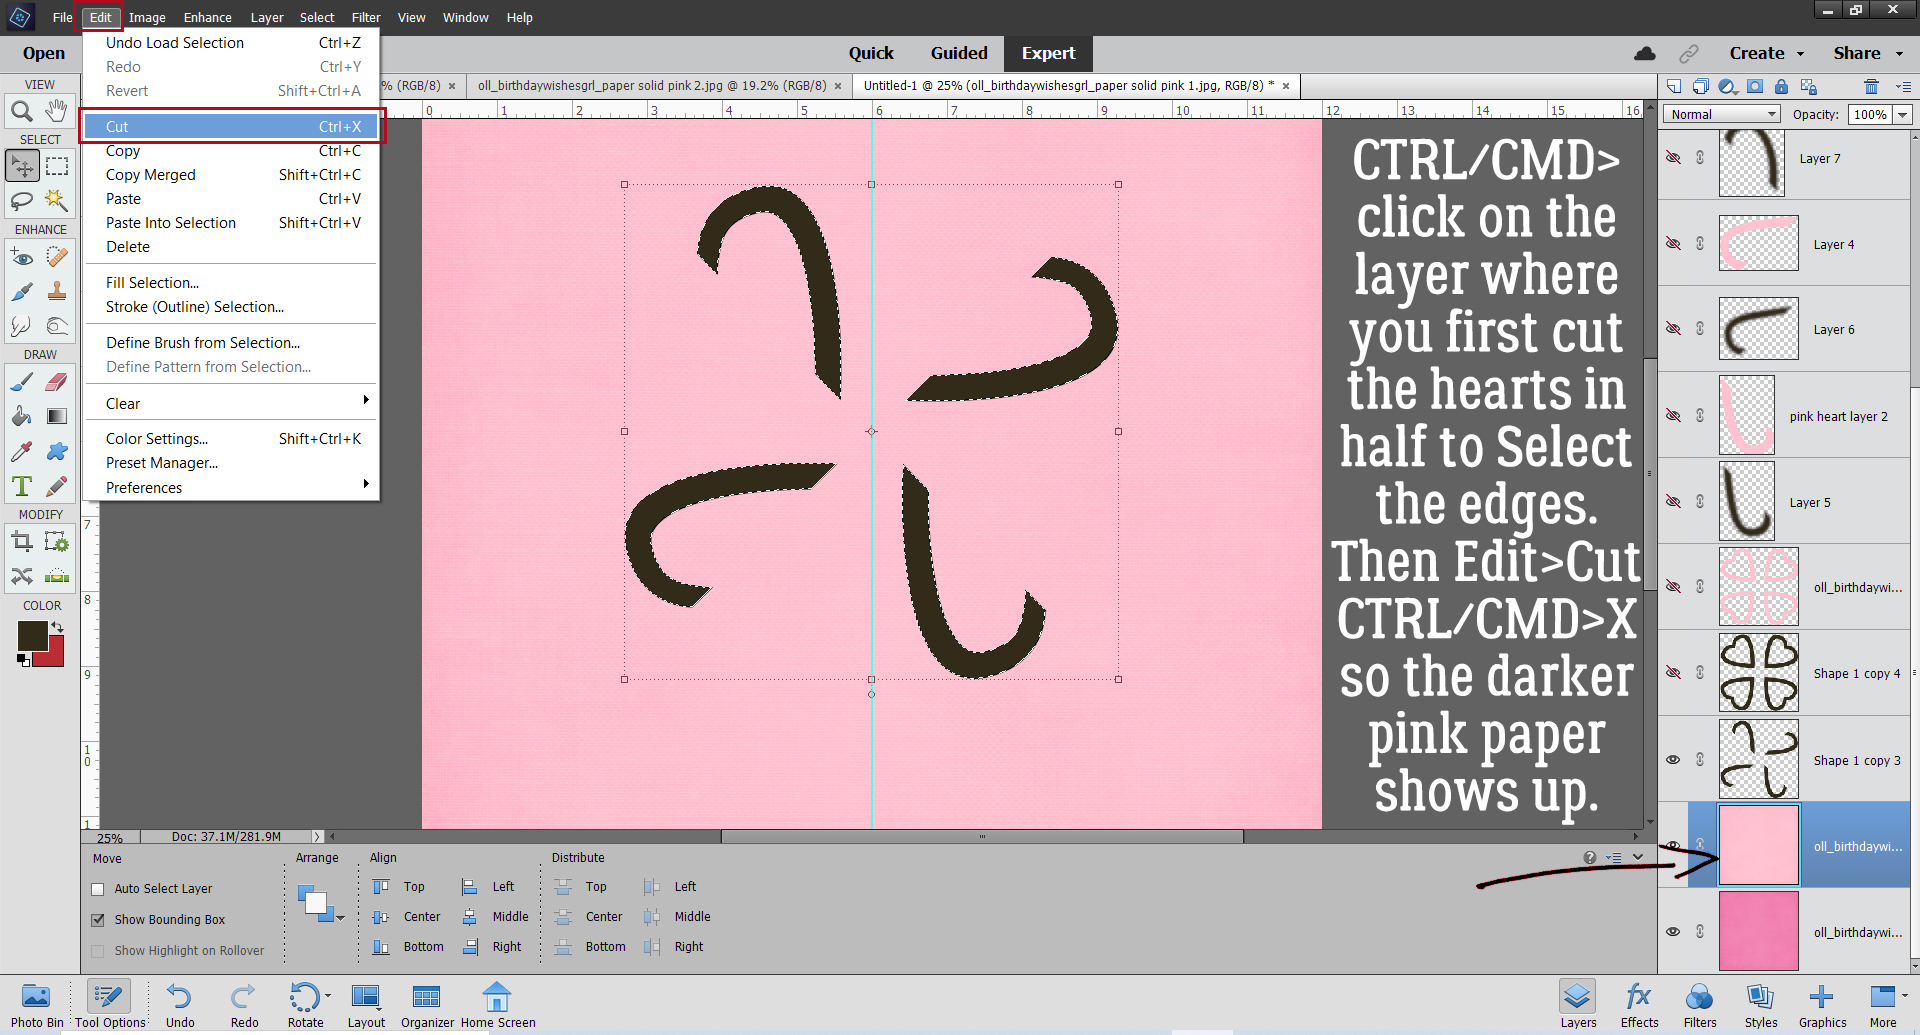
I chose two pink papers from Ooh La La Scraps Birthday Wishes Girl for my demo. I dragged the lighter pink on top of the hearts layers. You can see the darker one at the bottom of the stack, tucked away for later. I also CTRL/CMD>Clicked on the hearts Layer Thumbnail to Select the edges of the hearts.

I wanted to Cut out the hearts from the light pink paper, so first I had to tell Elements to Invert the Selection. Select>Inverse or CTRL/CMD>SHIFT>I
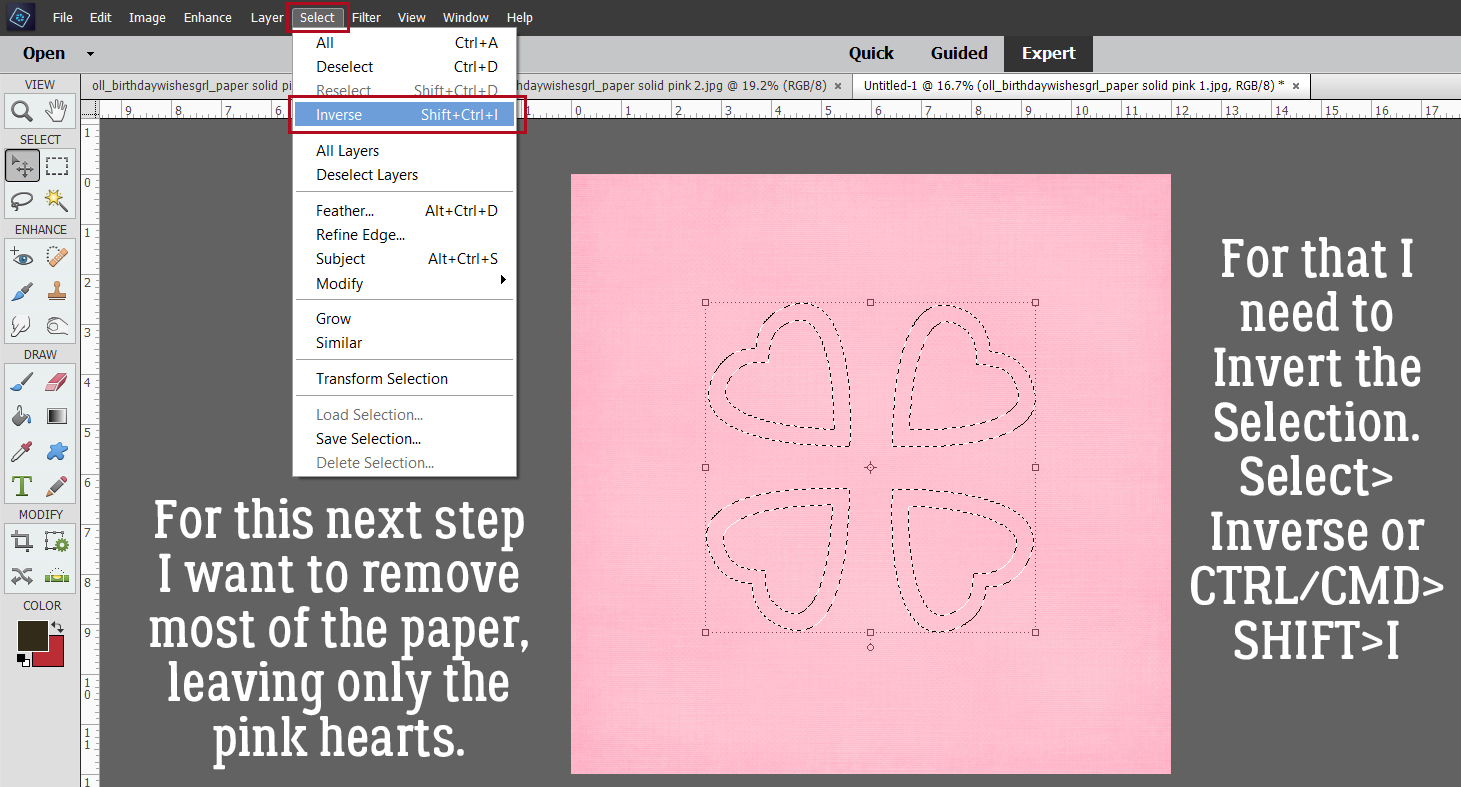
Then I could Edit>Cut [CTRL/CMD>X] the rest of the paper away. (Once you Cut paper with a Cricut, it’s too late to change your mind.)

Before I moved on and made a mistake I couldn’t Edit>Undo [CTRL/CMD>Z] I made a Copy of the pink heart layer and tucked it away. If I don’t end up needing it I can always Delete it later. Here’s where you see the results of NOT positioning the first heart on the vertical axis… I’m Rotating the whole set of four hearts so the first one is… on the vertical axis. 😮

If you’re wondering if the next few steps are necessary, I assure you… I tried NOT to have to do this, but it was an abject failure. Using the Rectangle Marquee Tool, I dragged out a rectangle over half the heart, with one edge exactly over the pointed parts and carefully avoiding the other heart near it. It means I’ll have to repeat this step to remove the rest of that half, but there isn’t a good way around that.
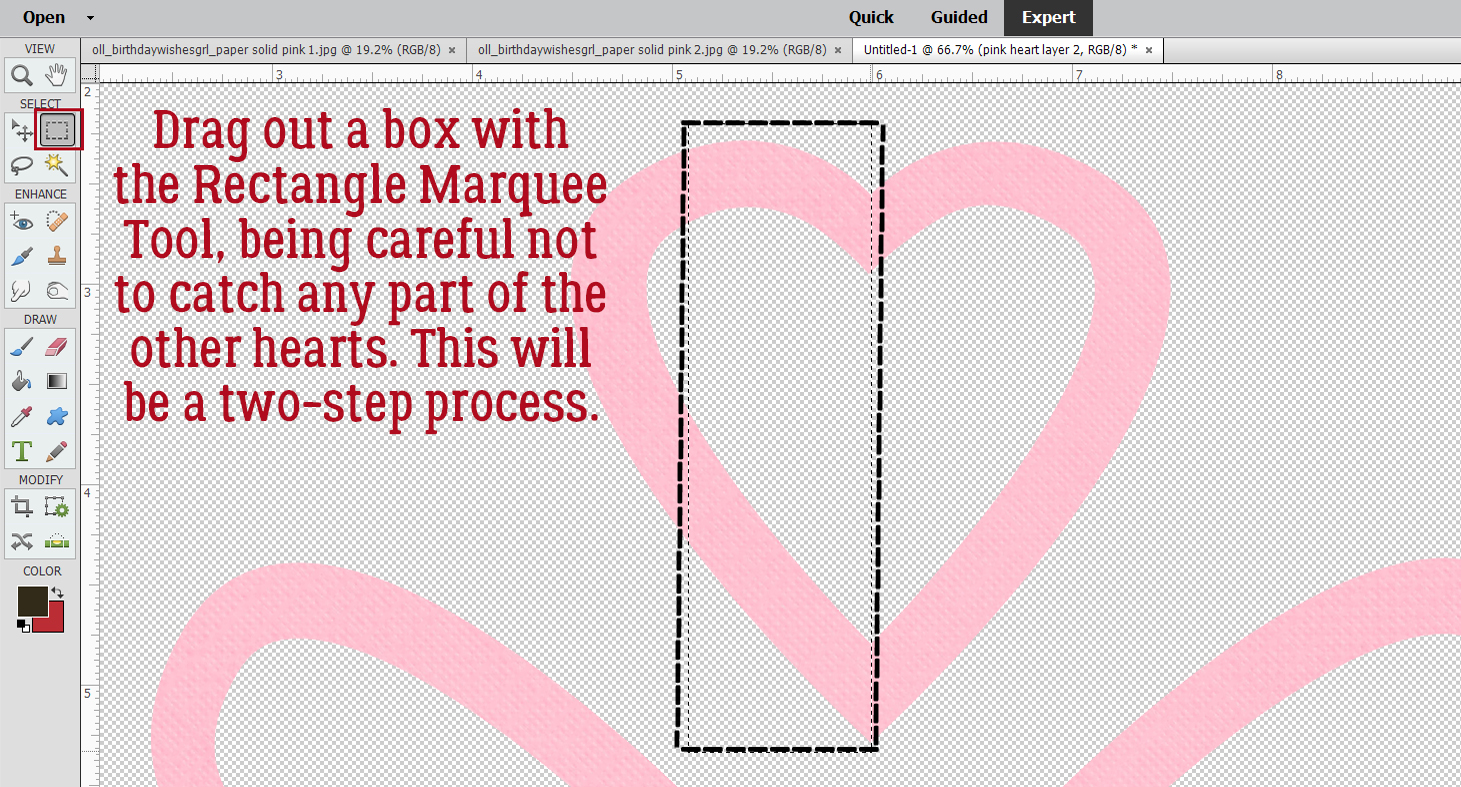
Next, I Cut that bit inside the box away. Edit>Cut [CTRL/CMD>X] then drew another box and Cut again to get the rest out of there.

I Cut away the same side of each of the hearts, leaving this. Make a Copy of this layer and tuck it away. You’ll thank me later!

Again, this step would have been unnecessary if I’d only put that first heart on the vertical axis, or if I Rotated and left everything that way. Hindsight, y’know!

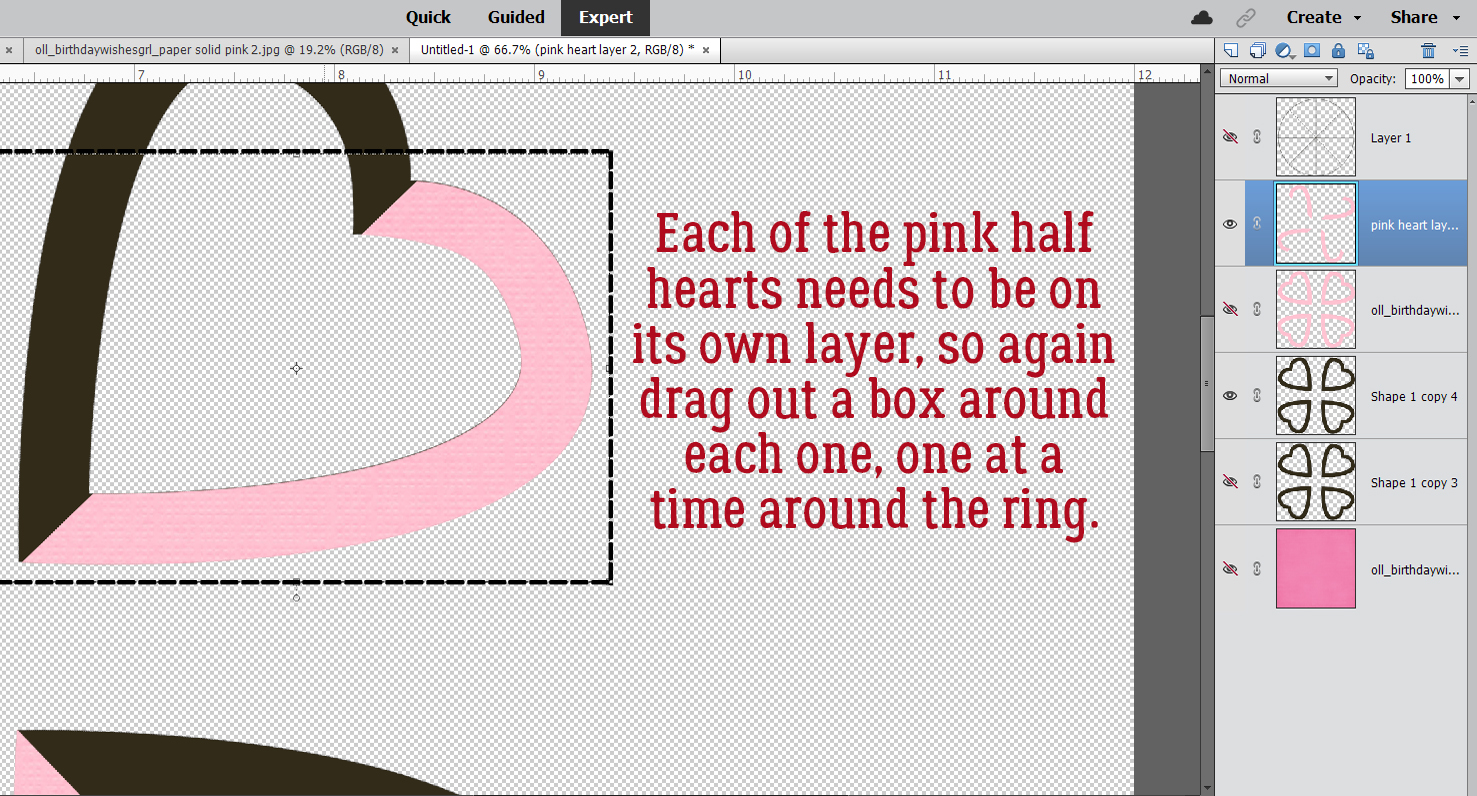
Each pink half-heart needs to be on its own layer so they can be individually manipulated. So again, I used the Rectangle Marquee to Select one of the halves.
Only this time I Cut and Pasted the paper piece. First Edit>Cut [CTRL/CMD>X]
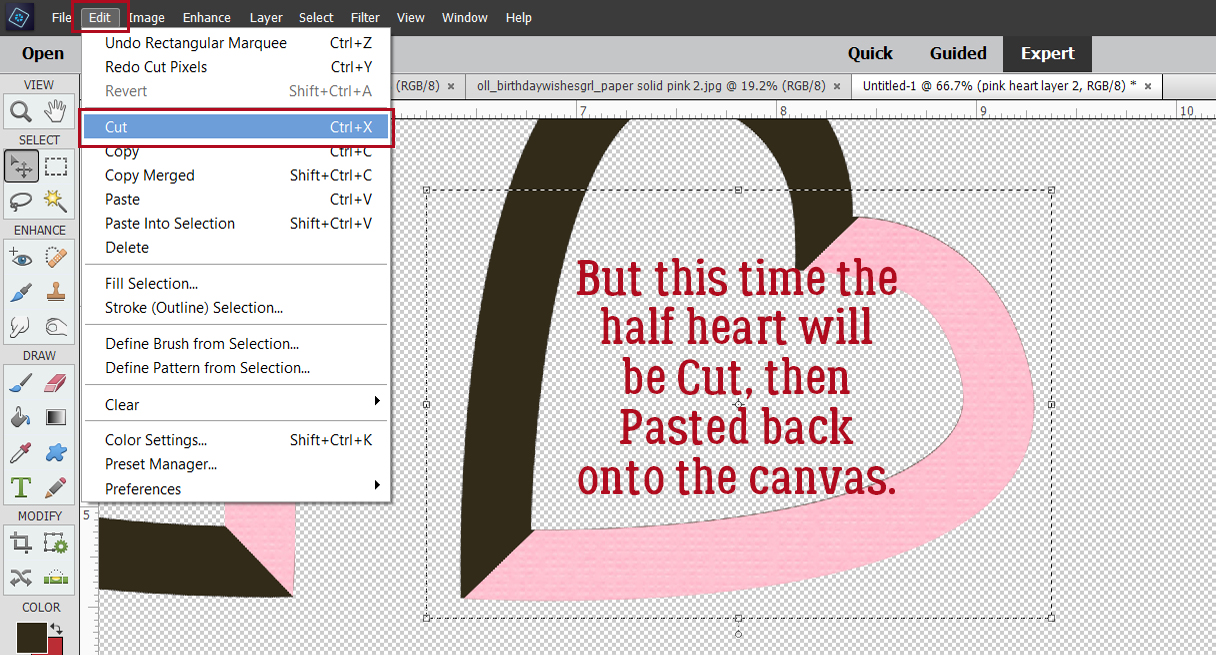
Then Edit>Paste [CTRL/CMD>V]

Elements will keep the Pasted piece in the same orientation but will drop it on the centre of the canvas. So it’ll need to be nudged back into its rightful place. Having that original layer tucked away helps a lot with this! Do these steps for each of the hearts.

Now to create the appearance of a folded-over, lifted half. I tried a few tricks for this and found using Image>Transform>Distort worked best.

Grab the handle on the Bounding Box that’s closest to the curved part of the image. Push it up a little and in toward the centre a little to create the illusion that it’s lifted off the page. Take care not to move the cut edges where the “fold” is happening. Work this magic on all the pieces.

How’s that? The original hearts layer really helps with visualizing the effect, don’t you think? It’s starting to take shape.

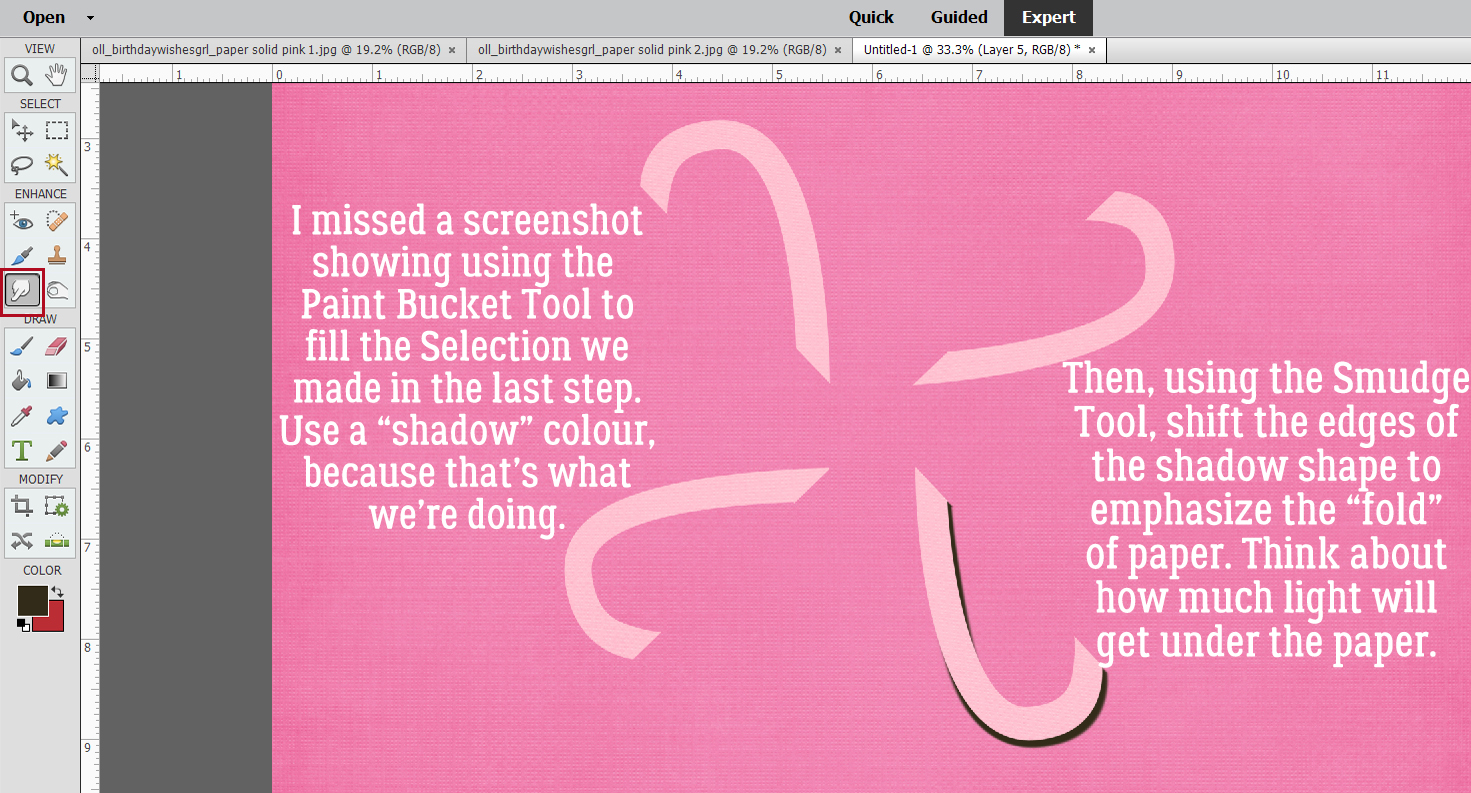
I tucked the original hearts layer away again and turned the visibility of the dark pink paper back on. Time to add some custom shadows. [Editor’s note: If you’re already comfortable with custom shadowing, feel free to skip ahead.] First step is to add a new blank layer UNDER the object you’re going to shadow. Hold down the CTRL/CMD key and click on the “blank page” icon at the top left of the Layers Panel. Then with that layer your active layer, CTRL/CMD>Click inside the Layer Thumbnail of the object to be shadowed to Select its shape. Then using the Paint Bucket Tool and a “shadowy” foreground colour, Fill the shape with the shadow colour. You can use black [000000] or something like an umber [2c1902] for your shadows.

Adjusting the shadow to help with the illusion the paper is lifted is easily accomplished with the Smudge Tool. The icon looks like a hand with a finger rubbing on the paper. More on using the Smudge Tool in a minute. When you’re creating shadows, think about where the light is coming from, how much light will get under the object, and how diffuse it might be.
Shadows that are too harsh will always look out-of-place, so adding a Filter>Blur>Gaussian Blur… will soften the edges even more than Smudging does.

If the Preview box is empty when you get to this screen, click your cursor over the edge of your shadow layer somewhere and it’ll show up. Then you can watch the effect in action in both the Preview box and on your canvas. I decided this shadow needed a 12.5 pixel Radius Blur.

OMG. I shouldn’t have put the CNN documentary on Carole King and James Taylor on the TV. I’m so distracted, singing along! To make the shadow look most realistic the Blend Mode needs to be changed to either Multiply or Linear Burn. Those modes make the shadow layer more transparent so the colour underneath the shadow shows through. Last step is to decrease the Opacity of the shadow layer until it looks natural. I dropped it to 45%.

And it’ll look like this. Follow the shadowing steps for each of the half-hearts.

As promised, more info on using the Smudge Tool. This little thing is pretty powerful and it’s too easy to go overboard! I’ve found that using a large “fingertip” and gentle pushes gives me the best results. Sometimes there’s a lag between making an adjustment and it being visible, so try not to be in a rush or CTRL/CMD>Z will get a workout.

Once all the halves have been shadowed, on to the rest of the technique.

I dragged another light pink paper onto the canvas underneath all the heart layers. It looks interesting, but we’re not there yet.

I flouted my own rule and didn’t make a Copy of the unaltered half-hearts, so I had to go back and recreate that set of steps. Here’s where you’d want that Copy I mentioned back about 18 screenshots… CTRL/CMD>Click on the Layer Thumbnail of the unaltered halves, and with your uppermost light pink paper layer active, Edit>Cut [CTRL/CMD>X] the half-hearts out.
I decided I really needed to have the uncut halves to be recognized, and the best way I could think to make it visible but unobtrusive was to Emboss it. First, I had to show Elements what it was Embossing. I created a new blank layer on top of the pink layer from the last step – just Click on the blank sheet of paper icon at the top left of the Layers Panel. On this layer, I CTRL/CMD>Clicked on the original hearts Layer Thumbnail to Select the edges to which I’ll add a thin little Stroke.

It doesn’t have to be too obvious, so I went with a 2 pixel black Stroke Centered on the edges.
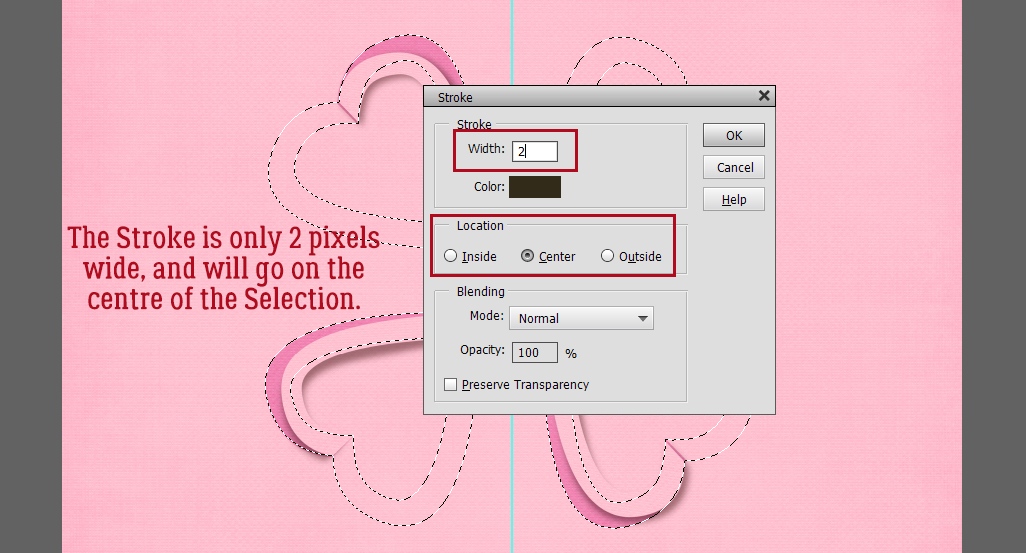
It was pretty in-my-face so I decreased the Opacity to 26%. See it?
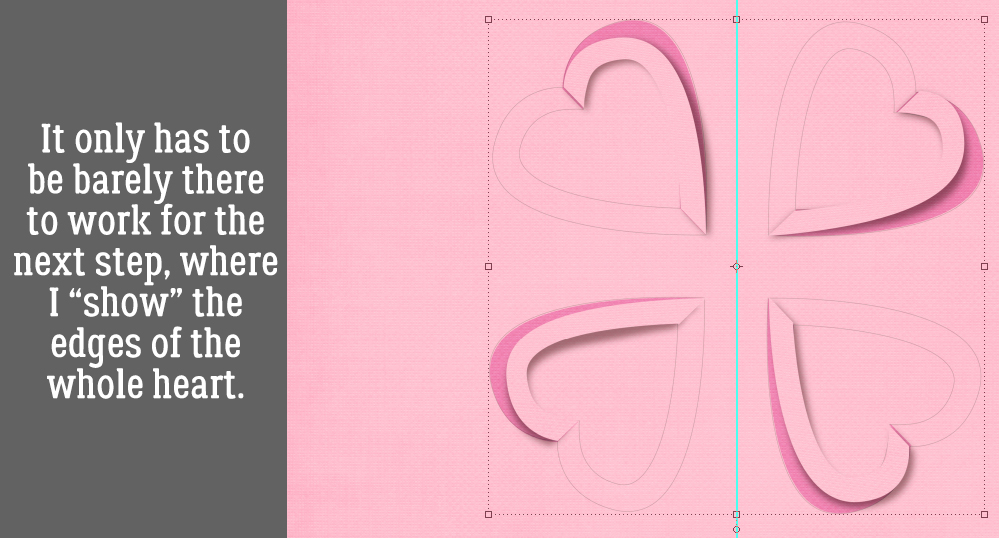
I didn’t want the WHOLE outline to be Embossed so I used the Eraser to eliminate the line on the inside opposite the “folded” edge and all around the “folded” half’s edge, just leaving the line on the outside of the uncut side.

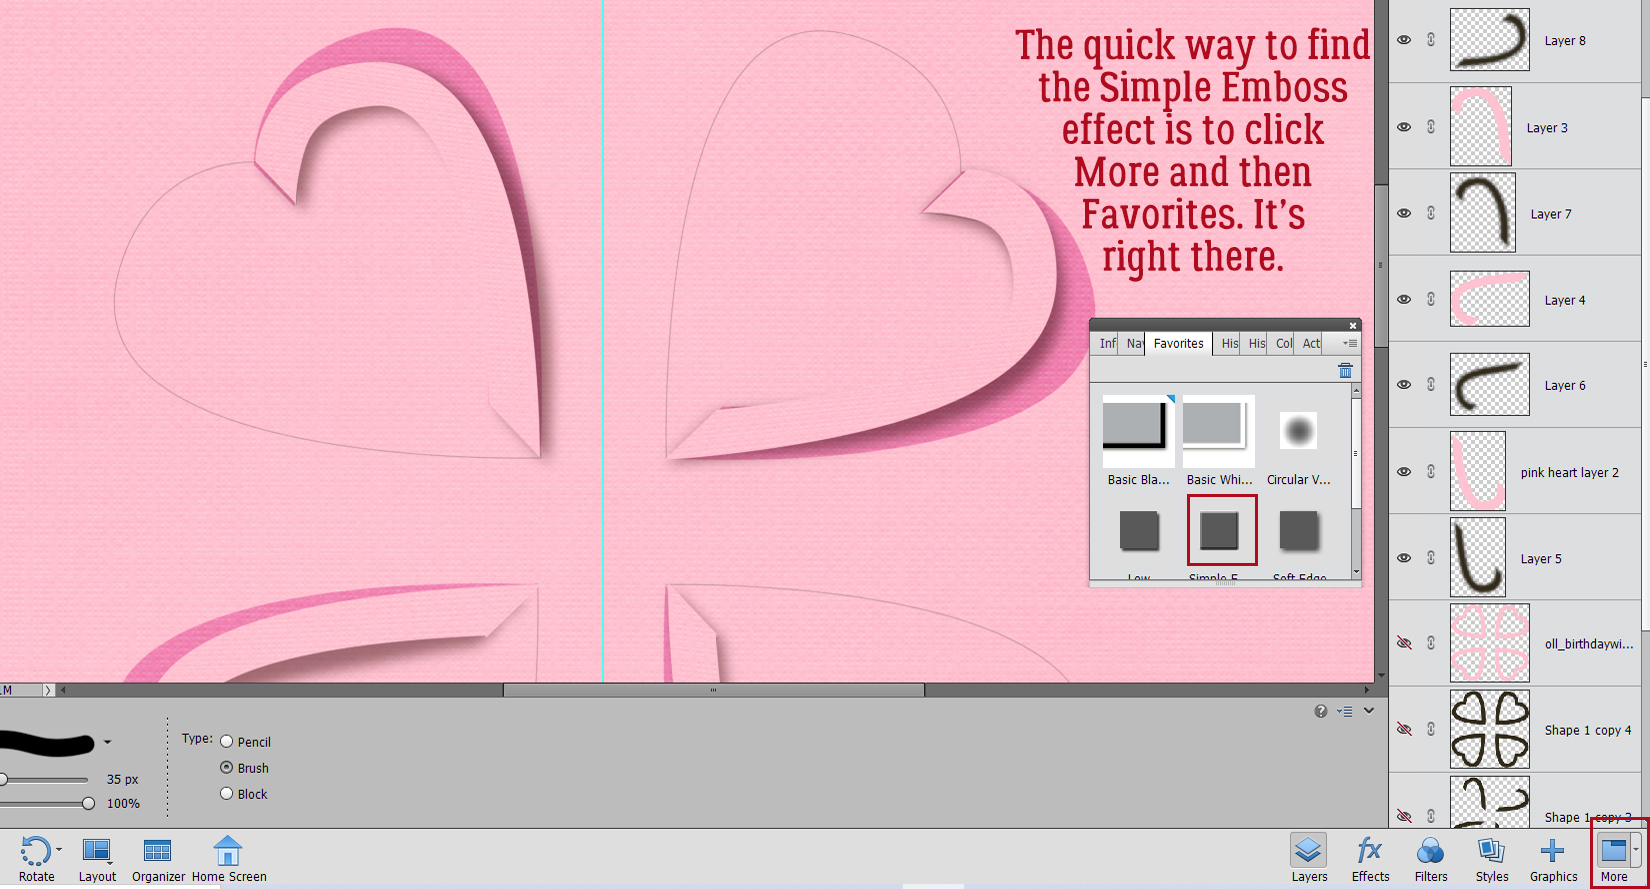
There’s a quick way to get to the Simple Emboss command. Click on More down in the bottom right under the Layers Panel, then choose the Favorites tab from the pop-up. Simple Emboss is right there.
The default settings aren’t going to be right for this, so I double-clicked on the fx icon to the right side of the Stroke layer to access the Command menu. Make sure the Lighting Angle matches your shadows, then adjust the amount of Bevel the effect gives. I decided 35 pixels Down looked right.

Alrighty! Now it’s looking like something. But it’s missing something.

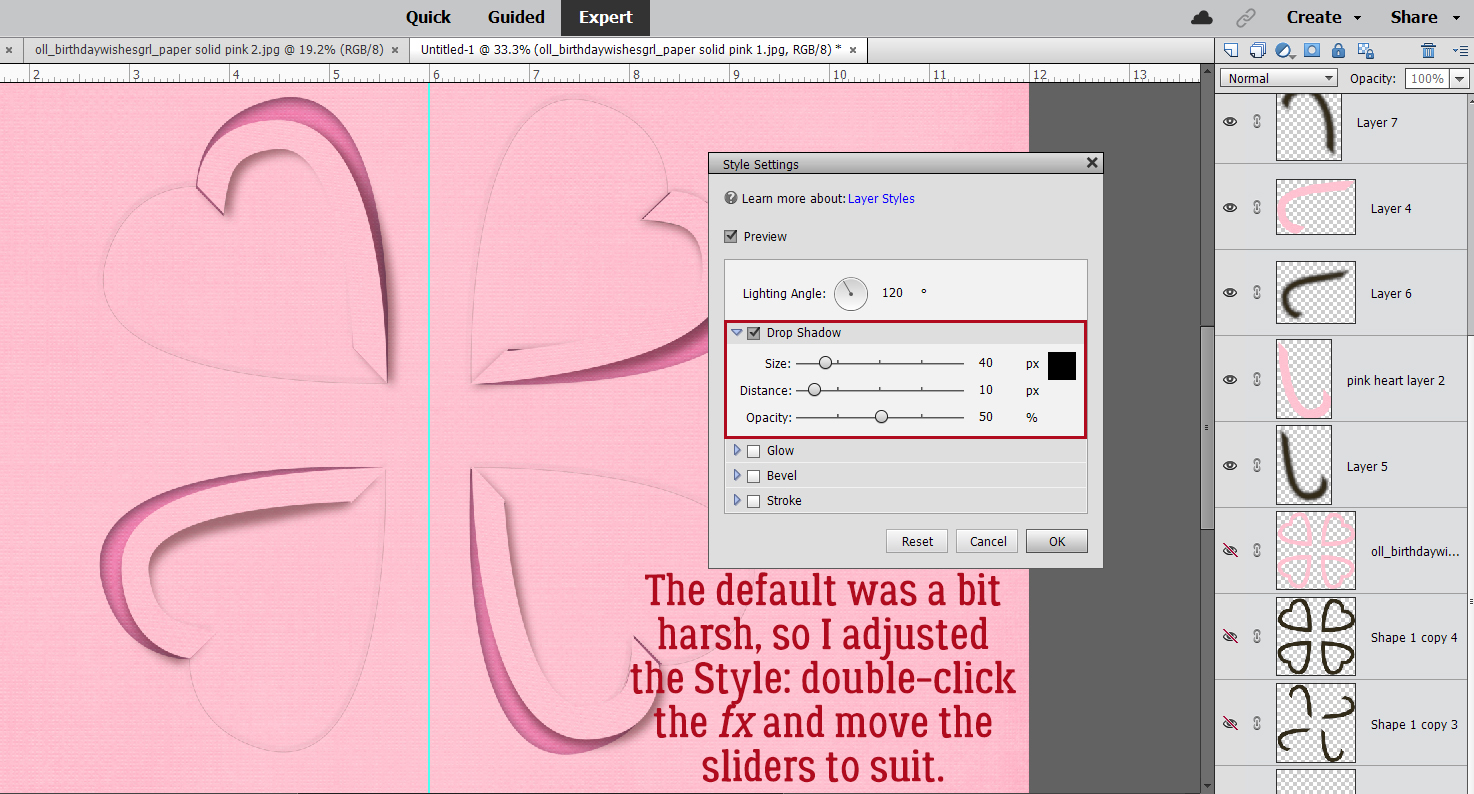
The light pink paper needs a Drop Shadow! But I won’t make you do a custom job for this one. Styles>Drop Shadows>Soft will work.

It’s a little too harsh for me, so I double-clicked on the fx icon for that layer to access the Drop Shadow controls then moved the sliders until it looked right to me.
Last thing I did was to add some flourish-y brushes between the hearts. The finished product looks similar enough to the video for me!

I’ll be back in a day or so with the transcript of my chat with our two February Spotlight Designers. There’s too much going on here today and I don’t want our chat to be lost in the pile! Next week, I think I’ll have mercy on all of us and go for something simple, with only a few steps. Until then…
PDF Version : https://bit.ly/3sZnHMv
![]()
Welcome to February.
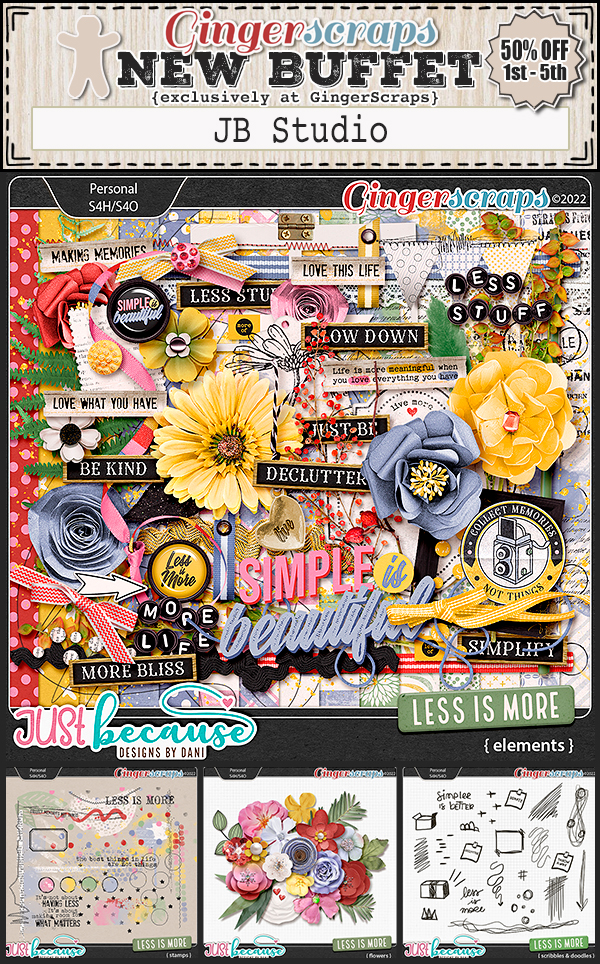
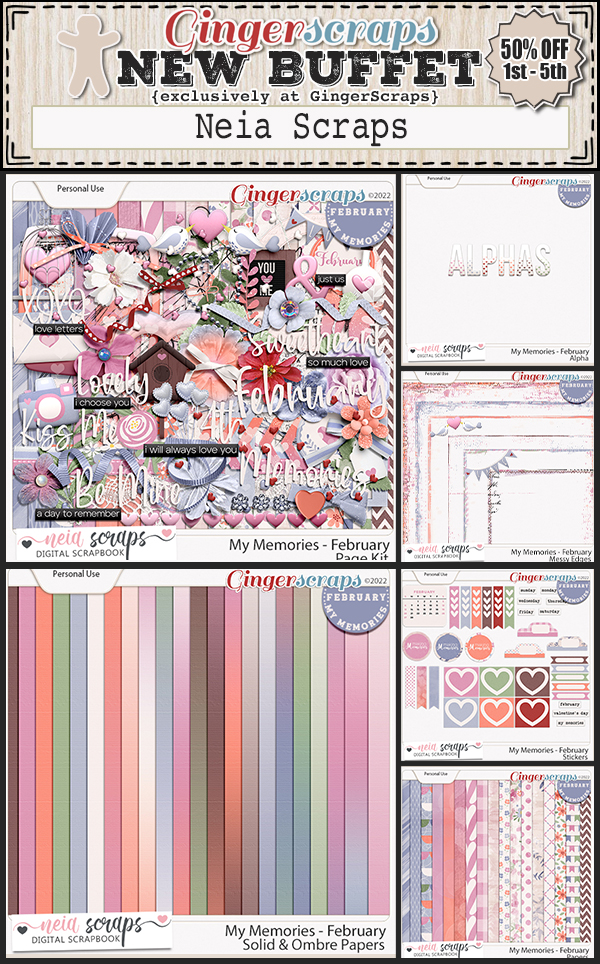
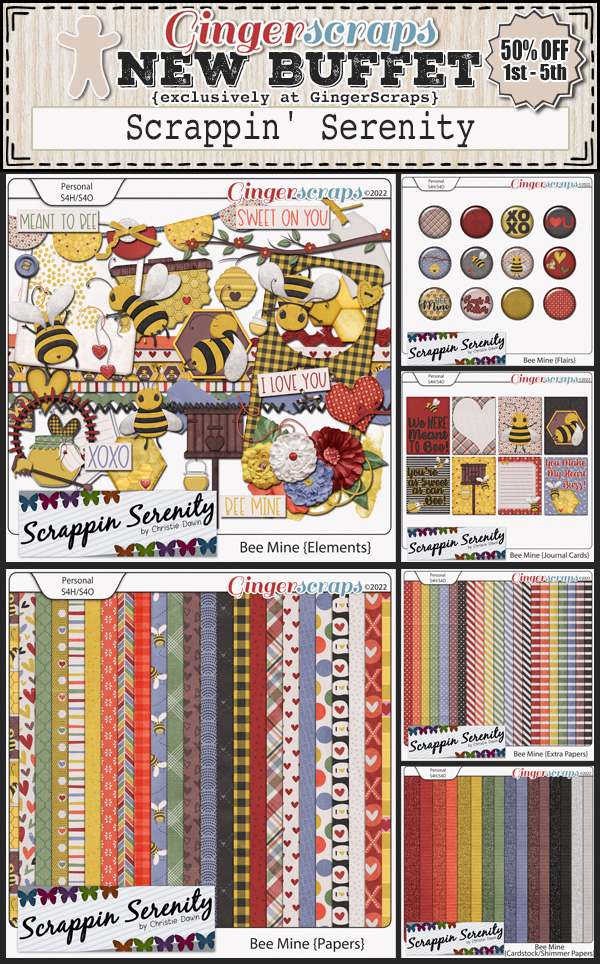
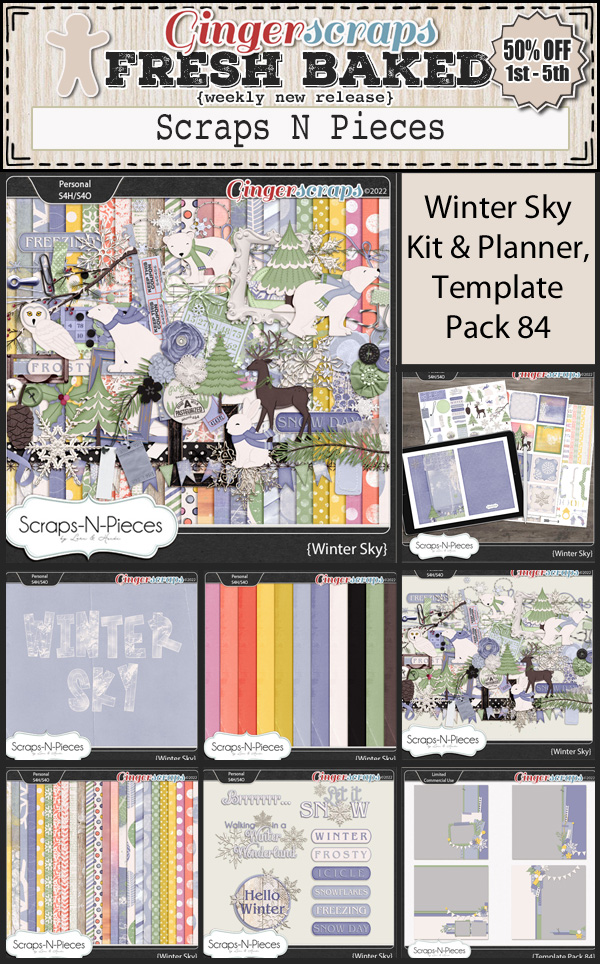
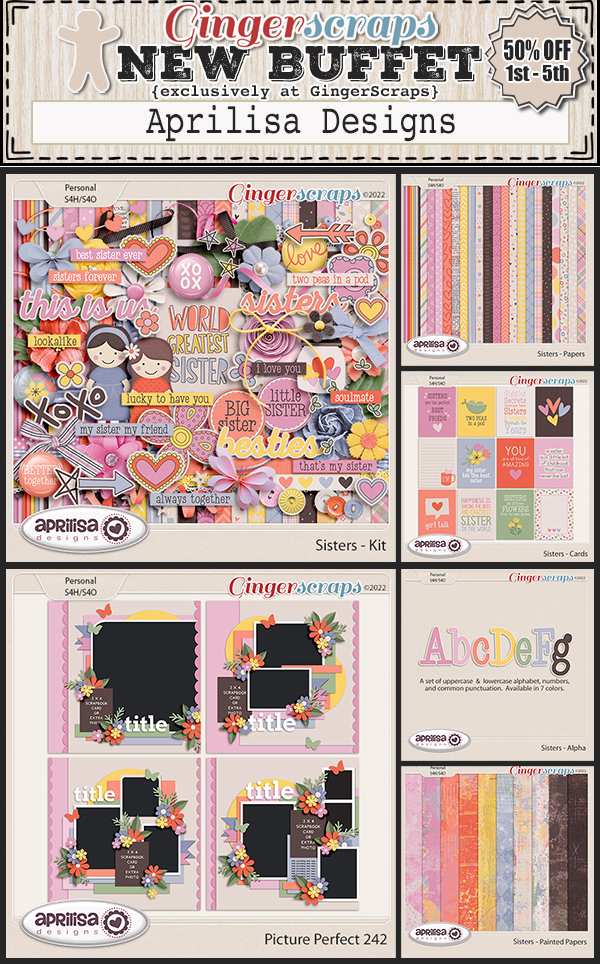
It is the 1st of the month and you know what that means, a huge, exciting newsletter! We have a New Buffet, New Monthly Mix, New Free With Purchase Collab, New Challenge Reward, New Daily Download on the GingerScraps Blog & a New Designer!
Let’s start out with the December Buffet. Don’t forget to check out the Buffet Bundles. One easy click to add bundles of Buffet goodies to your cart.

These colors are wonderful. Valentines colors with a little bit of a twist.


Remember any $10 spent in the store gets you this great collab.

The February Monthly Mix is perfect for those pictures with your valentine.

Now to the February Daily Download Sneak Peek. This month’s Daily Download is a collab from Aimee Harrison Designs and Cheré Kay Designs.

We don’t have any guest designers this month but we do have ONE permanent designer to announce!!
So happy to announce that Karen Chrisman Designs will be staying on at GingerScraps permanently!

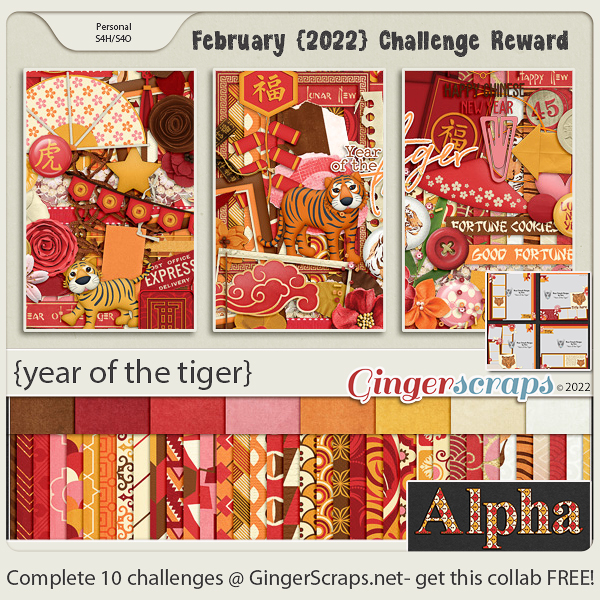
Take a look at the new challenge reward kit. If you complete any 10 challenges this month, you get this gorgeous collab as a reward!
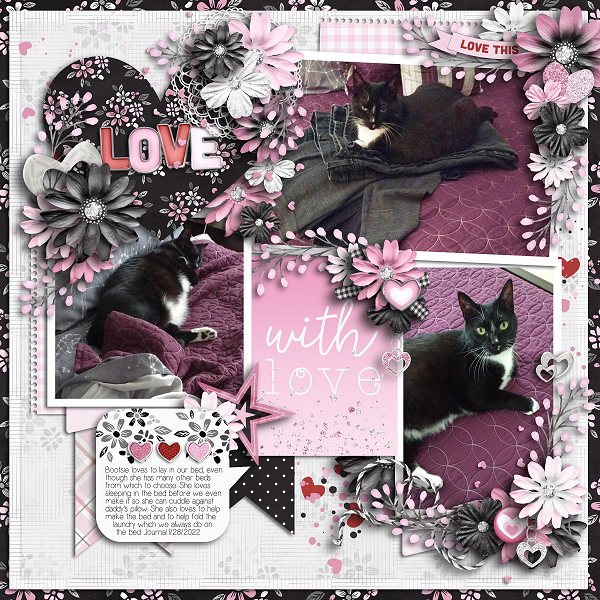
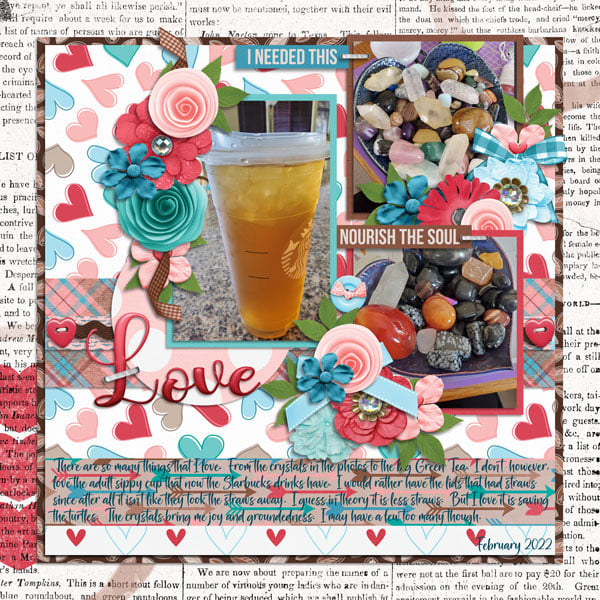
Let’s see some of the sample layouts provided by our amazing store Creative Team.


Make sure to check out the store tomorrow for a special 2/2/22 sale!