![]()
Are you ready for the last Fresh Baked of 2016? Where has the time gone? What are your scrapbooking resolutions for the New Year? Personally I want to get my stash organized (I say this every year) and then scrap more (which means getting other areas of my life organized). Leave a comment and let us know what your plans are for scrapping in 2017.
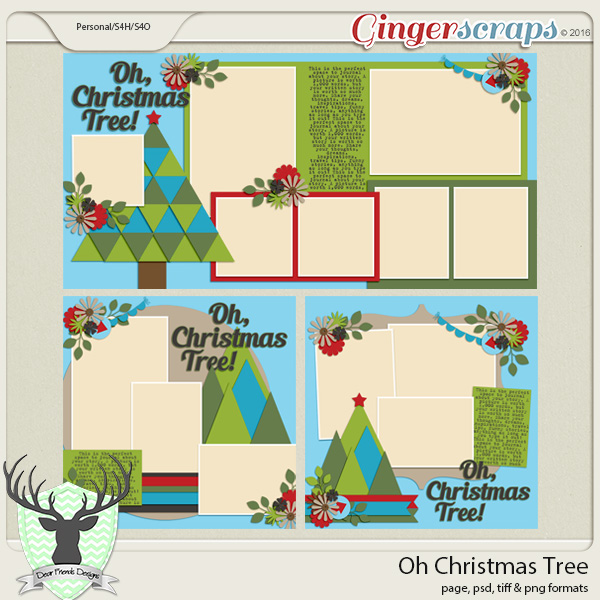
Let’s see what our designers have to offer this week.


This is just a sampling of what will be available this week. Make sure to head over to the store on Friday to see all the goodies.
![]()