
Greetings and salutations! I know you’re all wondering why I’m popping up and it’s not Tuesday. Well, I’m stepping in to bring you the March Designer Spotlight. We’re chatting with the lovely Connie Prince, the South half of North Meets South Studios. Let’s get to know her a bit better, shall we?
J: How long have you been designing?
I began designing digital scrapbooking products in 2004-2005ish, but officially selling in 2006.
J: What made you decide to design?
At the time the offerings were so limited, I was a paper scrapper and want to add unique elements to my layouts which I began to make digitally and print. It didn’t take long to realize I could do the whole thing digitally so much easier!
J: What led you to decide to design together?
Tracy & I developed a friendship early on. I think the progression into forming a brand together just happened. At the time she lived in the northeast and I am of course from the south. We named our brand North Meets South Studios. She’s in the midwest now, but you really can’t take the New Jersey out of a girl so we are sticking with our original name lol.
J: What do you use to create your designs (program, additional tools, etc.)?
I use Photoshop CC, Illustrator. I also have a scanner that I use pretty often to scan things to extract.
J: Describe your design workplace.
It’s pretty minimalistic. I have a double monitor setup, that’s the most exciting thing about it lol.
J: What motivates and inspires you as a designer?
I enjoy the process, coming up with an idea and creating it. The most rewarding part is seeing someone else use something that I’ve created to preserve their own memories.
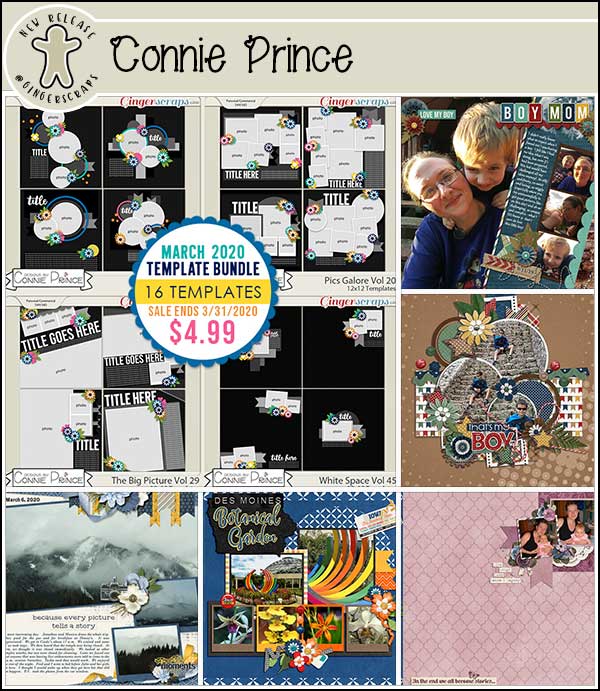
J: What is your favorite kit currently in your GS store and why?
About A Boy is my current favorite (usually my latest is my favorite lol).
J: If you could only eat one meal for the rest of your life, what would it be?
Chicken wings, hands down I am obsessed! However, if I could only eat at one restaurant the rest of my life it would be Waffle House.
J: What is your favorite game or sport to watch and play?
None of them? lol I’ll watch some when the Olympics are on.
J: What did you want to be when you were small?
I can’t really remember wanting to be anything in particular, I played school a lot so maybe a teacher? I did grow up and get a degree in education, but I didn’t really enjoy teaching very much so I retired early

J: Aside from necessities, what one thing could you not go a day without?
My phone or computer!
J: Who would you want to play you in a movie of your life?
Cameron Diaz, she’s just quirky enough!
J: If you had a warning label, what would yours say?
I would have a bunch, but definitely: If you leave cookies unattended she will eat them!
J: What celebrity would you like to meet at Starbucks for a cup of coffee?
Dolly Parton, she’s a hoot!
J: These two designers are very talented. I hope you’ll give their store a look and that you’ll take part in the Designer Spotlight challenge. And don’t forget to pick up your Daily Download here on the Blog!
![]()