Archives for August 2020

Fresh Baked: AUGUST 28, 2020

Happy Friday scrappy friends! Can you believe it’s the last Friday in August? Have your kids started back to school? Are they going in person, virtual, or a combination. Maybe you homeschool? I would love to hear where you are located and what your schools are doing. My husband and I have decided we are very glad we don’t have school-aged children any longer. We have plenty of friends that do, however, and I know they are struggling.

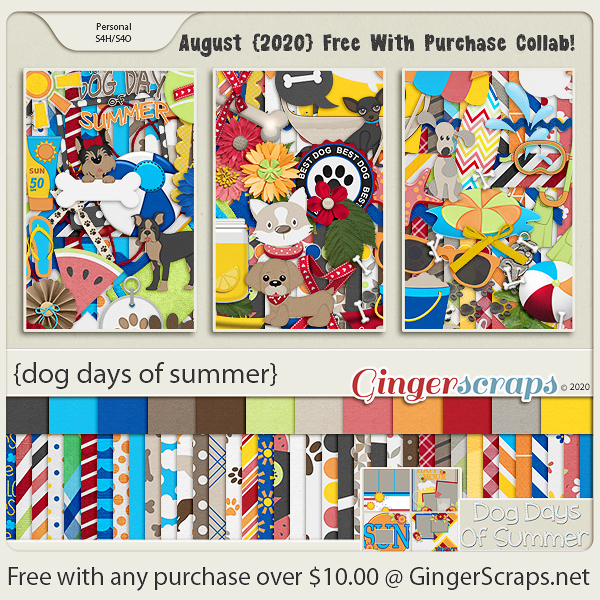
Remember, if you spend $10 or more in the store you get this great kit for free.

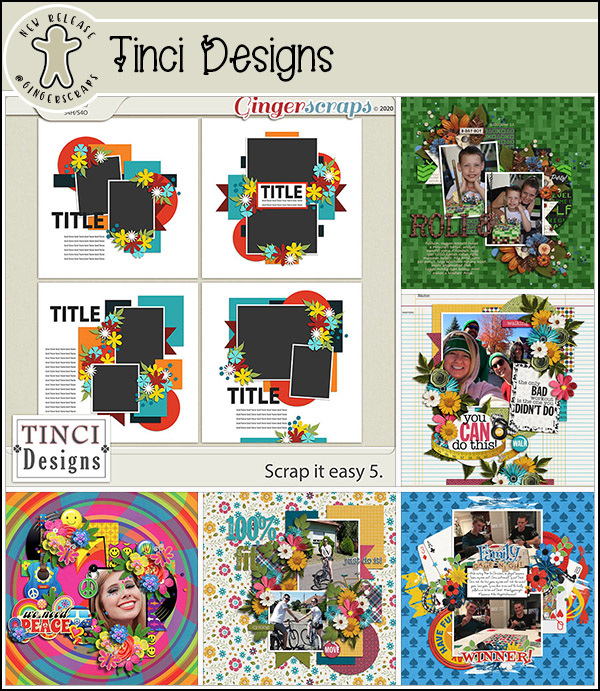
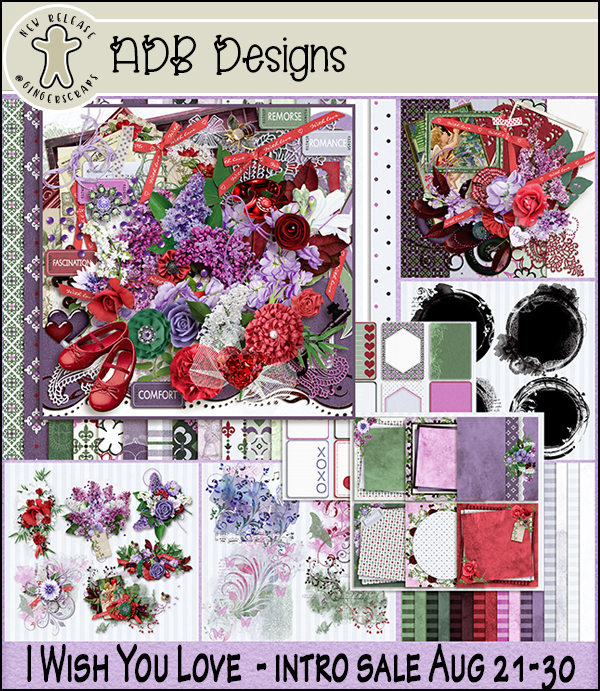
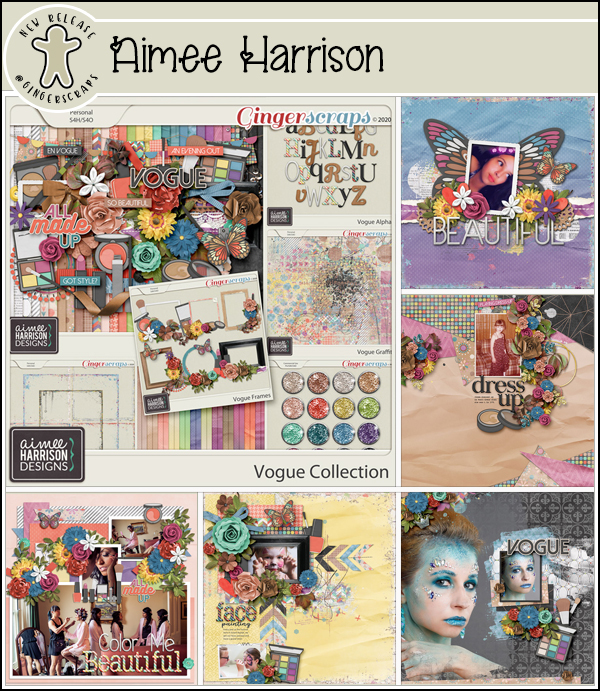
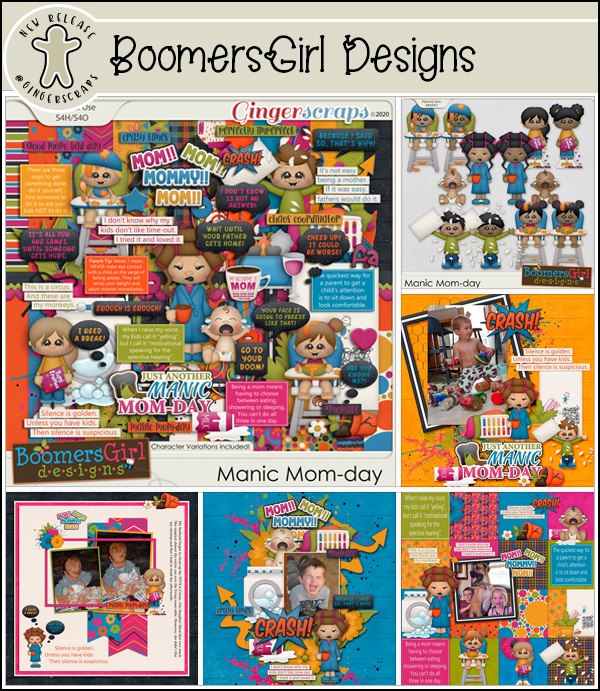
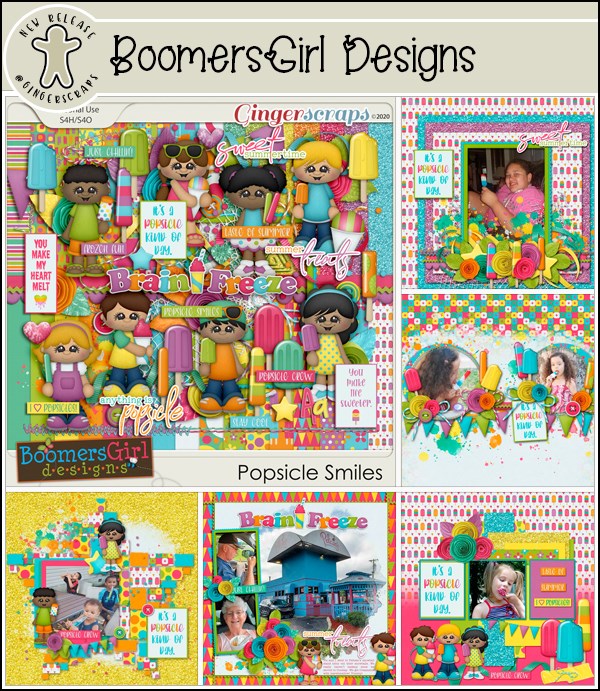
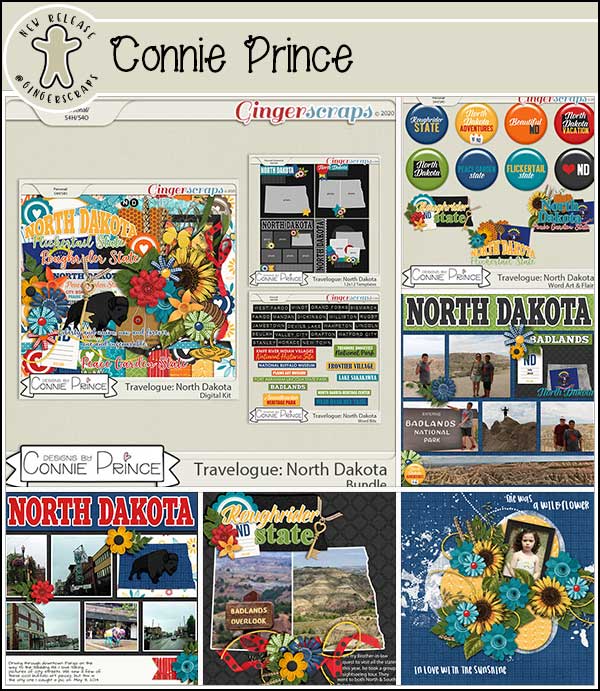
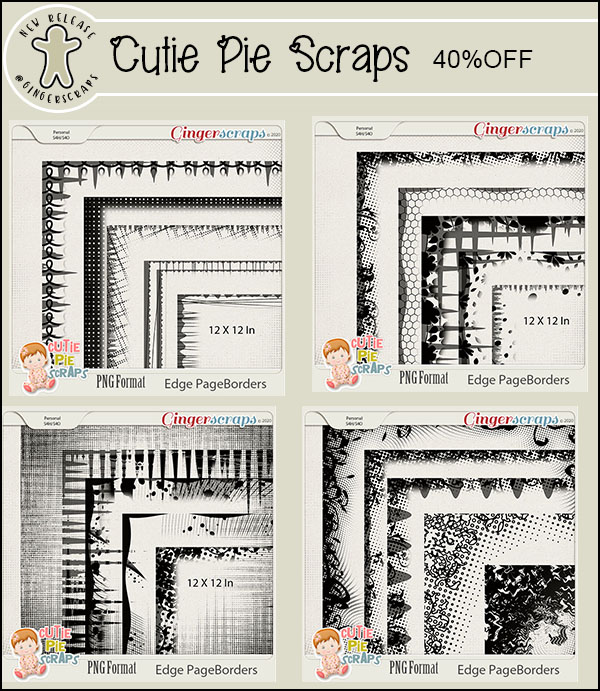
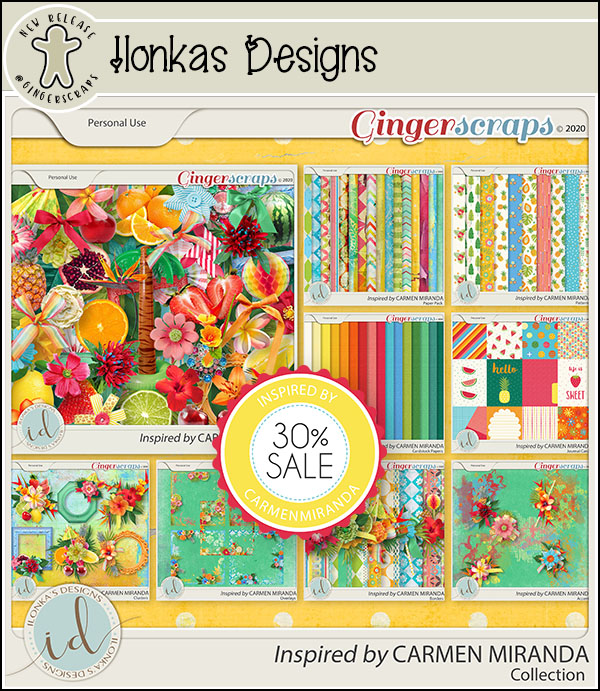
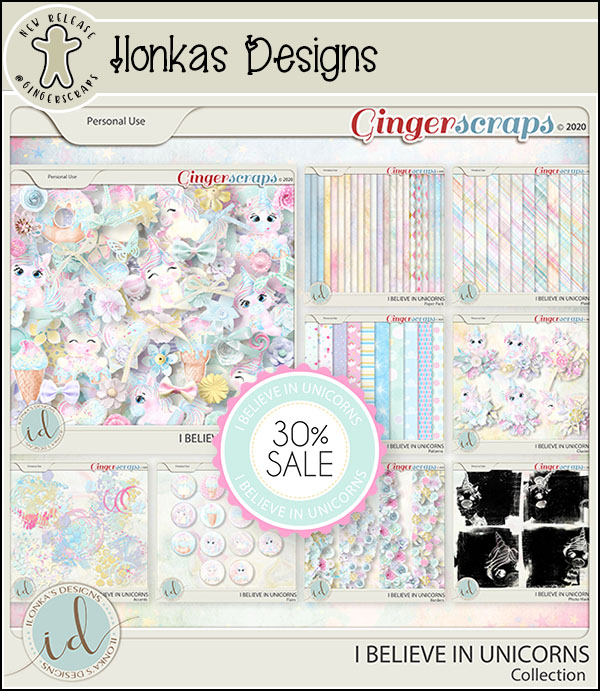
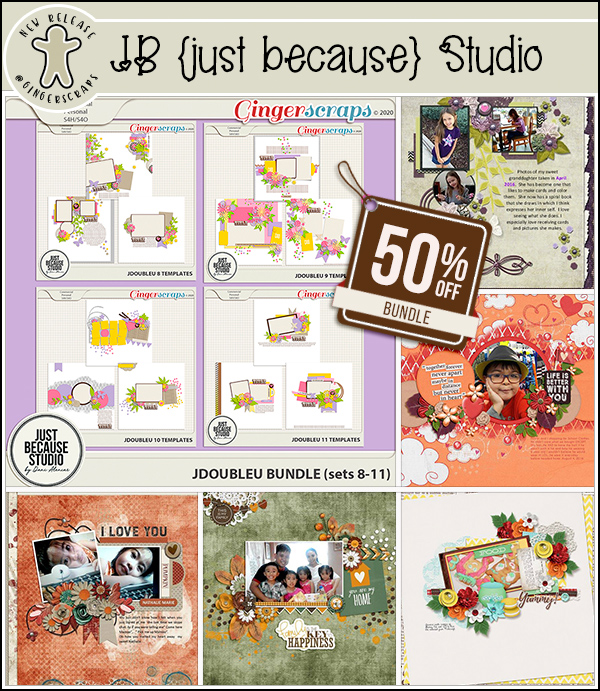
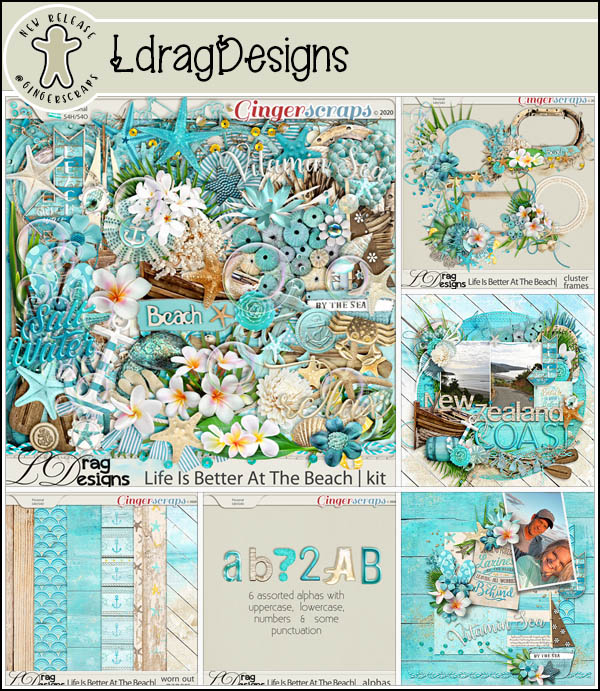
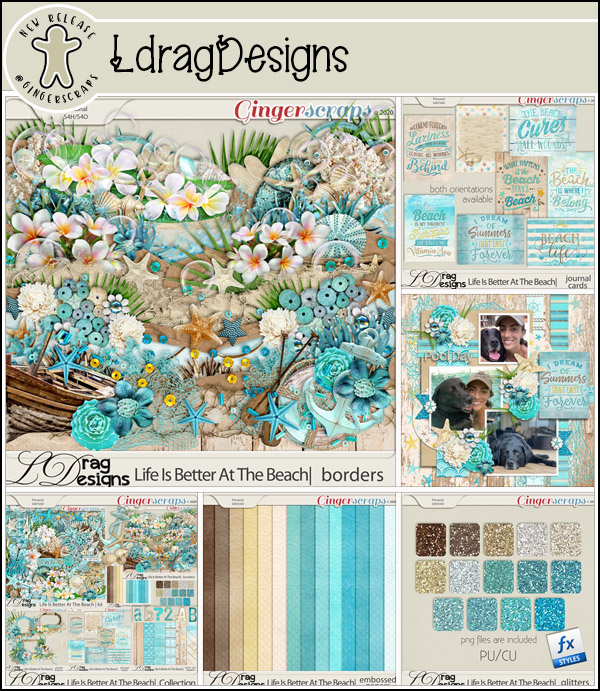
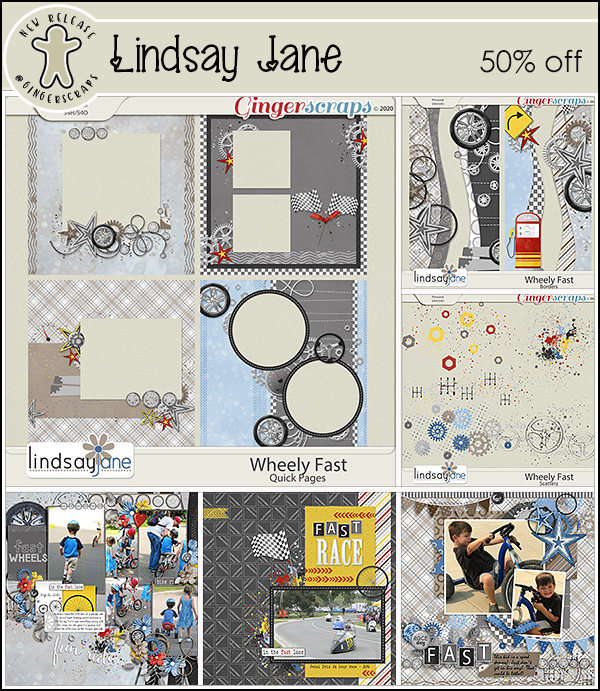
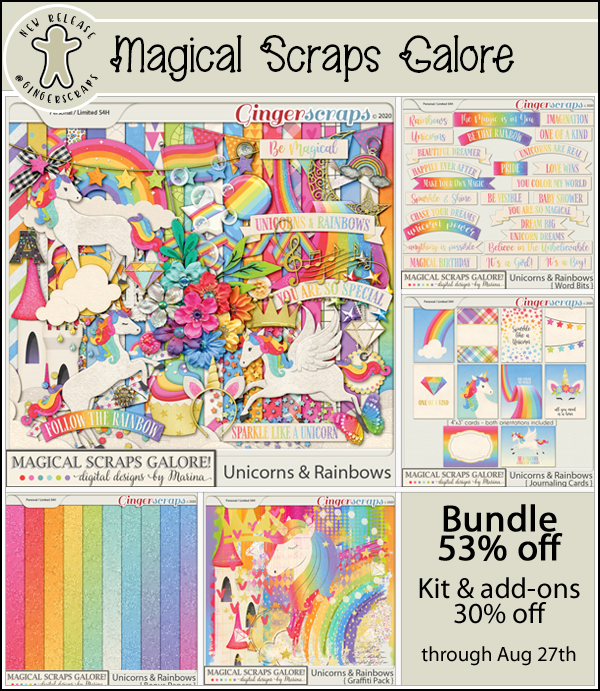
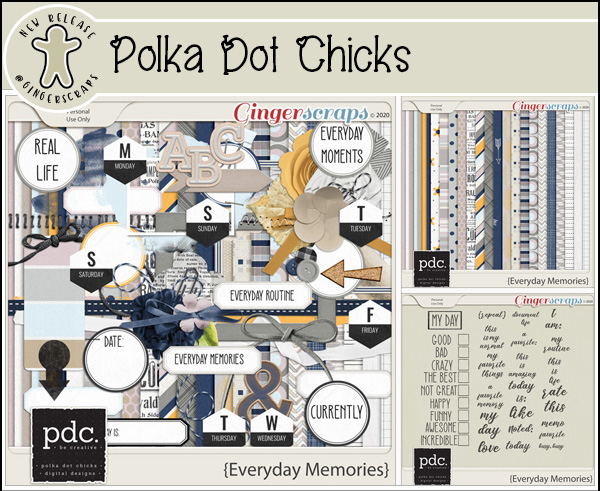
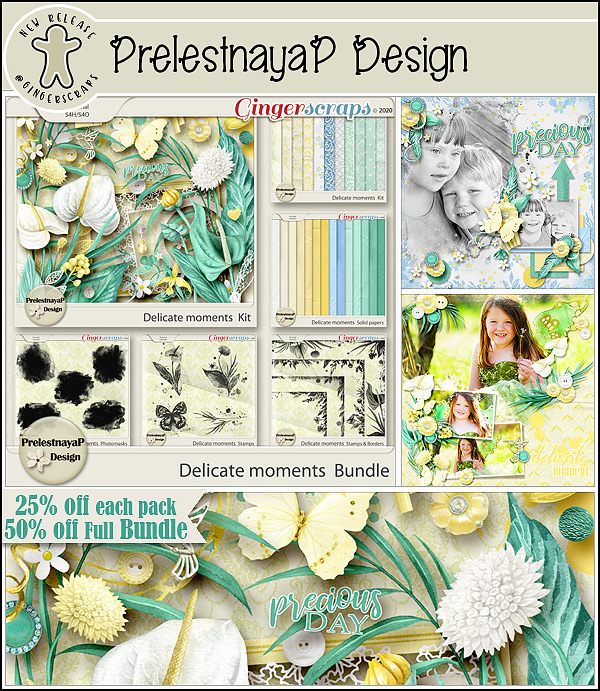
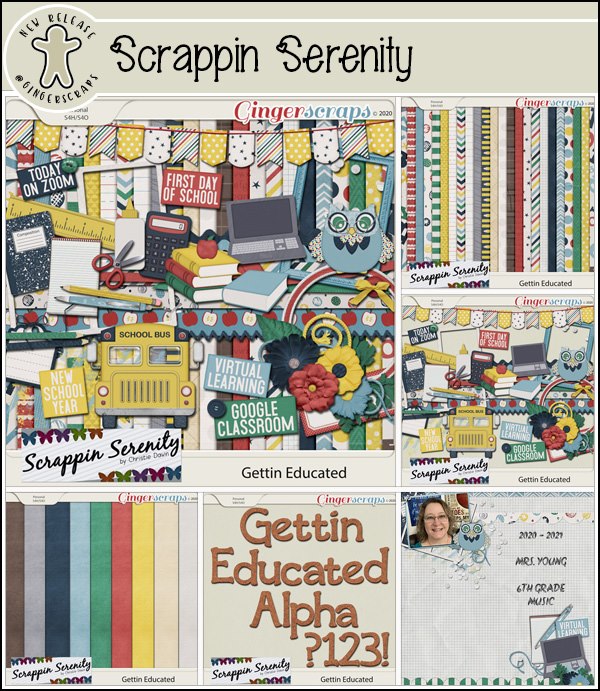
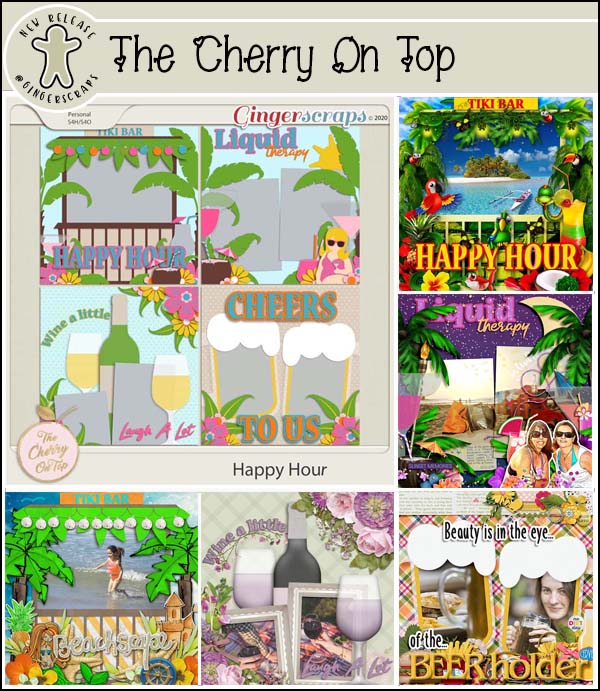
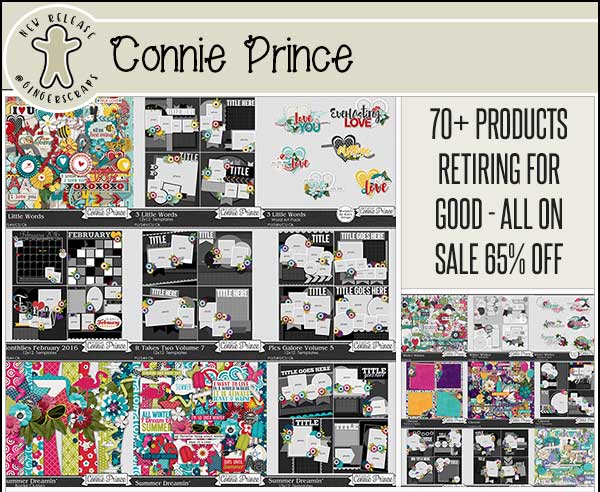
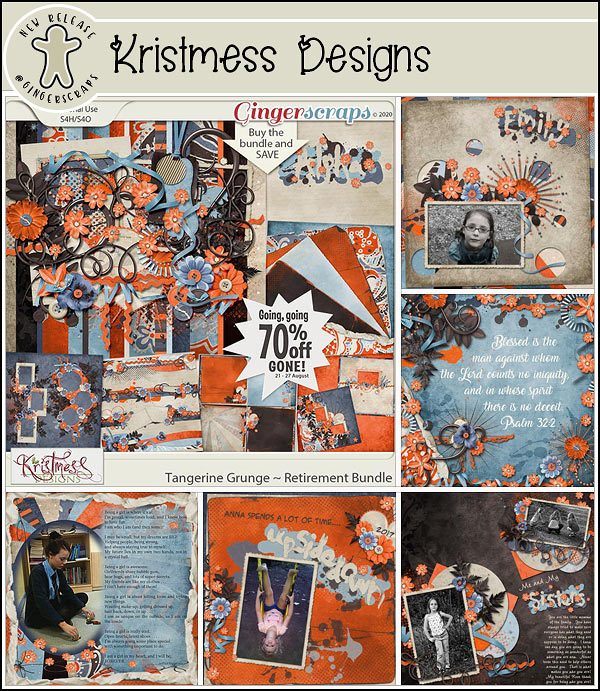
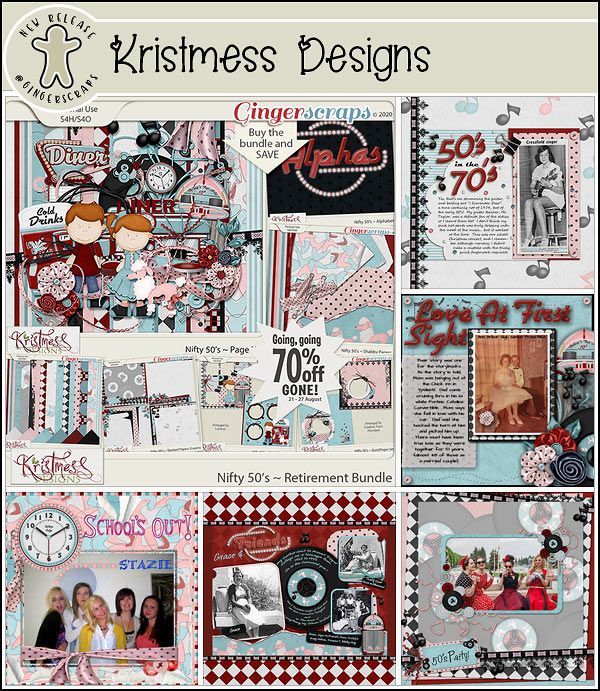
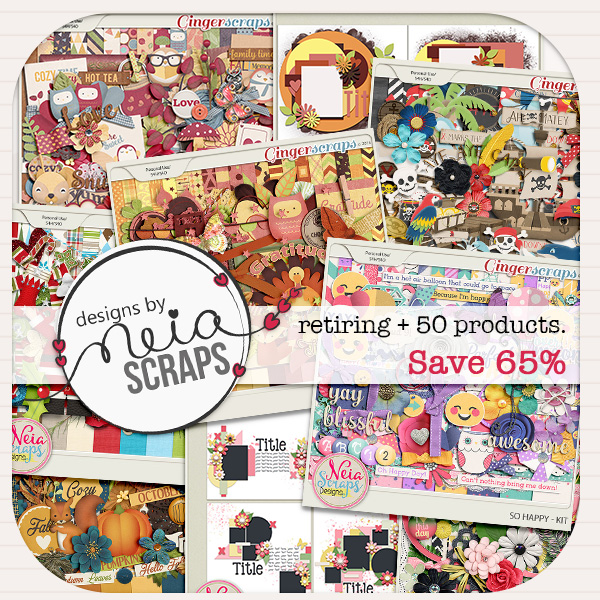
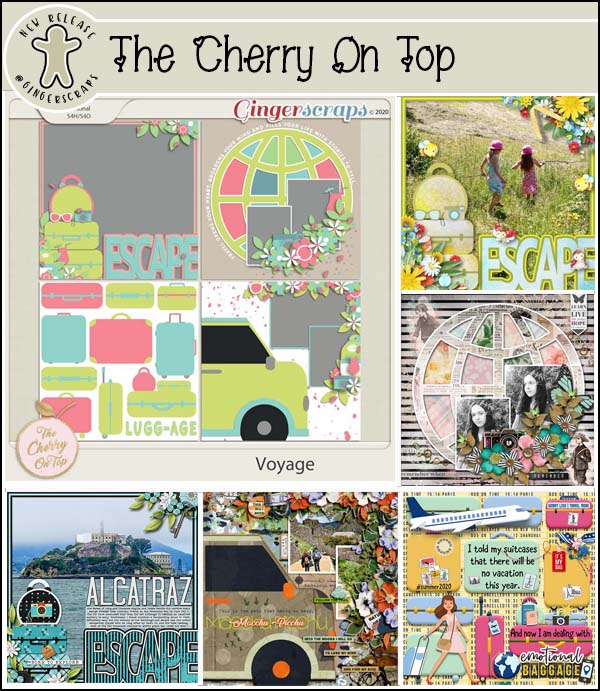
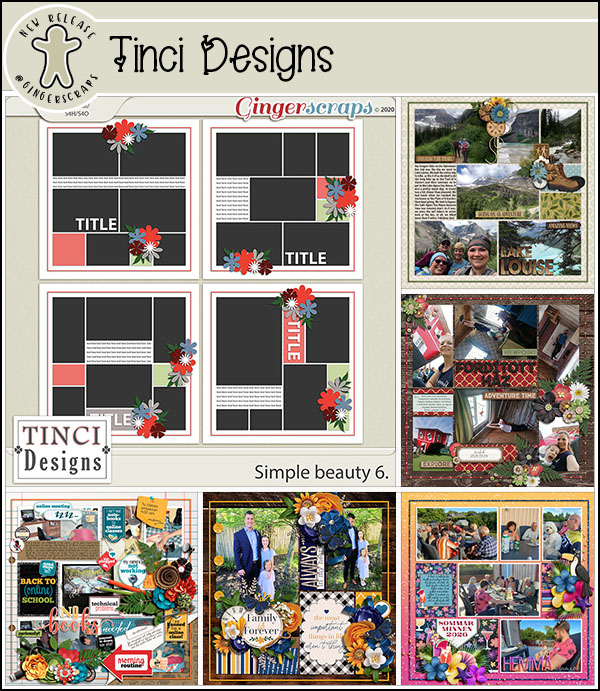
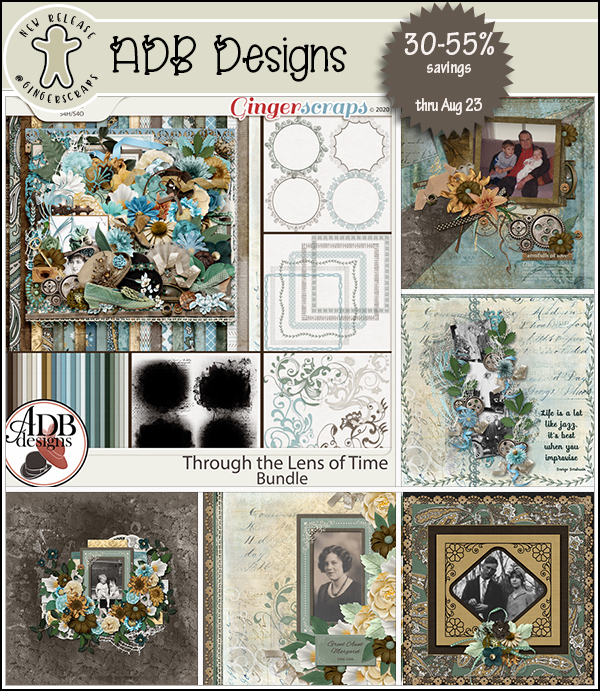
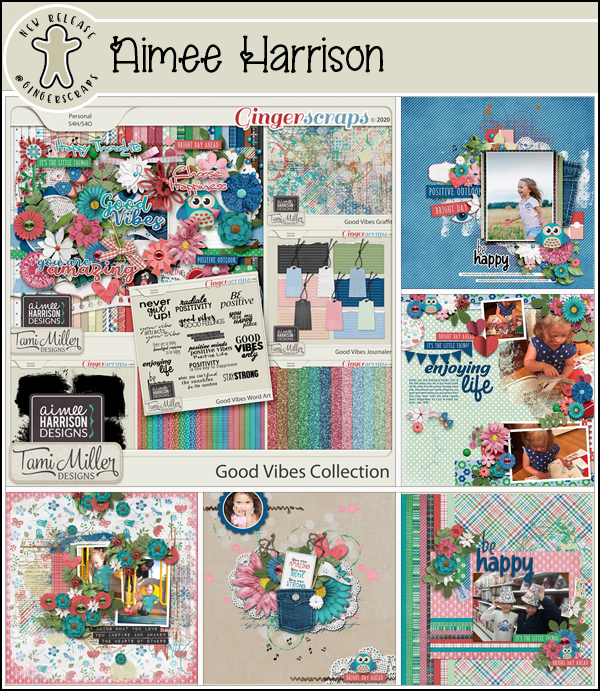
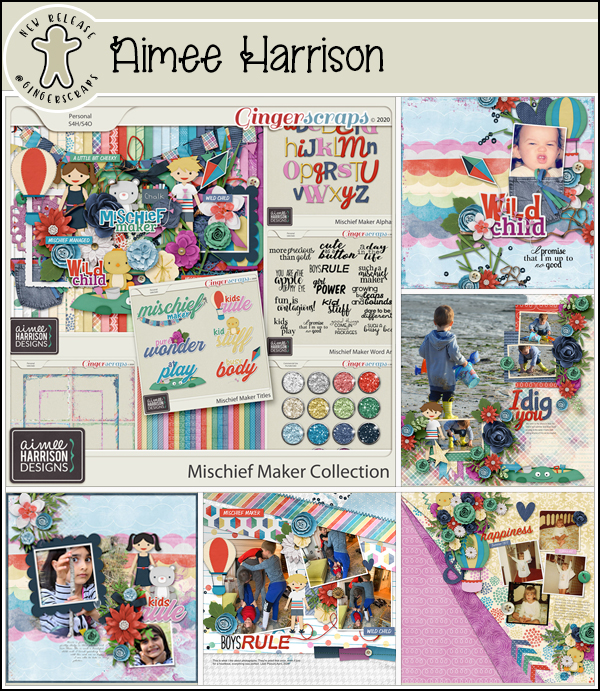
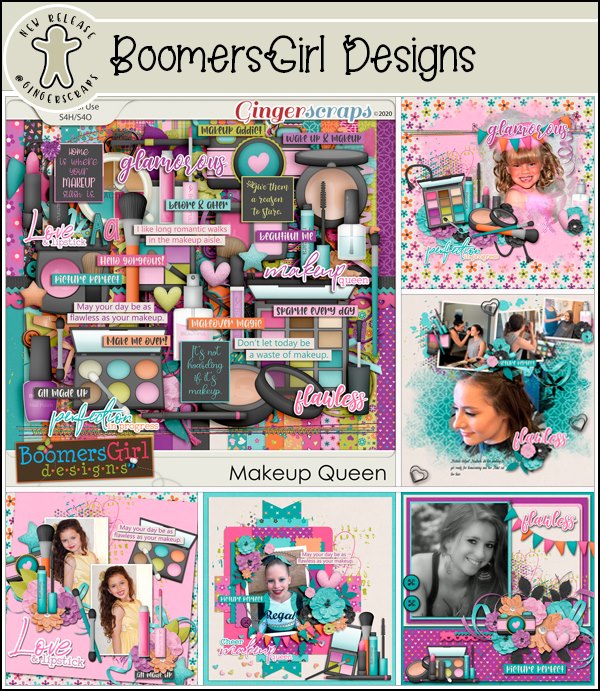
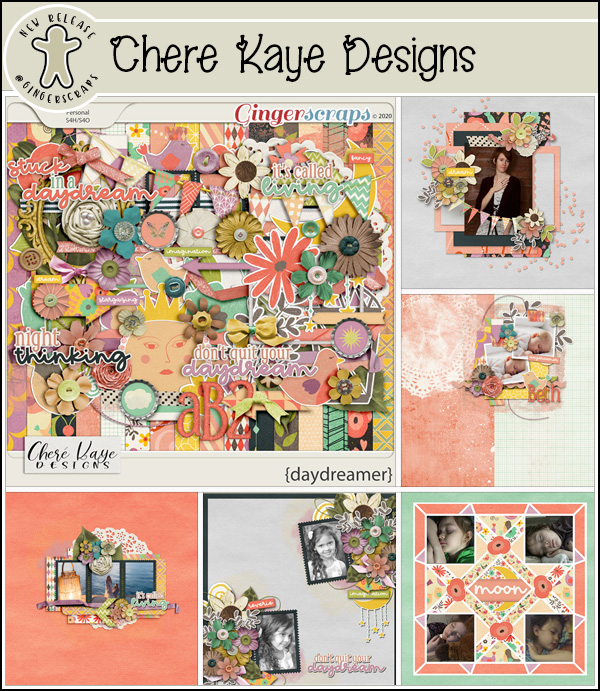
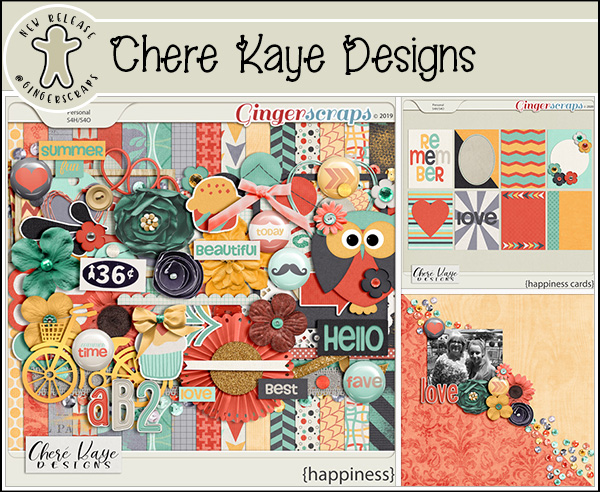
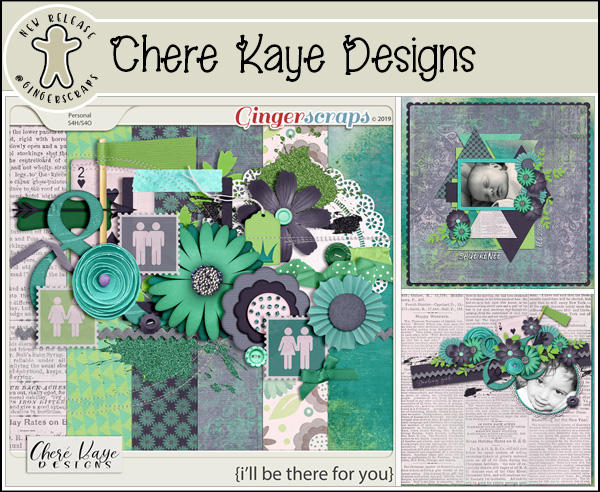
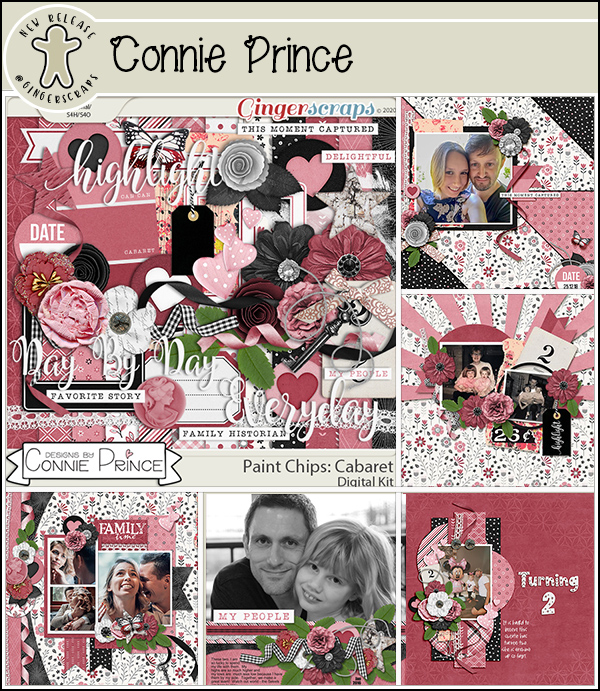
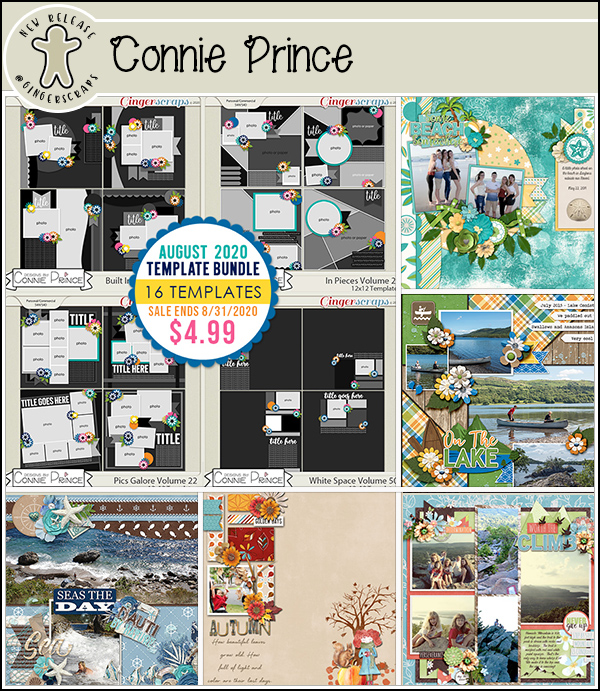
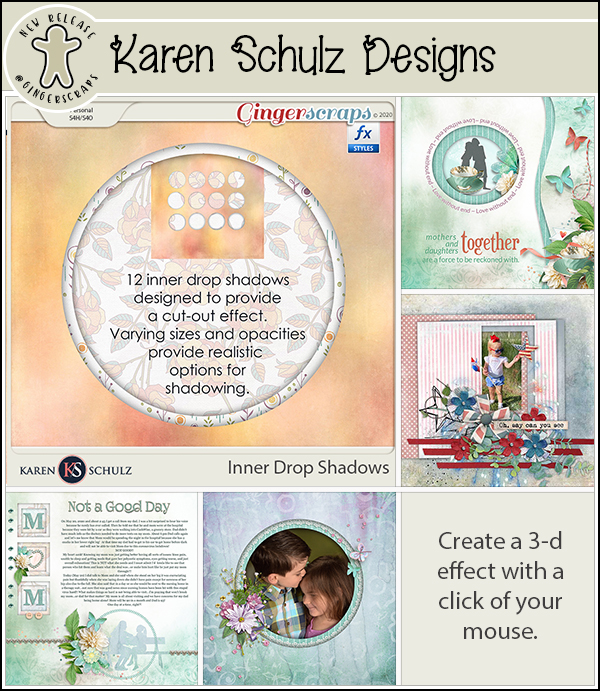
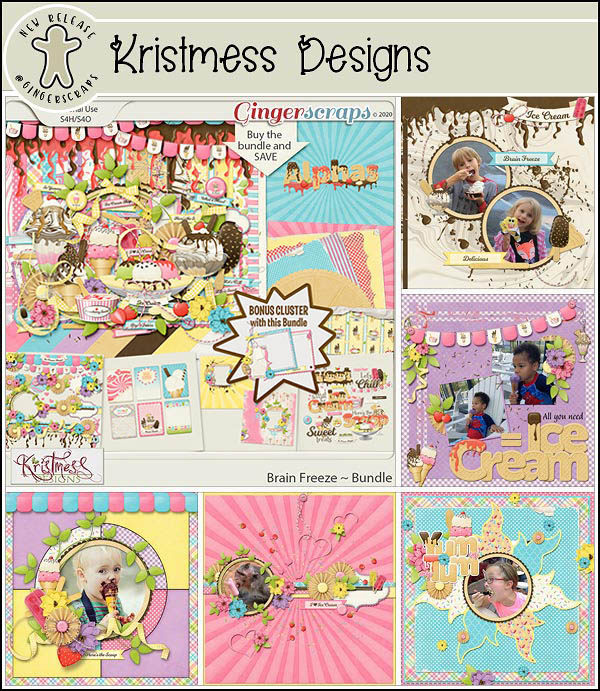
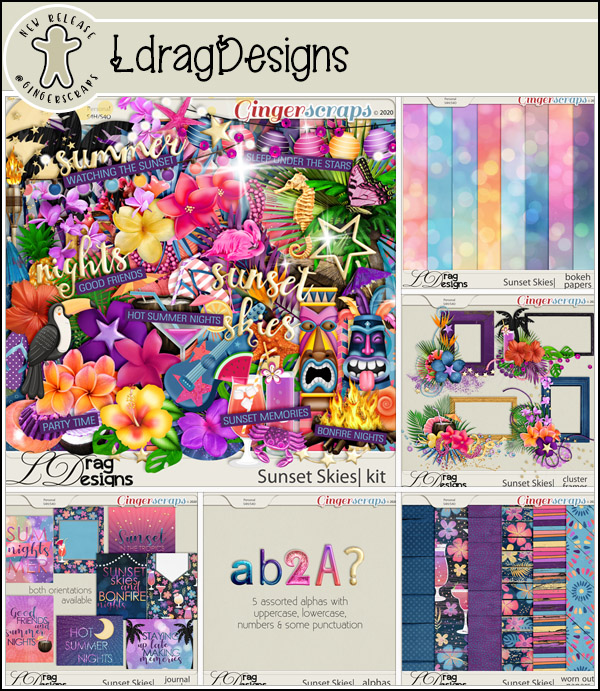
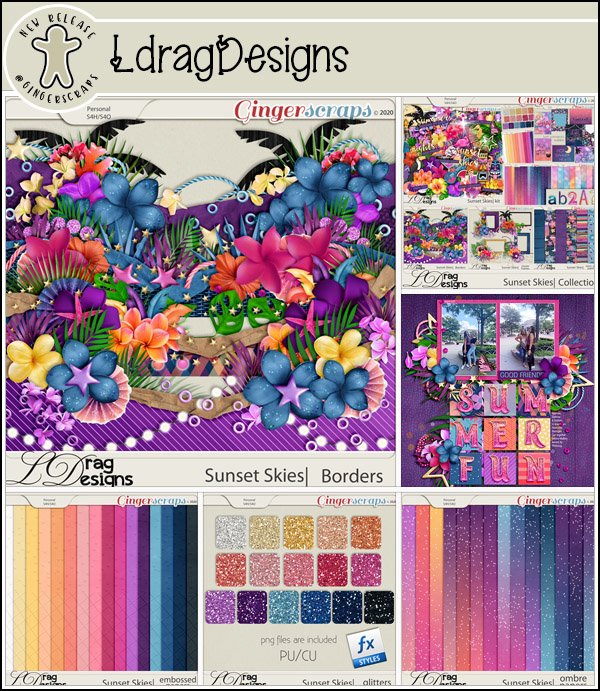
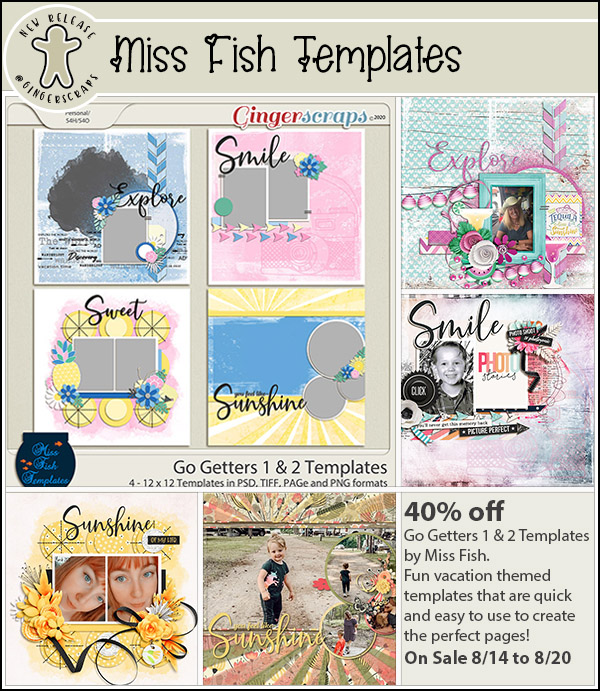
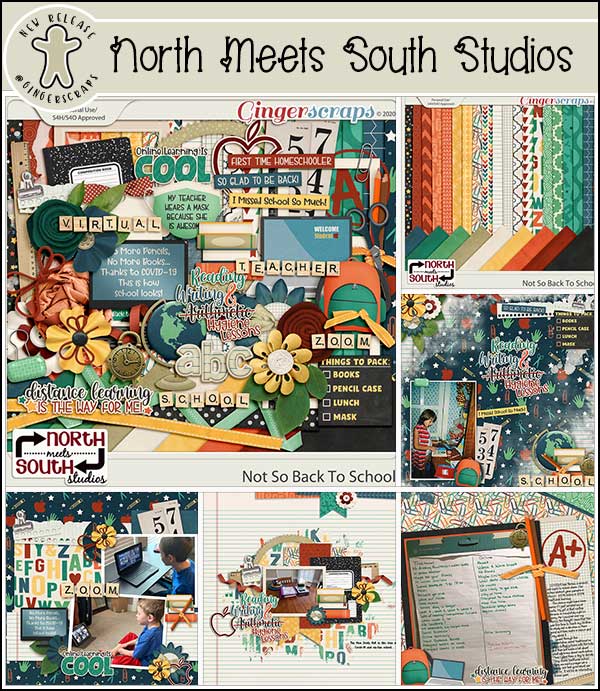
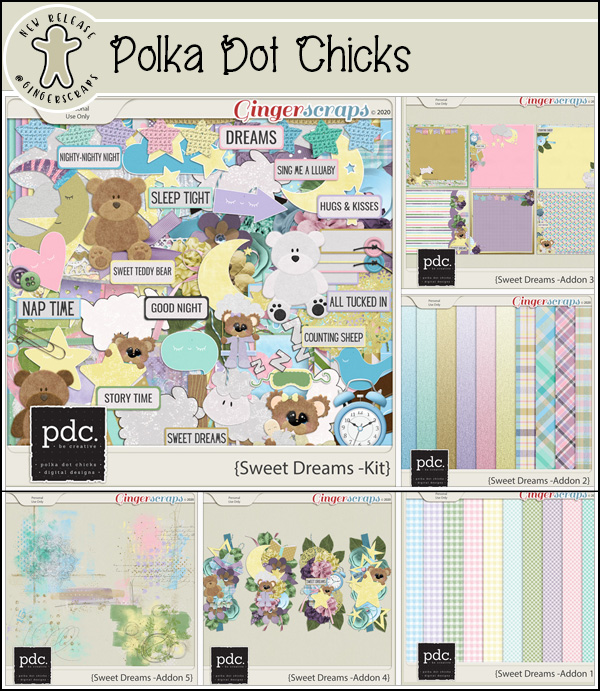
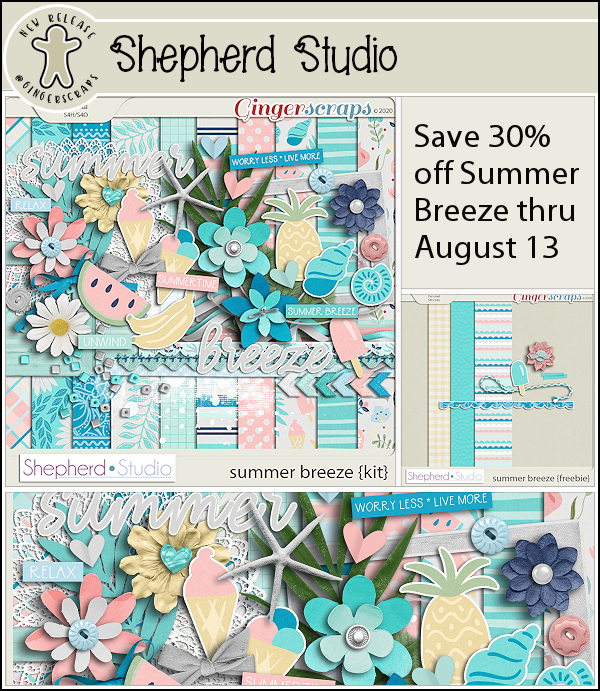
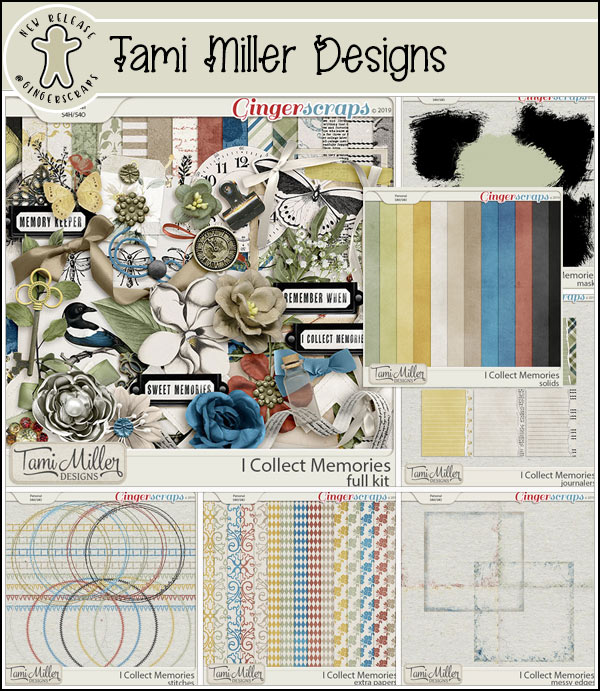
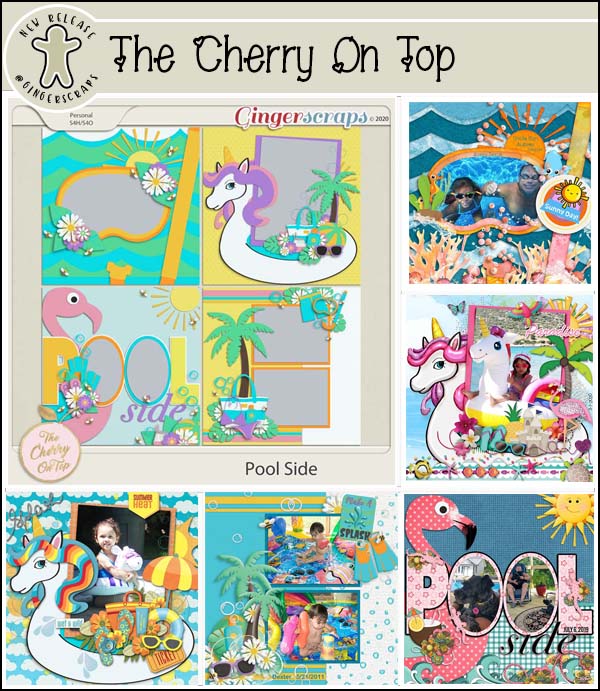
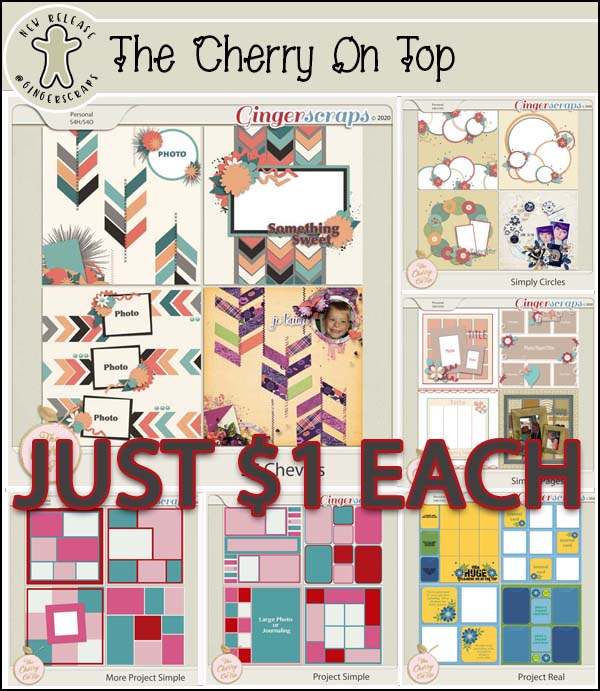
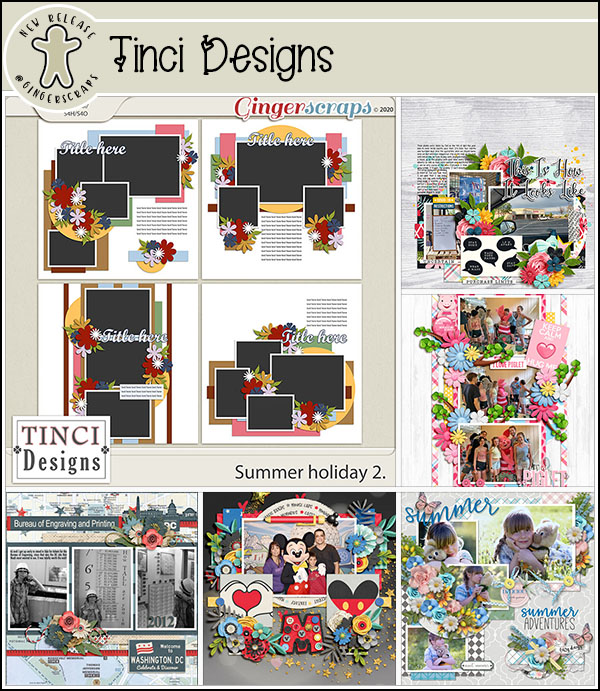
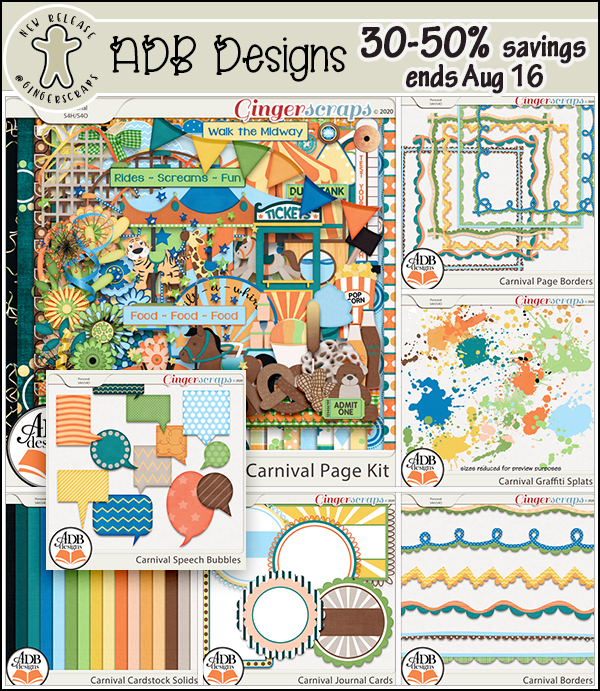
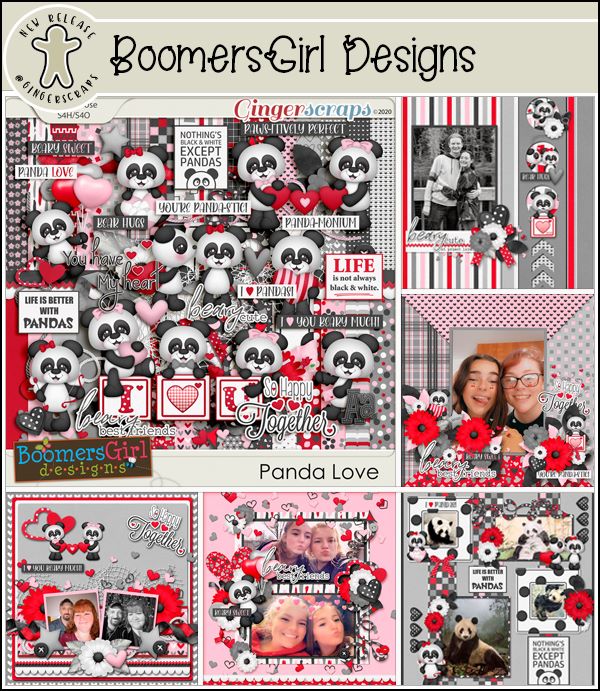
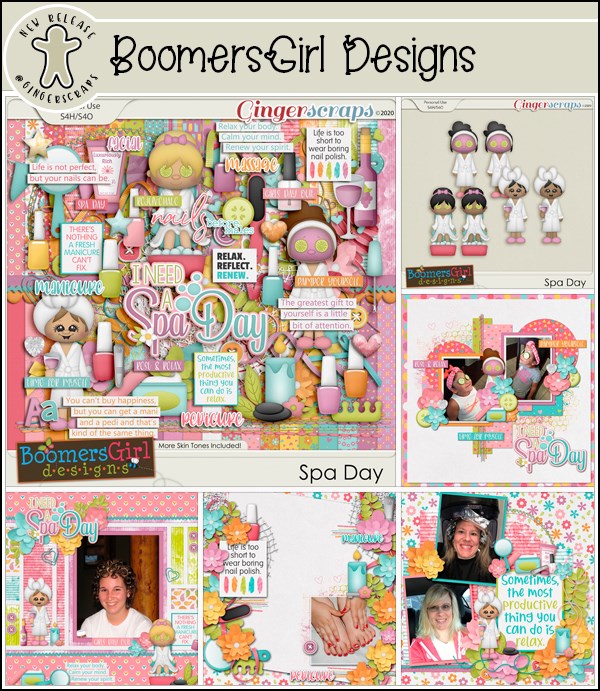
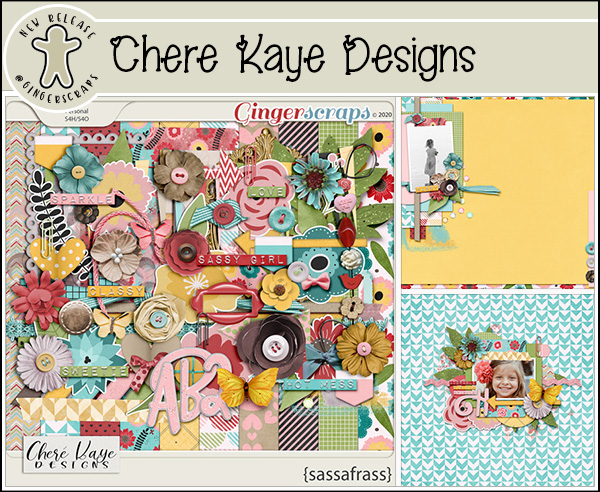
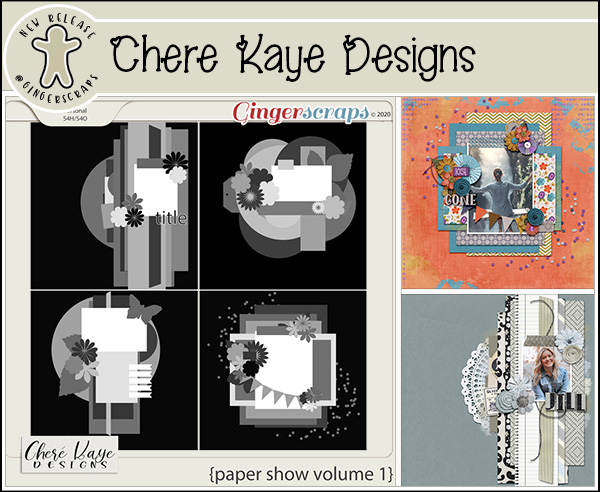
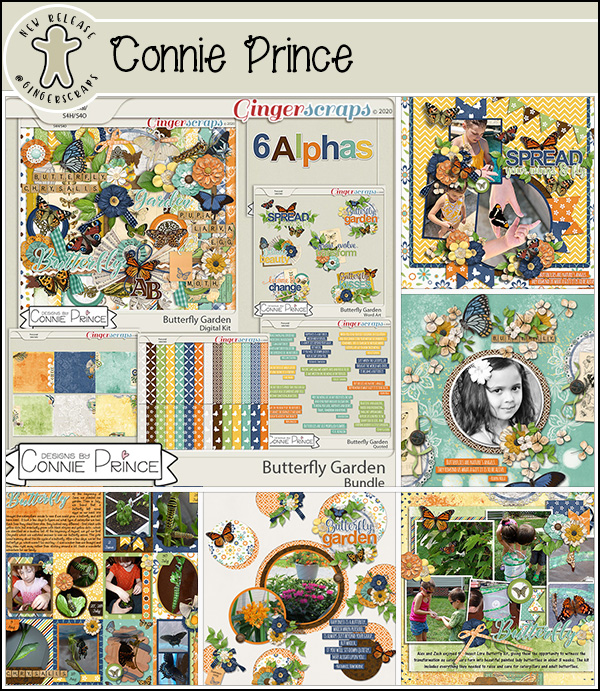
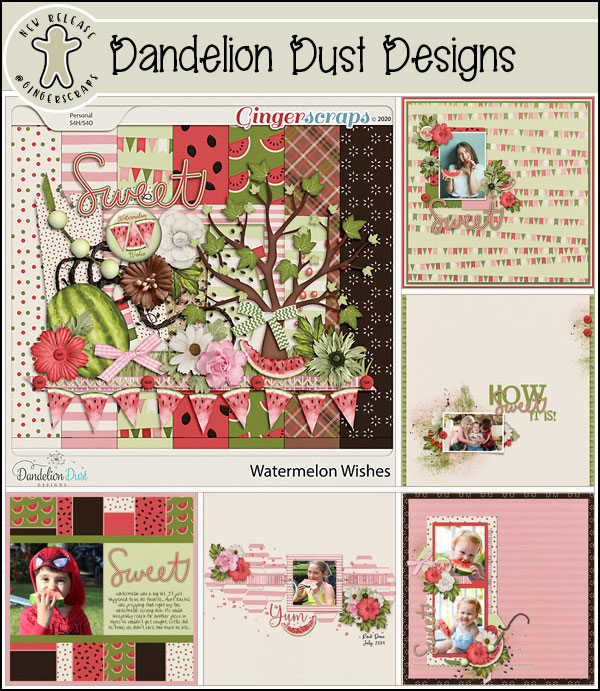
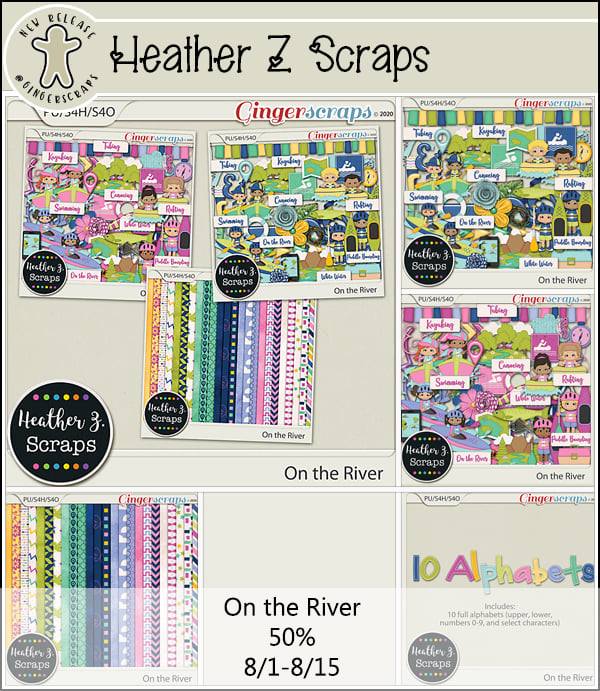
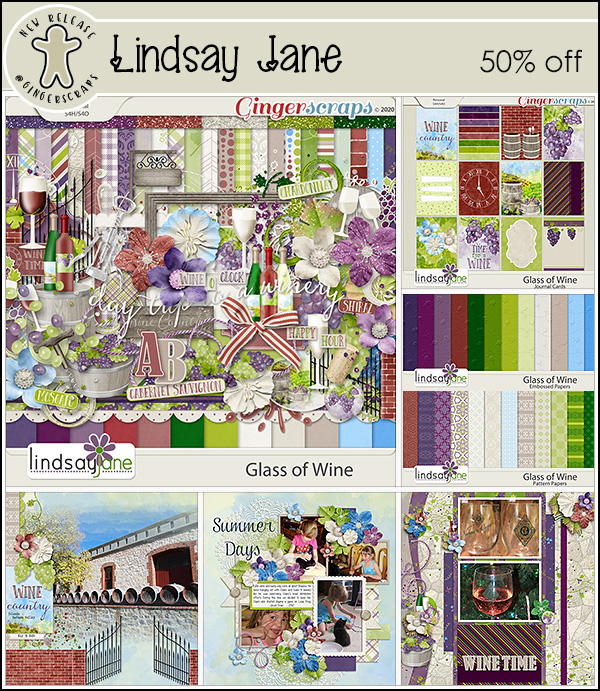
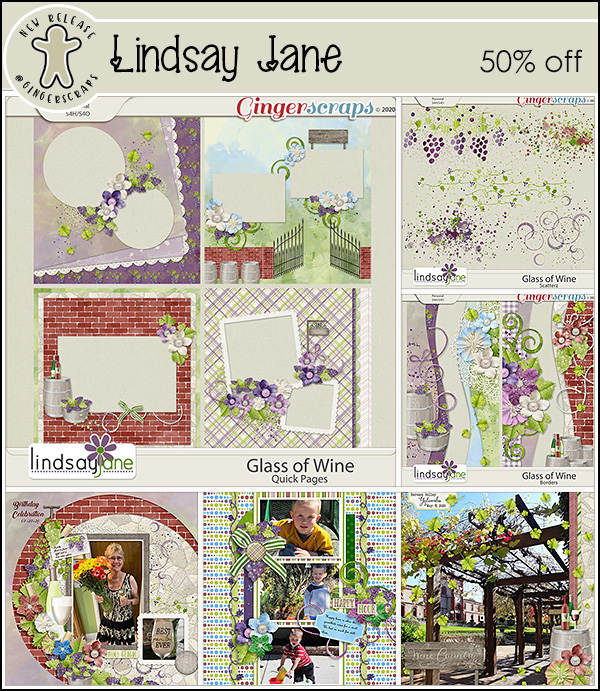
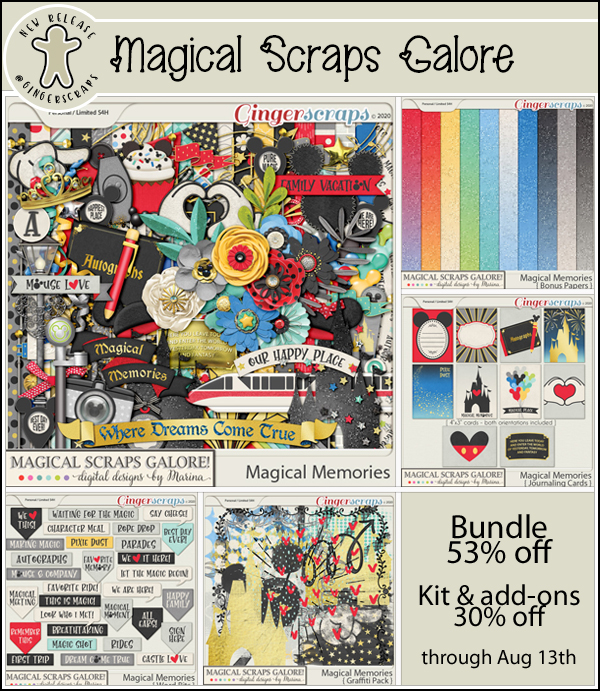
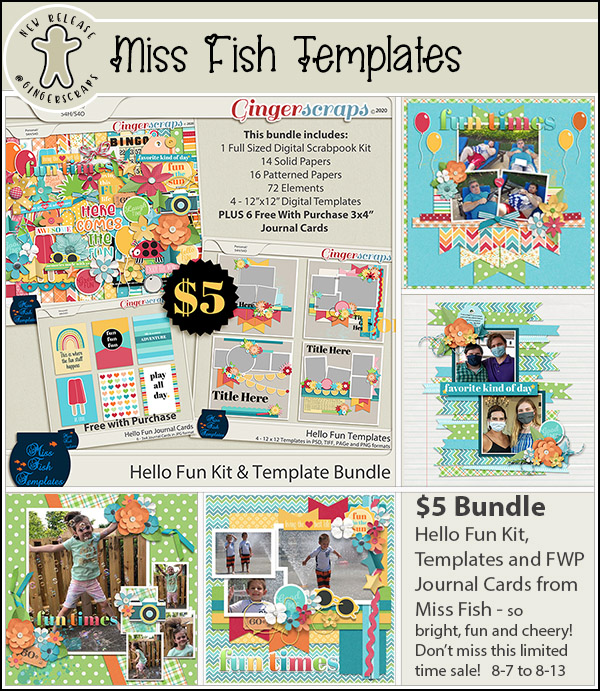
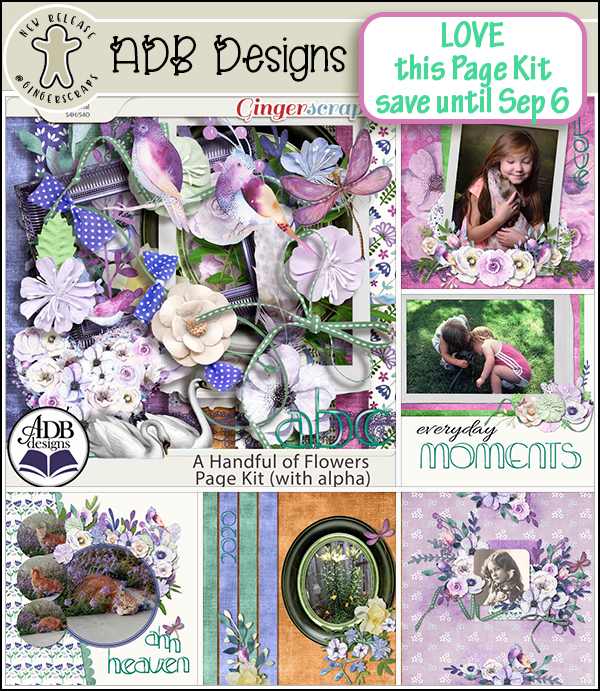
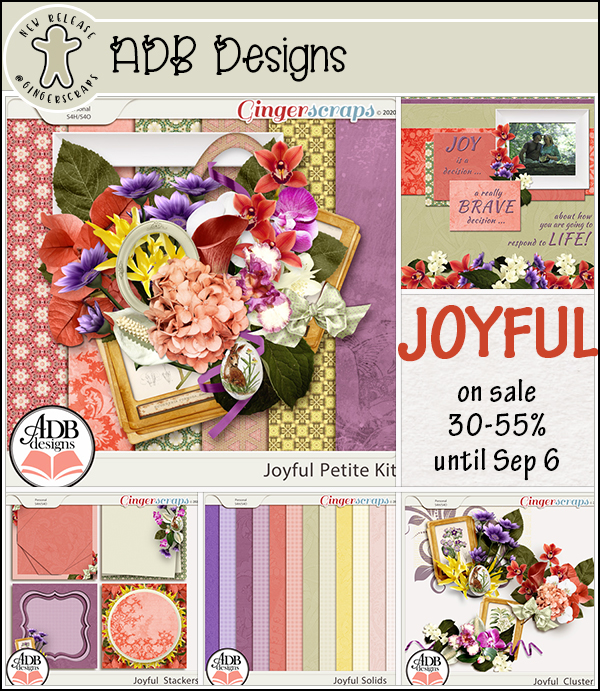
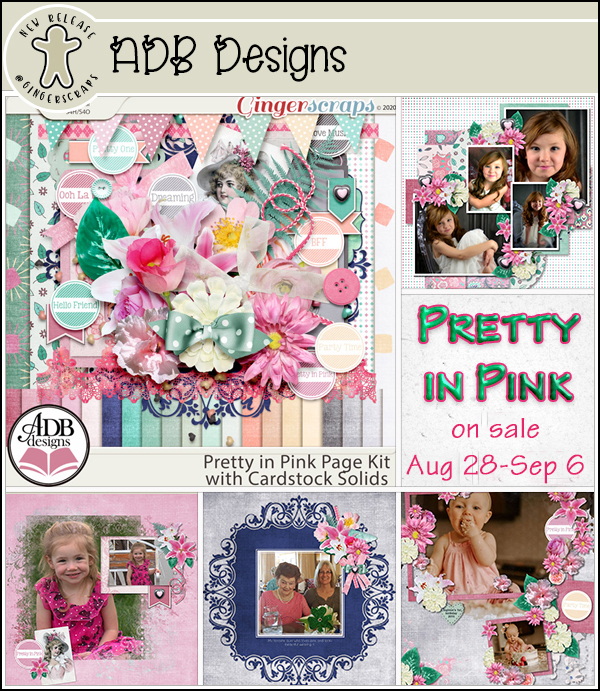
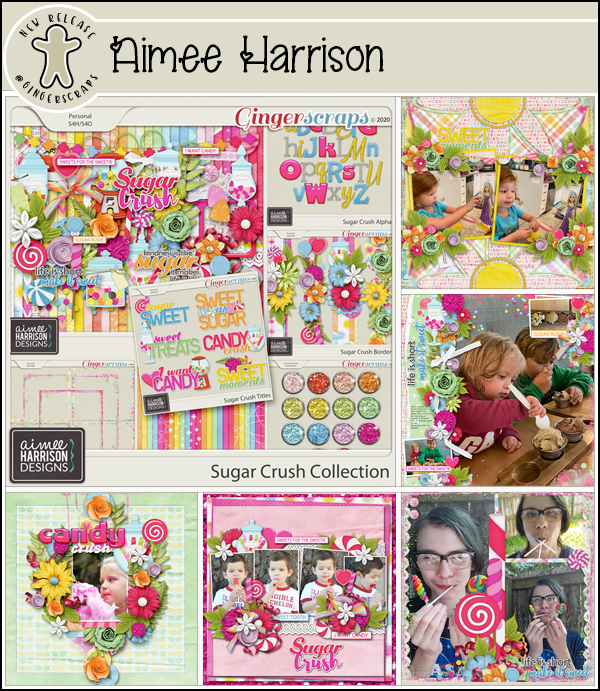
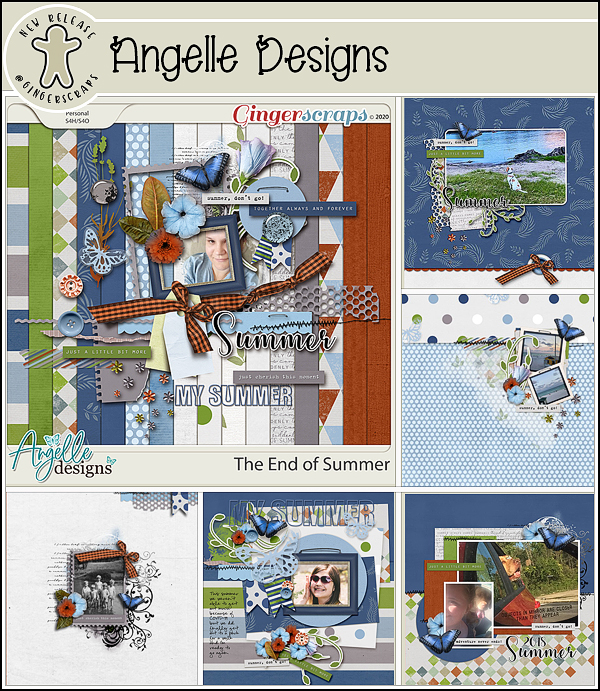
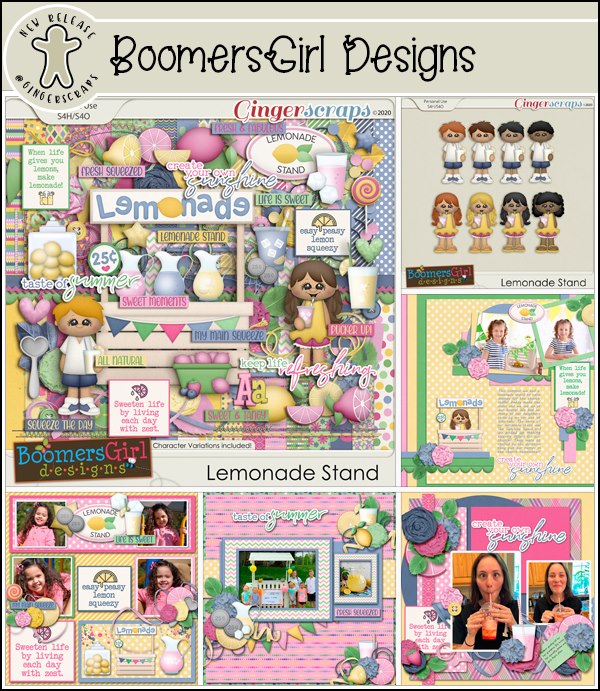
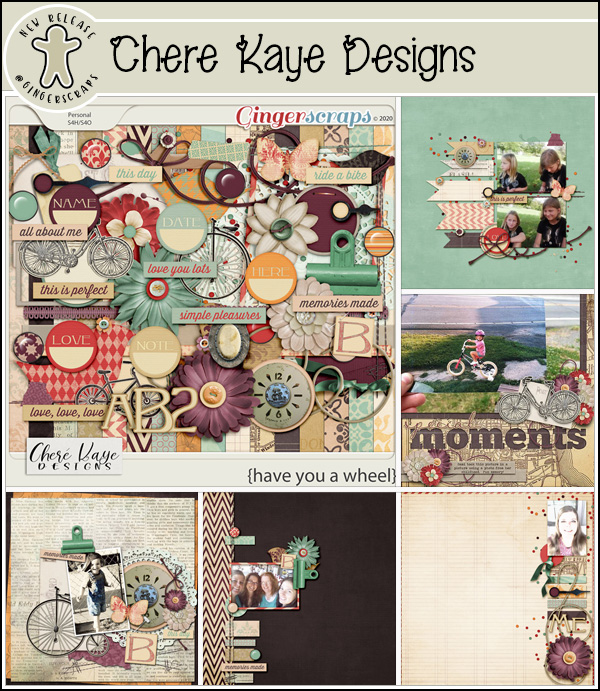
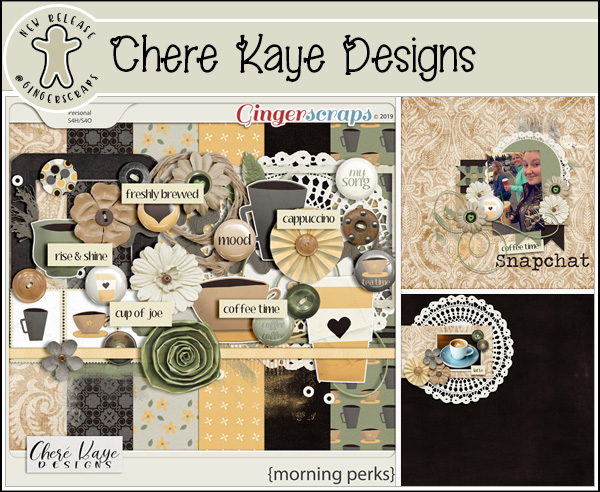
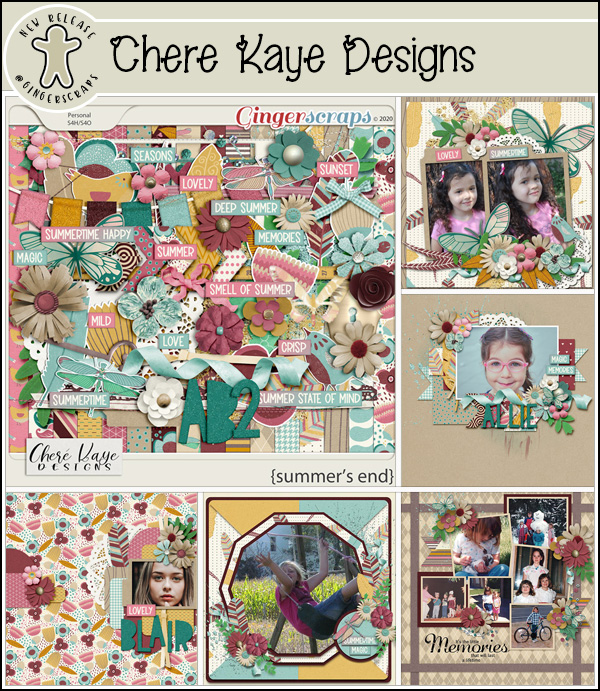
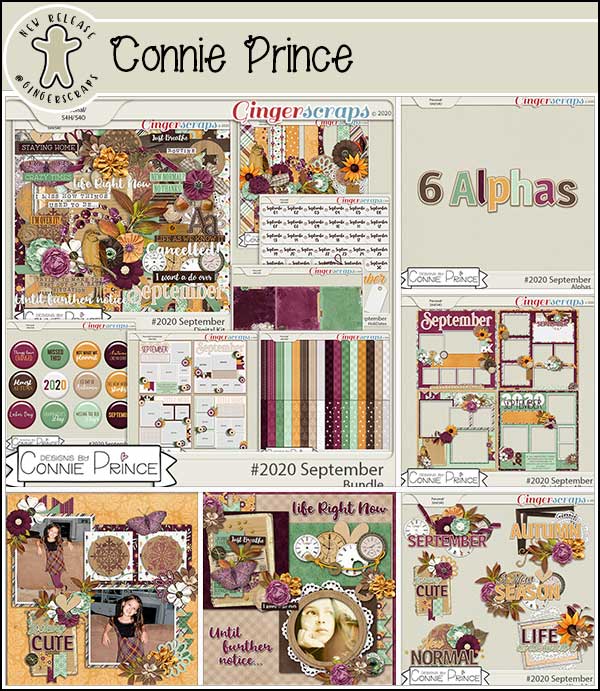
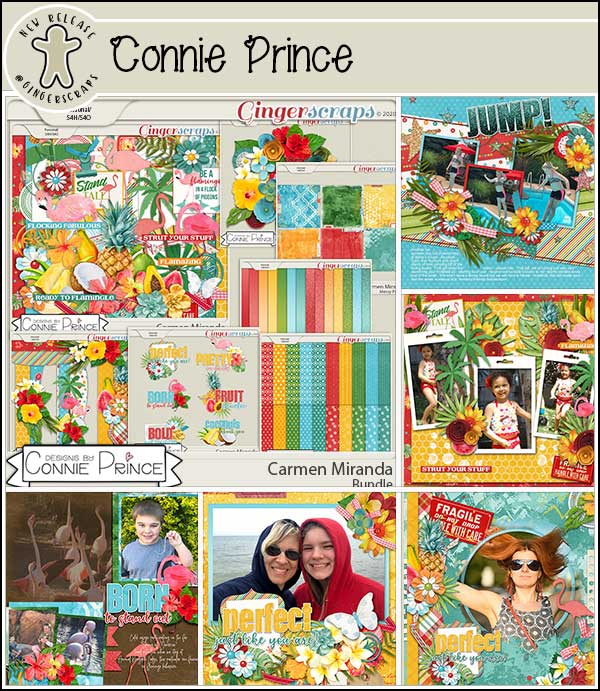
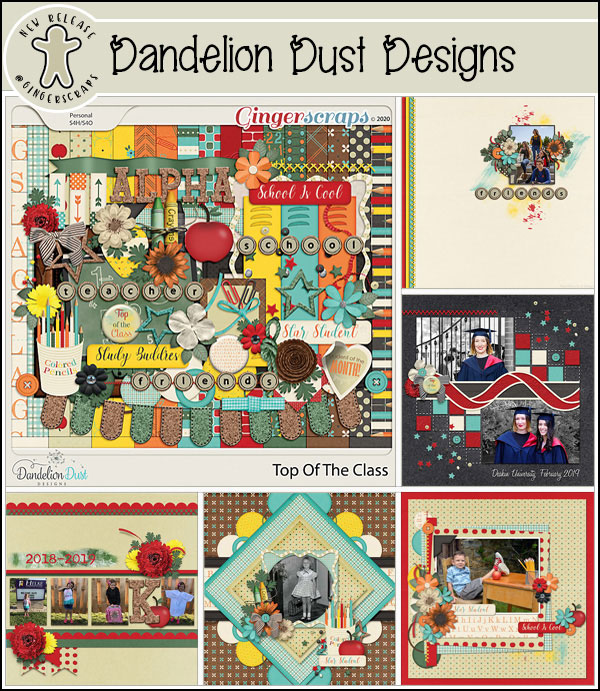
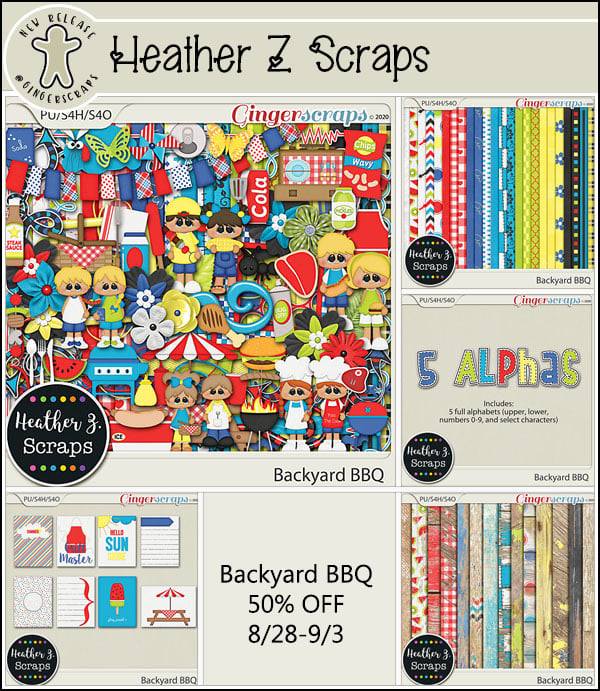
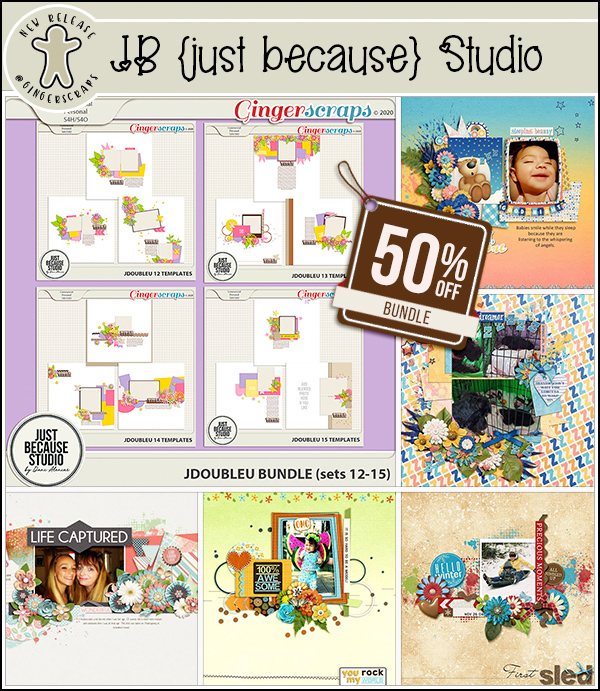
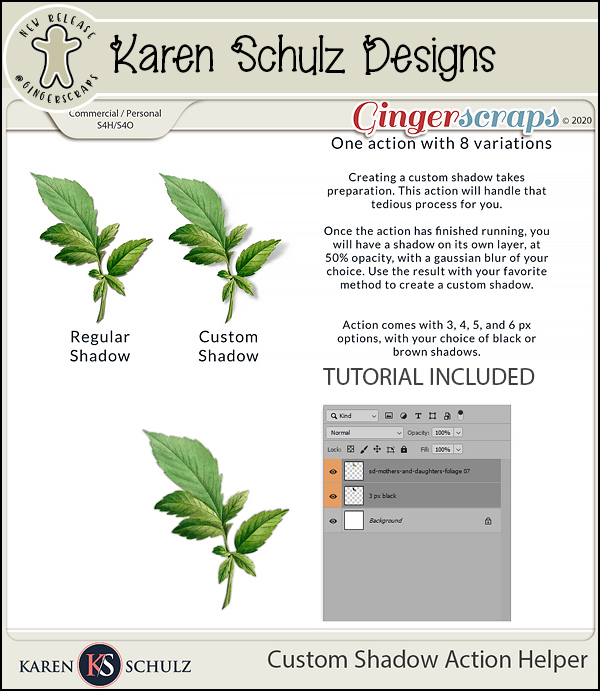
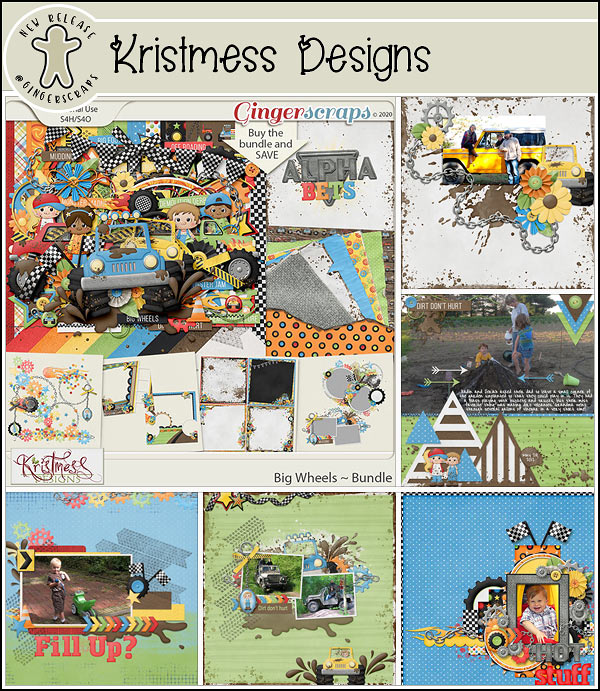
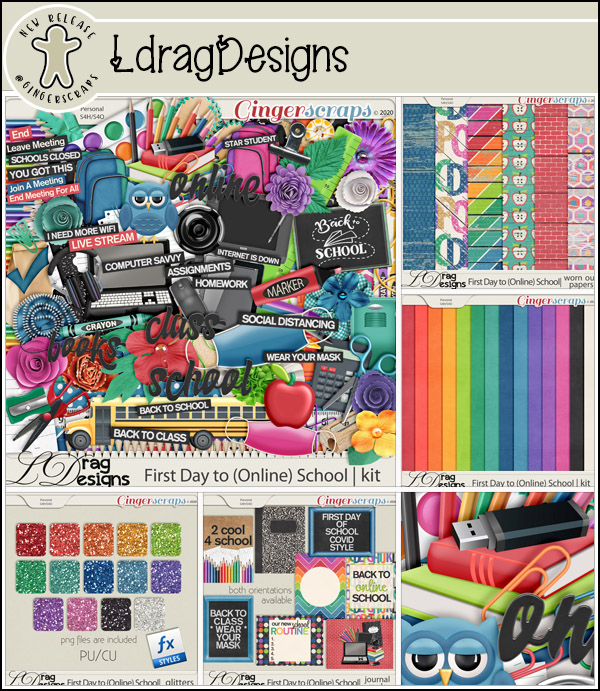
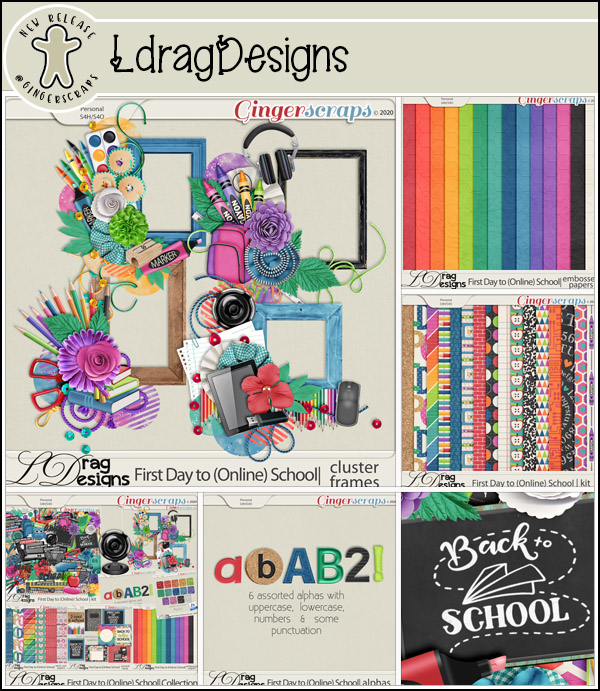
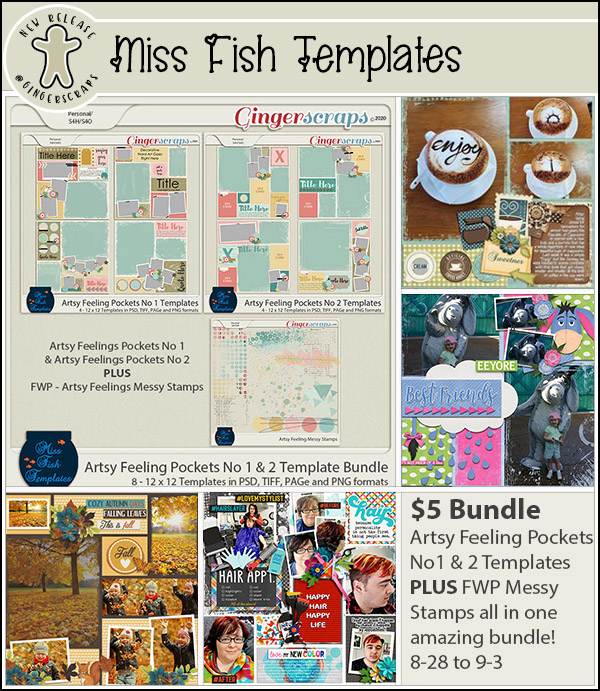
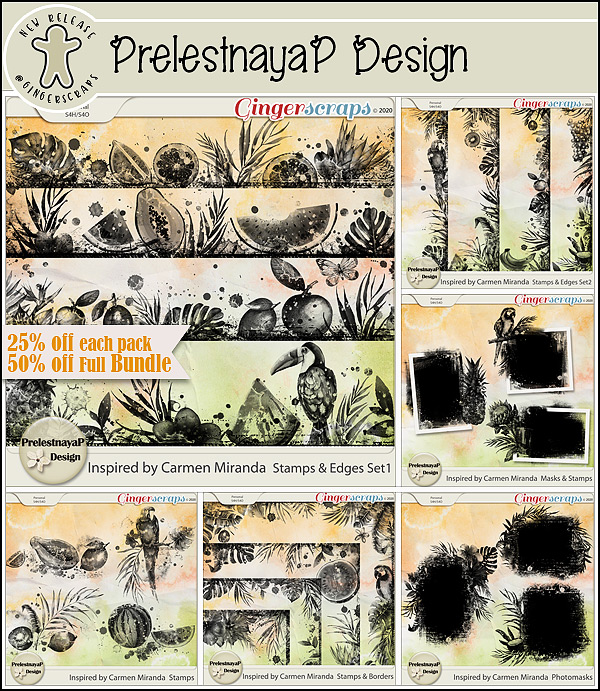
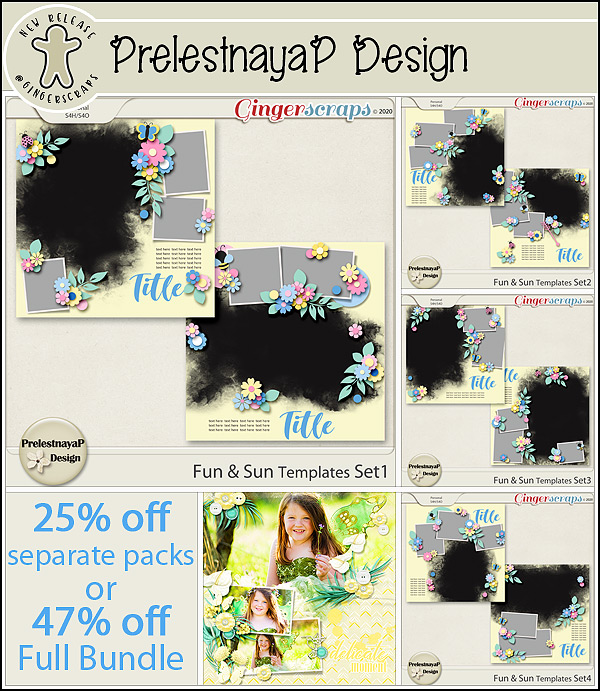
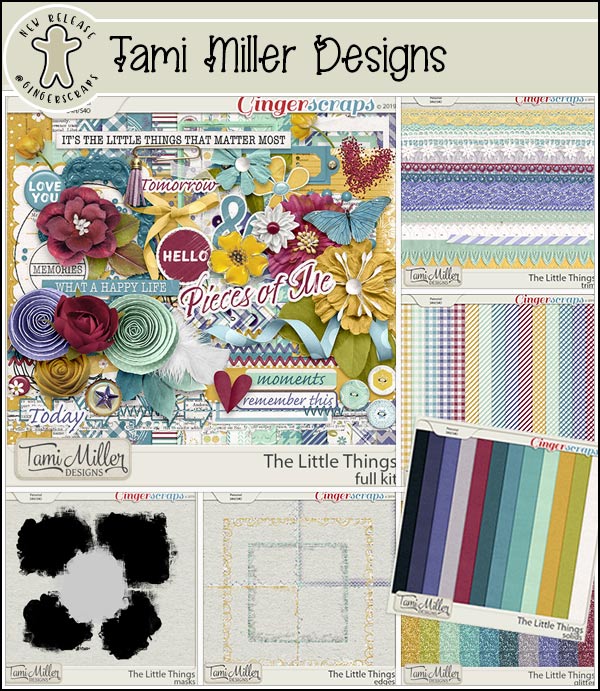
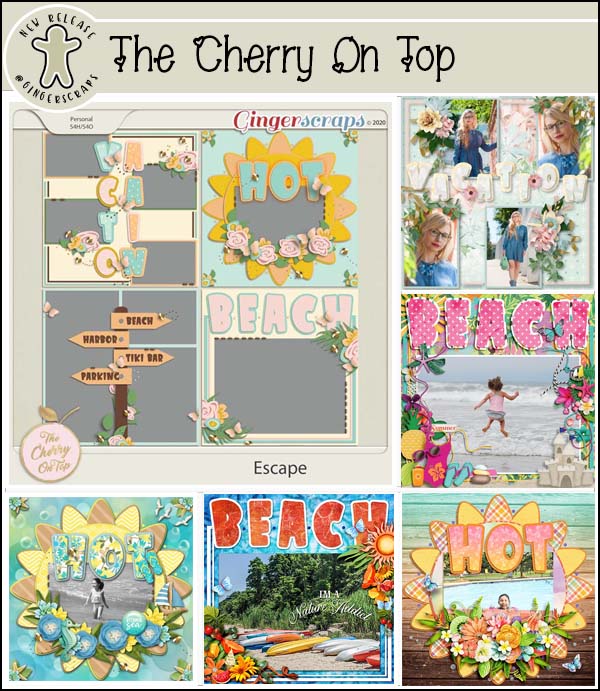
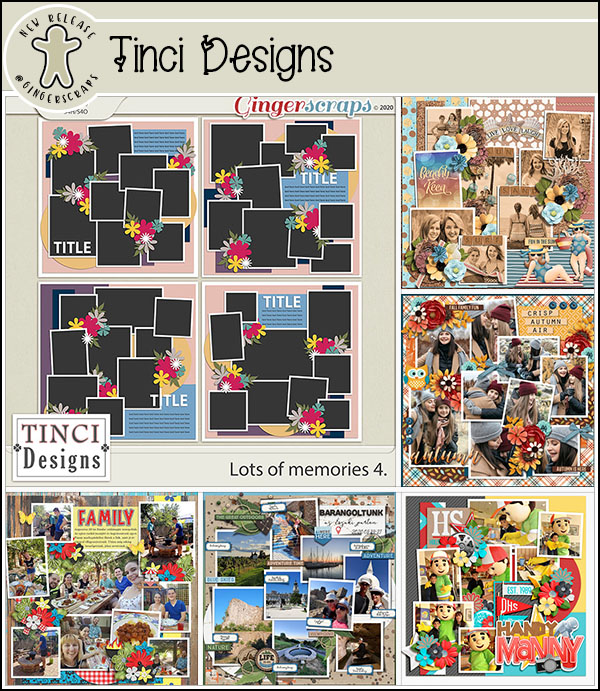
Now let’s see what is new in the store for this week.

Have you grabbed the Monthly Mix kit for this month?

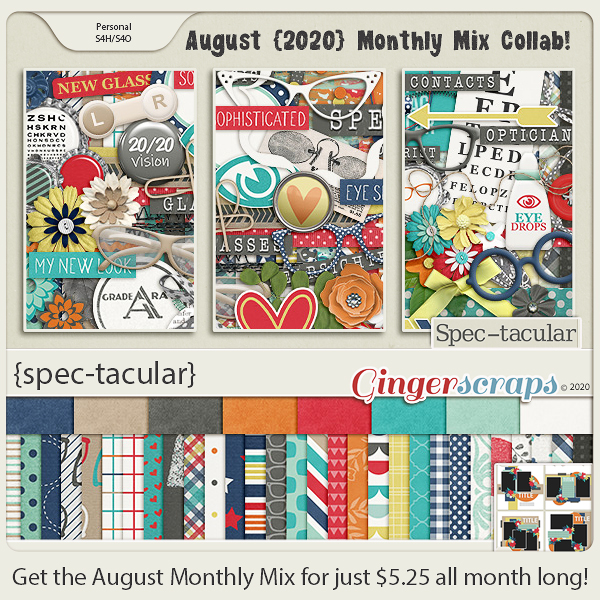
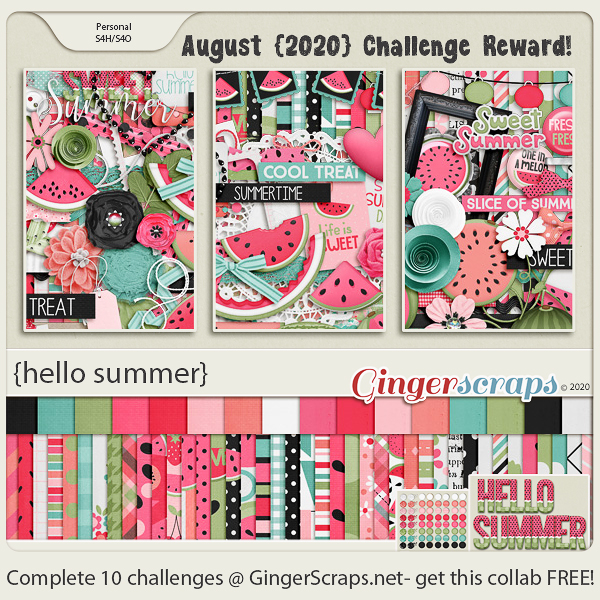
Just a few more days to get this kit as a reward for completing any 10 challenges in the forum.

Buckle up and get ready for September. The first week is big with the usual buffet releases and some FUN forum-wide things.

Tutorial Tuesday (Photoshop Elements)

When the Tutor Becomes the Tutored

I’m starting to seriously hate Tuesdays! (Especially the ones where I’m running a little behind.) It seems every single week when I turn my laptop on to write up my tutorial, there’s some sort of automatic update – either an OS, driver or hardware update – and it takes. For. Ever. To. Finish. And then it messes up my software…… But I persevered!

Remember the heritage fonts tutorial from last week? I said I had some ideas about how to make those fonts into fancy illuminated titles. I just didn’t expect to be showing you one of them right away! But it had to have been Fate that on Saturday Karen Schulz, formerly known as Snickerdoodle Designs, had a video tutorial in her newsletter that caught my attention. I’m going to show you some of what I learned from it, giving credit where credit is due.

The font I used for this title is Silvus, one of the fonts I showed you last week. It has a bit of a Game-of-Thrones/Lord-of-the-Rings flavour to it with the dragons of the “M”, the horns of the “Y” and the heraldic symbolism in all the letters. And it’s perfect for showing you this amazing trick!!

Text remains a Smart Object (can’t be altered, just edited – if that makes sense) until the layer is Simplified. I want to make my title fancy and so it needs to be tweakable. Right-click on the layer in the Layers Panel then select Simplify Layer from the drop-down menu.

This little button is MAGIC! It Locks Transparency, meaning it keeps the background of your text, your brushes or your word art PNGs transparent and lets you “paint” JUST THE IMAGE!! The icon is hard to see in my screenshot, so I’ll describe it: a gridded “transparent” square with a lock image in front of it. Now that I know about this, I’m going to use it all the time.

I Zoomed in on my title so I can see exactly what I’m doing as I select colours. I want to start with the curlicues that look like vines, so I chose a green from the Color Picker for the Foreground colour. (I chose a darker green at first, but it wasn’t showing well on the screenshots.)

The next step was to go to my Brush tool. I chose a hard, round brush with a diameter of 36 pixels to start. I left all the other default settings as is. Remember, you can make your brush tip bigger by clicking the ] (right square bracket) and smaller by clicking the [ (left square bracket). If you’re getting “paint” on parts of your image where you don’t want it, Undo (CTRL/CMD>Z) and change your brush size.

See how cool that is?! All I did was brush over the vines with my brush tip and it ONLY painted the vines.

While I had my brush loaded with green, I looked over my title to see where else I could use it. There are other vines and leaves, so they got painted next.

Then I Picked a magenta colour for the flowers. One of them looks like a hibiscus, and magenta ones are my favourites.

All the flowers are going to be magenta.

I kept choosing colours that seemed appropriate for what I was painting, some blue, yellow and gold.

And some red and teal too. The dragons needed to be teal!

It was so much fun I just kept going.

Once I had the whole title coloured, I could have just saved it and called it a day. But y’all know me better than that! I’m always going to show you some more ways to zhuzh up your stuff. So I clicked Styles>Bevels and chose the Simple Emboss Bevel. That gives my title a bit of weight.

Again, it would be absolutely fine to save this version. But I want to show you one more little tweak. So I Copied (CTRL/CMD>J) the title layer.

The top layer really doesn’t need the Bevel, so I right-clicked on that layer and selected Clear Layer Style to remove the bevel from that layer.

I went back into the Styles menu and chose Glass Buttons>Transparent Glass (it looks like it’s gray, but it shows clear).

This is the default for the Style. It’s certainly shiny! This might be the look you like, and you could save it just like this. But it’s not the look I want. I could go into the Layer’s style menu and make adjustments, but for this it’s easy enough to make it less in-your-face.

Just by decreasing the top layer’s Opacity until there’s a sheen but it’s not blinding. I think it looks like cloisonée, don’t you?

All that was left to do was Merge (CTRL/CMD>E) the layers together and Save (CTRL/CMD>S).

Thanks Karen!! If you’d like to see the other two techniques she shared in her video and get some inspiration, you can find it here.

Fresh Baked and Retiring Products Sale

Goodness scrappers. There is so much goodness going on in the store this week. And we’re going to just jump in with the big one!

This sale will end promptly at 11:59pm (Eastern Time) on August 27, 2020.
Please remember to download these items asap!
These are retiring products, after 45 days they will be removed from the server and no longer available to download.

And – any $10 spend in the store gets you this fun Free With Purchase kit.

Let’s see a sampling of this week’s new goodies.

You have a little over a week to get your challenges done and logged for August. Remember, you get this awesome kit as a reward for completing 10 challenges.

0

Sneak Peeks: August 21, 2020

So, schools are starting back up. So, we’re just going to celebrate that, not focus on the other issues.

Scrappin’ Serenity is definitely celebrating back to school!


[Read more…]

Tutorial Tuesday (Fontography)

Recorded History

When I woke up this morning I was shocked to realize that it’s Tuesday already! There has been some momentous happenings in our house since I last blogged here. We found out on Thursday that my husband has a half-sister! He was raised as an only – his father left them when he was a toddler. So when this very sweet lady contacted our daughter via 23andMe to find out how they were related, it was the LAST thing that occurred to any of us. He’s very excited, which surprised me a little. We’re still trying to track down confirmation, but the odds are very high that she IS his half-sister. And that’s what has consumed me for the last few days. So today’s tutorial is a bit of a lazy one – I’m going to show you some great (FREE) fonts for heritage layouts, since genealogy is at the forefront of my mind right now. I found all of these at my favourite source for free fonts, dafont.com.

I looked for title fonts, monogram fonts and journaling fonts. We’ll start with titles, but they’re not really in any kind of order.

Black Chancery is a Gothic font that is easy to read and not overly fancy.

Blacklet is another Gothic font, a bit more like those old stencils we used in school.

I like Darks Skyrim Font for its drama! It has a vintage look to it, but also suggests intrigue and strength.

Beyond Wonderland has a whimsical but old-tyme-y look.

Then there’s Valdemar. This one is a bit Teutonic, so if you have Germanic ancestry it would fit very well.

1742 Frenchcivilite makes me think of pirates and swashbuckling. It looks like it was written with a quill pen.

Linthicum reminds me of early America. I don’t have any ancestors who arrived in North America before about 1830, but my husband has them dating back to 1608!

Hentimps Circlet is another crisp Gothic font with just the right amount of curlicue.

Arquitec is another very antique-looking one. I can’t remember if I downloaded it, but I want it in my collection! [There! Fixed it!]

Any J. R. R.Tolkien or George R. R. Martin descendants out there? EG Dragon Caps was made for you!

I saw Silvus and swooned! The fairytale quality is so attractive! I think it could be great for either titles or monograms and I’m already planning to dissect it so I can turn it into illuminated initials.

Christensen Caps is another one that could be amazingly illuminated. It looks like something you’d find on a medieval manuscript.

I like American Dreamer for its simplicity.

Riesling is one of my favourites. It’s got a real Art-Deco vibe to it and makes me think of the Great Gatsby.

I like Royal Queen, a curvy Gothic font. It could be a title font, or used for journaling because it’s readily legible.

Royal Initialen is one I’ve had in my collection for years. It’s purely a monogram font and it has so many possibilities for someone who likes to experiment. <raises hand>


What a great serif style title font! Cash Currency is bold, solid and elegant.

When I first saw Victorian Parlor, the first thing that popped into my head was the Addams Family! I like the curly-swirly caps paired with the more simple lower case letters.

The Parthenon isn’t just a Greek monument! I feel like this could work for both titles and monograms.

Here’s another versatile one, Queensby. I’d probably use it for subtitles and journaling.

Journaling fonts should be ones that don’t eat space and are easy to read. I like to use typewriter-style fonts for documenting family history, and the more rustic the font, the better I like it. Old Newspaper Types is one I’ve used a few times, and when I finally get around to scrapping the story of my Luddite ancestor, who I learned about via a newspaper story, this is what I’m going to use.

Rough Typewriter is another of my go-to typewritten fonts. It’s just messy enough to look old, but not too messy to read.

Lucky Typewriter is just a bit more detailed.

CF Remington Typewriter has that antique look to it that I like so much.

Tippa reminds me of mimeographed tests I had back in elementary school. It has that distressed look.

Kimberly Geswein has a ton of fabulous handwritten fonts that are perfect for journaling and I think KG Makes You Stronger is about perfect.

Handwriting CR is clean, clear and great for those back-to-school layouts too.

I like Lie to Me a lot. It’s legible but a little more adult than some of the handwritten fonts.

If you want a little more oomph in your handwritten font, A Casual Handwritten Pen brings it. It’s a bit bolder, but still clean and clear.

And last, Better Together Condensed is a clean, clear and slightly different handwritten font. It’ll allow you to cram a lot of text into a small space.

I know that as scrapbookers our main goal is to preserve our stories. Sure, creating a beautiful layout is a wonderful pursuit, but it’s the story behind the creation that really matters. I hope you’ve seen some new fonts that might work for your historical records!

Fresh Baked: AUGUST 14, 2020

Woohoo….we’ve made it to another Friday. Did you all come through relatively unscathed? I know different places had some wicked weather this week. We had an earthquake where I am and I didn’t even feel it.

As always, a $10 purchase in the GingerScraps store gets you this fun {dog days of summer} kit.

Let’s see what our designers have new for the middle of August.

Have you picked up the Monthly Mix yet? What a fun GingerBread Ladies collab.

And you still have a couple of weeks left to get your challenges logged for August and get this gorgeous kit as the reward. It only takes 10 completed challenges to qualify.

Make sure to check in the store tomorrow for the beginning of the August Bake Sale!!

Tutorial Tuesday (Photoshop Elements)

Peek-a-Boo, I See You (Solving Underexposed Faces)

Well, it seems photo editing has become the hot topic for Tutorial Tuesday! After last week’s technique for diminishing shiny skin, Steph sent me a message: “I love this week’s blog post about correcting a shiny face. Do you remember if you have a tutorial about improving a photo that has a face in shadows? I tried searching but didn’t see one. Thanks, Steph“. I don’t think I have done one specific to faces, although we’ve talked about fixing underexposed photos in a couple of ways, by editing in Camera Raw or by copying the photo and changing the Blend Mode to Screen, then copying that new layer as many times as necessary to bring out those details. But there will be times when those methods aren’t going to work. Like when your subject is backlit… 

This gentleman is Mike. He works for JuJu Tours in Negril, Jamaica as a glass-bottom boat pilot. We took a New Year’s Eve boat tour with him in 2014 and I have quite a few photos where I know who I’m looking at but nobody else will. It seemed like a good choice for this tutorial.

I like to do most of my experimentation on a copy layer so that my original is still there if I need to refer to it. So my first step is always to make a Copy layer. CTRL/CMD>J is the keyboard shortcut, but if you’re into working more than necessary, right-click on the background layer then choose Duplicate Layer and follow the prompts.

I want to separate Mike from the sky and now that I’ve figured out how amazing the Polygonal Lasso tool is, that’s what I used here. The trick to making this tool work beautifully for you is to make small movements with your mouse and click frequently to mark your spot.

On the screenshot, I’ve used the word “slowly”. But it only took me about 3 minutes of small mouse movements and clicks to get a relatively clean selection. When I got back to my starting point the tool automatically turned on the marching ants showing me where my selection was.

One drawback to the Polygonal Lasso tool is that you can’t Zoom in and out while you’re using it, so it’s hard to get a perfect selection. So once I have my basic shape lassoed, I use the Selection Brush tool – its icon looks just like a paintbrush with a few marching ants curving above the bristles. This tool lets me add or subtract areas of my selection. I usually use the biggest brush I can for the area I’m adjusting, and I toggle back and forth between adding and subtracting until I get all of my marching ants following the edge of my selection. The controls for this tool are at the bottom left of the workspace.

I Zoom in on areas like this one so I can see as clearly as possible where my ants have strayed.

This photo was a great one for this example, because there aren’t a lot of these sticky spots. Don’t be put off by the time it takes to do this – it’s actually not that bad… maybe another 2 minutes.

The spot where the sunglasses’ temple attaches needed some attention.

For general purposes, perfection is impossible and a waste of time. And in the end, it’s not usually necessary because unless the imperfection is a big one, it’s not going to be the centre of attention, so don’t sweat it!

Depending on your background though, a spot like this might deserve some precision. The sky here is really blown out and I’m not going to change that, but if I had some sort of detail – leaves on a tree for example – that would be visible in that gap, I’d definitely want to add it into my selection.

After I ‘d gone all the way around the selection and adjusted as needed, I Zoomed back out a bit to see how clean the edge looked. On to the next step!

I wanted to separate Mike from the sky – or more accurately I wanted to remove the sky from around Mike. To make that happen, I Inverted the selection: Select>Inverse or CTRL/CMD>SHIFT>I.

With the Copy layer still the active one, I Cut away the sky. Edit>Cut or CTRL/CMD>X

This screenshot is just to show you that the sky is now gone from that top layer, but it’s still present in the original layer (it’s just invisible right now).

Now that Mike was all by himself on the top layer, I used Enhance>Adjust Lighting>Shadows/Highlights. The default setting for this adjustment is for the Shadows to be automatically decreased by 50% so don’t be shocked! Highlights are default-set at 0% and Contrast is set right in the centre.

I pushed the Lighten Shadows slider all the way over to 100% to really lighten up his face. I Darkened Highlights by 26% and Midtone Contrast was boosted to +28%. All of a sudden it’s almost possible to identify what’s reflected in his lenses.

I’m happy I can see Mike‘s features now, but I think the image is a bit too soft. My favourite tool for fixing that is the Haze Removal menu.

Haze Removal also darkens the image a wee touch, as you can see in the preview below. But it looks good with the default setting so I went ahead and clicked OK.

For all intents and purposes, I could quit right here and it would be perfectly fine. But I’m always going to take it a bit further so I can show you what else you can do with your photos. I think the background is a lot blown out and that’s fixable.

But before we move on to that, I decided Mike still looked a bit shadowy. So I decided to Enhance>Adjust Lighting>Brightness/Contrast just a smidge.

These sliders start out in the centre. I pushed the Brightness slider to 54 and the Contrast slider to 10. Now it’s good.

Just for fun, I turned off the top layer to remind myself where I started.

Okay, on to the sky. I made another Copy layer (right-click>Duplicate Layer or CTRL/CMD>J) of the background (bottom) layer.

With the Copy layer active, all I did was change the Blend Mode to Color Burn. It looks a bit neonish now though.

Quick fix: Decrease the Opacity of the Color Burn layer to 61%.

Then I brought Mike back and Merged all the layers so I could save my work.

I wasn’t totally happy with the finished image though. Mike still looked a bit fuzzy. So I Copied that image layer again so I could add a High Pass Filter.

Here’s why you do the High Pass filter on its own layer. A rule of thumb for sharpening an image this way is that you should only see a hint of colour through the filter. Otherwise you risk having it look over-processed. (I have plans for a really interesting tutorial where you WANT to have an in-your-face look to your photo, but that’s all I’m telling you.)

To see how the filter works, change the Blend Mode to Overlay.

And now you see the photo I THOUGHT I took! I just had to Merge the layers again and save it for later.

Before I go, I want to remind you that you’re in control of your work. You can stop at any point along the way if you’re happy with what you’re seeing. These tutorials are intended to help you understand your software, make it work harder for you without making you work harder to get what you want, and to up your scrapbooking game… while having a little fun along the way.

Fresh Baked: AUGUST 7, 2020

It’s Friday again. Doesn’t it feel like we were just here? I’m looking forward to the weekend. Do you have any plans?

Remember, any $10 spent gets you this fun kit for free.

And now, the new goodies from our designers.

Don’t forget to get started on your challenges for August. This kit is so fun and it’s your reward for completing any 10 challenges.

Tutorial Tuesday (Photoshop Elements)

Taking the Shine Off

Glee came to me last Tuesday with a question. “Would you by any chance know any tricks/tips for taking the shine off a person’s face? Like how to digitally apply some powder? I just took some pix, and my subject has very dinner cheeks and forehead. Thanks!” I know I have quite a few photos that needed some powder, and you probably have some too. This is actually one of the simplest edits there is. I’m using a photo from Pixabay taken by Dean Moriarty as my sample photo. Isn’t she gorgeous?

Everything I’m going to do to apply some mattifying to her shiny spots will take place on a new layer. You can click Layer>New>Layer or use a keyboard shortcut (CTRL/CMD>Shift>N) to add a layer above your photo.

Next, select the Color Picker (eye dropper) tool to pick up the skin tone from an area near the first area you plan to powder. Look for a spot where the skin tone is fairly uniform.

You actually can’t pick a color from a blank layer (DUH! But I tried!) But I definitely want to make my adjustments on that blank layer. So what can I do? I can “Sample All Layers”!

Now you’ve selected the skin color you want to powder with, and it’s time to choose a nice brush to apply the powder with. I used a soft, round brush from the Basic Brushes included in the software, with a diameter of 35 pixels.

Before you start dabbing on the powder, set the brush’s Opacity to about 20%. It can always be adjusted later.

Then just start powdering! You can brush it on like you’re dusting her with powder, or you can dab it on. Whatever looks best to your eye.

Go back and forth between the Color Picker and the Brush, adjusting the color of your powder to the area of skin closest to the part you’re powdering.

Every so often, Zoom out and have a look at the effect. Make sure it looks natural.

In a matter of minutes, the shine is gone, but the highlights are still there. Who needs Cover Girl? If you think the effect looks too artificial, you can adjust the Opacity of the powder layer to make it a little more sheer. That’s the benefit of doing the adjustment on its own layer. If you powdered right on the background layer, you’d have no way to lighten it up.

When the image looks natural and beautiful, you can Merge the two layers and Save your edited image with a new name.

Here are my two images side by side. Now the eye isn’t being pulled to her forehead any more!

This method is much easier than using the Healing Brush or Spot Healing Brush, which would do a good job of reducing glare from a person’s spectacles. That’s a more complex edit, and not something we’re going to talk about today.

Just an aside… this tutorial marks the beginning of my fourth year as your ObiJan. Time sure flies! I’m keeping all of you and your families in my thoughts as you navigate the stormy seas of preparing for the new school year with so many uncertainties. I don’t have any school-aged kids to worry about but I DO have 3 grandkids, the oldest of whom is entering first grade this year. They’ve gotten quite comfortable masking whenever they’re around other people, something we never dreamed would be necessary. Every one of us has our own priorities and I hope no one makes you question the decisions you make based on yours. Unless they’ve lived in your skin, they have no right to judge. We’re all in this together.

Designer Spotlight: Down This Road


Whoa… it’s August already! Who saw that coming? New month, new Designer Spotlight… Have you met Angie, the creative mind behind Down This Road Designs? Before we get to the Q&A part of this post, you need to know that Angie‘s ENTIRE STORE is on SALE for 40% off for the WHOLE MONTH of August!! (Guess where I’m going when I’m done here…)

Now let’s get to know Angie.

J: How long have you been designing?

A: I started designing in 2009. I have taken some breaks, but love it so much I couldn’t stay away. 11 years

J: What made you decide to design?

A: I just started playing around in Photoshop. When I saw a design contest in 2009, I entered that and ended up being a finalist, that was it….I was hooked.

J: What do you use to create your designs (program, additional tools, etc.)?

A: I use Photoshop, Illustrator and my iPad.

J: Describe your design workplace.

A: I have a desktop (Windows) with a dual screen. We have an office/ craft area in our home and that is where I spend my time designing.

J: What motivates and inspires you as a designer?

A: My life and the things we like to do, my family and my mood are the sources for my kit themes. I like to watch trends of colors too.

J: What is your favorite kit currently in your GS store and why?

A: I like With Brave Wings. I designed it for my sister and her battle with cancer so it means a lot to me.

J: If you could only eat one meal for the rest of your life, what would it be?

A: Pasta

J: What is your favorite game or sport to watch and play?

A: I would have to say football and soccer only because my kids played those sports. I don’t know if I would really consider myself a spectator of sports in general but a child of mine in the field keeps me very interested.

J: What did you want to be when you were small?

A: Teacher

J: Aside from necessities, what one thing could you not go a day without?

A: My family

J: Who would you want to play you in a movie of your life?

A: Reese Witherspoon

J: If you had a warning label, what would yours say?

A: Quiet but always watching.

J: What celebrity would you like to meet at Starbucks for a cup of coffee?

A: Tabitha Brown

And now we know Angie a wee bit better. But before I forget, make sure to check out Angie‘s Daily Download. It’s AMAZING!! I know you’re gong to love it, so just pop back here to the Blog every day and get your kit.