Archives for September 2022

September 30, 2022. Fresh Baked and DSD!

Hold onto your computer mice my friends, we’re going to have some fun. Happy Digital Scrapbooking Day (week)! A week because we can’t just celebrate something like this on one day (or weekend). 

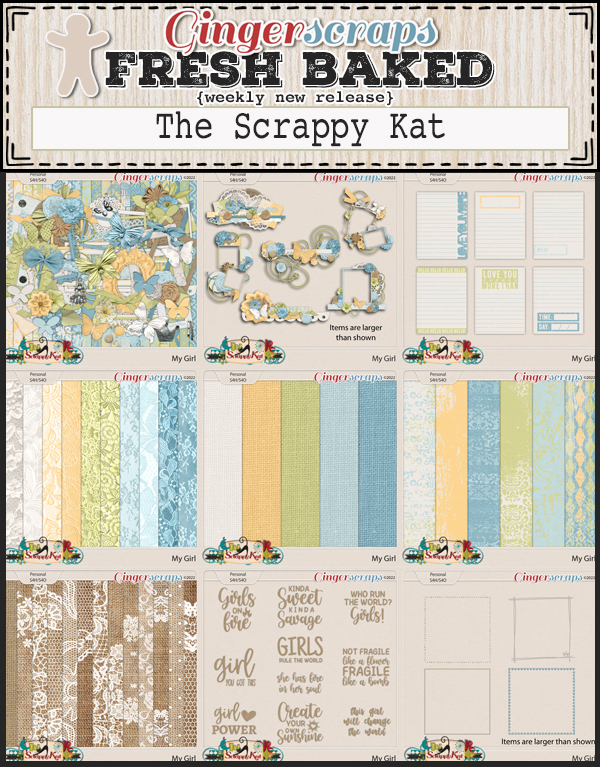
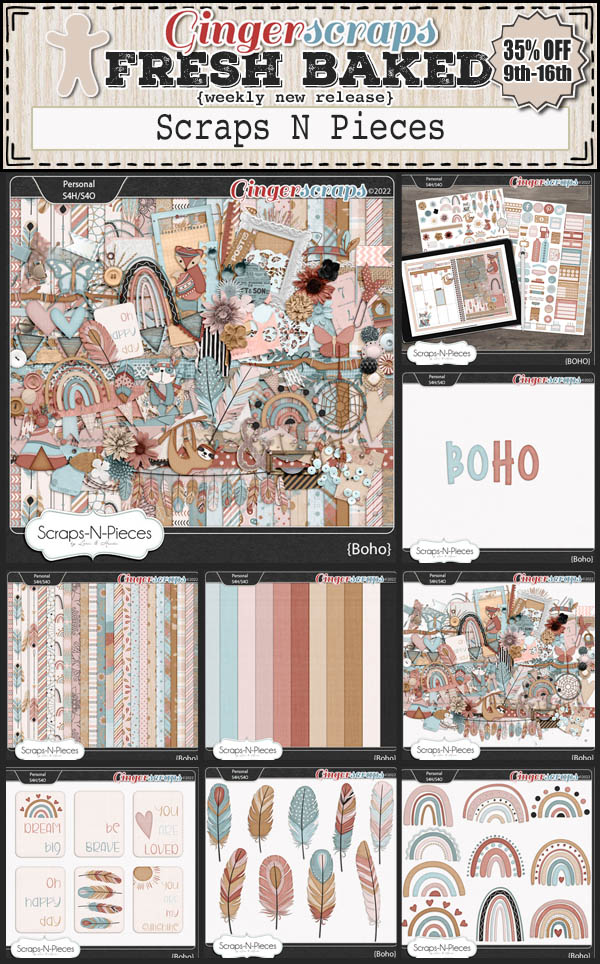
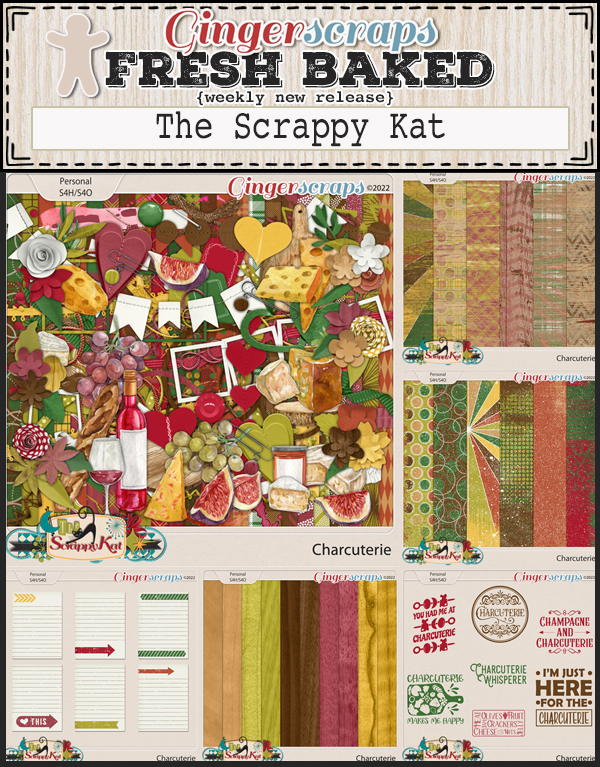
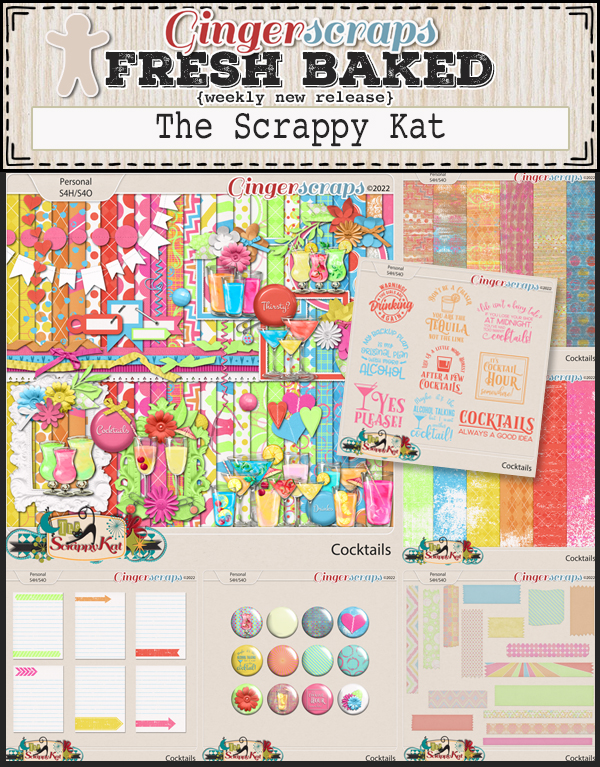
There are a lot of new items from the designers in this post, but please make sure to check out the store for even more goodies.

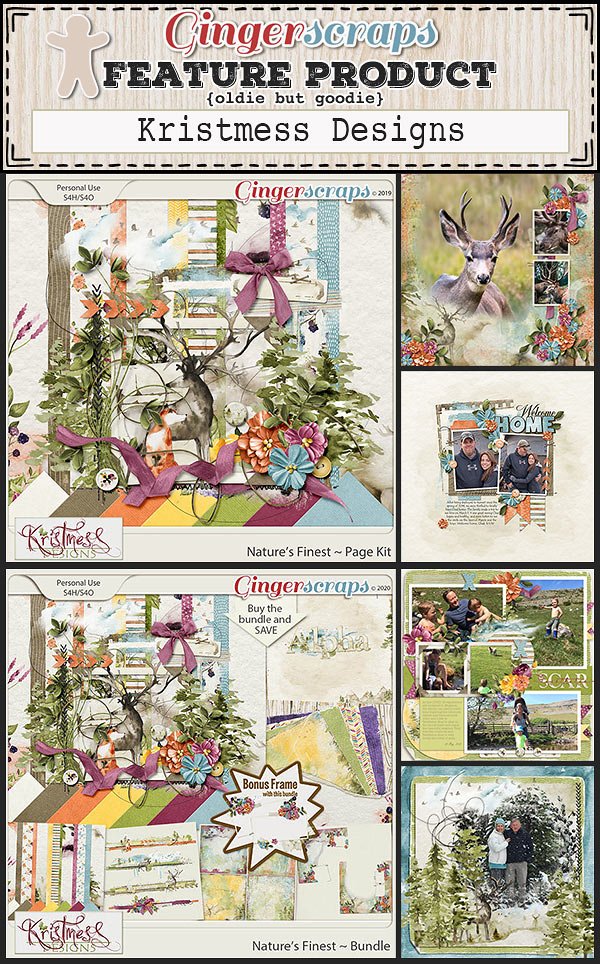
One of the great things about a celebration at GingerScraps is the Free with Purchase Mega. Spend $20 in the store and get this fabulous kit. I’m ready to {relax & rejuvenate}.

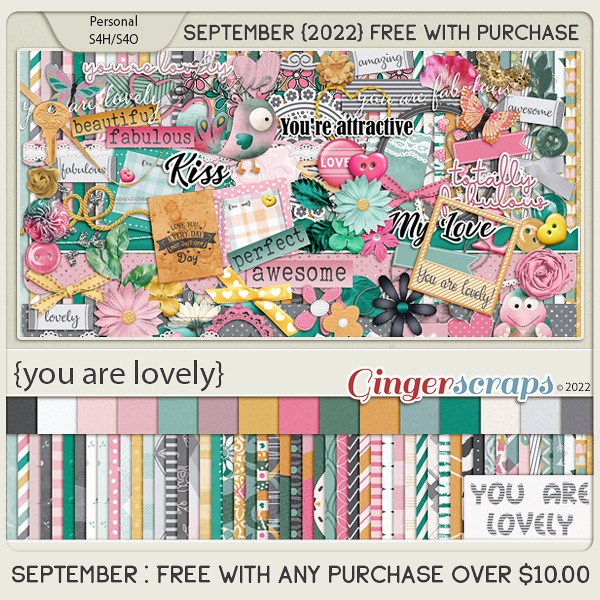
This great kits is a free with any purchase over $10 today. 

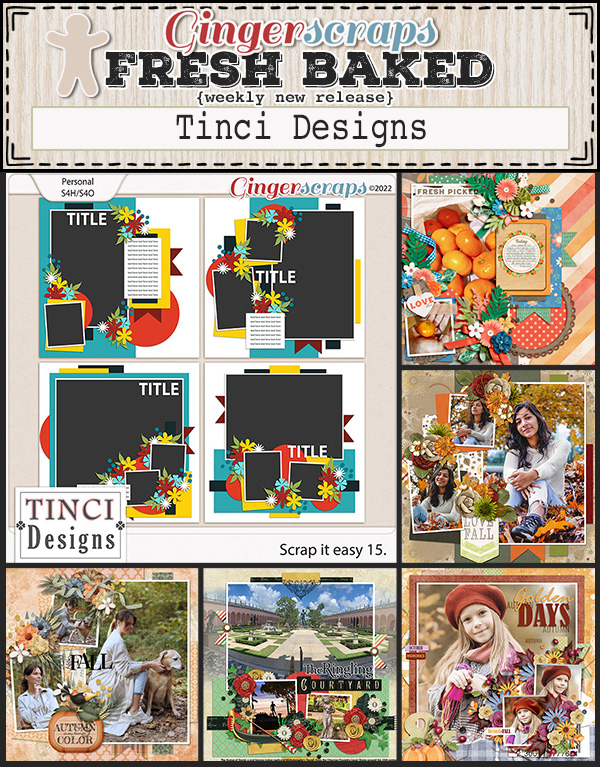
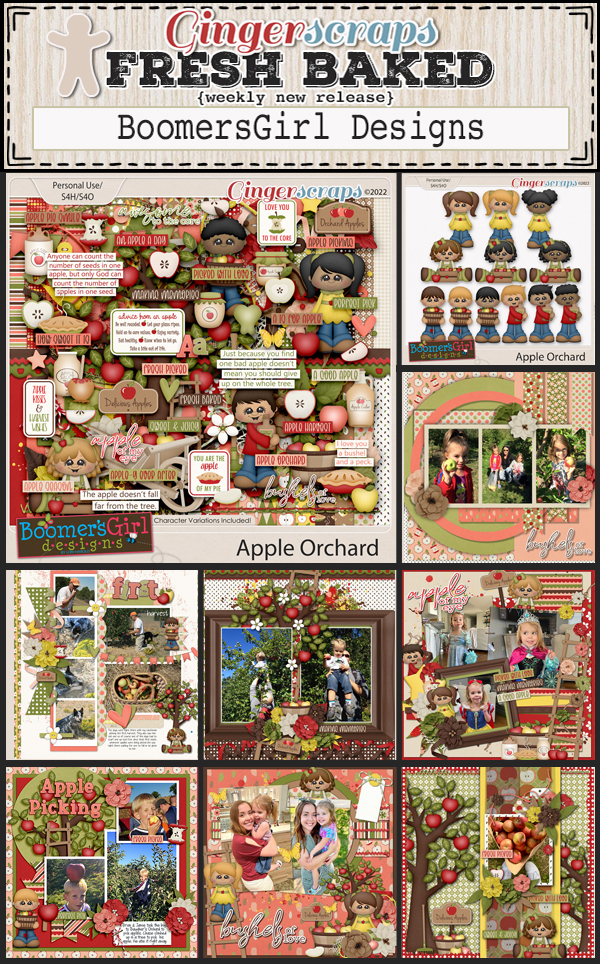
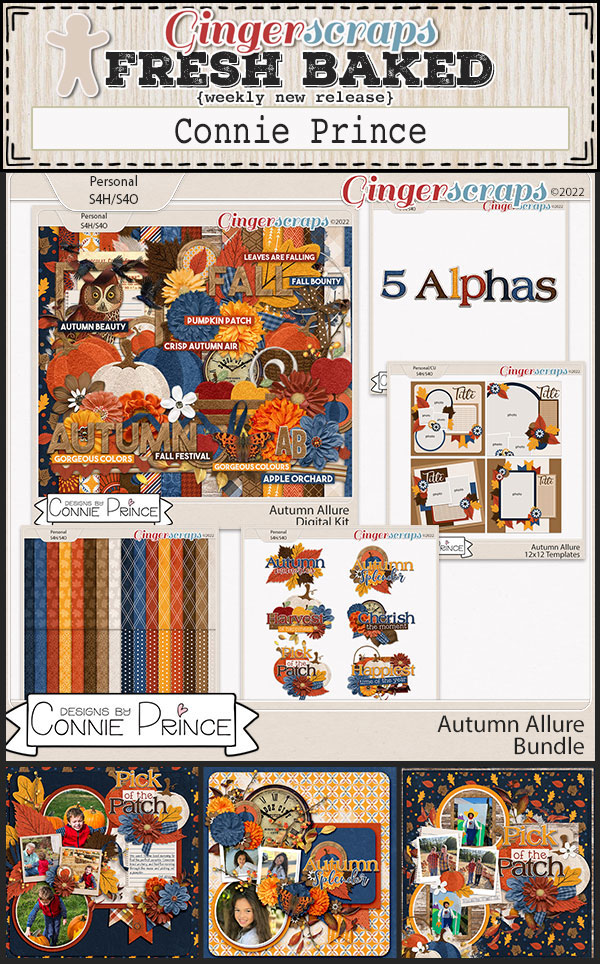
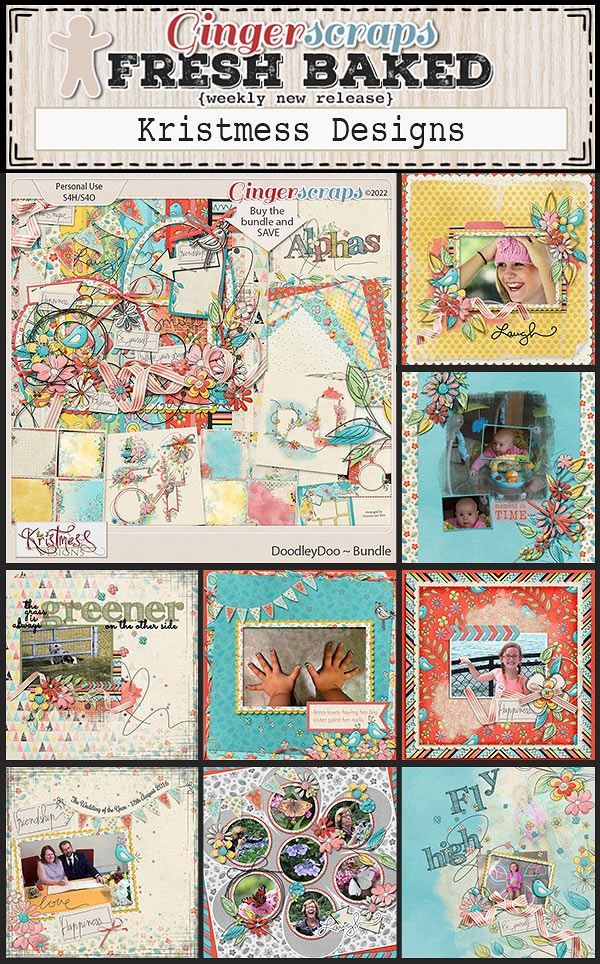
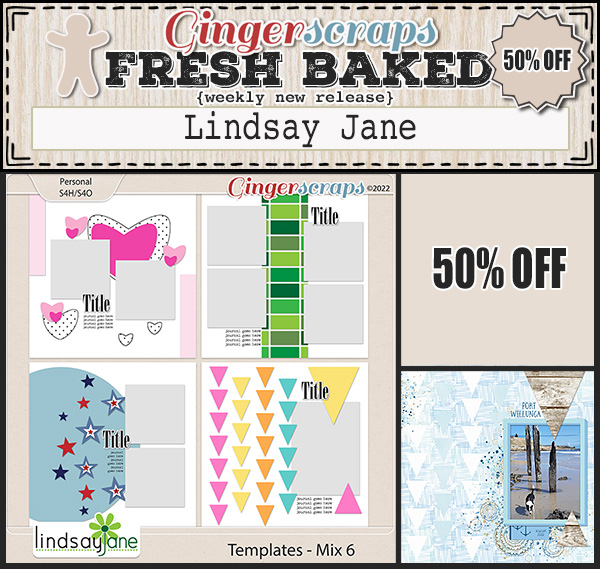
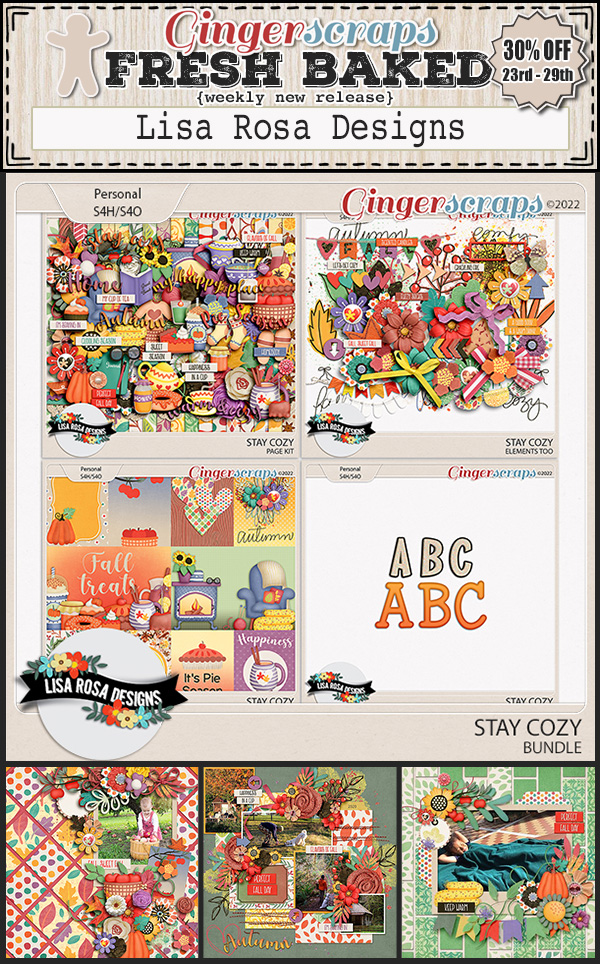
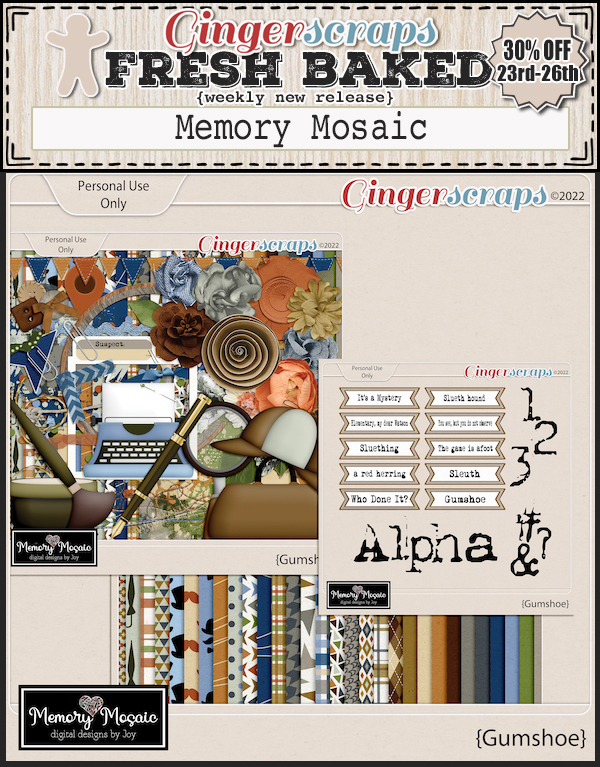
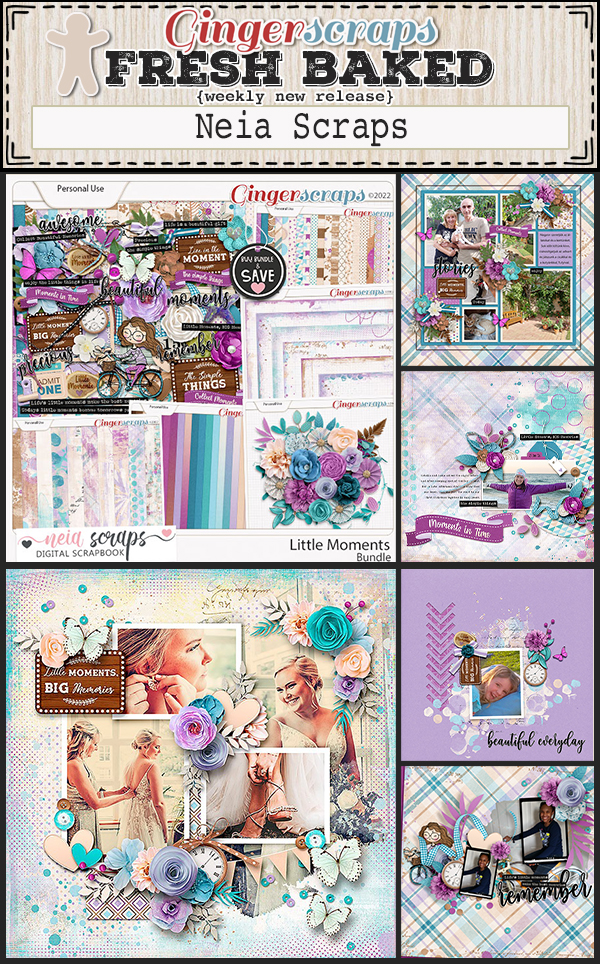
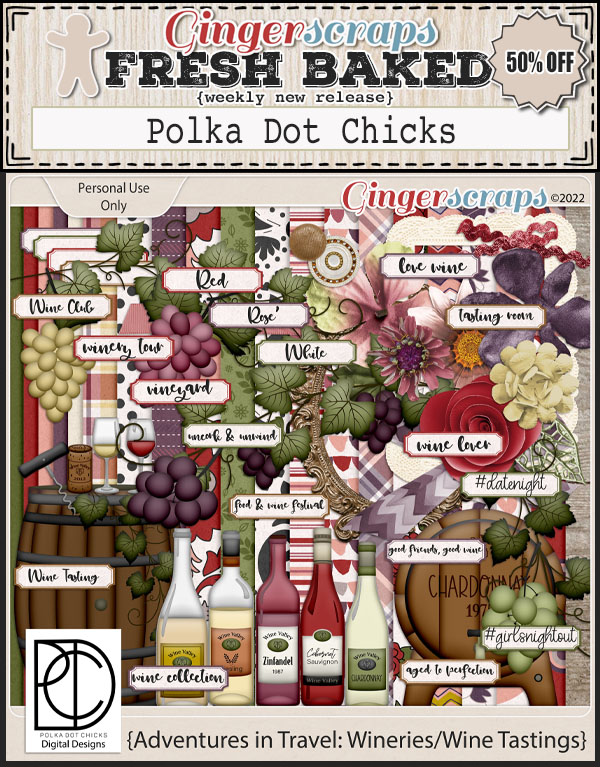
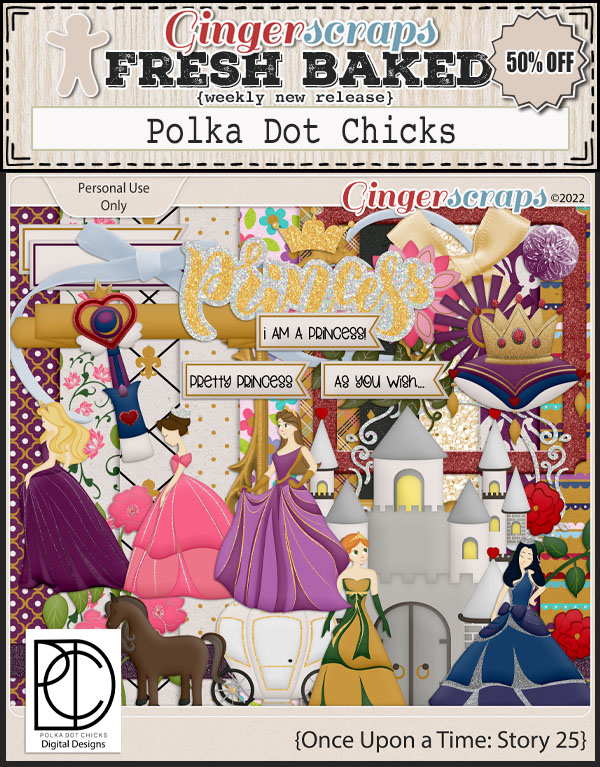
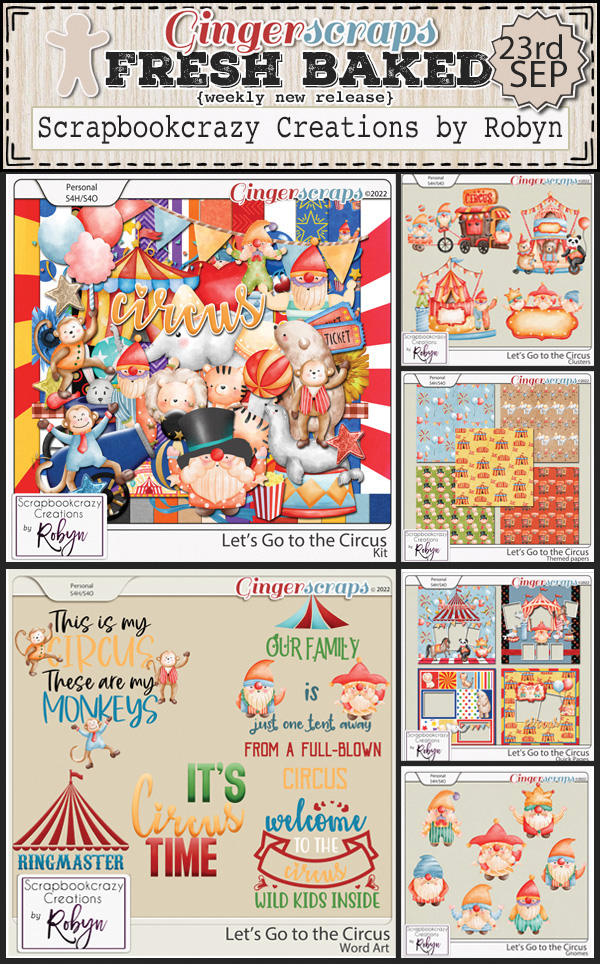
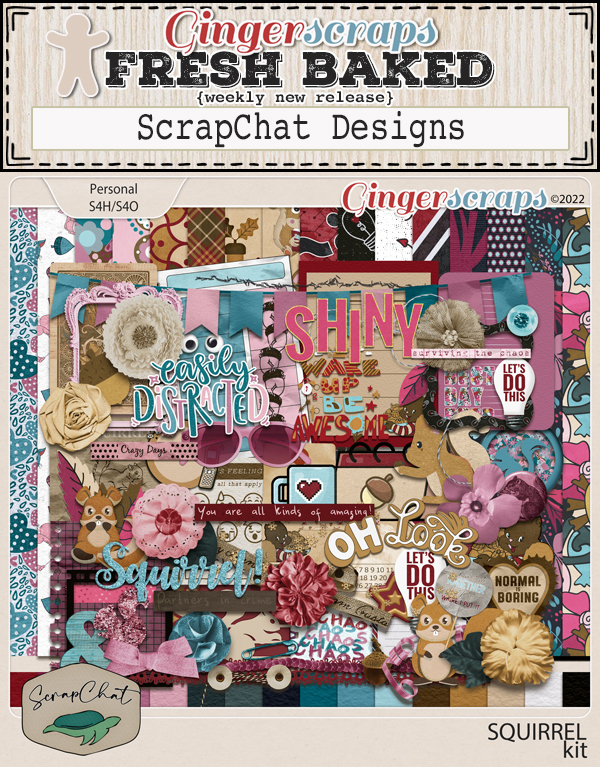
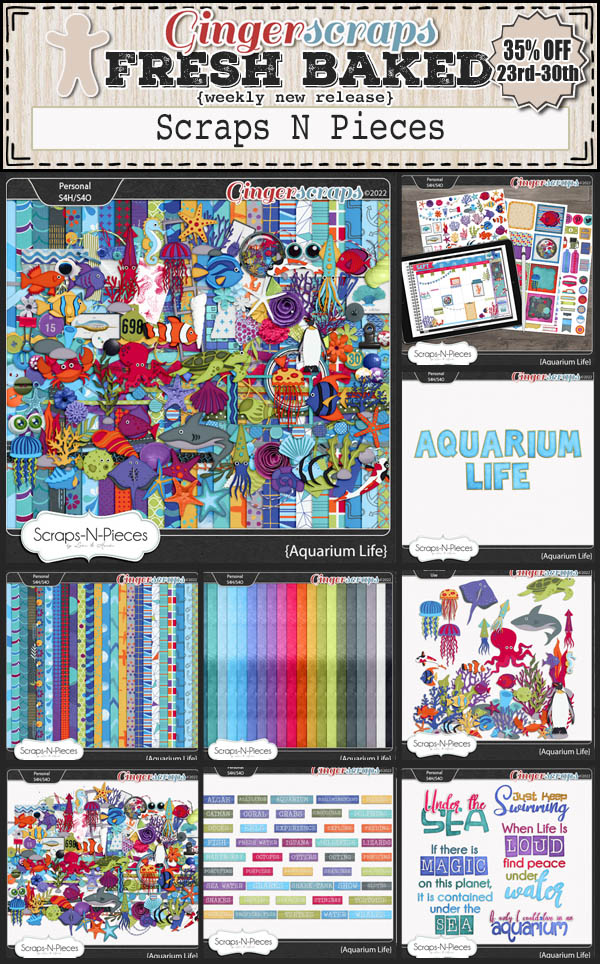
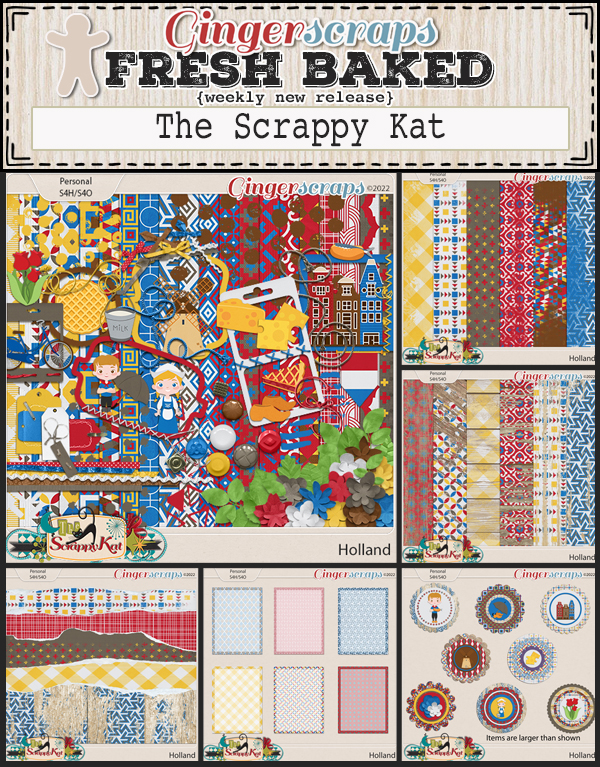
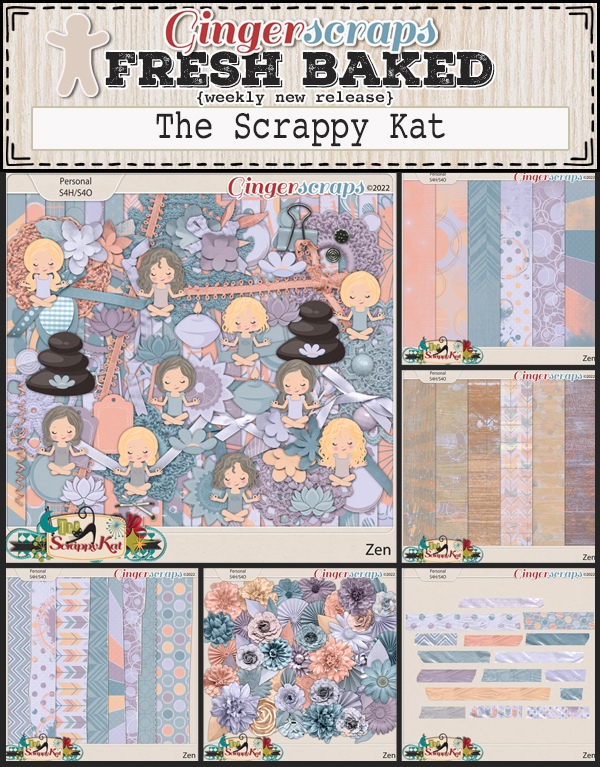
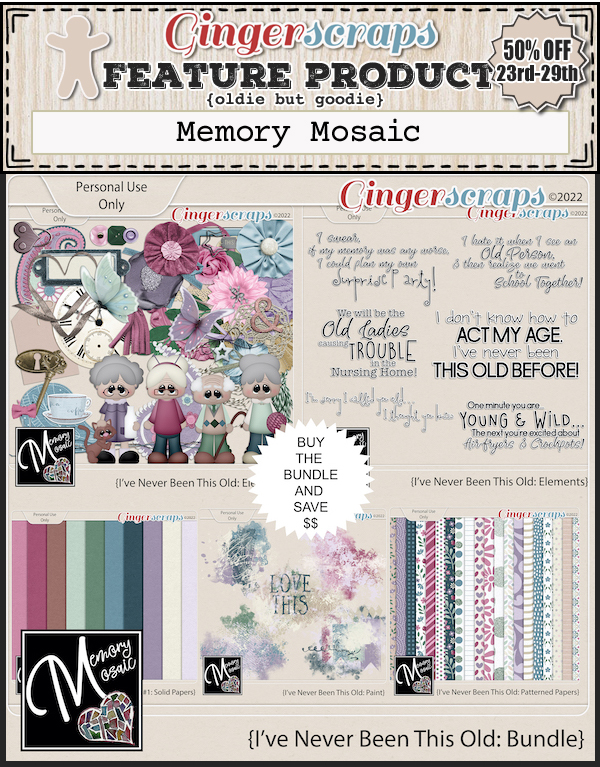
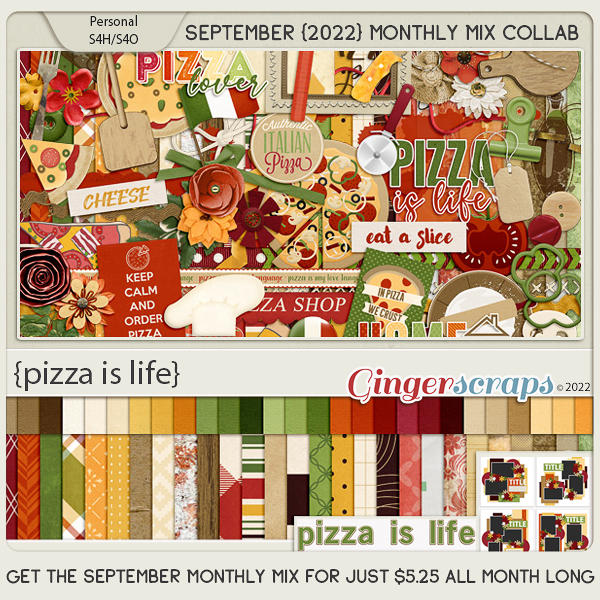
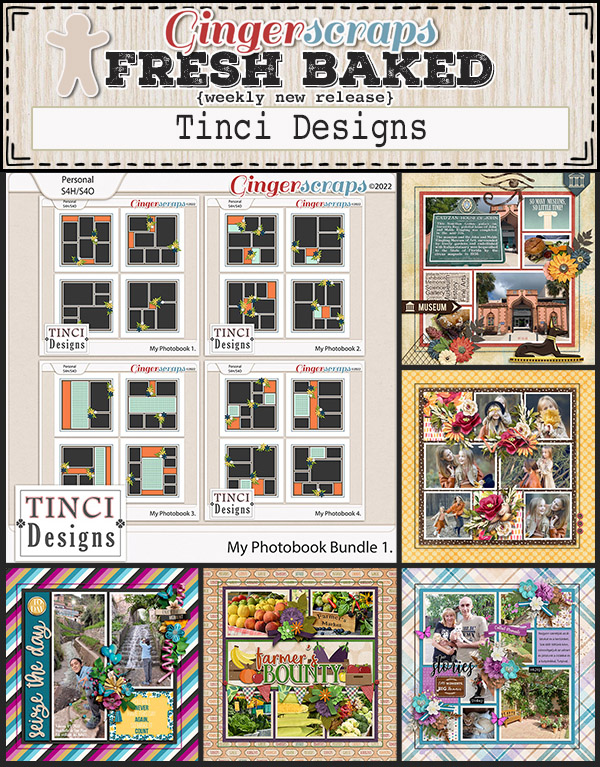
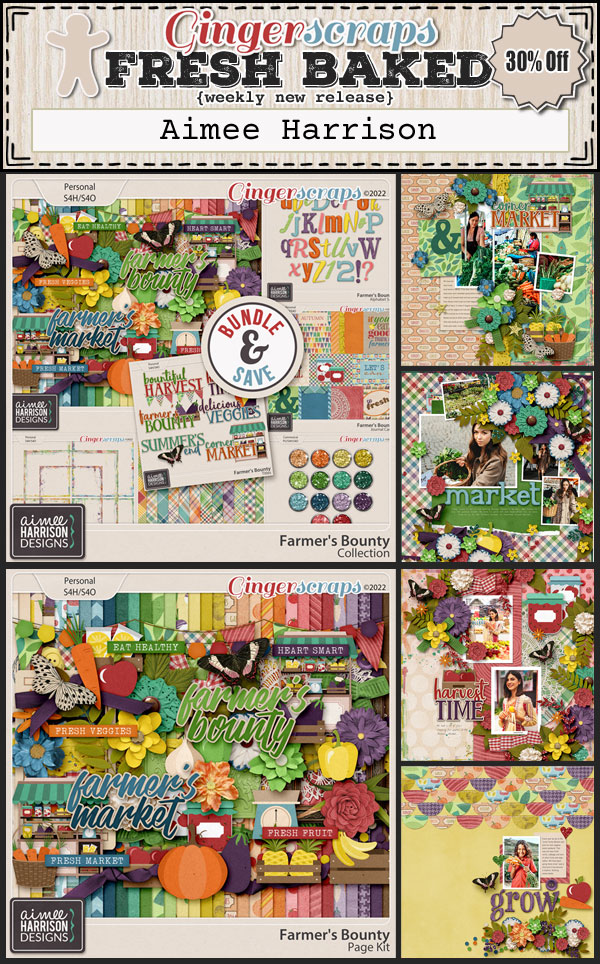
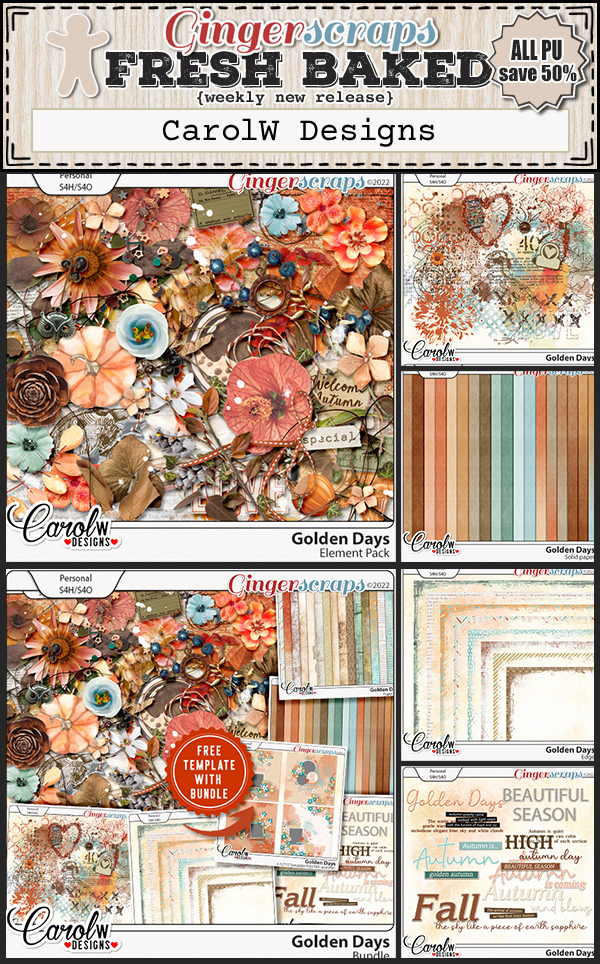
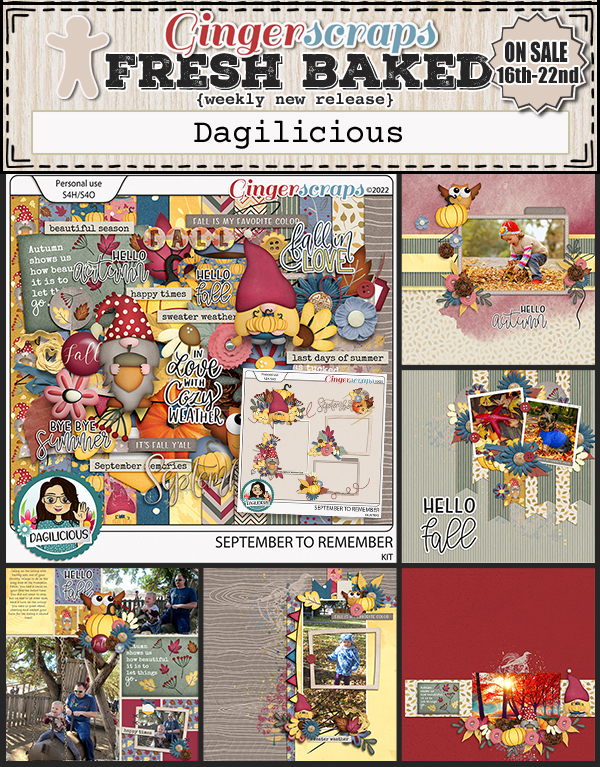
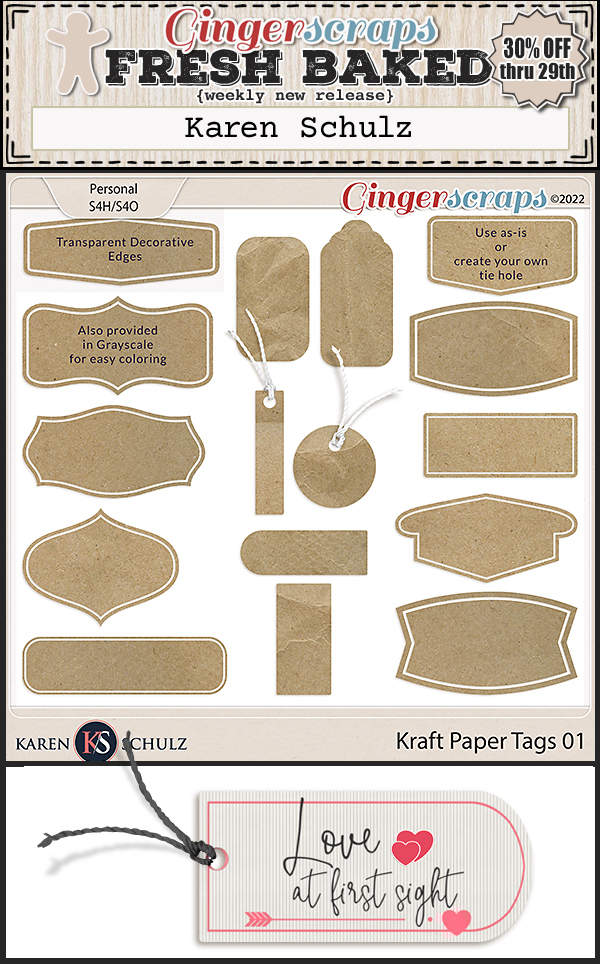
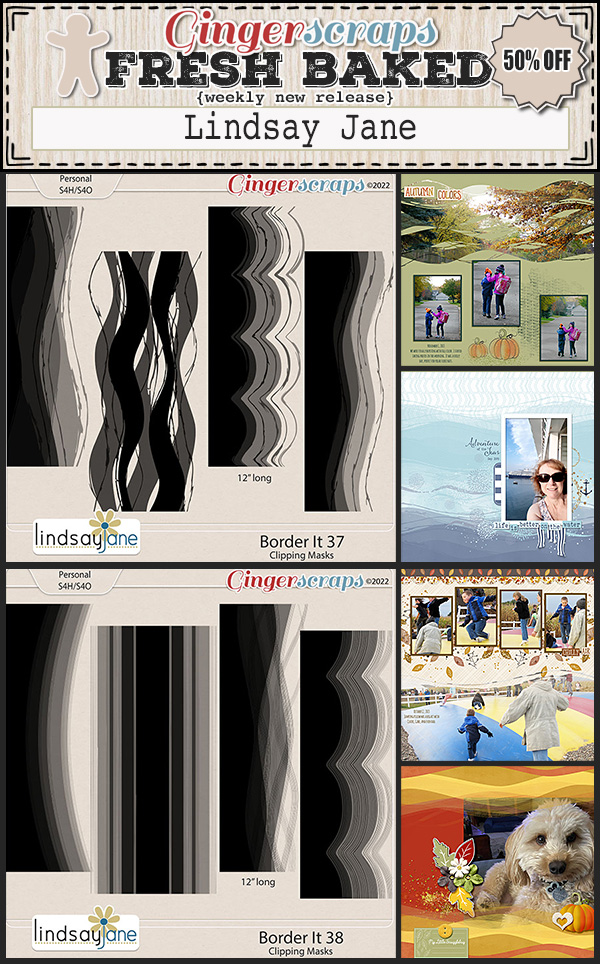
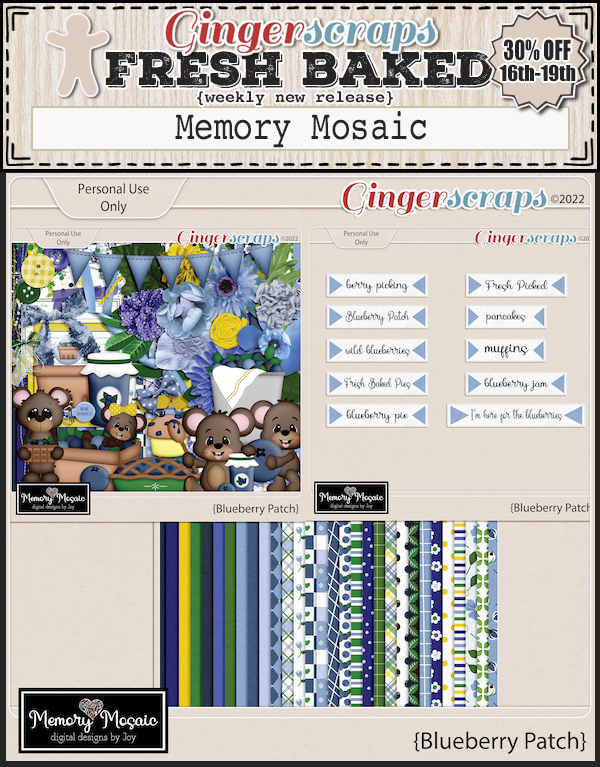
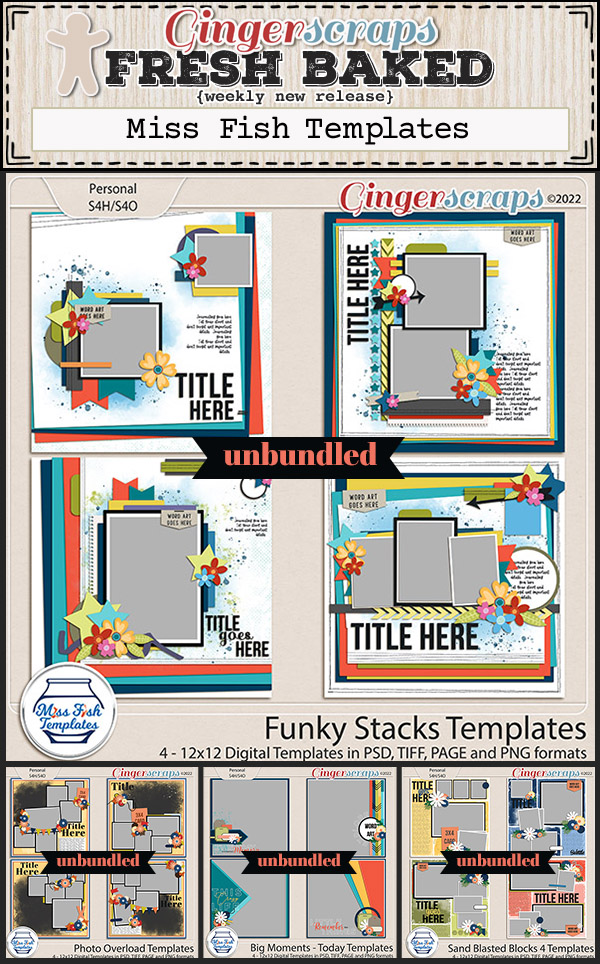
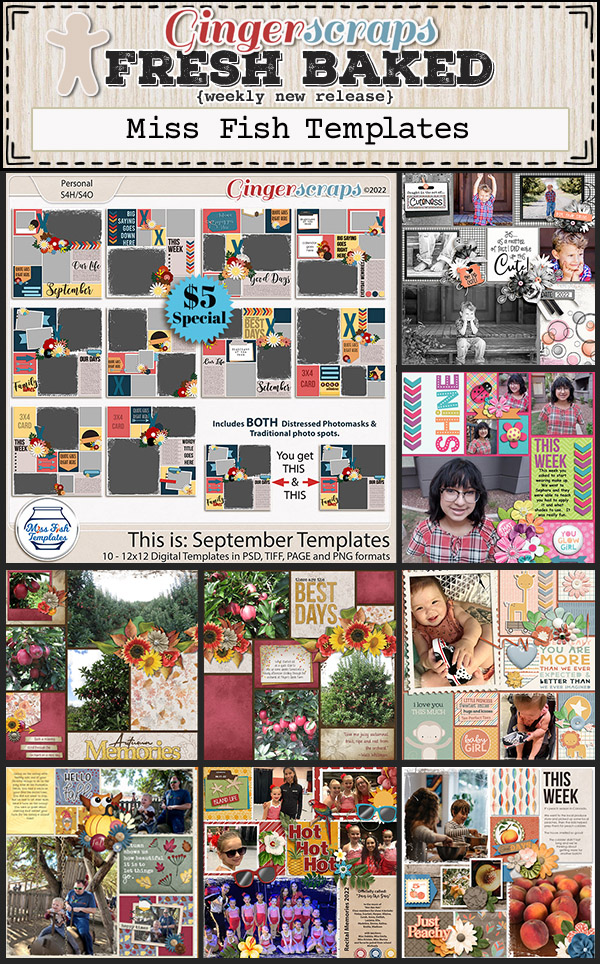
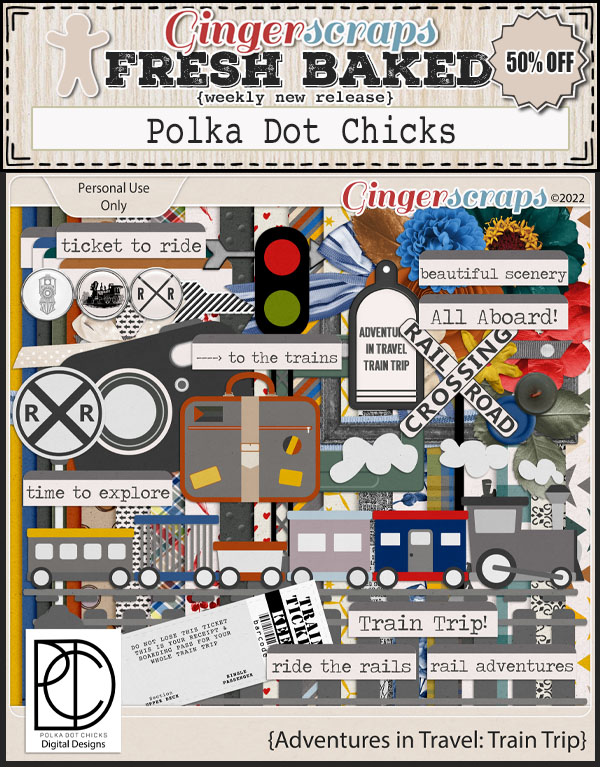
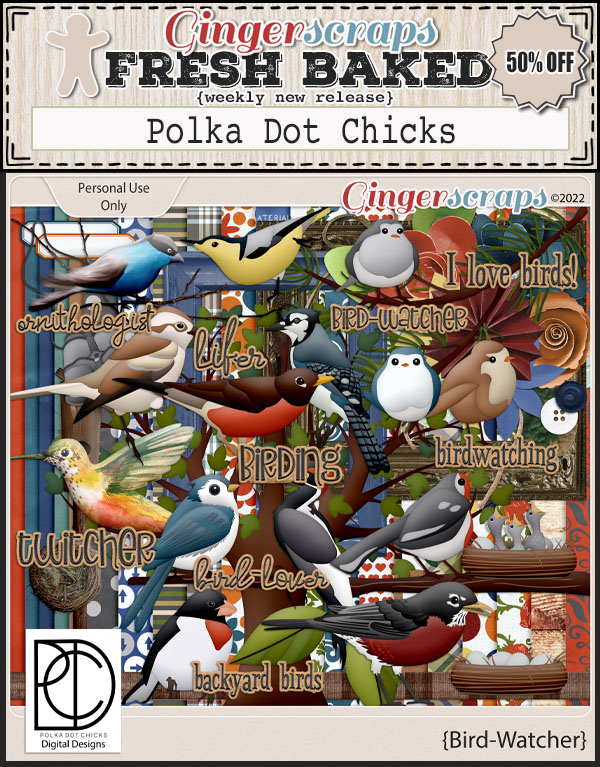
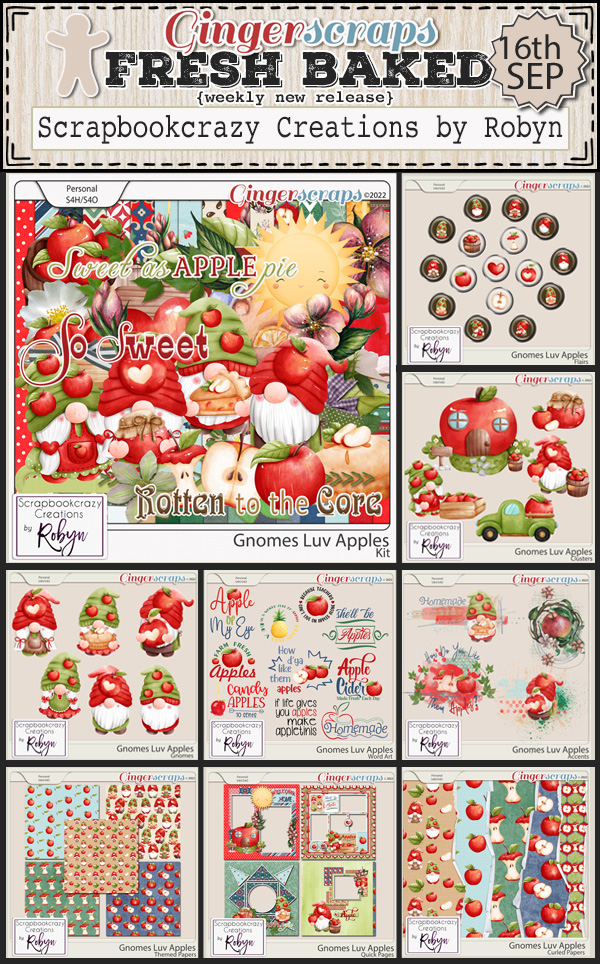
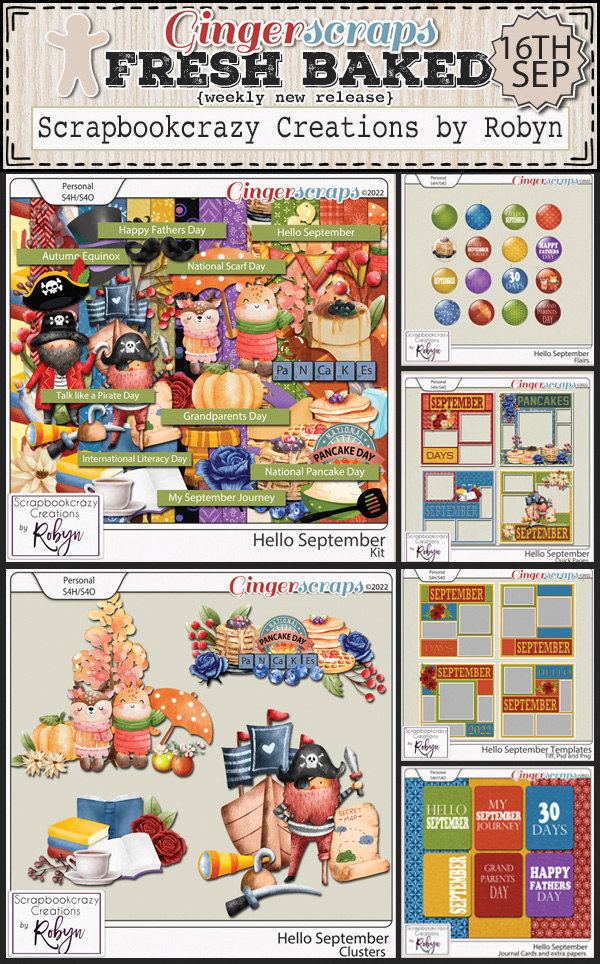
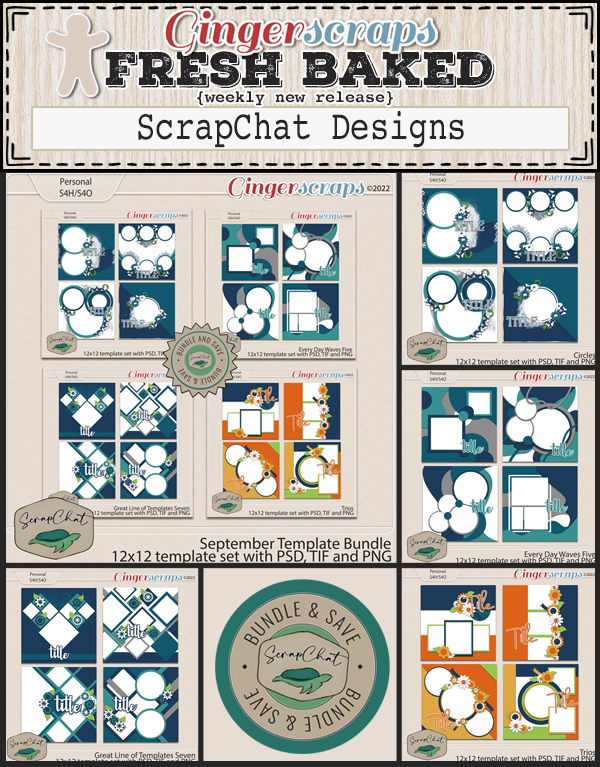
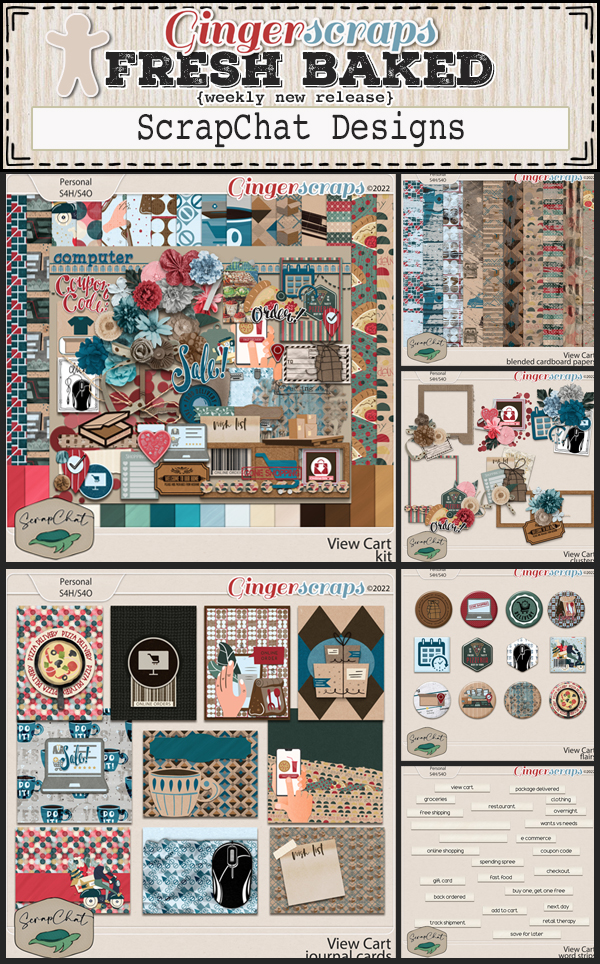
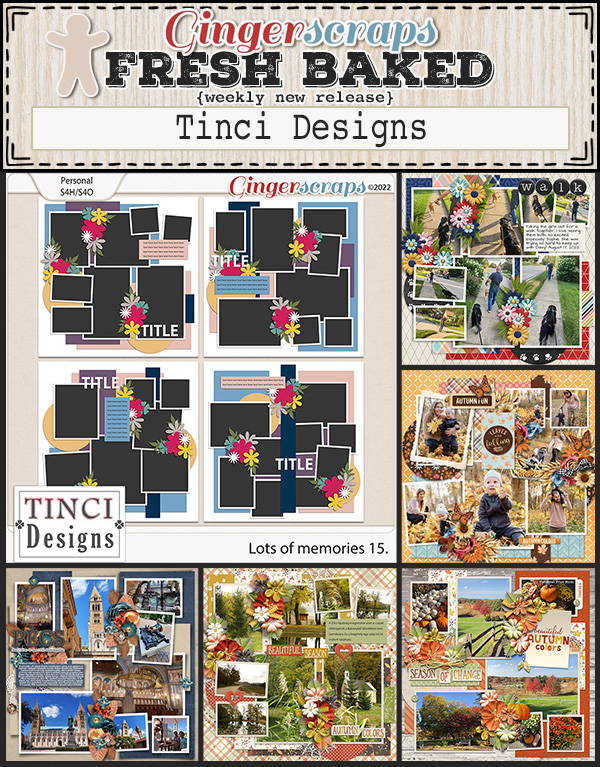
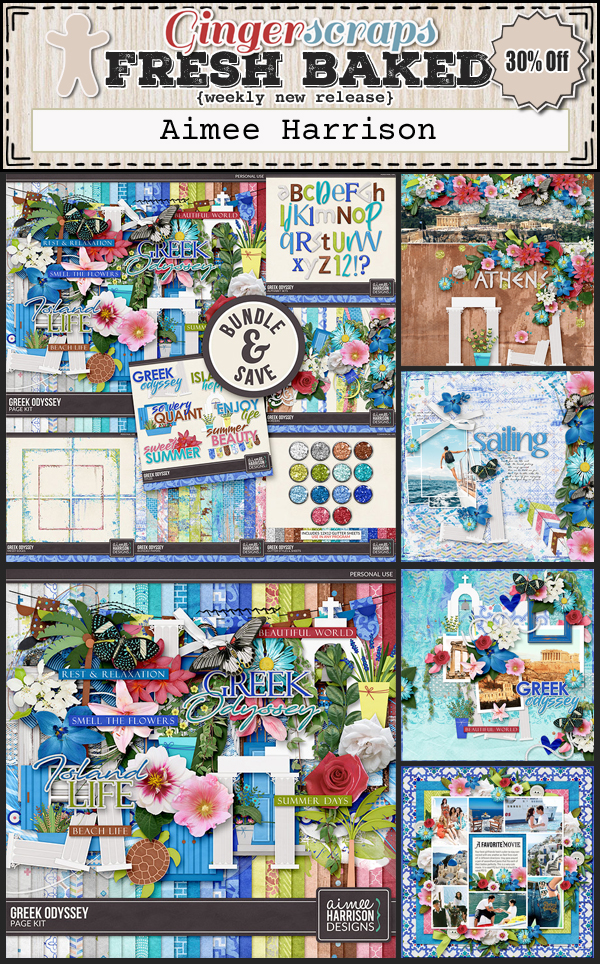
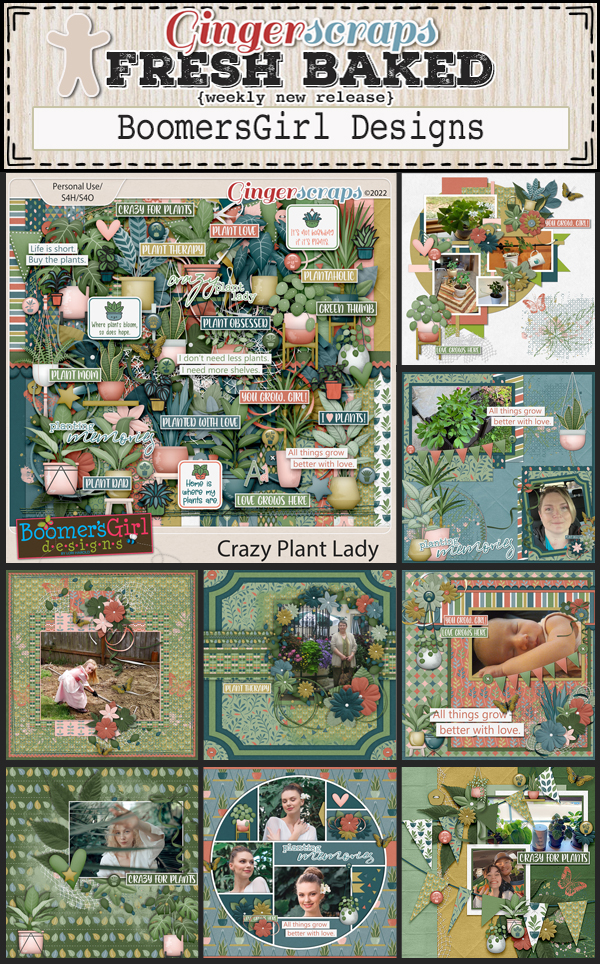
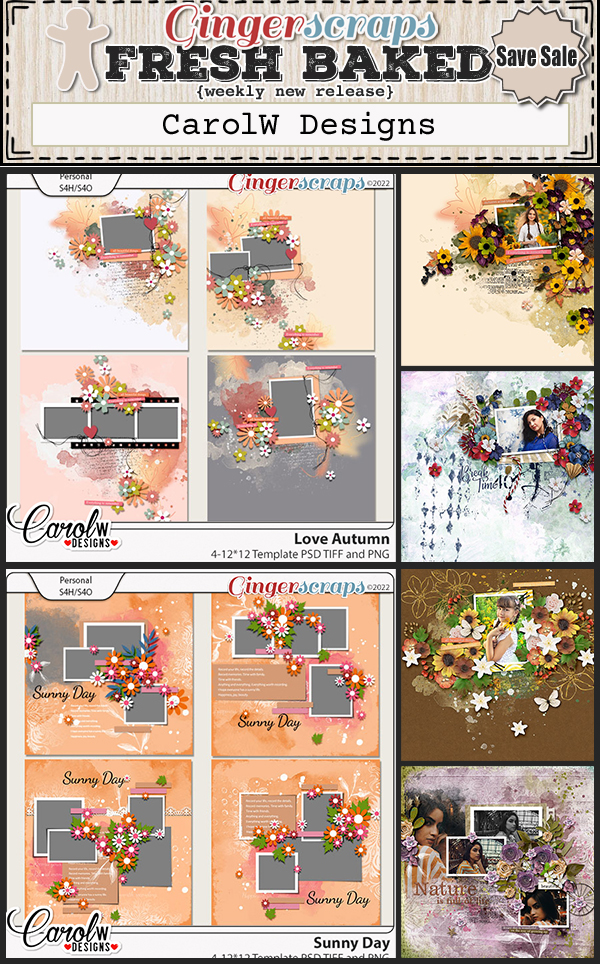
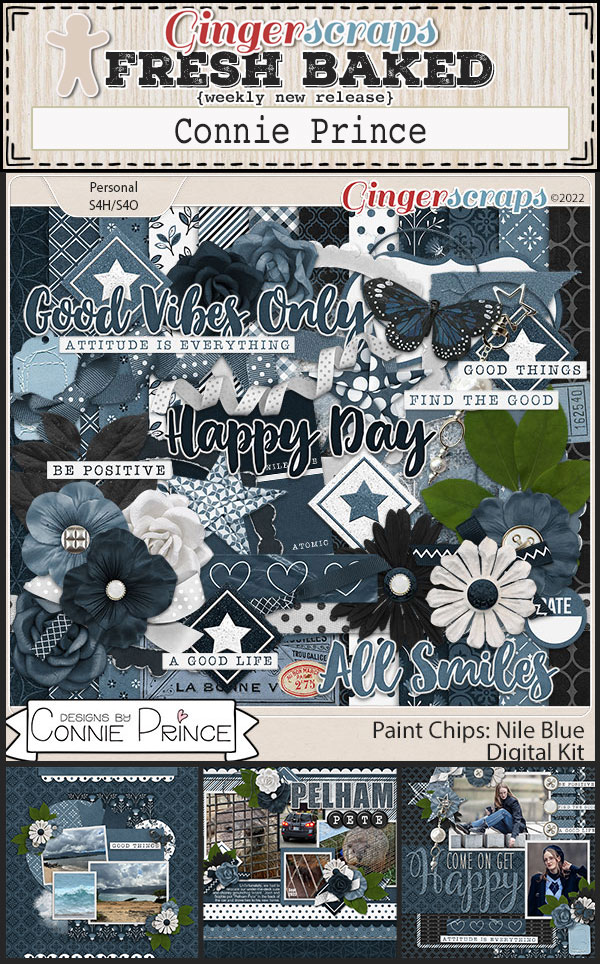
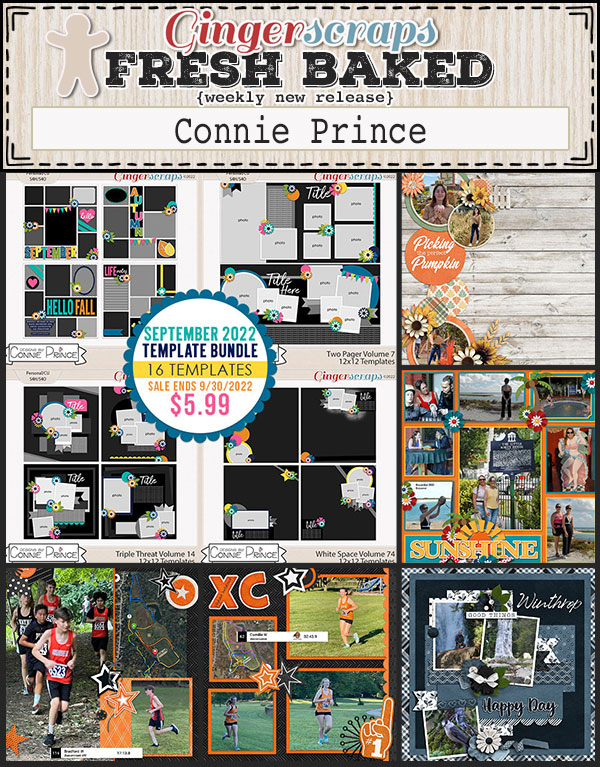
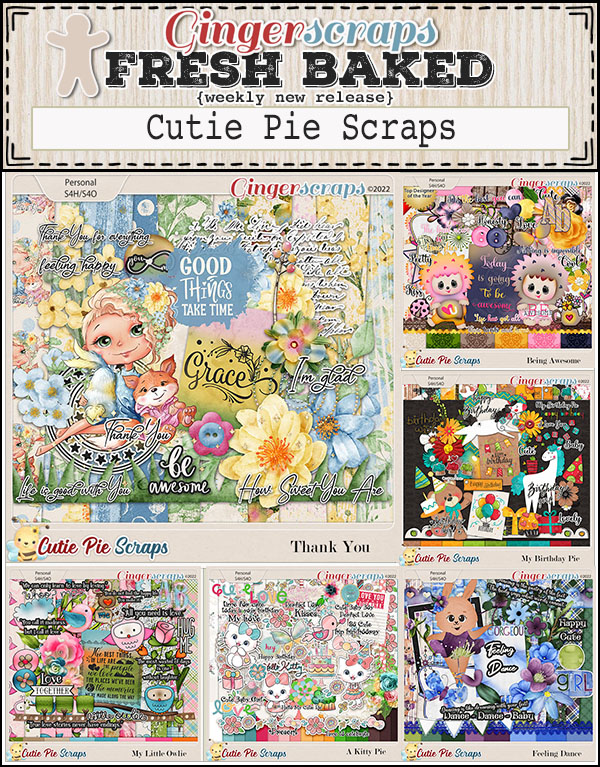
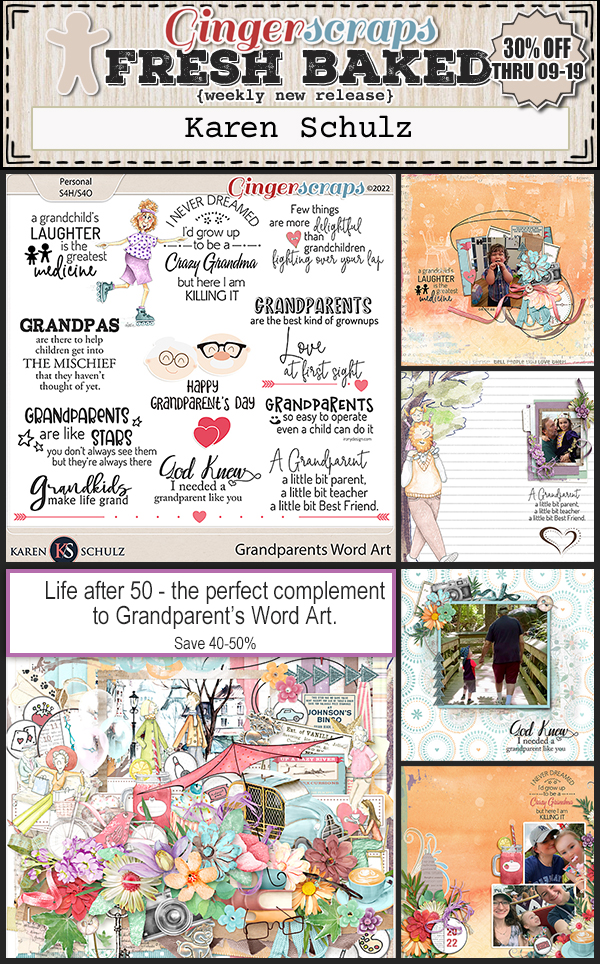
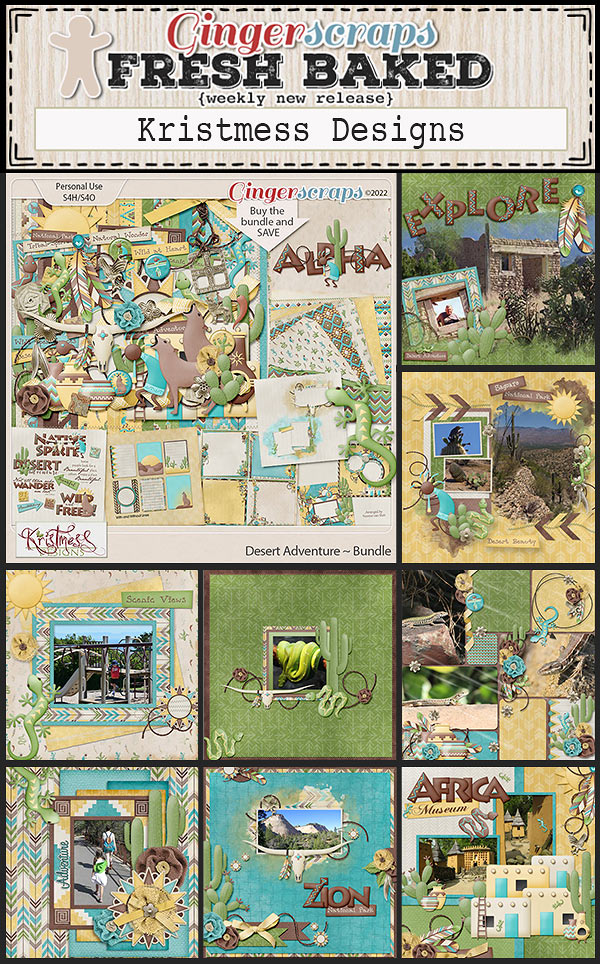
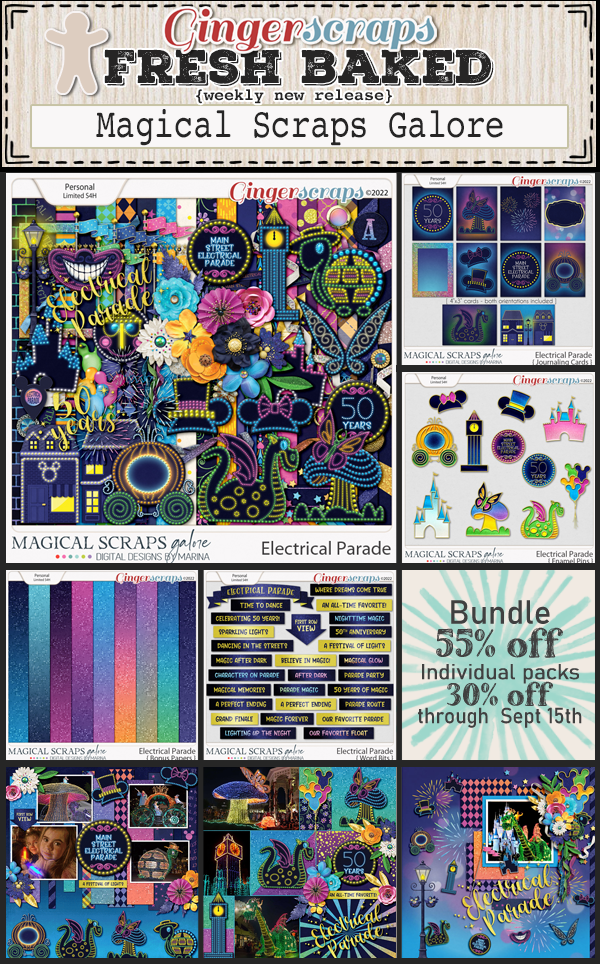
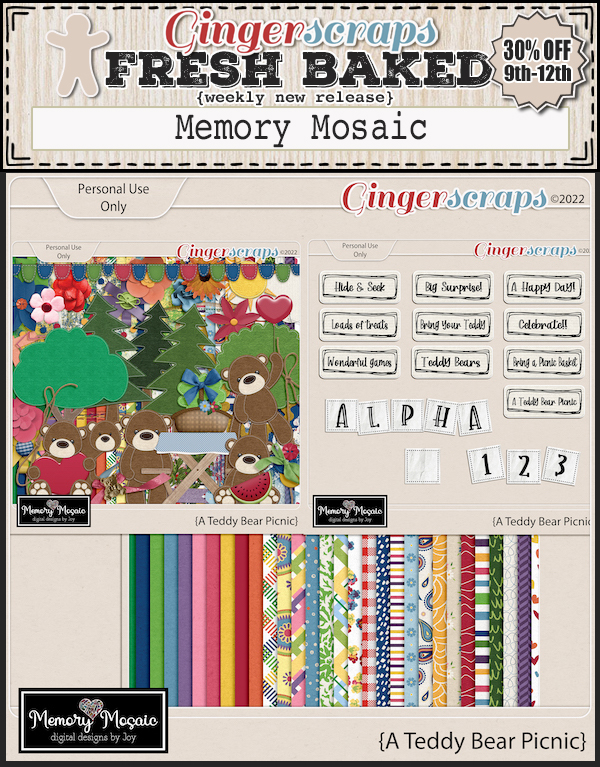
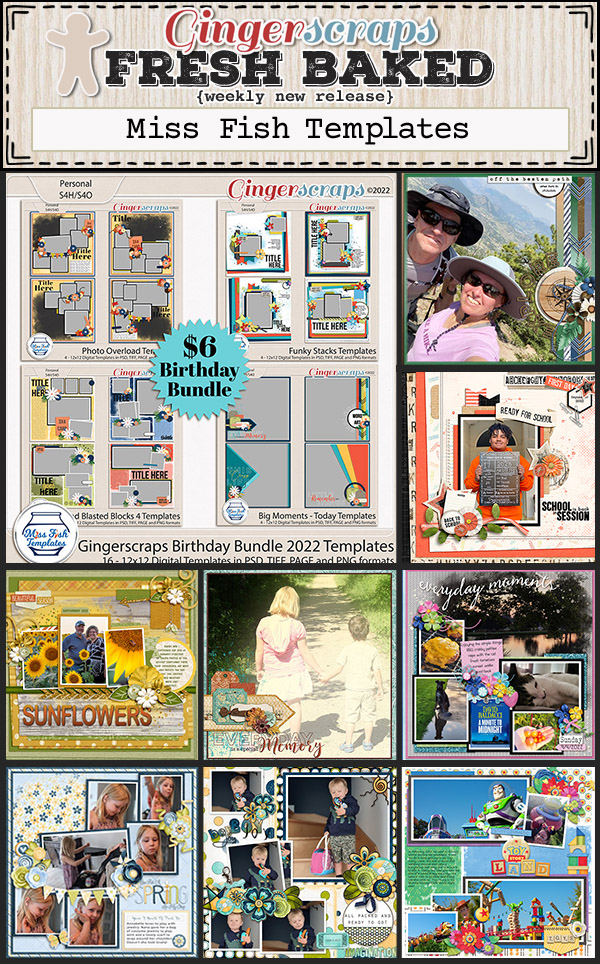
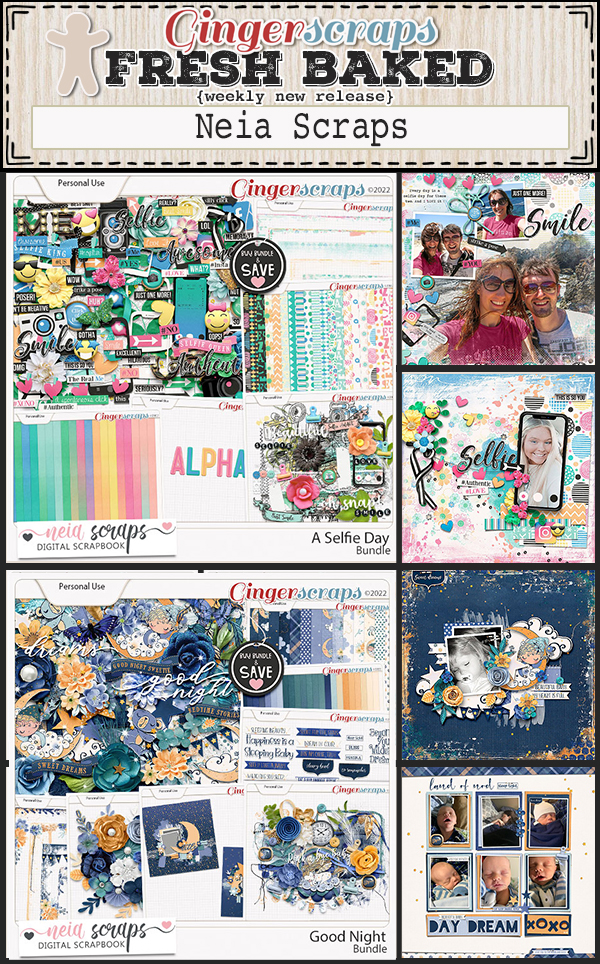
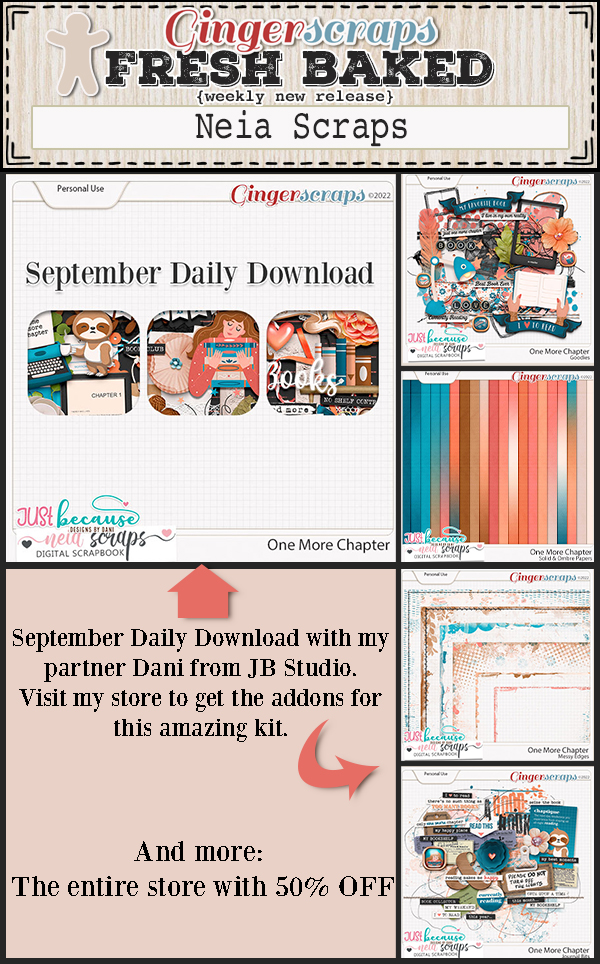
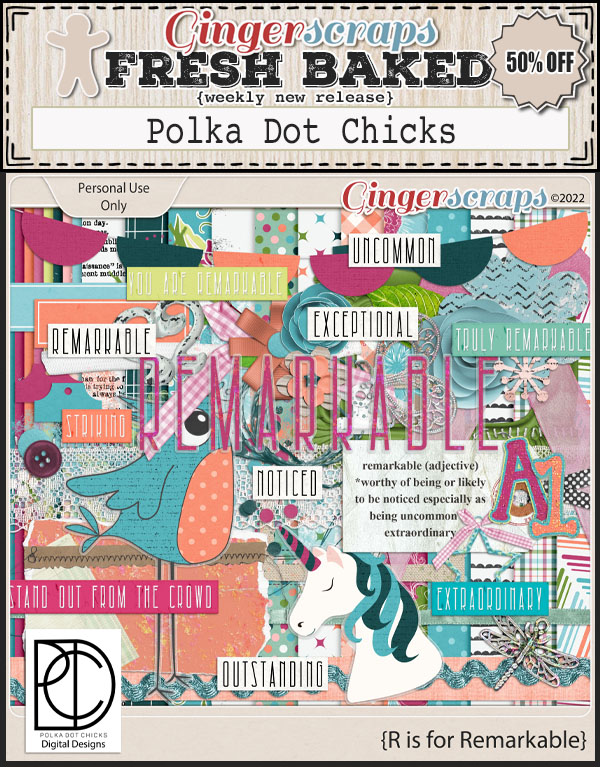
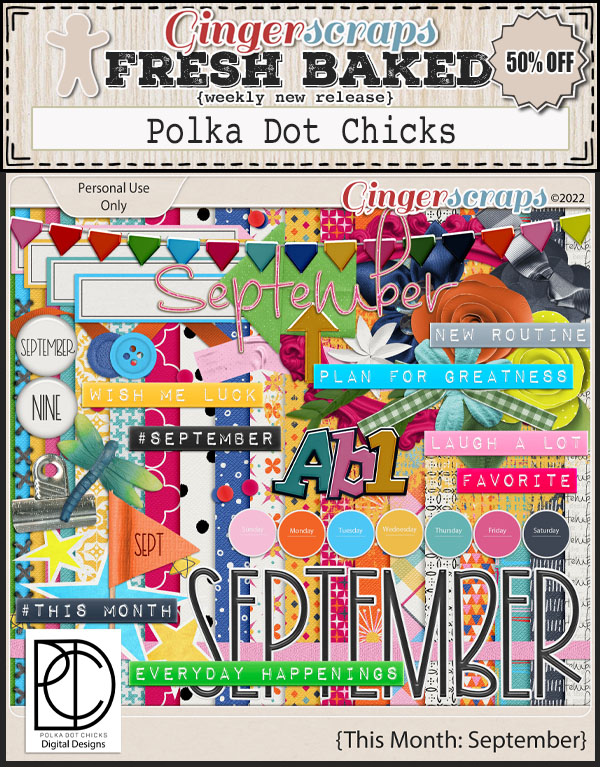
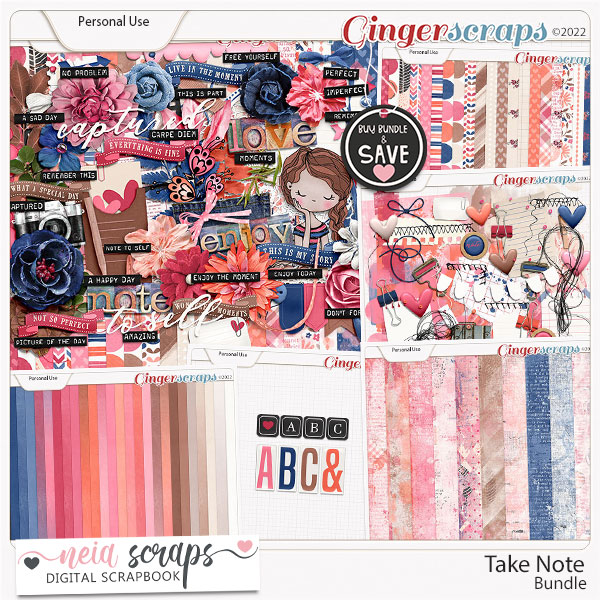
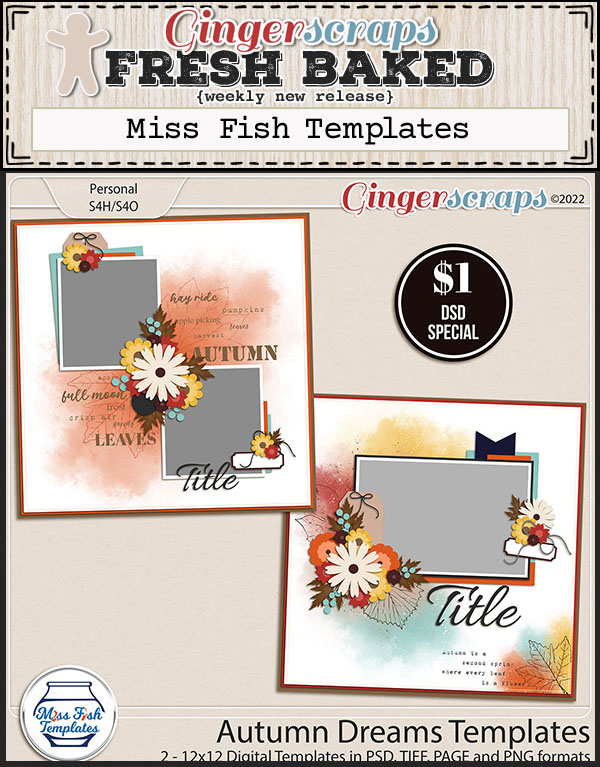
This is just a sampling of the new and fun kits, grab bags, and sales in the store. 

You still have time to get your September challenges in. Complete 10 challenges and get this kit as a reward.


Tutorial Tuesday (Potpourri)

UNZIP Me Dahling! Updated 

PDF Version : https://bit.ly/3dRjg2U

It’s been a bit of a gong show at our house recently (my parents and 2 of my siblings have been down with COVID) and I’m running about 3 days behind. So rather than give you a nothing-burger tutorial, I’m going to update an older one that might come in handy in the very near future.

I don’t know about you but I will never have too many digikits!! But being a digikit hoarder has its downside… All those kits have to be unzipped and organized. Who has time for that? And then there’s Digital Scrapbooking Day (well, more like DSWeek!) coming up in no time, with all the fantastic new products it brings with it. That you’re going to want to play with right away. What to do, what to do?


I’ll be the first to admit that my downloads folder is a mess.

I’m trying to develop some better work habits, and keeping on top of unzipping is one thing that would really make a difference. So I’m going to show you a terrific app I found that lets me unzip multiple files with only a few keystrokes. It’s called Extract Now (clickable link) and it’s FREE! I work in Windows, but there’s a Mac version too. I’m guessing it’s similar in layout and behaviour, but I can’t say that for sure. I’ve tried a few others, one of which carried a virus… and this is the one I liked best for its ease of use. It’s on my taskbar now for ease of access. The menu looks like the image below. (For newer readers, WSNH is code for Work Smart, Not Hard!)

There are several ways you can customize the performance of the app. I don’t use a lot of them, but the ones I do use include letting it check for its own updates and turning off the sounds. I’m surrounded by noise all day every day (if you’ve ever lived in a housing development under construction, you’ll know what I mean), so I don’t want a bunch of added noise in my environment if I can turn it off.

In the Process tab, you can tell it what to do with the zip folders after they’ve been extracted. At first I had the app delete them as soon as they were extracted, but I had to retrieve some stuff and now I manually delete them.

This is where Extract Now really shines. You can designate exactly where your unzipped files are sent by using the Destination tab. I had it set up to extract everything into a Downloads subfolder, but found I left things in there forever and eventually forgot about them. The Help button is really useful at showing you how to customize the app for your purposes.

I create a new folder for each kit I’ve downloaded. If you’re into keyboard shortcuts, hit CTRL/CMD>Shift>N  and you’ll have a new folder you can call whatever you want.

Over the years I’ve refined how I manage my digikits. They all go into their own folder, which later becomes a subfolder within my store folders. I name them all with the same format, designer’s name and kit name spelled out in full. That makes it so much easier to find what I’m looking for later, and it helps too with credits when I post my layouts to various galleries.

I select all the zipped folders for each kit by clicking on the first one on the list, CTRL/CMD>clicking on the last one and voilà!! Then I can open up Extract Now and drag them onto the menu.

When I click on Extract, a submenu opens asking me where I want the files to go. This is when I find the new folder I’ve created for the kit in my Downloads folder and click on it.

Click on OK to All and the app goes to work.

You can watch the progress as your files are extracted. When all the files are successfully unzipped, you’ll see green check-marks next to each one and there’s a new button activated at the bottom right. Click on Clear and all the files are removed from your app workspace. I can extract several dozen files in a matter of a couple of minutes with this useful tool.

Like I said, I choose to manually delete the zipped folders from my kit folder, which is super-simple because they’re all still selected. After I minimize or close Extract Now, I only have to right-click on the selected files and choose Delete from the menu.

We all have much better things to do with our time than extract one file at a time, right?! Give it a try and see what you think. (You can always remove the app if it doesn’t work out for you.) October 1 will be here before we know it. Now go get your scrap on!

PDF Version : https://bit.ly/3dRjg2U

September 23, 2022: Fresh Baked

Welcome to another Friday. How has your week gone? Mine has been busy. I’ll be glad for the weekend.

Remember, if you spend $10 in the store, you get this great collab for free.

Let’s see what is new in the store this week.

 Have you grabbed the September Monthly Mix? Only a few more days to grab this great collab at a great price.

And how are those challenges going? One more week to get them done. Any 10 completed challenges gets you this collab as a reward.

Tutorial Tuesday (Individual Style)

Spotlight Challenge: Recipe

Have you ever taken part in the Recipe Challenge? It’s a lot of fun! Hosted by Sweet Pea DesignsPenny, the basic objective is to take the Ingredients List and create a layout. Sometimes, there are additional Directions – for example, “Place one of your photos in the top left quadrant of the layout” – that are required to meet the Challenge goals. Participants can add to the Recipe if they want to, but MUST follow the basic Ingredients List. Let’s take a closer look. Here’s the September Recipe.

There have been quite a few layouts posted for this Challenge. We’ll check them out and see how each GingerScrapper has met the requirements. Each layout is in the order it was uploaded and is linked to the Challenge Gallery so you can see them in greater detail and leave some praise, if you’re so inclined. Just click on the GingerScrapper‘s user name.

First up is Windswept. Her first-day-of-school layout has each of the required ingredients, and she’s added an extra journal card.

This layout from alexandergirl68 ticks all the boxes, and then some. I needed to take a good look to see the ‘bling’ – gold lettering on the large flair. Very subtle!

KatherineWoodin‘s layout seems to be missing the pocket card. Do you see one? I love the visual impact of her arrangement.

I had to look for the bling on jenazs‘ layout too; it’s a subtle glitter spray behind her clusters. The pocket card is the size of a postage stamp, so it’s there but not center-stage. That crocheted border though!!

I LOVE this one from ElkFan! The kit she chose coordinates perfectly with her photo. The glittery paint, the little fishes, the lacy border… just beautiful!

Jill‘s layout just jumps out of the Gallery. The bright colour palette against that dark background is stunning.

The beach photo that inspired khoskins‘ layout really pops and is beautifully supported by her tiny clusters. The very narrow white border around the photo was the right choice. Simple elegance.

Could this layout be any cuter? I’m not sure I see a flair, but kristal has all the other goodies in there.

Using a paint swatch as a pocket card, as basketladyaudrey has done, is genius! And her interpretation of bling, a pearl dangle, is also brilliant.

Lisa Campbell chose to pull colours from her photos, then supplement them with themed elements. Love the sparkly crown that suggests the Magic Kingdom.

Daydreamer understood the assignment. Such a cheerful, colourful layout is an attention-grabber. Glitter paper… YES!

The woodgrain and plaid papers and hinges play to all the fallen leaves in the background of robinoes66‘s photo. Is there a hidden pocket card somewhere?

And last but not least, curio has created a simple but eye-catching layout. I like how she’s used the offset purple frame to draw the eye to the focal point of her photo. And the paper lanterns are amazing!

Have you been playing along with the monthly Challenges? Which one is your favourite? Maybe we’ll feature it next month!

September 16, 2022: Fresh Baked & $1.00 Bake Sale!

Happy Friday! We’re already halfway through September. How is the month going so fast?

Remember, if you spend $10 in the store, you get this great collab for free.

Let’s look at all the new goodies in the store this week. 

And along with all the great new kits in the store this week, we also have the Bake Sale going on. Each of these great kits are just $1 each.

Tutorial Tuesday (Photoshop Elements)

Realistic Folded Paper Shapes

PDF Version : https://bit.ly/3qGmUPF

I got a message from one of my most faithful readers, Karen Hampton, the other day. She had downloaded the Sweetheart template freebie that went out in Neia’s newsletter and was disappointed to find that although there’s a cute folded-paper heart on the layout, clipping a paper to the layer didn’t also recreate the folded-paper effect. She said she thought she could do it herself, but was very unhappy with the results. She was on the right track, but may have missed a couple of nuances. She asked if I’d do a tut, and here we are!

My example will start out showing a newsprint background paper that disappears a few steps in. You’ll probably figure out for yourself why that happened. 😉

Open up a canvas. Mine’s 12×12, as usual. Drag and drop a background if you want. Or don’t. We’ll start out with the Custom Shape Tool, aka the Cookie Cutter Tool. Pick a foreground colour that you can easily see. I’m going with the absolute most simple options here but if you want to, use the Tool Options to get a perfect shape. I’ll use the heart, since the template has a heart, but this’ll work with other shapes too. To more easily see the changes made with each step I’m going to use a plain, solid red paper. The technique works just as well on patterned paper too.

I dragged out a good-sized heart using the Custom Shape Tool. Note the solid line around the edge of the heart. That is one clue that the heart is a Smart Object. Another clue is that there’s a little icon in the lower right corner of the Layer Thumbnail that doesn’t show up on layers containing dumb objects. Before we can manipulate anything about that shape other than to resize it, it must be Simplified. In more recent versions of Elements, there’s actually a Simplify button in the Tool Options.

If your version doesn’t have that, you can accomplish the same thing by right-clicking on the layer to activate it and choosing Simplify Layer from the drop-down menu.

Here’s my red paper. To Clip it to the shape, right-click on the paper layer and choose Create Clipping Mask. If you’d rather use a keyboard shortcut, CTRL/CMD>G works with versions Elements 14 and previous. If you’re using Elements 15 or newer, that shortcut Groups Layers – which could be useful but doesn’t do what’s needed here. For you, the keyboard shortcut is CTRL/CMD>ALT/OPT>G.

Once the paper is Clipped to the shape, the two layers can be Linked by clicking on the little grayed-out symbol on the left edge of the layers, which keeps the layers together if one is moved or resized. I prefer to Merge them into a single layer so I don’t leave part behind or do a bunch or work on the wrong layer. Click>SHIFT>click on the layers to activate them then right-click and choose Merge Layers or CTRL/CMD>E.

To create the appearance of a fold, we’ll use the Burn Tool. The icon looks like an “OK” hand signal (or half of Heidi Klum‘s opera glasses, for those of you who watch America’s Got Talent). Select a small hard round brush from the Brush Picker. 20 pixels is a good size. Set the Range to Shadows and the Exposure to 100%. What this Tool does is darken whatever it covers, but keeps the underlying colour.

This is a hot tip: When using the Dodge and Burn Tools, to get the smoothest transitions, start your action OUTSIDE the object you’re altering. The effect will only be applied to the actual object on the active layer – it won’t touch anything underneath it! And to create a straight line, click>HOLD THE SHIFT>click. So I started my shadowy fold line by clicking off the red paper at the centre-top V on the heart (the upper + sign), held the SHIFT key down while I moved the cursor to below and outside the pointed end of the heart and clicked again (the bottom + sign). As long as you keep the SHIFT key pressed, Elements will know it’s drawing a line between clicks.

Still working with the Burn Tool set to Shadows, change the Brush to a BIG soft brush. You can resize your Brush two different ways. One is to use the slider in the Tool Options. The other is to use the keyboard. [ makes the brush smaller, ] makes it larger. Choose a brush size that covers about 2/3 of one side of the heart.

I like to have the utmost control over everything (Type A/OCD/ADHD??) so for this step I’ve turned on the Grid. View>Grid or CTRL/CMD>’ This way I can be sure the shading is oriented properly and that I’m starting and stopping in a straight line.

This screenshot expands on what I was saying about starting the Burn OUTSIDE the heart. I have my big, soft brush overlapping the fold by a bit (I think it looks more realistic, but you can line up the Burn with the fold if you want). I’ve shifted the left edge over 2 spaces past the fold. Click>HOLD THE SHIFT DOWN>click and there’s a nice shadow there.

If 100% isn’t quite as shadowed as you’d like, simply KEEP THE SHIFT KEY DOWN, move the cursor back to the first position and click again. If you click without holding down the SHIFT key you’ll be starting a new path and will be making work for yourself. Does that make sense?

To make the right side of the heart look a bit curved, change to the Dodge Tool – the one that looks like that paddle the optometrist uses to cover one eye. Keep your big soft brush but make it about 25% smaller than your Burn brush was; set the Range to Highlights and the Exposure to about 20%. Repeat the same steps you used to create the shaded part. One pass should be enough. Can you see the curve?

Once you’ve figured out your light source you can position your heart and add a nice cast shadow. And that’s it!

Let me know how this works for you. I’m always open to questions and suggestions through Private Messages. [User name ObiJanKenobi] See you next week!

PDF Version : https://bit.ly/3qGmUPF

September 9, 2022: IT’S BIRTHDAY PARTY TIME!

There is SO much going on this week. I guess I should start off with the biggest thing, right?

HAPPY 14TH BIRTHDAY GINGERSCRAPS!! 

And you know Ginger when it comes to celebrations. She doesn’t do them small. So we’re having a HUGE party!!

Have you participated in one of the Scavenger hunts? They are so much fun and I always find kits I “need” while I’m looking for that crazy Gingerbread Man (he’s a little sneaky).

And our designers have some fun games going on in the Forum as well!

Don’t forget this great Free With Purchase kit you get with any $10 spent in the store!

On top of all that fun, we have some great kits and other special sales and new releases!

How are you doing on the challenges? Complete any 10 challenges and get this great collab as a reward!


BREAKING NEWS!!

Designer Spotlight Bonus Goodies!

Dani and Neia asked if I’d pass this on. For tomorrow (September 9, 2022) ONLY, subscribers to their newsletters will have the opportunity to grab some bonus freebies. Here’s a sneak peek to whet your interest.

Need links? Dani’s newsletter sign-up is HERE.

Neia’s newsletter sigh-up is HERE.

Run, don’t walk!!


Tutorial Tuesday (Photoshop Elements)

Yes! You CAN Create Curved Lines in Elements!

PDF Version : https://bit.ly/3QvbYPm

As we’re all well aware, there are lots of things Photoshop does that Photoshop Elements doesn’t. Sometimes there are work-arounds, sometimes there aren’t. I had given up hope on smoothly curved lines after trying a lot of things I felt should work – but failed spectacularly, and then I found George Peirson, the HowToGuru. He’s got some really interesting techniques that I had to try for myself. THEY WORK! Today I’ll show you the easiest one to master, and create a curved paper multi-layer border with it.

I chose to work on a transparent 12×12 canvas, since it’s my preferred layout size. There’s no reason this can’t be accomplished on a smaller or larger scale, so do what suits you best.

This is the shockingly easy way to curve lines, and it uses the TEXT TOOL!!! Any font will work, and choosing a big character size will make it quicker. Center your Text cursor on your canvas and type out a line of “underscores” – SHIFT>- to extend across the page. Using the underscore gives a longer dash than the hyphen does, and the ends join seamlessly.

For once, we’re not going to Simplify a Text layer before we manipulate it. Instead, click the Text Warp button shown and a new menu will open up. Make sure Anti-Aliasing is also checked.

The Text Warp menu has a drop-down option bar labeled Style. Click on the bar and choose Flag. The only parameter we’ll change is the Horizontal Bend. Push the slider all the way to one side or the other. I’m right-handed, so I went to the right. For this example I’ve only gone to 94%, but 100% is also going to be perfect. If you want to see what the other adjustments do, play with them. They’re not permanent until you make them permanent.

So now we have a very gentle sine wave. If you want something more um… dramatic, we’ll need to Simplify the layer.

This Image>Transform Tool is so useful! For my sample, I chose Image>Transform>Distort. This command tells the Bounding Box that each of the “handles” is moveable in any direction.

So just grab a handle and pull it or push it around until you see a shape you like. Then click the green checkmark.

The usual Resize and Reposition functions are still operational, so you have lots of room to make adjustments. I Rotated it so it’s vertical, then stretched it top to bottom and positioned it where I liked it best.

My goal is to create some Clipping Masks for a curvy border, so I used the Paint Bucket Tool to fill the space between the edge of my canvas and the curvy line.

You can see there’s a faint blank area. That happens sometimes with the Paint Bucket. It’s easy to remedy. Just click the Paint Bucket in the space again and that blank area will fill.

Okay. I have one layer. Let’s make another one. I’ll use a different colour so it’s easier to see what’s what. I’m also going for a shorter baseline.

This screenshot shows how the length of the line and the percentage of Bend influence the curves when I used the same Style through the Warp Text Tool.

Here I’ve Rotated the line already, and I’m ready to Simplify it.

This time when I chose the Image>Transform Tool, I chose Skew.

With Skew, the handles can move in two directions, horizontally or vertically. You can see my Bounding Box in the screenshot.

I’d like to make the curved line longer, and have more curves, so I’ll make a Copy layer.

Then I moved them around so the spot where they intersect provides a smooth curve. I did some Zooming while I was lining them up.

It looks pretty good to me. I won’t worry about the tail on the left side of the line.

Then I Merged the two lines into one long one.

Once I had just one long line, I moved it over so it sat on top of the black shape, which is visible again.

And I dumped the Paint Bucket into the space. Clipping mask #2 is done.

I wanted to try one more thing, using a tilde instead of an underscore. The main difference is that the line of tildes won’t connect up the way the underscores do. Elements 2019 finally included kerning: the ability to adjust the space between characters, only they call it Tracking. Earlier versions don’t have that function, so I’ll show you the “non-kerning” method of creating a wavy line with a tilde. It’ll take a few extra steps.

But before we do that, I decided I wanted to stretch the tilde widthwise by 50%.

The Warp Text Tool isn’t going to work for this curvy line so the tilde layer needs Simplifying.

I made a Copy of the tilde layer.

Using the arrow keys I nudged the two tilde layers so they created a smooth wavy line.

I Merged the two layers and made a Copy of the now-double-tilde layer.

Nudge the two layers to create a smooth wavy line, Merge the two layers and make another Copy, this time with double the bumps. Keep repeating these steps until the line stretches across the whole page.

I think it needs something…

This time, after much trial and error, I chose Image>Transform>Perspective.

Woohoo! It looks like rickrack! I could use it just like that and be quite happy.

Instead, I moved it into position and Filled the space.

I liked what I had, but thought maybe one more layer. Rather than make a whole new one, I instead played with the original shape. I made a Copy of it then hit it with Image>Transform>Distort.

It’s just different enough that it’ll add something to the stacked border. Whenever I have something on my canvas that extends outside the edges, I use the Crop Tool to get rid of those parts so they don’t mess with the final product.

I changed the colour of that last layer to a grayish-green then flipped it horizontally and Rotated it 180° so the widest part was at the top. I think it’s good now.

Here’s a view of the four Clipping Mask layers with papers Clipped, and with a small drop shadow. You could position the layers horizontally, which could give you a nice wave effect, too. Now I can tuck the corners of photos in between the layers, add some elements and have a really unique border when I’m done.

In a coming tutorial I’ll show you a couple of other ways of creating curved lines so you can choose the one you like best.

Whew. It’s still Tuesday where I am. I made it!

PDF Version : https://bit.ly/3QvbYPm

Designer Spotlight: September 2022

Neia Scraps and JB Studio

How can it be September already? This month we have a dazzling duo in the Designer Spotlight. Edneia, aka Neia Scraps and Dani, aka JB Studio have joined hands and talents for us and we’re not going to be disappointed! I had a chat with these amazing women and want to share what I’ve learned about them with all of you. Let’s go!

J: First we’ll do the whys and wherefores. Neia, what made you decide to design?

N: When I first discovered digital scrapbooking, I was pregnant with my youngest daughter. Today she is 11 years old. I love drawings and cute little things and I got completely involved with this world. I had time, a computer and a lot of willingness to learn at my disposal. I started making pages and courses and soon I was designing my own products.

J: I’ve been a fan for a long time! Dani, how long have you been designing?
D: Since September 2007.
J: That long? I had no idea!! Happy 15th design-iversary. Neia, what do you use to create your designs (program, additional tools, etc.)?

N: I use a desktop computer, my most used programs are Photoshop CC and Illustrator CC. I still use a scanner, a graphics tablet and I have a Canon camera.

J: Dani, can you describe your design workspace for us?
D: I’m blessed that in the new house I have an entire room for myself. So now I want to make it an inspiring creative studio, I’ll paint the walls and buy furniture and hang art on the walls. I worked in the family living room for long years. So this is a great achievement for me. Besides my laptop, I have lots of notebooks and pens and washi tape and brush pens because I bullet journal.
J: That’s fabulous! I have a dedicated room for my crafting too, but it’s still stuffed full of boxes and badly needs organization. So. Much. Work. So let’s change the subject. What is your favorite kit currently in your GS store and why?
N: Take Note is my favorite kit right now. I had fun creating it and it has elements that I love. I love characters and I love pink.
D: This is such a hard question because I love creating and each creation has its own special meaning to me. Recently, I created Empty Nest which reflects my own thoughts and feelings when I think that my daughter is almost turning 18. I also created a collection I’ll be releasing soon at Gingerscraps named Be Strong which reflects the emotional overwhelming moment I’m living now. It’s more like a reminder to myself to take care of myself and be strong because it will pass soon. Most of my designs reflect my own feelings and thoughts and they are also a way to inspire others.
J: Dani, those both sound quite special. I’ve already bought Empty Nest, so I’ll keep an eye out for Be Strong. What one word would your friends and family use to describe you?
D: Unique. I think that’s because I have a unique view of things and life.
N: Fun!
J: Both are sterling qualities, don’t you think? Now, let’s talk about your perfect vacation.
N: What doesn’t end? LOL … Well, my favorite places are Orlando, Florida and the North Coast of my state of São Paulo.
D: I don’t think I can describe ONE perfect vacation. I like to experiment and experience. So the one I describe would be perfect for the first time and I would like to do it differently in the next one. LOL
J: You’re both in Brazil, right? I have a dear friend who grew up in Porto Alegre who now lives in Canada. I think I should put Brazil on my bucket list. Here’s a curve ball for you. Are you more likely to dance or sing in the shower?
N: I’m sure I can do both, very badly I confess, but yes, I do.
D: Sing, sing, sing. I love singing.
J: Do either of you have a green thumb? What do you grow?
D: Not yet. This is in my plans to have a beautiful garden here in the new house, too. I cannot dedicate myself to that now and we have a young dog who would destroy it all. So, when it’s the right time I want to start gardening. I want to grow flowers and also some vegetables because I like cooking.
J: Having a blank canvas where you want a garden to be is both a blessing and a curse! So. Much. Work. Can you tell my Long-COVID fatigue is getting to me today? Pshhh.  Here’s a thought… If you could have a super power, what would you like it to be?
N: I wish I had the power to heal any kind of illness or injury or anything that might be wrong on any neurological/psychological level.
D: I too would like to be able to heal people. My daughter has diabetes and my mother has a rare type of rheumatism. Sometimes I feel useless, there’s nothing I can do to avoid their pain.
J: Wouldn’t it be lovely if we could just make it all go away? What about food? Dani, do you have a favourite meal, one you could eat every day for the rest of your life?
D: This is easy – Japanese food: especially sushi.
J: Nope, not for me!! Tempura maybe, but sushi is not for me. Neia, If you had a warning label, what would your say?
N: Beware, it looks harmless but bites if provoked! 🙂

J: What celebrity would you like to meet at Starbucks for a cup of coffee?
N: In 1995 a band called “Mamonas Assassinas” was very successful in Brazil. I was 15 and I couldn’t go to any of their shows. They were a very irreverent and fun band. It was a meteoric success that lasted a year and they tragically died in a plane crash at the height of their career. To this day I miss them because it felt like they were part of my life. I would love to sit down with them, have a coffee, have a good laugh and say goodbye. They were great and made the childhood and youth of millions of Brazilians much better!! and i just wanted to say thank you!!!
J: They sound amazing! I think they could be compared to Canada’s Bare Naked Ladies. What did you want to be when you grew up?
D: A singer and actress.
J: Lots of little girls were right there with you, I think. What’s the best compliment you’ve ever received?
N: My daughter said I’m a great mother. Not because I let her do whatever she wants, but because she feels like talking to me and knowing that I love her.
J: Aw, that’s so sweet! One of my daughters said something similar years after she became an adult. It almost made up for all the years she thought I was a witch. 😉 I’ve taken up enough of your time, so I want to thank you for chatting with me. Best wishes for a very successful September.
Before I end this post, I want to remind you all that not only are Neia and Dani providing the September Daily Download called One More Chapter, they’re also hosting this month’s Designer Spotlight Challenge! And….. being the generous souls they are, they’re also discounting their stores, 40% off with NO COUPON CODE needed. I think I need to go shopping… See you all in October! <editor’s note: I apologize for the formatting on this post. I’ve played with it for nearly an hour trying to fix it, but without success. Sorry!>