Happy Monday! Today is the last of my April spotlights. We’re focusing on the Desktop Challenge and the Inspiration Challenge.
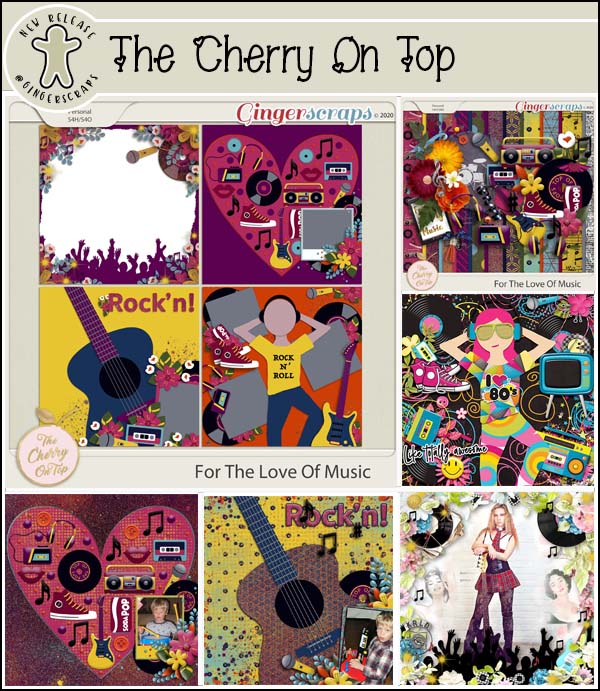
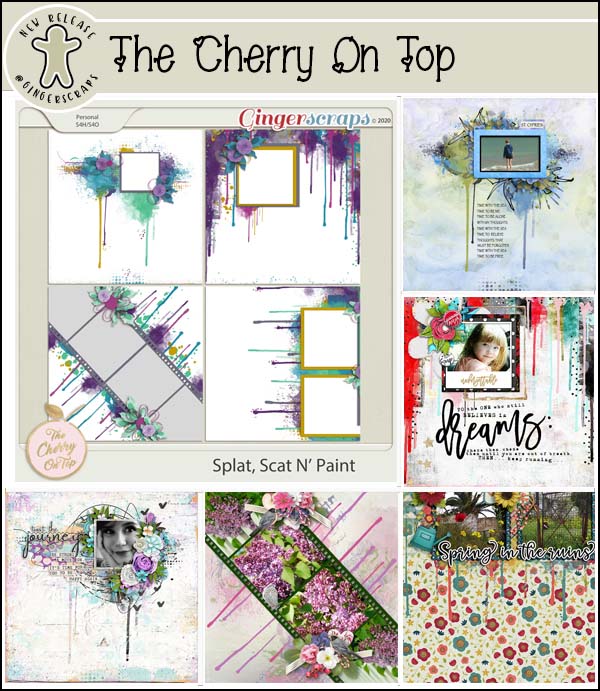
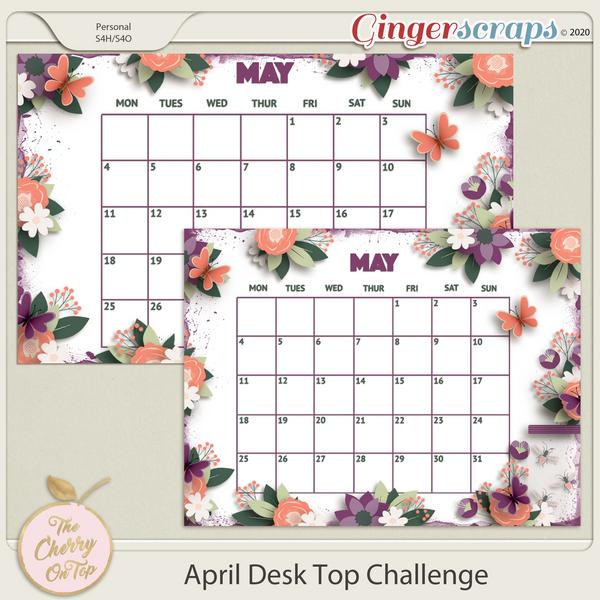
April’s Desktop Challenge is hosted by The Cherry On Top. Each month we are provided with a template that can be used as a desktop background on your computer. I LOVE this template. It’s gorgeous.
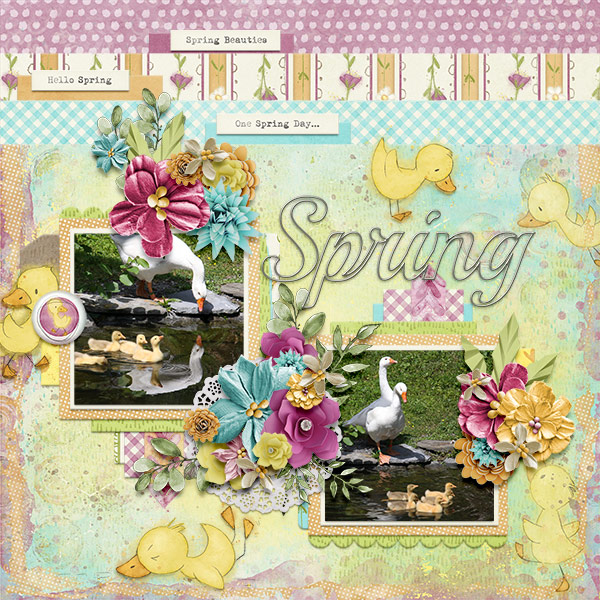
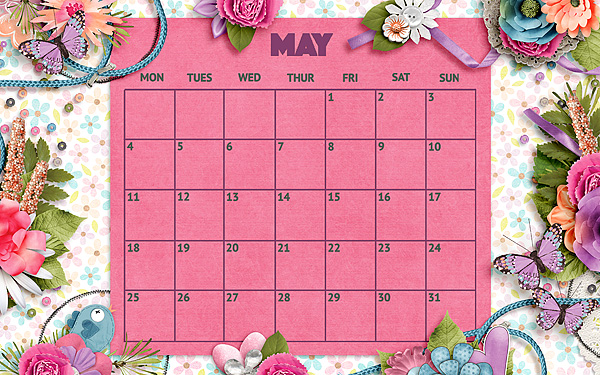
Let’s see the beautiful layouts I picked from the forum.
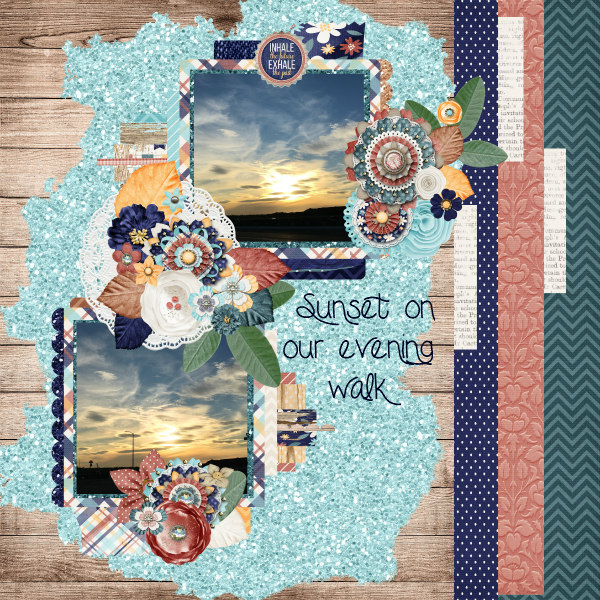
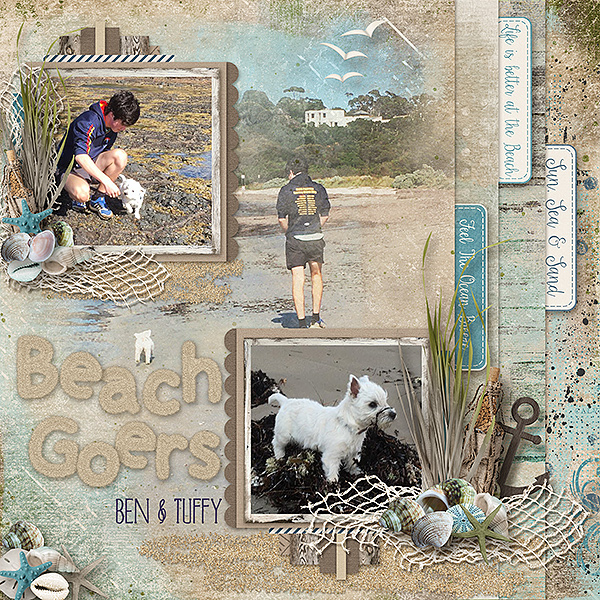
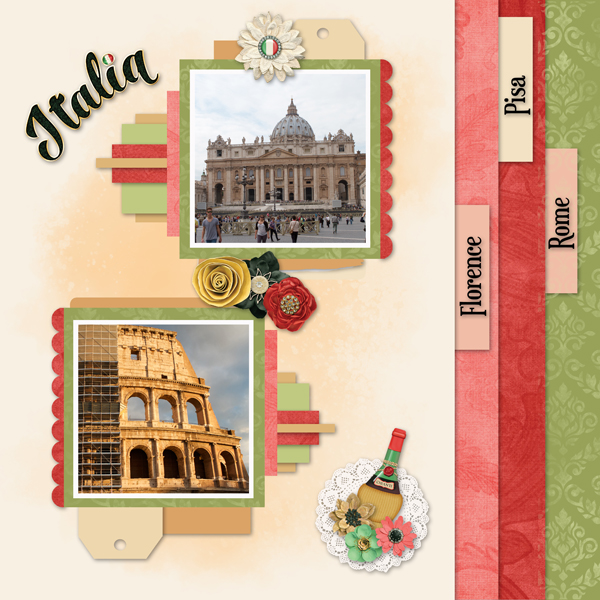
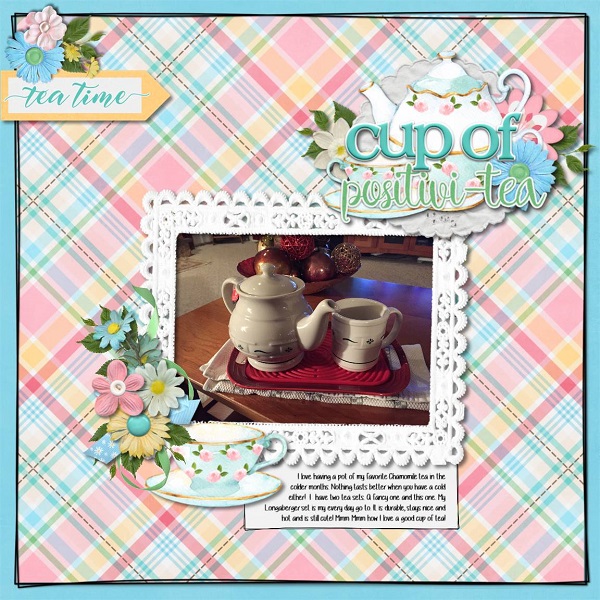
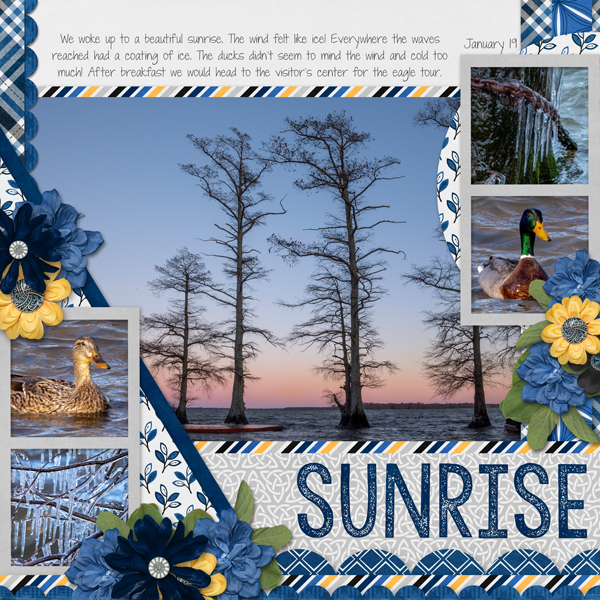
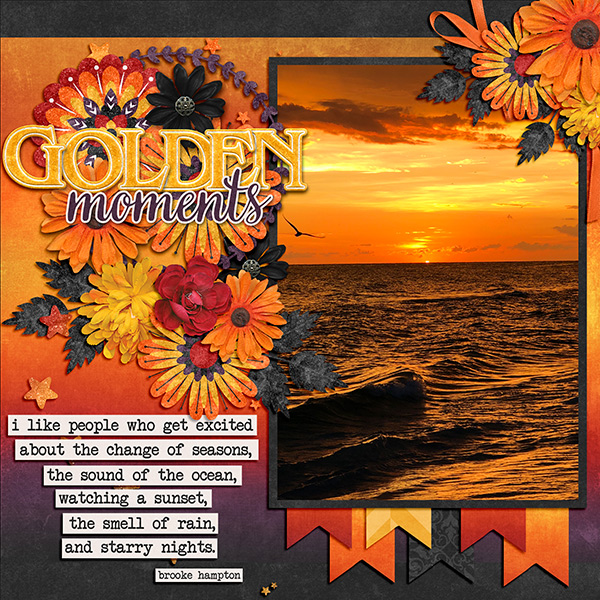
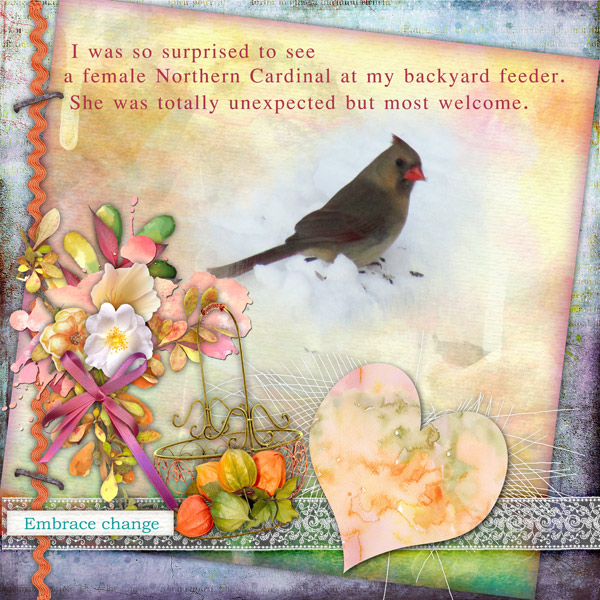
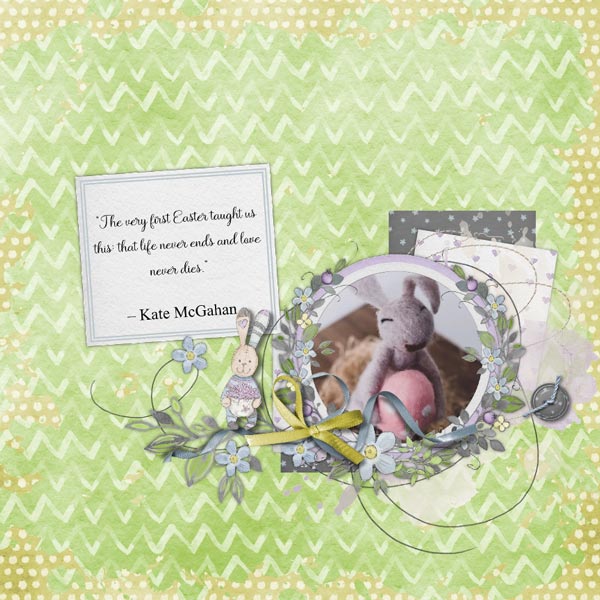
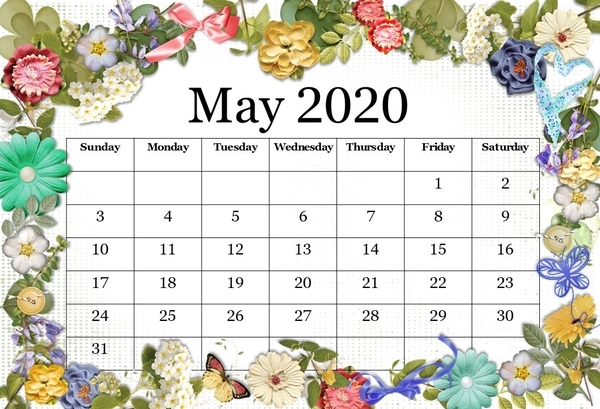
From cutiejo1:
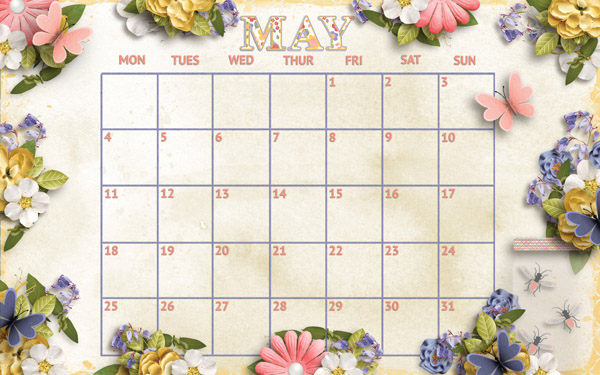
From MarilynZ:
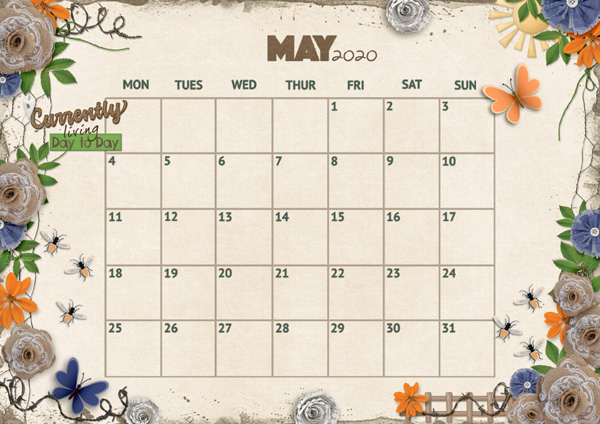
From sltppr:
And from constablec:
So lovely.
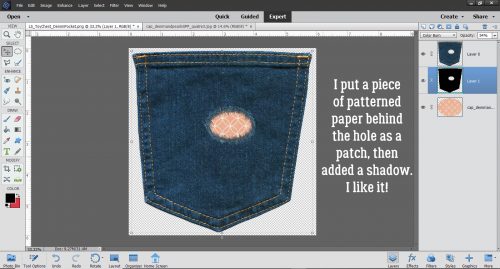
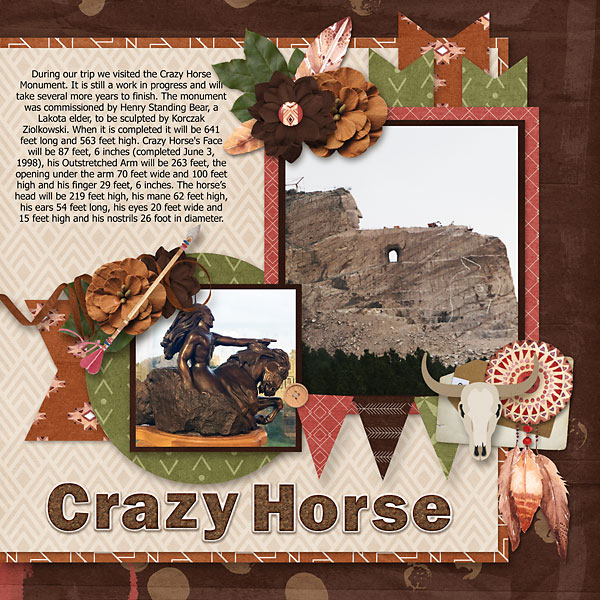
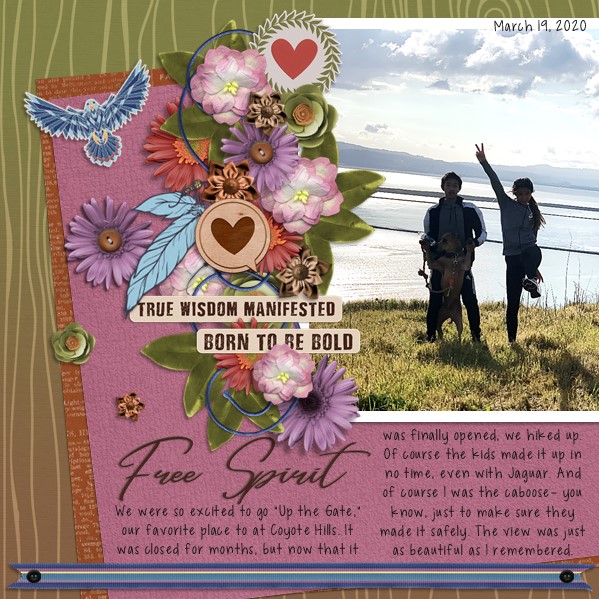
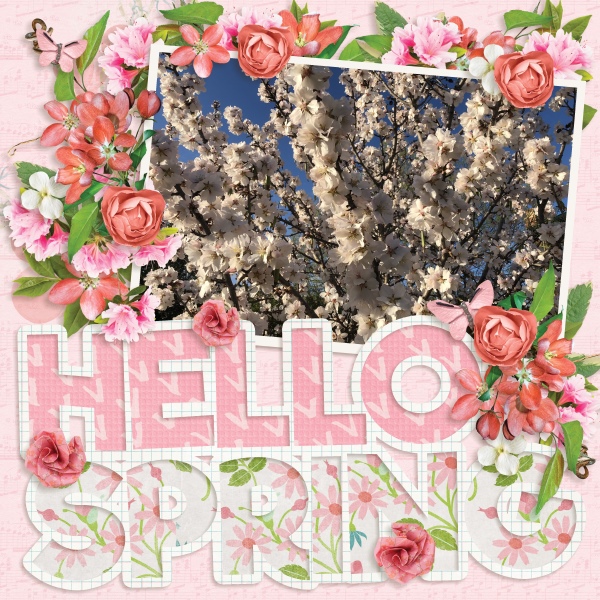
And finally, the Inspiration Challenge hosted by Sweet Pea Designs. Each month, we are given something to use as an inspiration for our layout. This month, the following picture was the inspiration.
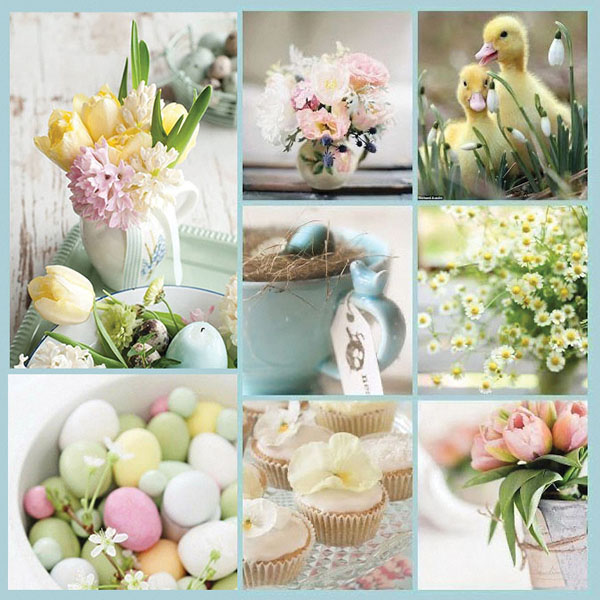
Let’s see what I found.
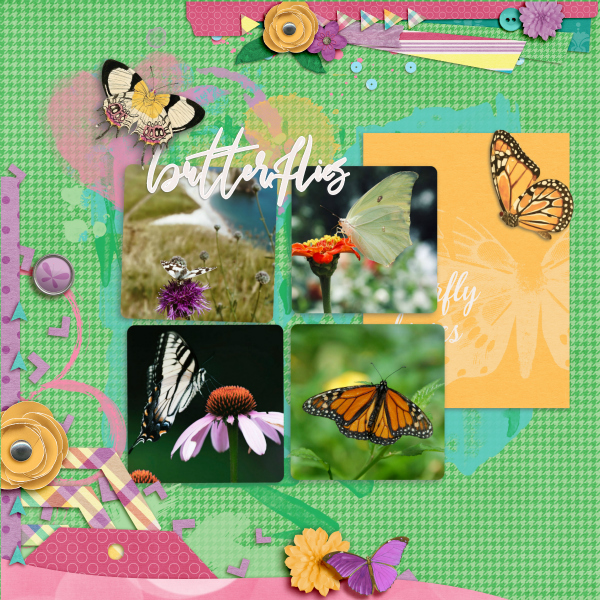
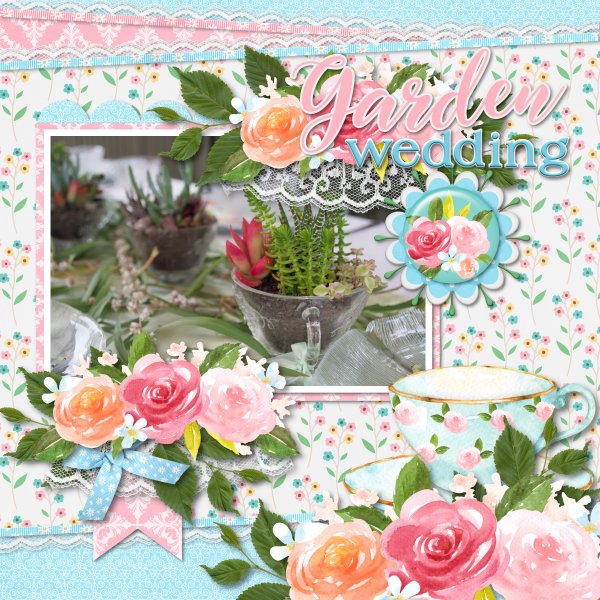
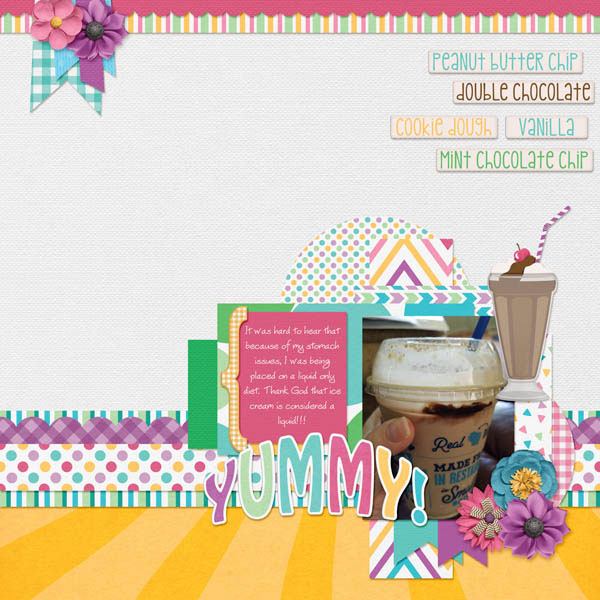
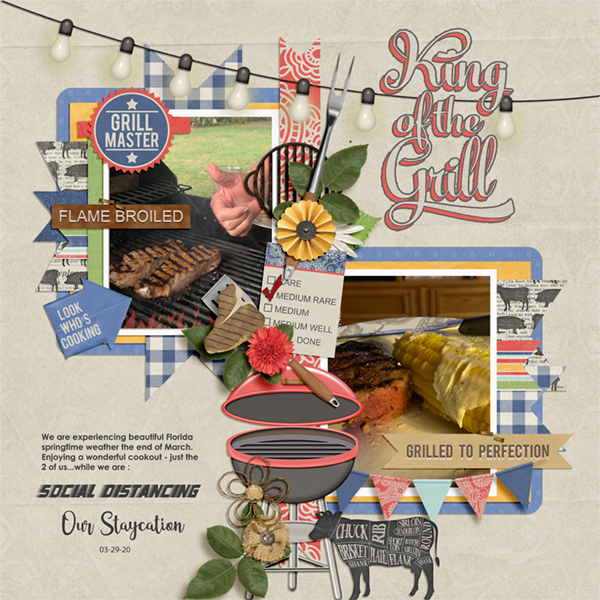
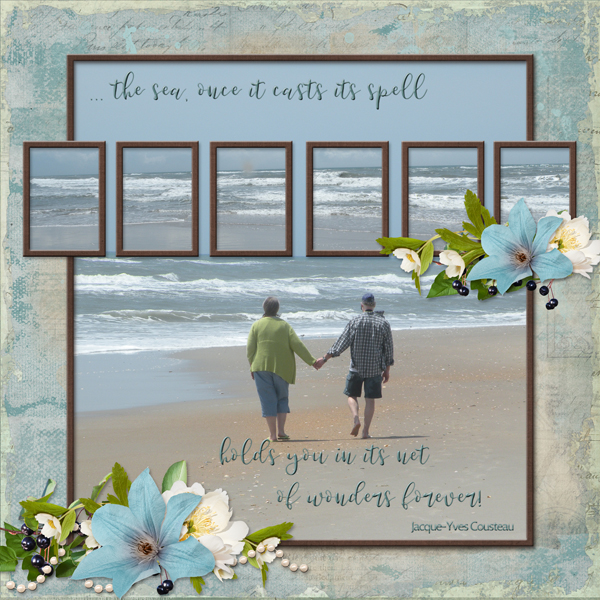
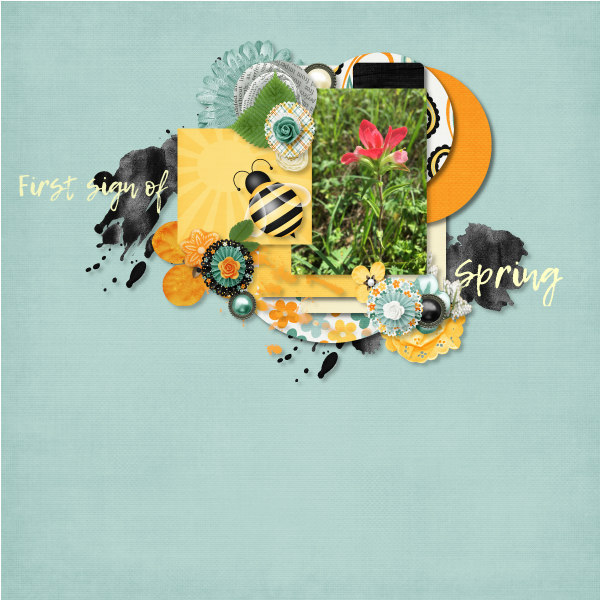
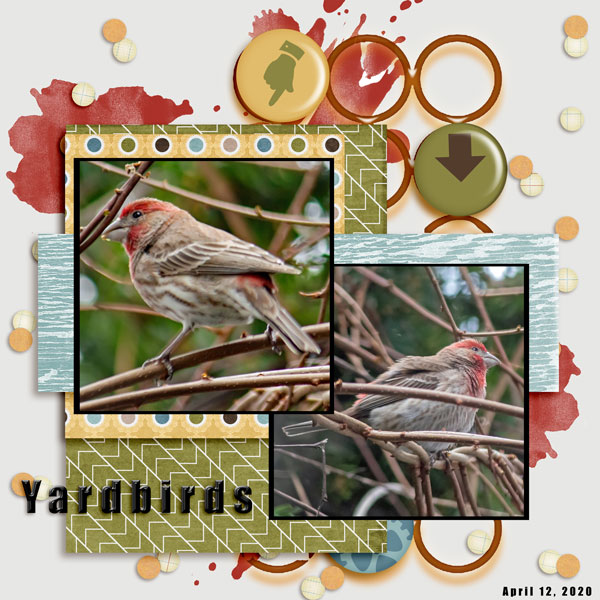
From 01lousmith:
From alexandergirl68:
From lilholmes6:

And from roxana:

I love all of these.
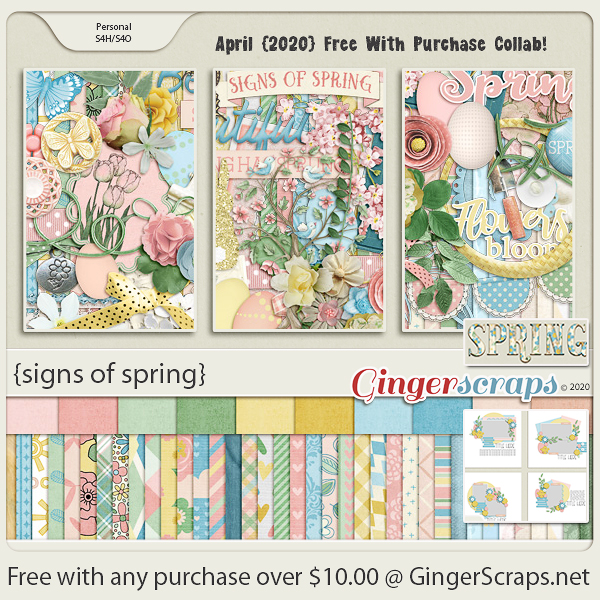
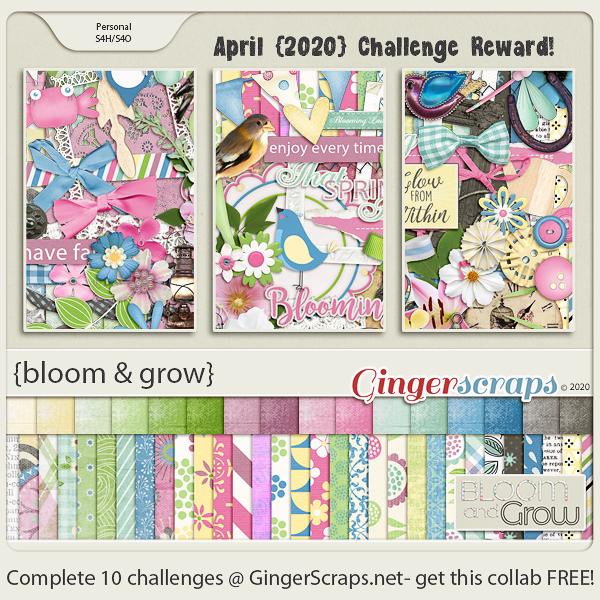
Remember, 10 completed challenges gives you this kit:
Check back on Wednesday for a wrap up. How have you done this week?