Archives for October 2022

October 28, 2022: Fresh Baked

Goodness, it’s the last Friday in October. This month just flew by. Not always a good thing when one still has a bunch of things left to do for the month.

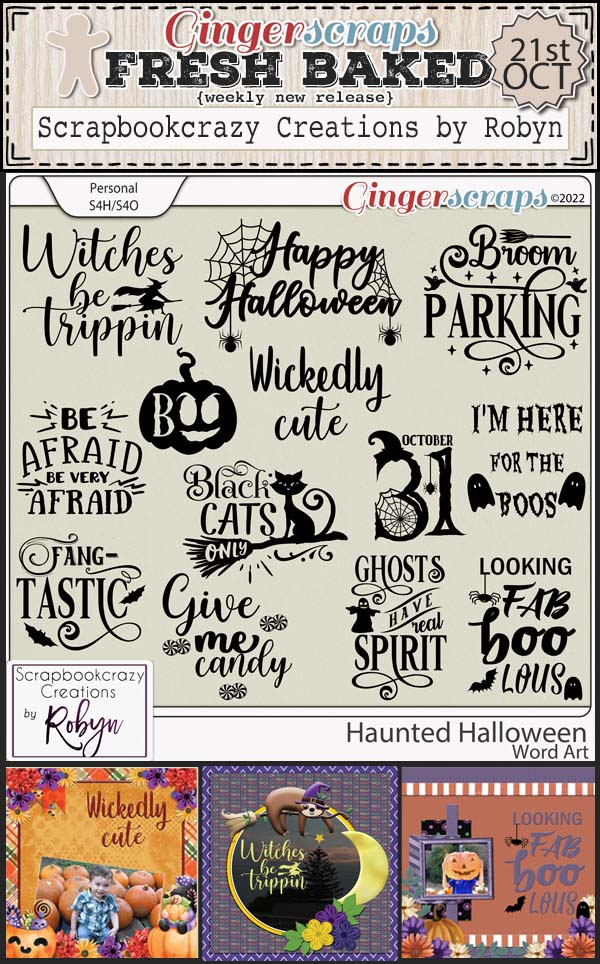
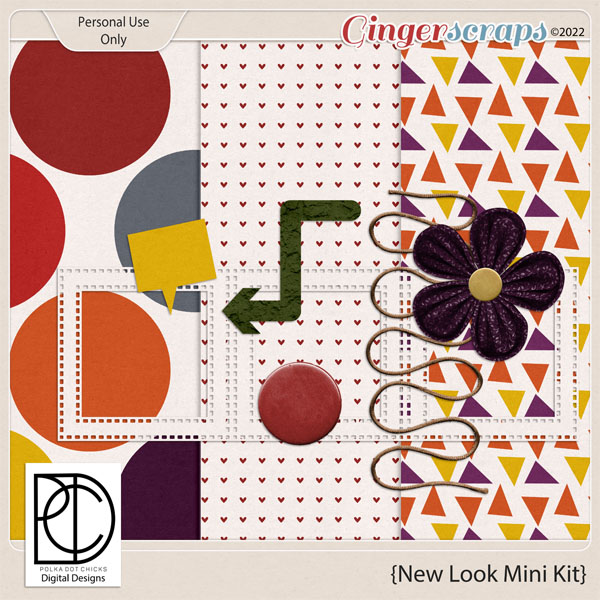
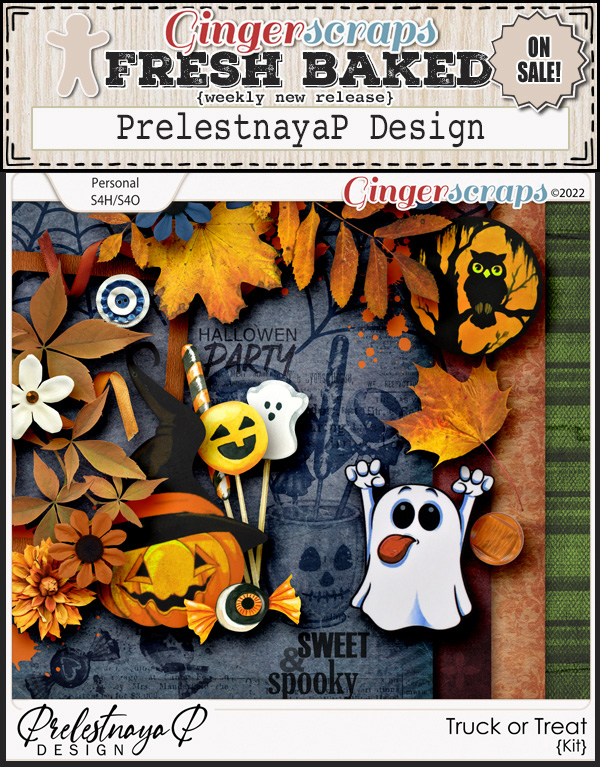
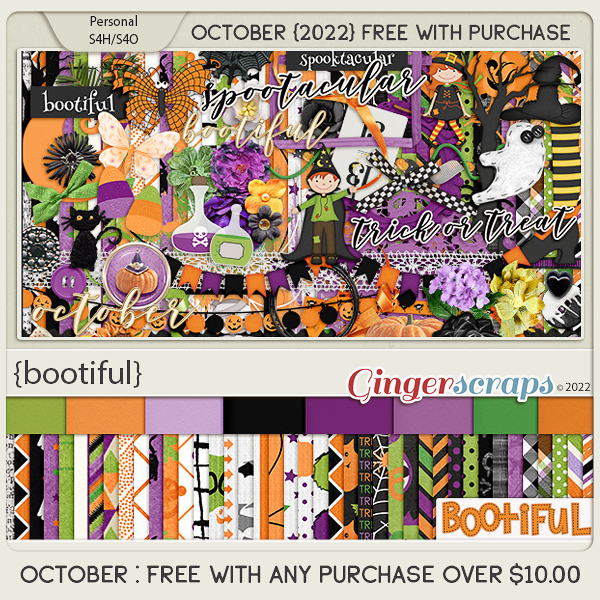
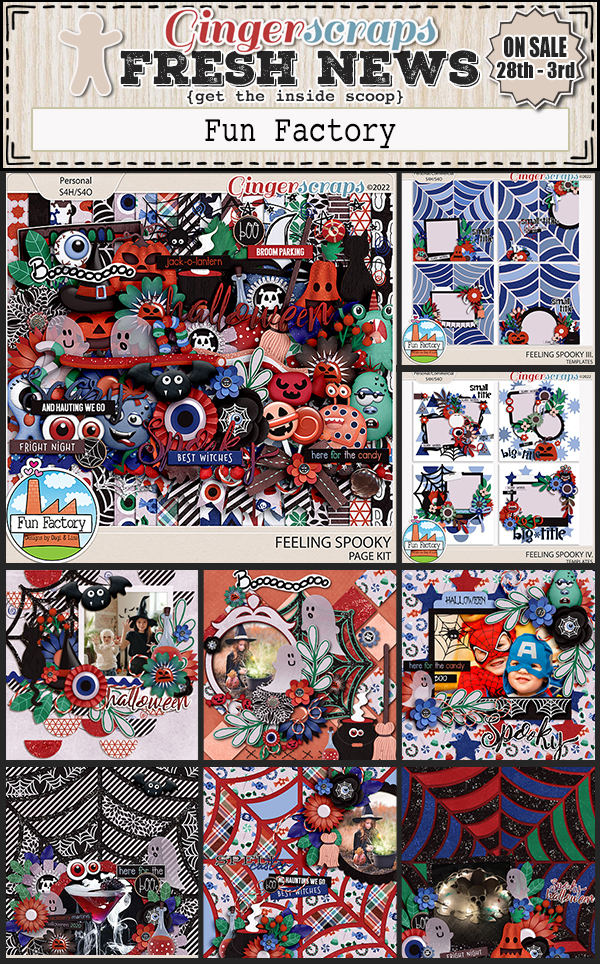
There is still a few days left to get this amazing Halloween kit. Spend just $10 in the store and get this free with your purchase.

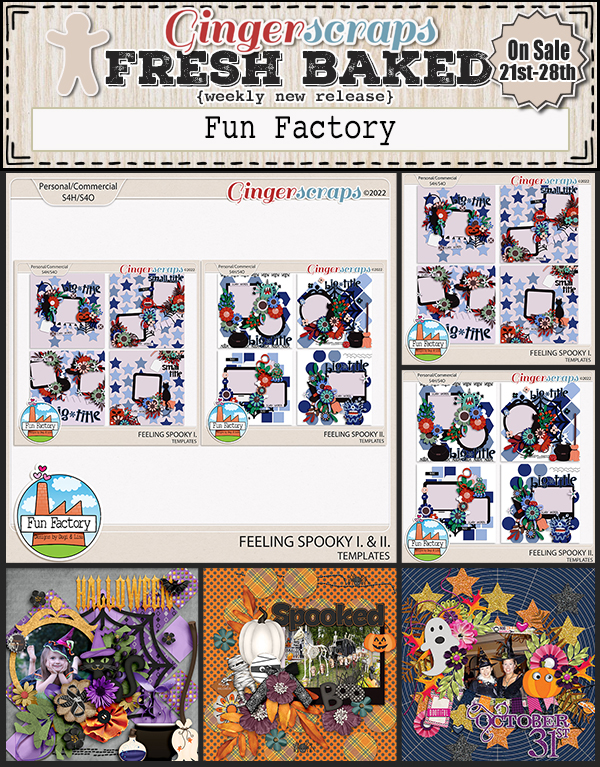
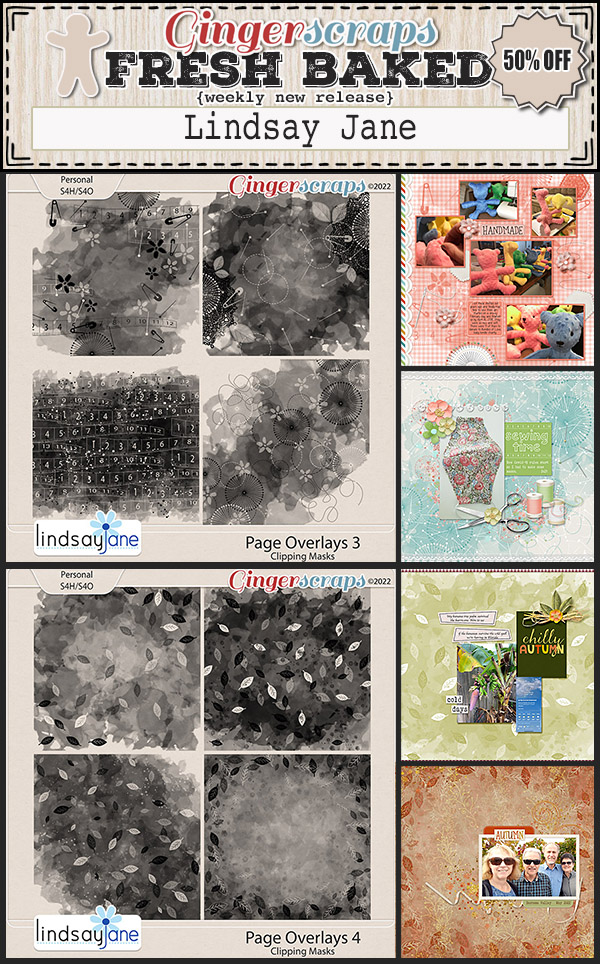
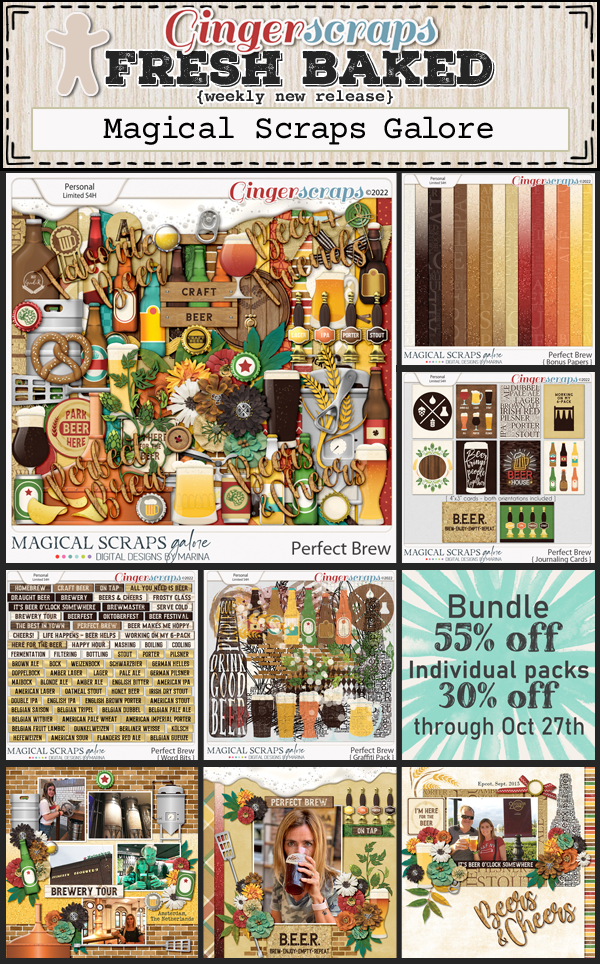
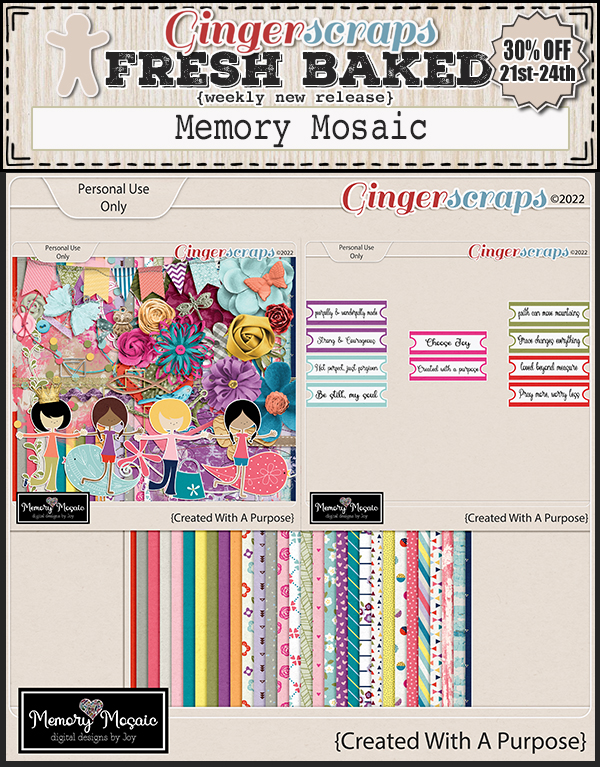
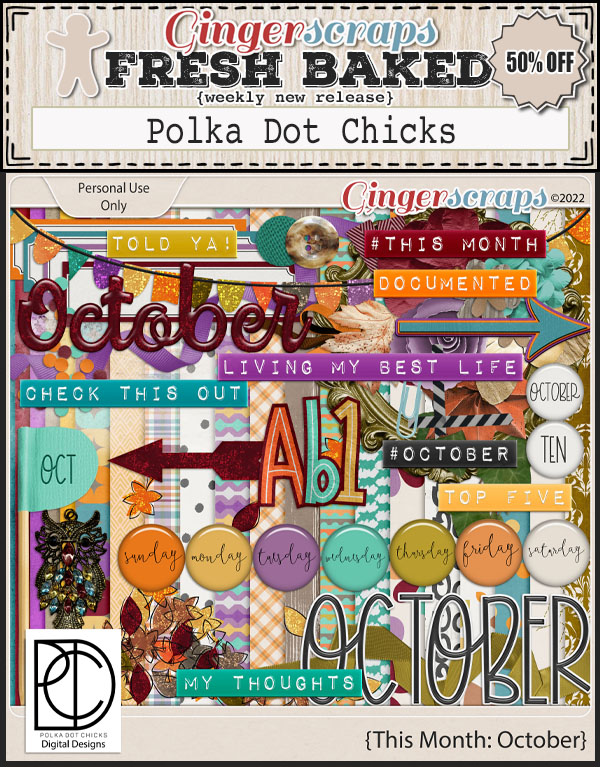
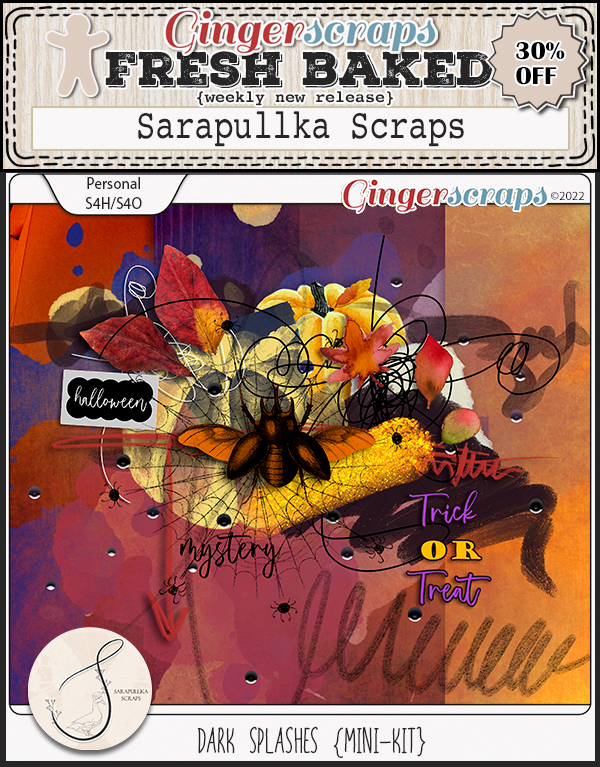
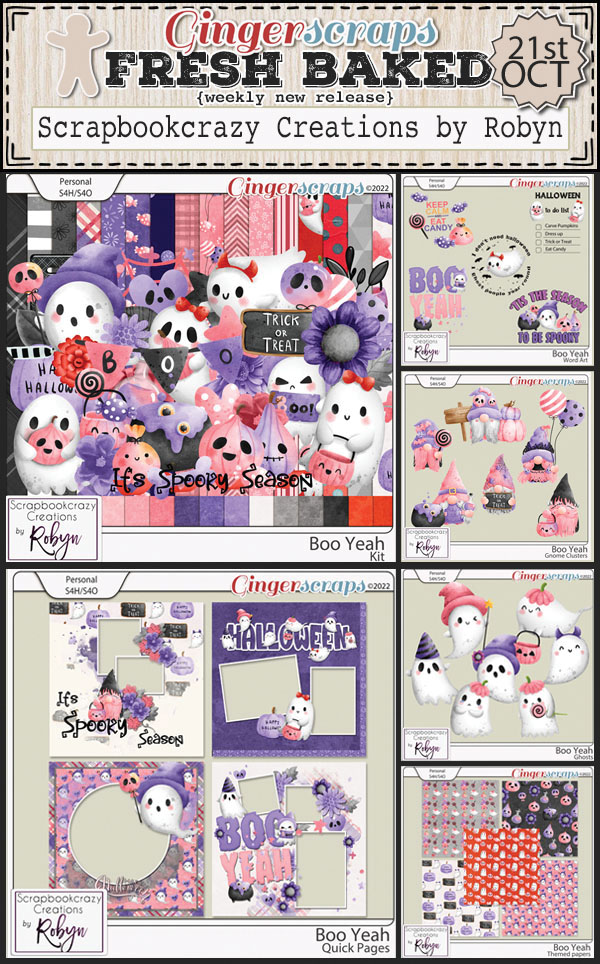
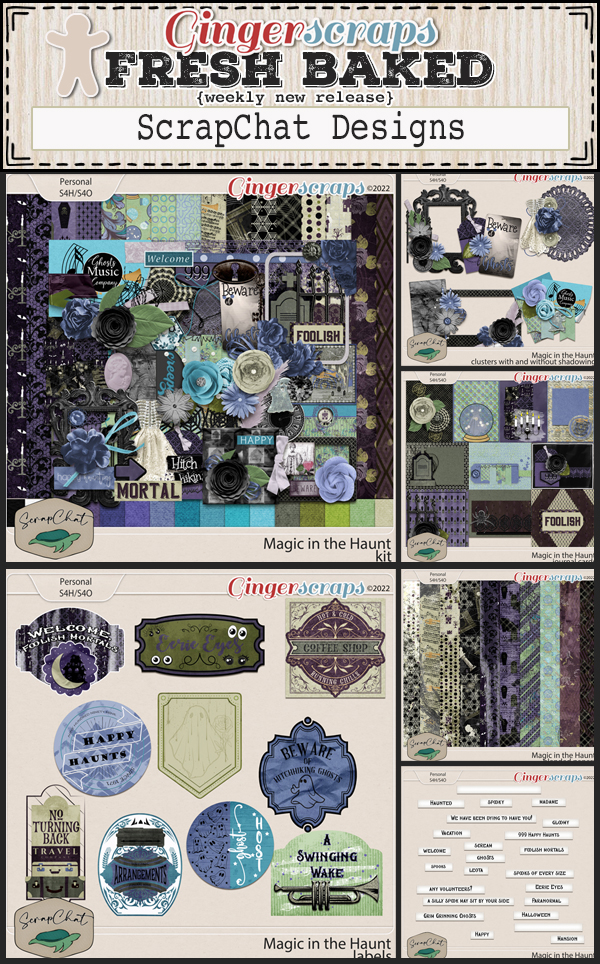
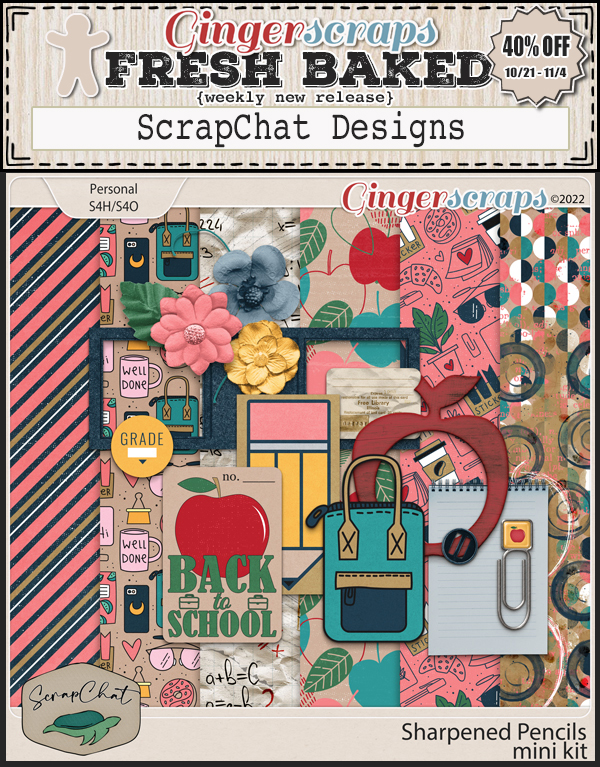
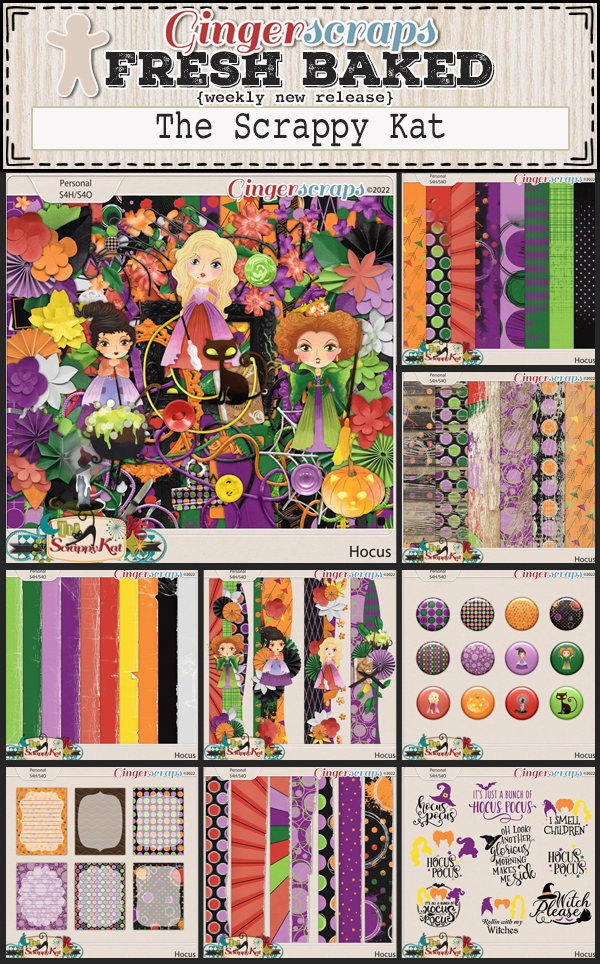
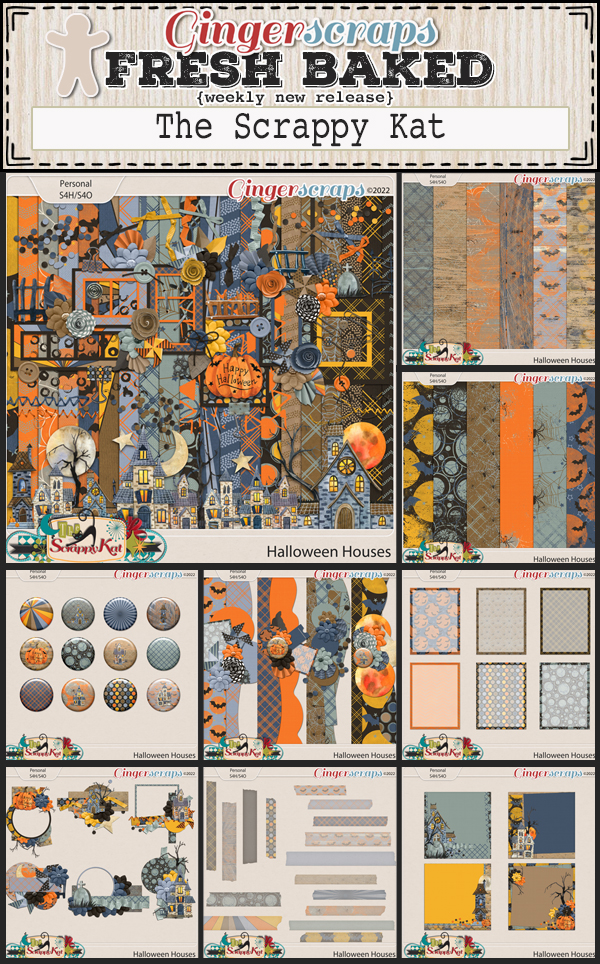
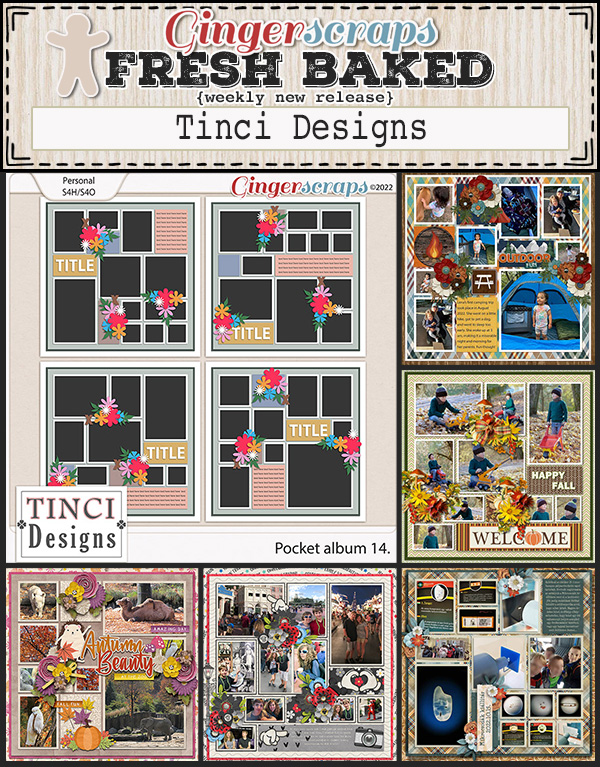
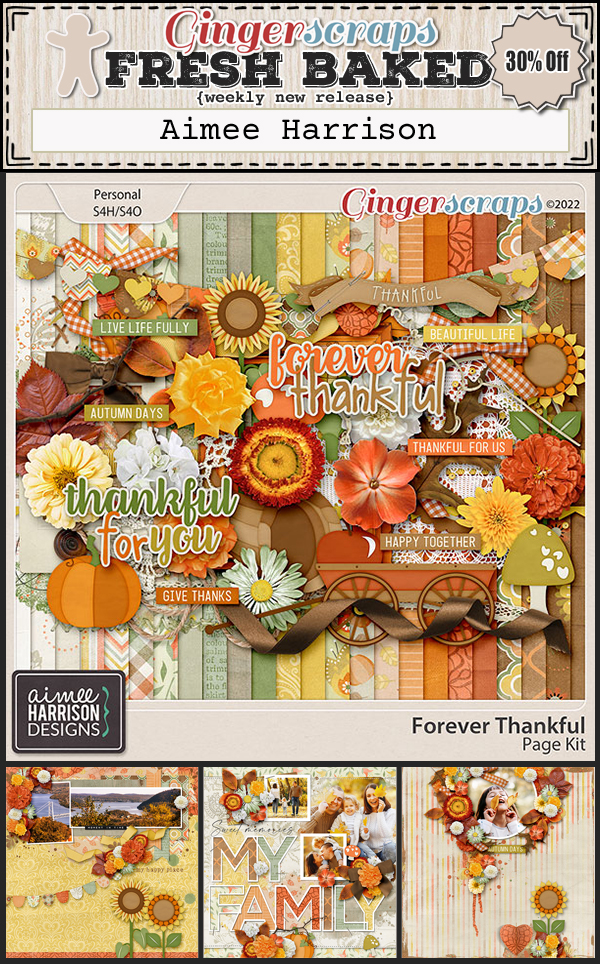
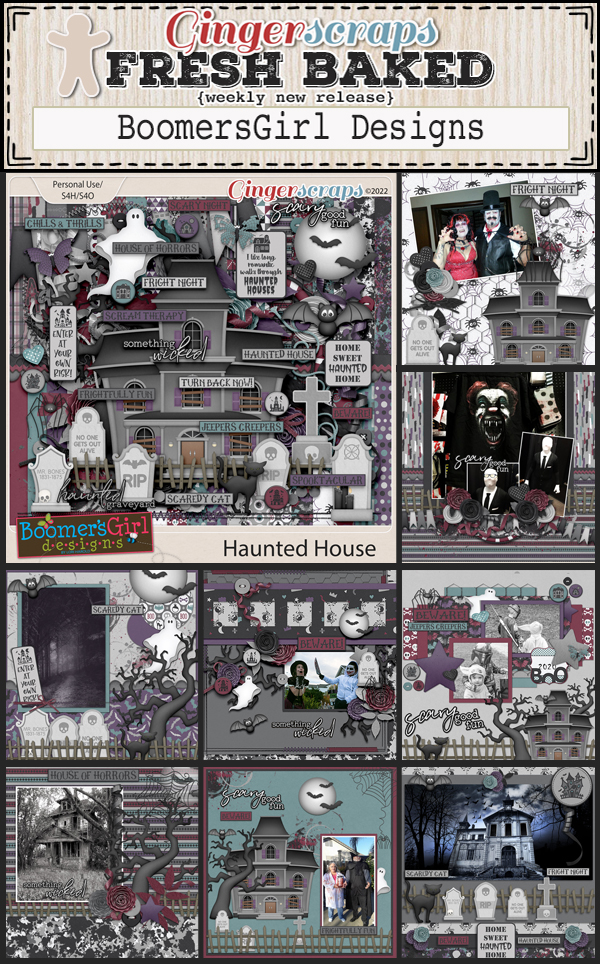
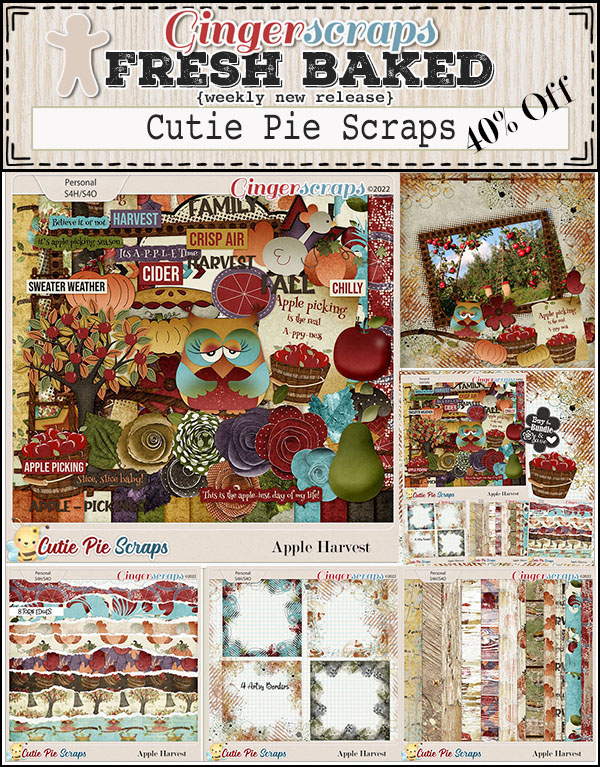
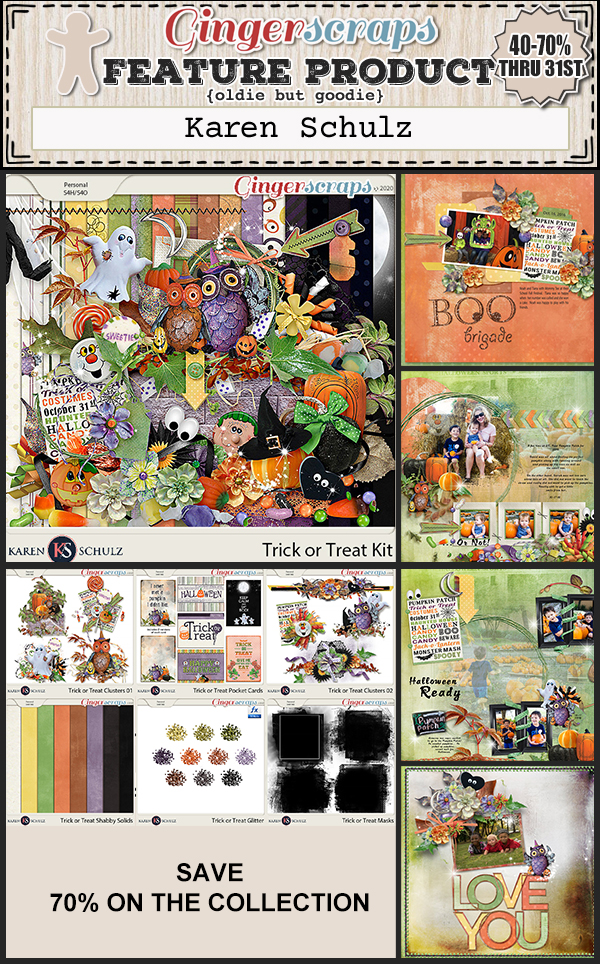
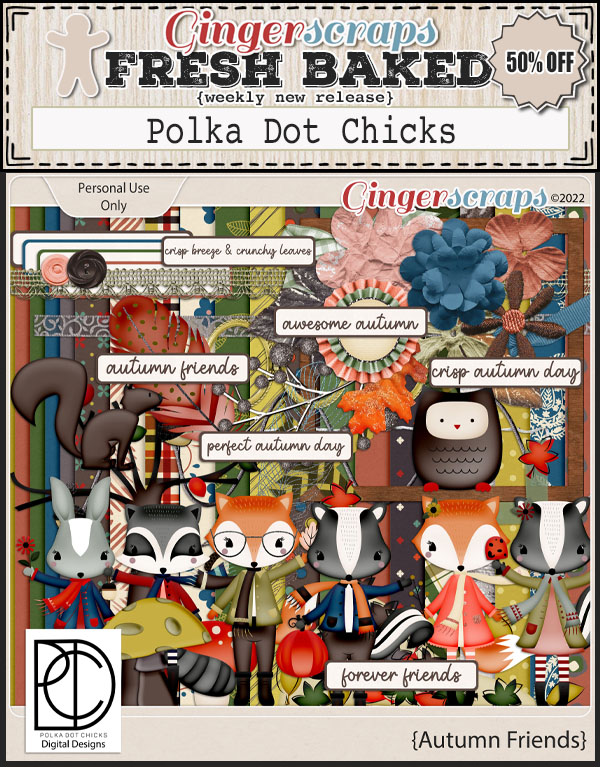
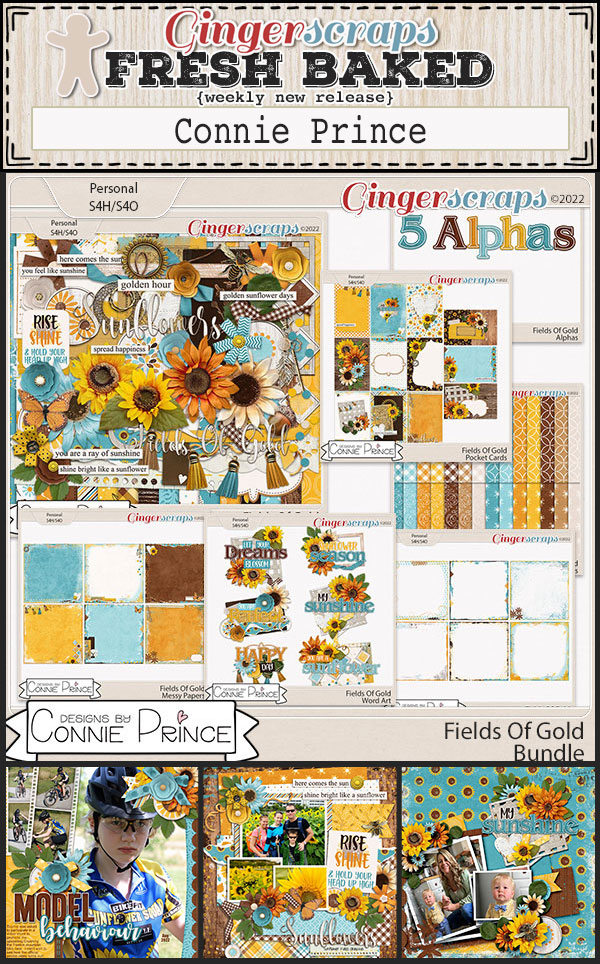
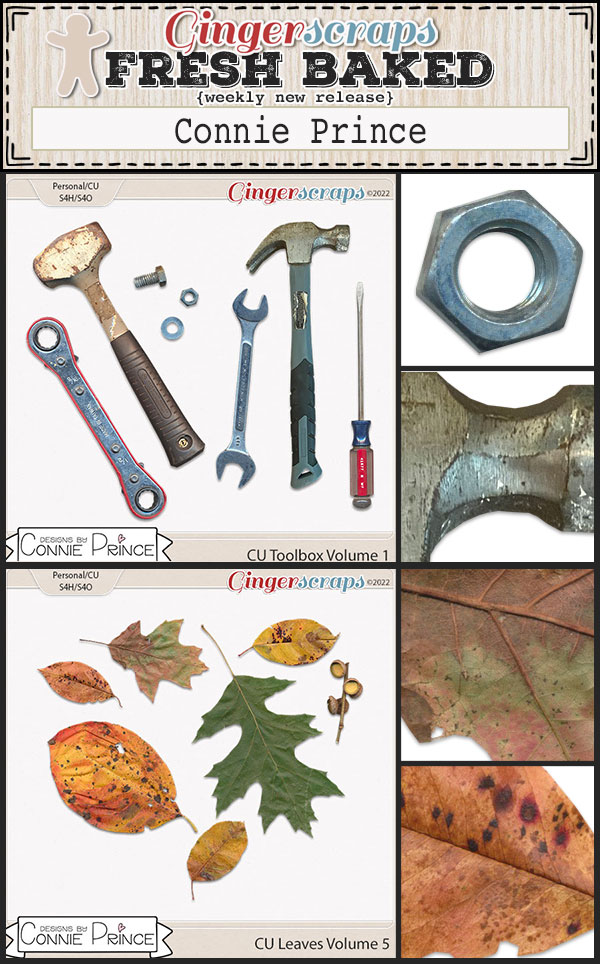
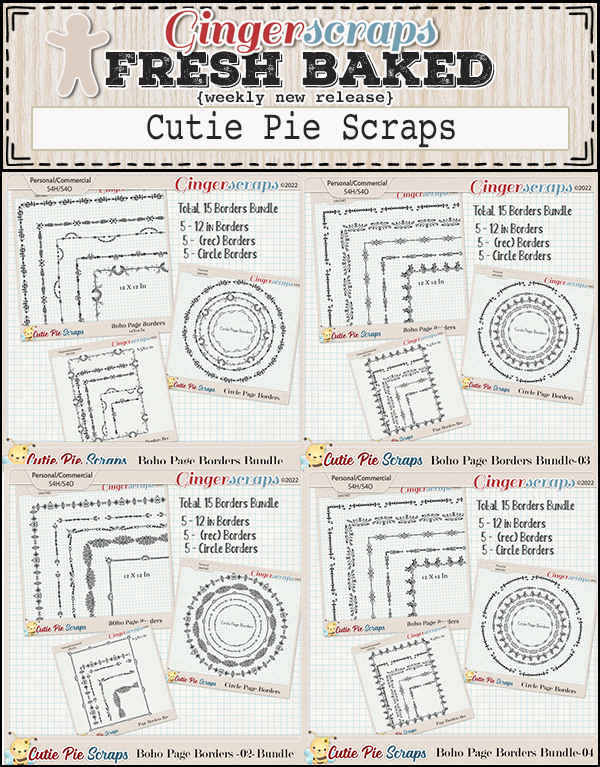
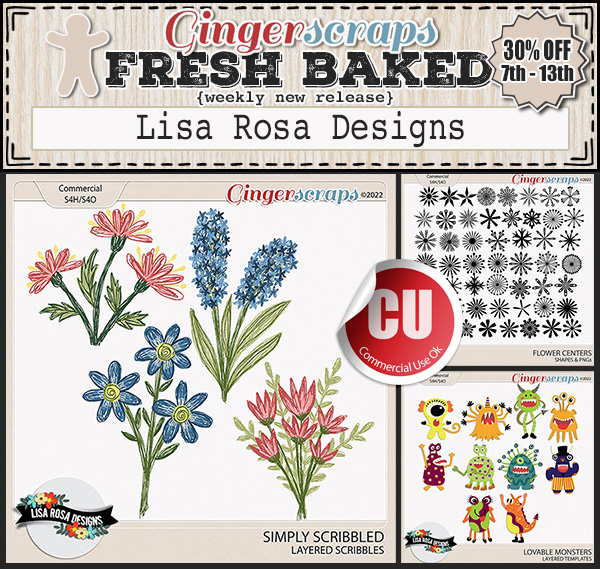
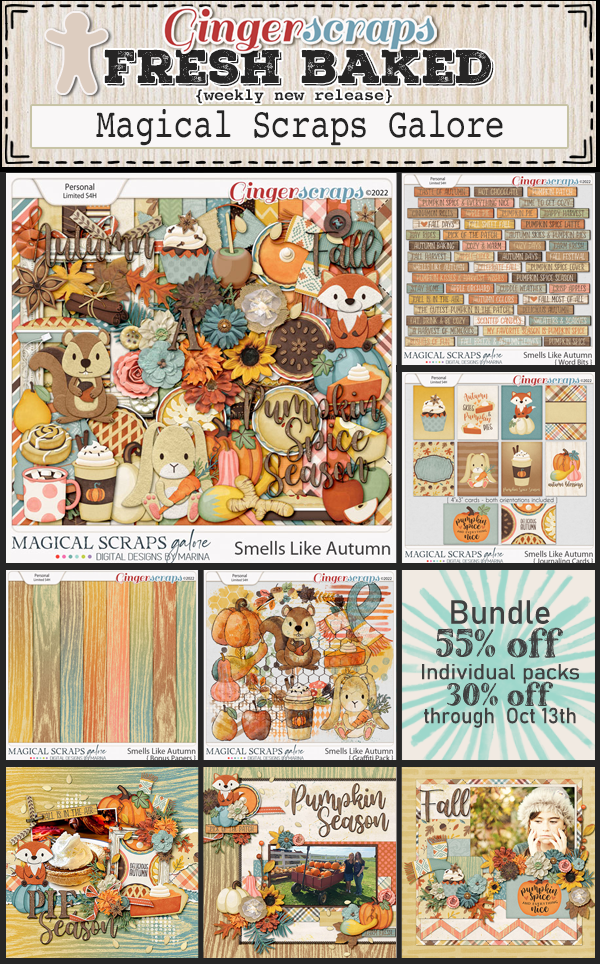
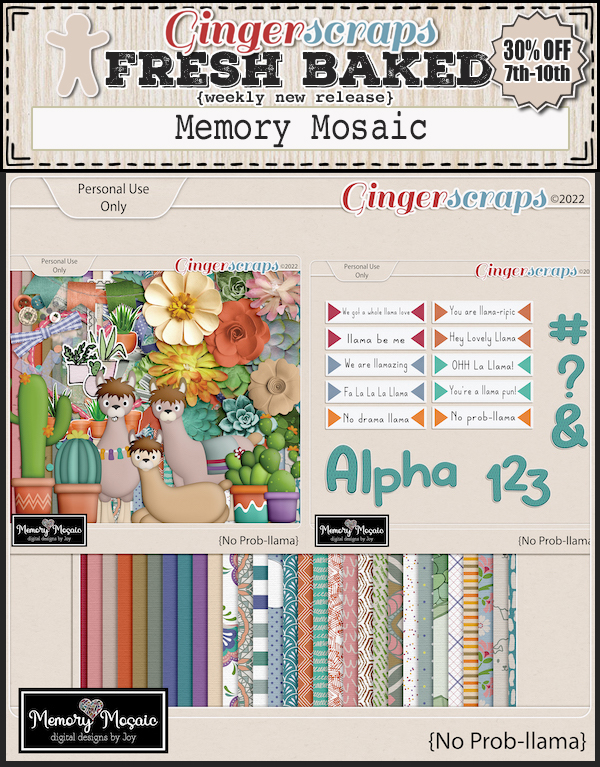
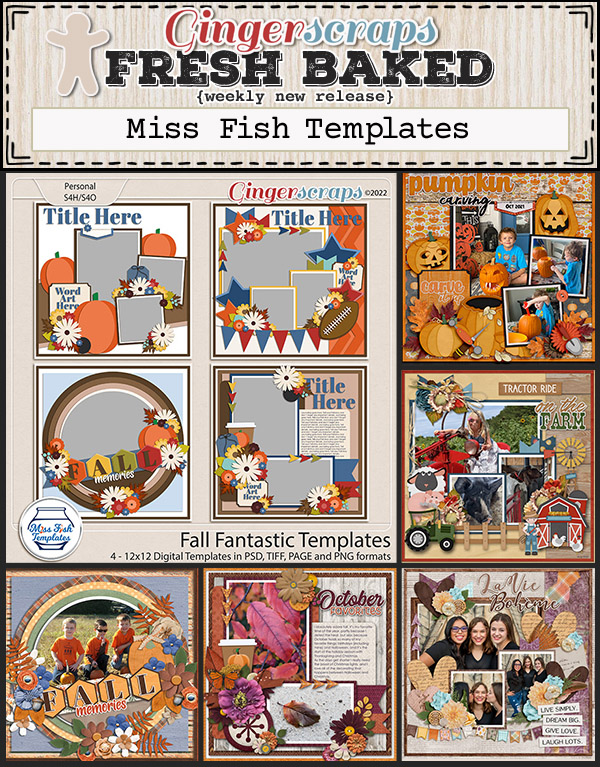
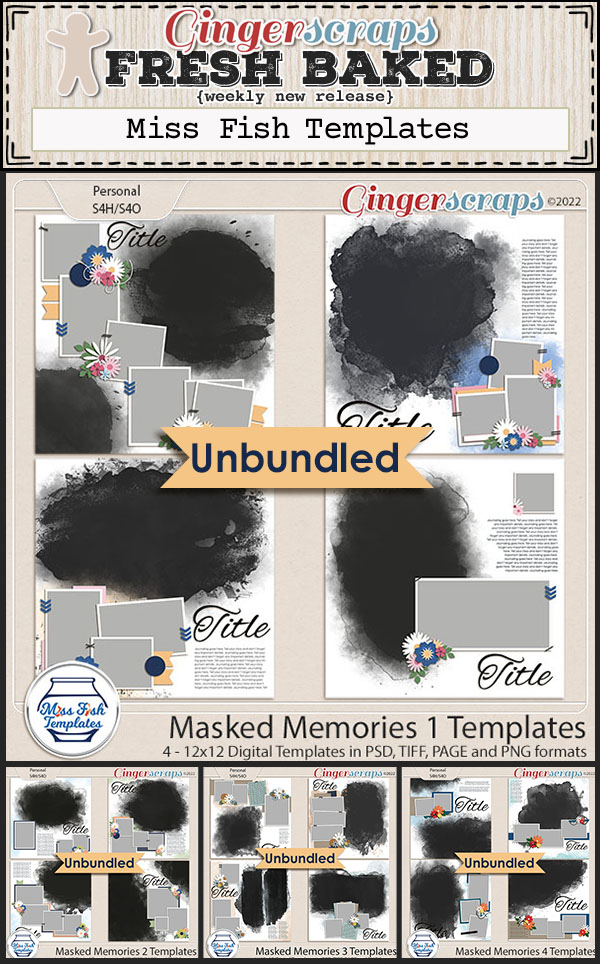
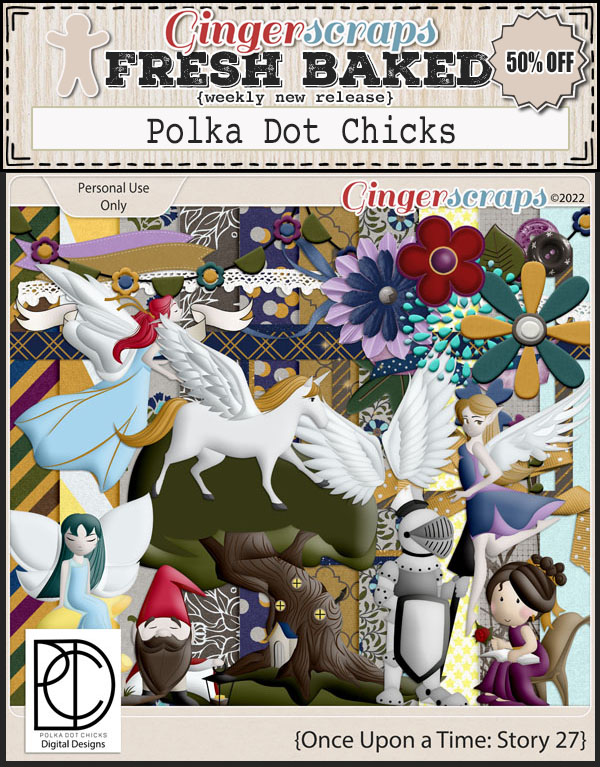
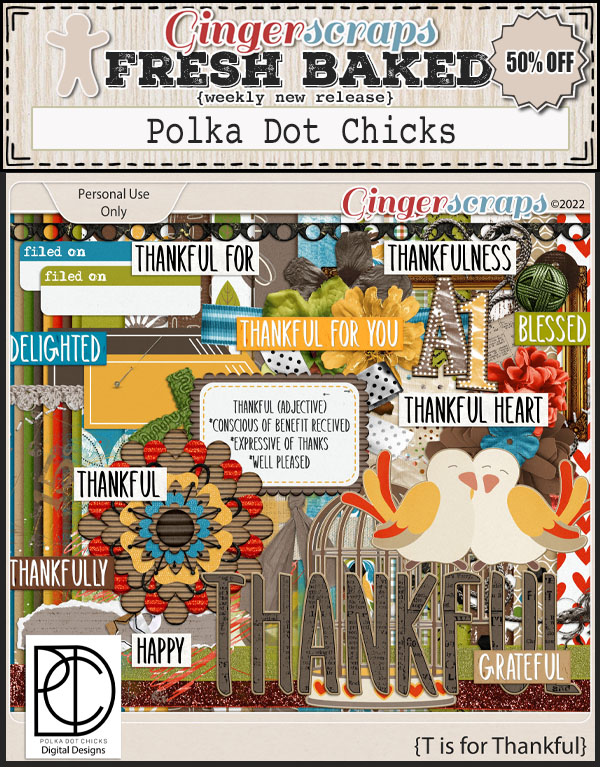
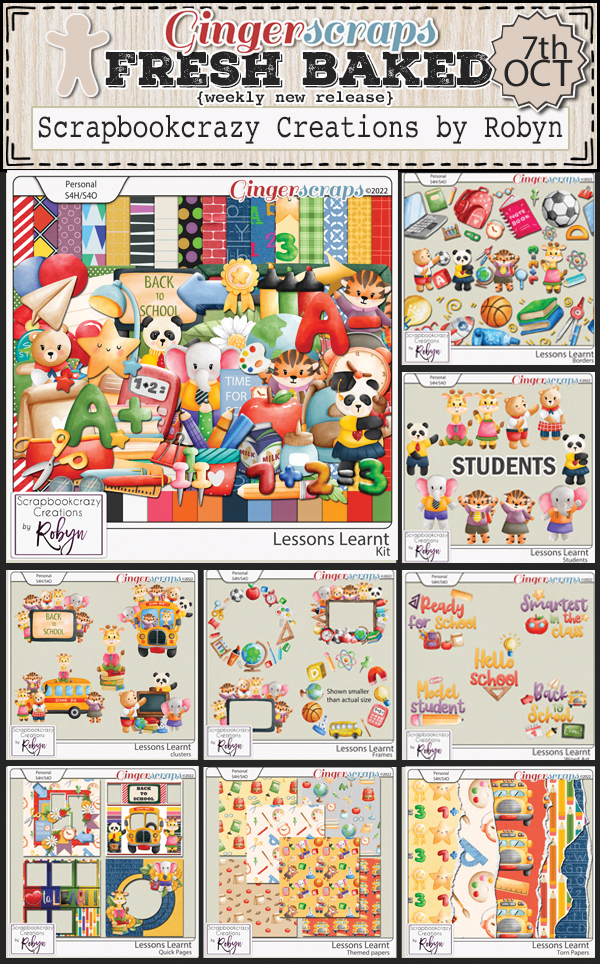
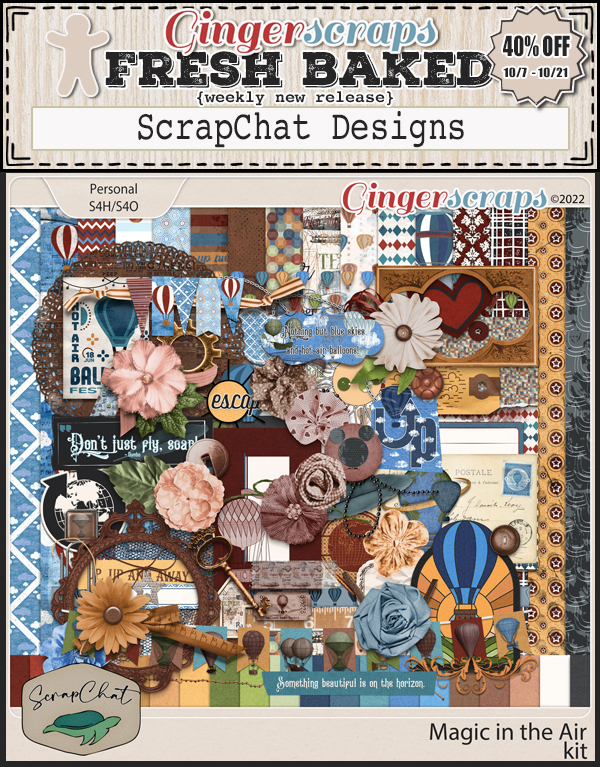
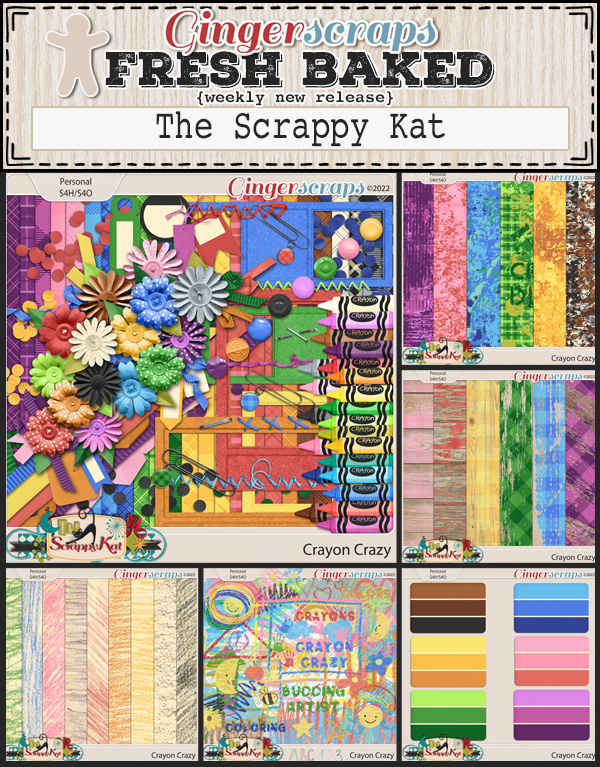
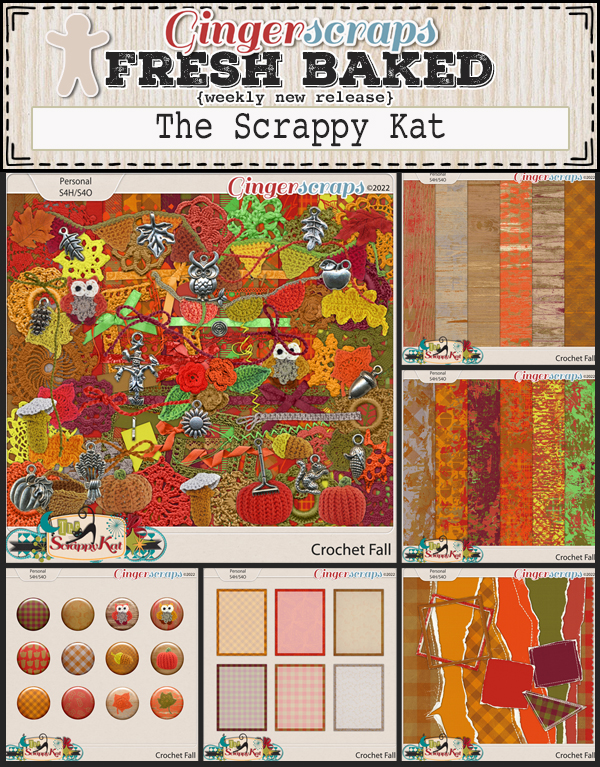
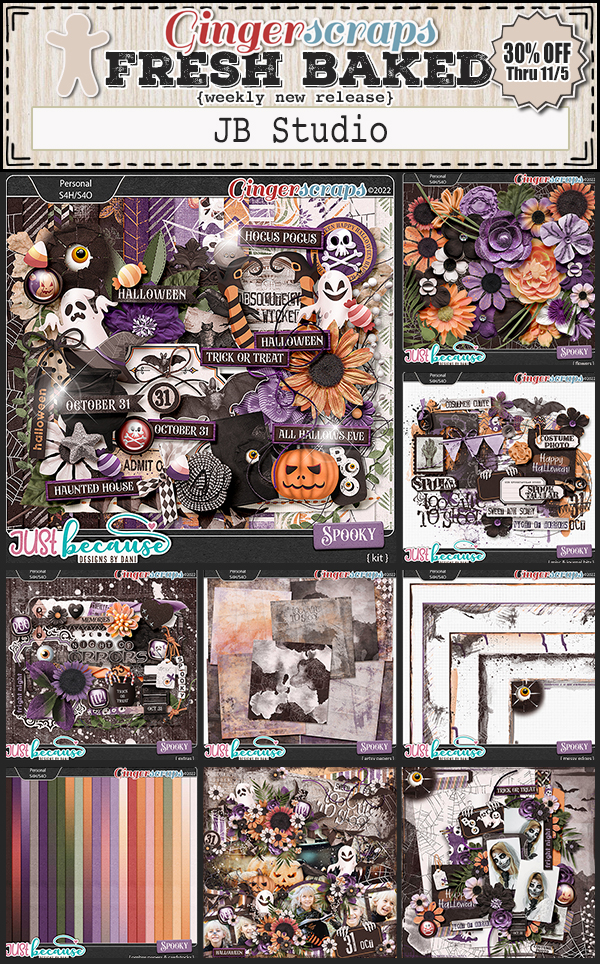
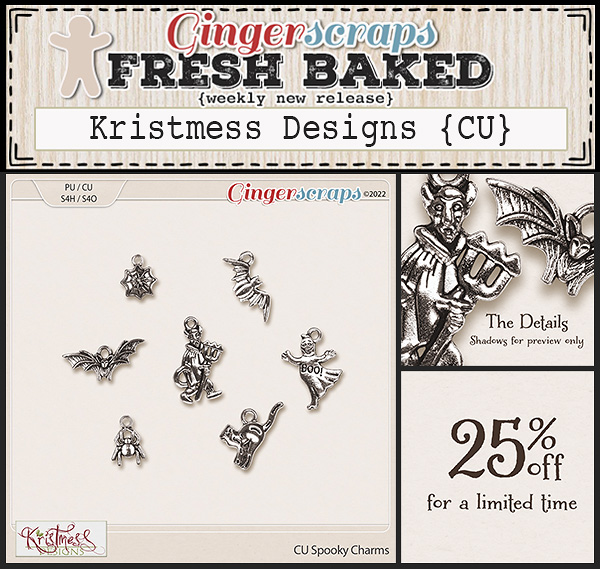
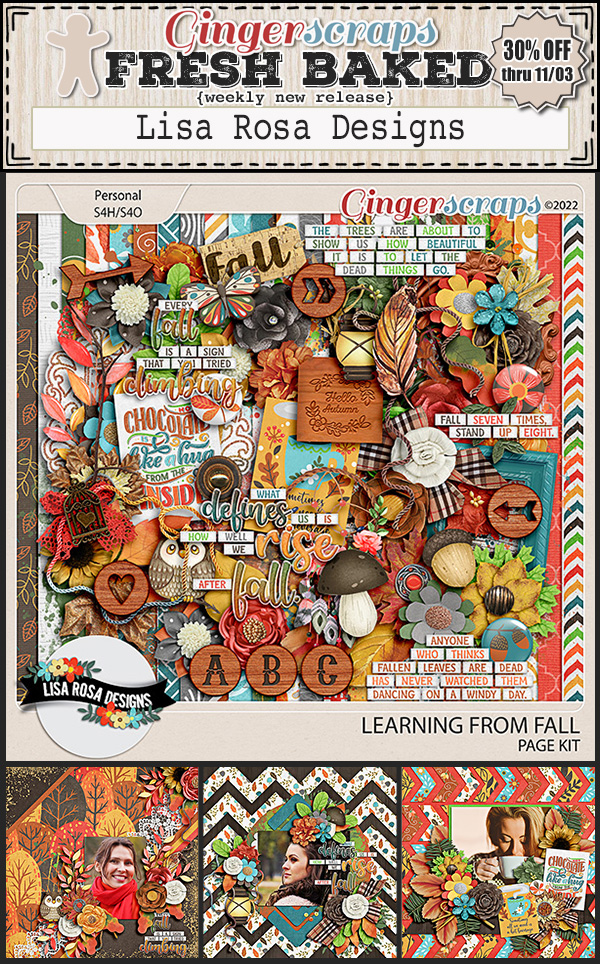
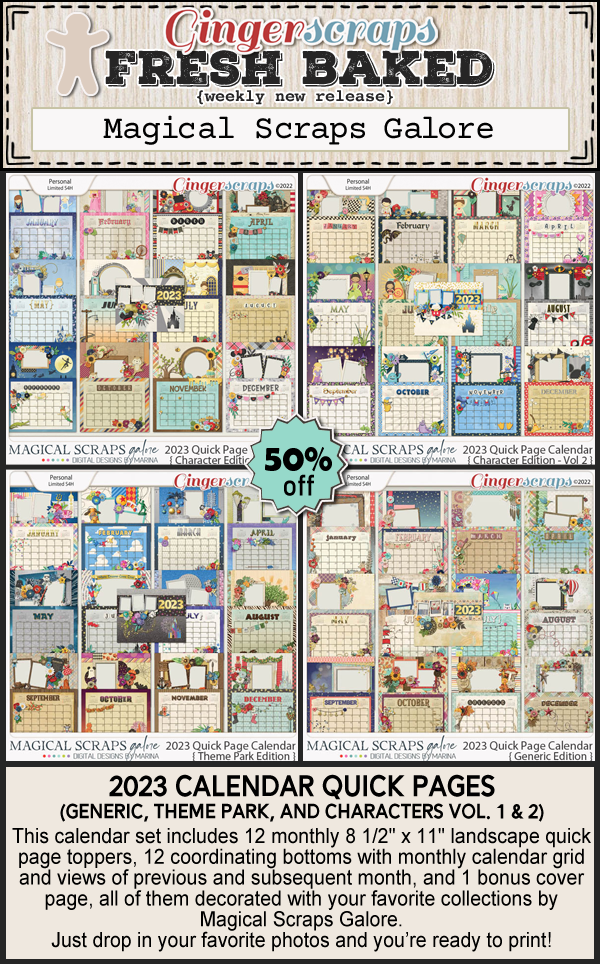
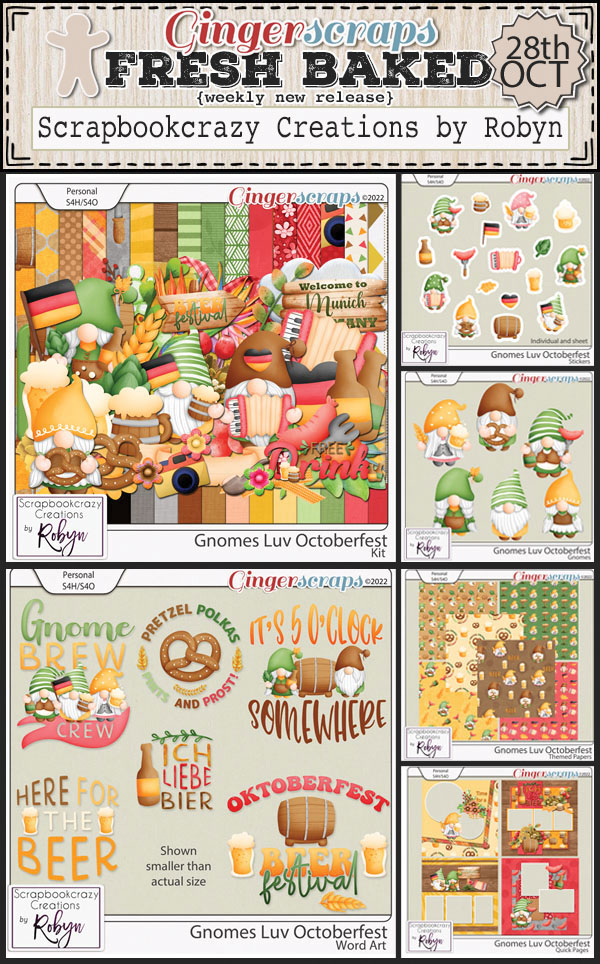
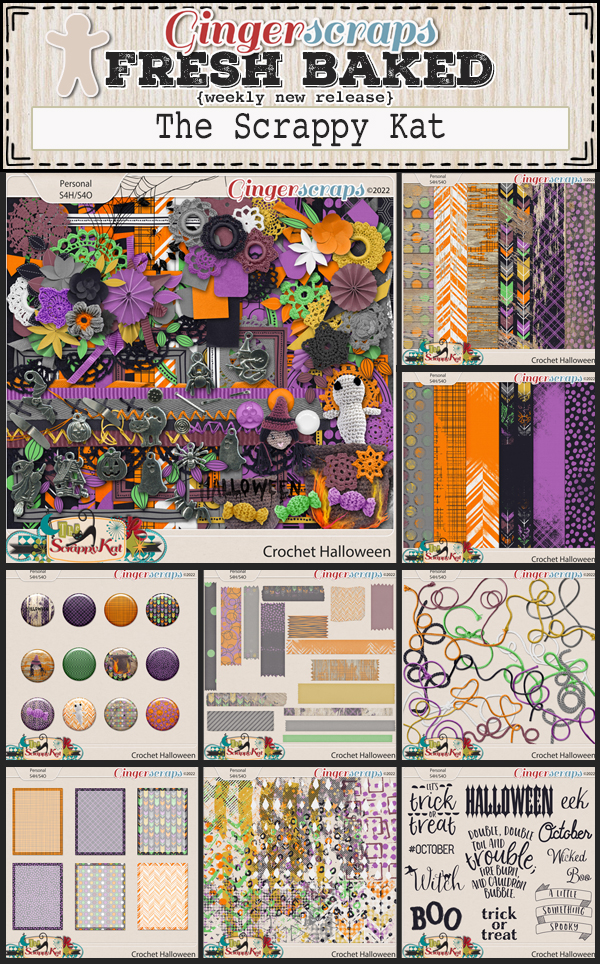
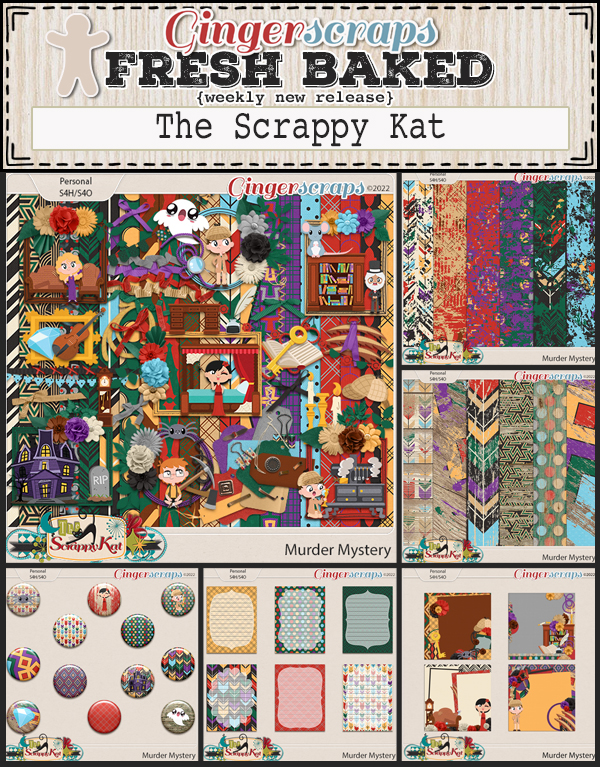
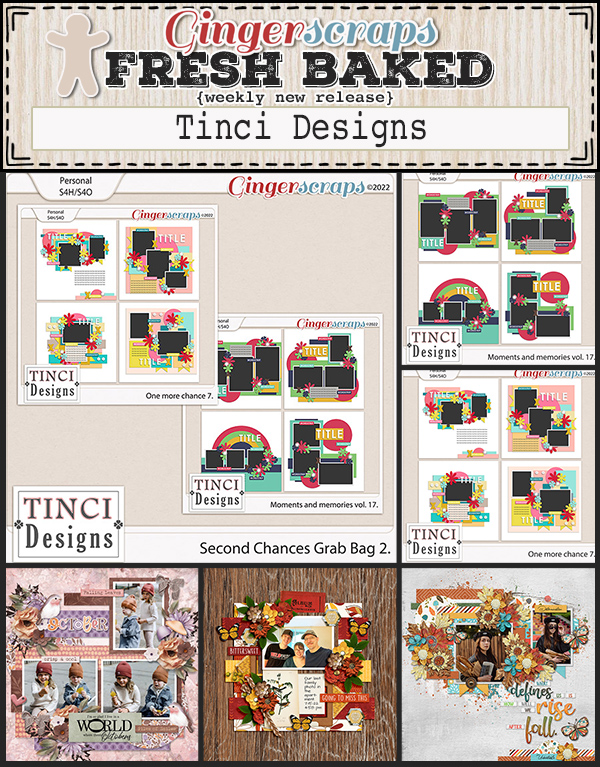
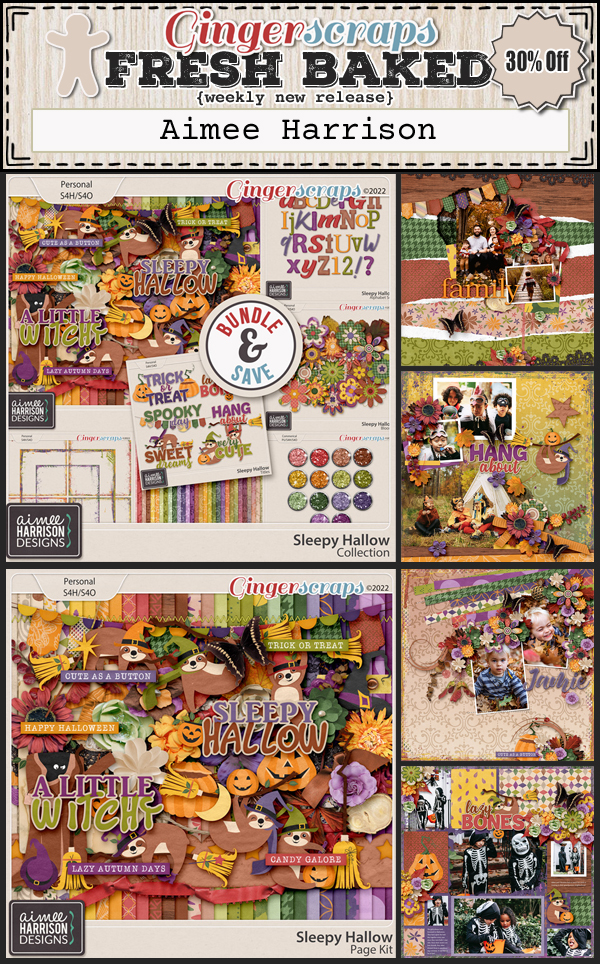
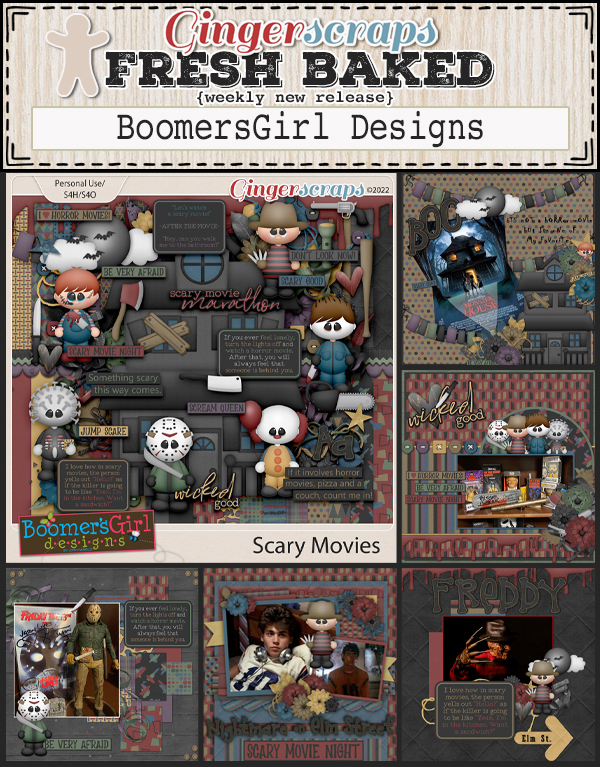
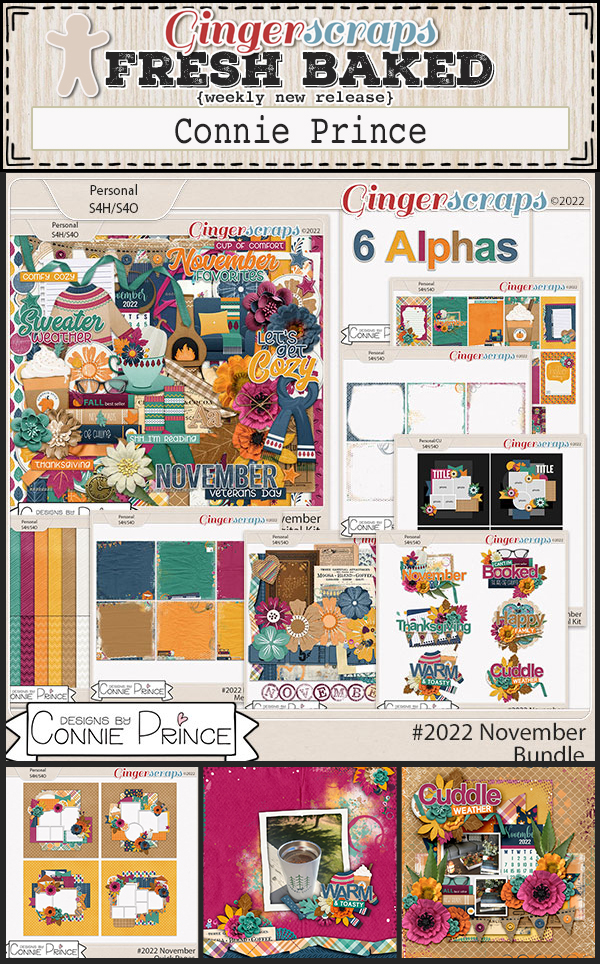
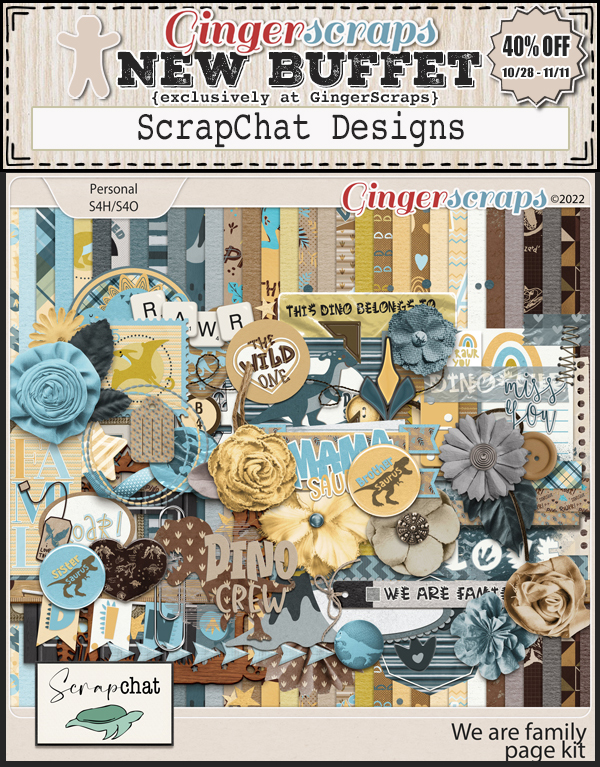
There are a lot of fall and Halloween goodies new in the store this week.

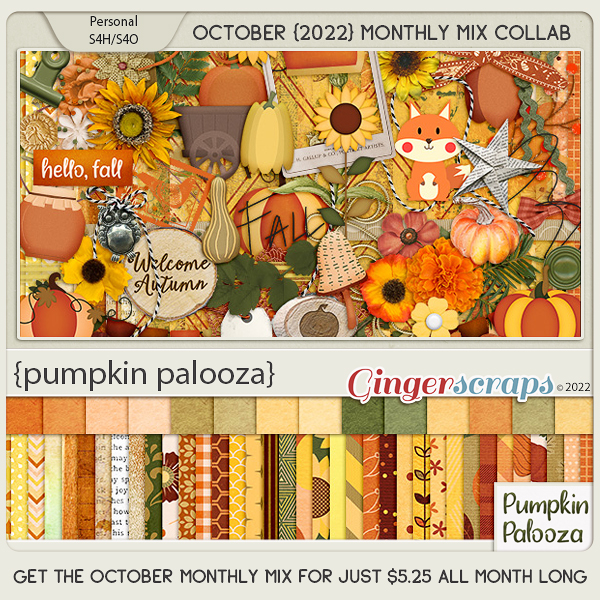
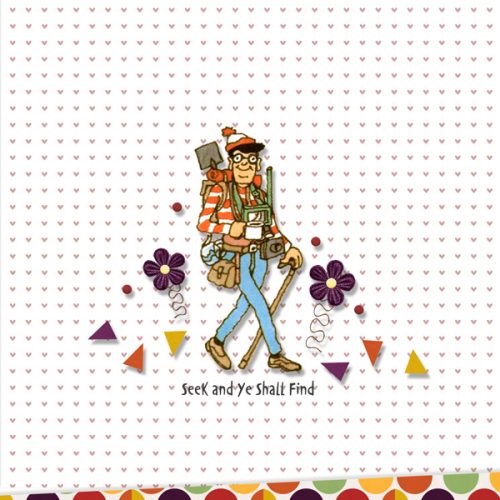
Are you still working on those challenges. Any 10 completed challenges gets you this kit as a reward.


Tutorial Tuesday (Photoshop Elements)

Quick Trick: Brighter Photos the Easy Way

PDF Version : https://bit.ly/3DTBCdq

I know this is true. We ALL have photos that we like but would like better if… they were more vivid. But making adjustments to lighting and colour can be time-consuming and takes some practice. I’m going to show you how to take a nice photo to a NICE photo with just a couple of clicks. I’ve tried this trick on a lot of photos and am really impressed, as well as disappointed I didn’t know about it sooner! The photo I’m going to use as my demo is one taken by my friend Sandy and I’m using it with her permission.

Fall is all about colour. These leaves are pretty, but they’re just a little insipid.

I haven’t really shown you too much under the Quick Edit tab, and that’s my bad. There are some pretty useful options in here and I strongly recommend playing with them when you have a few minutes. Today we’ll focus on the Color tab.

Click on that Vibrance option. This menu will open up. Notice the blue box around the “Free” space in the tic-tac-toe array. That’s the unaltered image. You can use the slider to adjust the colour vibrance or just click on one of the boxes. You can see the adjustments without actually committing to one by rolling the cursor over the array. Going up decreases the vibrance, going down increases it.

Each of the presets represents a 25% change in Vibrance. I’ll show you each of them.

With this laptop, I often struggle with getting the screenshots I want with the pop-up boxes open. Sometimes I luck out, sometimes I fail. Most times I fail – screenshots are captured by clicking CTRL>prt sc and as soon as I hit the CTRL key the pop-up disappears. SO frustrating!! Anyway, that’s what captions and text are for. This image is a 50% increase adjustment.

And on to 75%. Are you able to see the changes?

100% looks like this. Not only are the leaves brighter and more vivid, the fallen log under them has greater dimension and the whole image is just better. If you’ve gone to 100% and still think your image needs a boost, Save it with a new name then run the process again on the new version. When you’re happy with the way it looks, click on the Expert tab and you’re done, ready to use your bright, vivid photo on a layout! You can run through this process in the middle of a layout if you decide the photo needs some oomph. Moving between Expert and Quick won’t wreck anything, so give it a whirl!

Here are the original and the new-and-improved version. Impressive, right? And so easy…

PDF Version : https://bit.ly/3DTBCdq

October 21, 2022: Fresh Baked

Happy Friday my friends. I do hope you have had a great week. It’s definitely fall in my area of the world. Temperatures a little cold for this time in October, but I’m glad for the heat being gone.

Remember any $10 spent in the store gets you this great collab. Get ready for those Halloween pictures. 

Let’s see what is new in the store. I’m seeing a LOT of Halloween kits this week.

Have you picked up the October Monthly Mix. Those sunflowers and pumpkins are so cute.

How are those challenges going? Still some time left to get them finished and logged in. Complete any 10 challenges and you will get this great collab as a reward.


Tutorial Tuesday (Individual Style)

Challenge Spotlight: Minikit

Hey GingerScrappers! It’s time for another Challenge Spotlight. This month I’m going to take you through the October Minikit Challenge Gallery. This challenge is hosted by the Polka Dot Chicks, Tammy and Shelby. The Challenge revolves around a minikit they design and provide to participants at no cost. Participants can use all of the kit, or only part of it, and are allowed to use a template. Here’s a look at the October kit, which coordinates with this month’s Buffet colour palette.

Let’s have a look at the layouts that have been posted up to now. The layouts are in the order they were posted to the Gallery and are linked through the member’s user name so you can pop into the Gallery and leave them some praise, if you should so desire.

First up is sparky_mom with a special event announcement. She’d used the entire kit, tucking part of the wavy string under her photo strip and using the large circles on her background as journaling blanks. Congratulations, family!

NHSoxGirl went minimalist with her layout, using the paper with the huge circles as a border for her large-and-in-charge photo.

Alasandra has used the whole kit, with a large-circle paper divider and the paper with the triangles on it cut in triangles to repeat a theme.

MarilynZ has added a word cloud, a soccer ball flair and a silhouette to her minikit. She slightly recoloured the photostrip. Using the large-circle paper as her background compliments the soccer theme.

The big-circle paper is pretty popular! Branma has it in her background too. She’s created a sweet little cluster with the flower elements and anchored her photos with the brads. Cute pup!

AnnieA has a cute series of photos in her photo strip. She’s used everything, with the big-circle paper forming more of a border around the tiny-heart paper. The cluster in the centre ensures the eye goes right to the photos.

I LOVE dhariana‘s use of white space here. I can see she resized the papers, adding a border mask to the tiny-heart paper in the background. There’s only a single photo, and every piece of the kit is visible. Very pretty!

The only part of the kit fontaine didn’t use was the paper with the triangles on it. She recoloured the photo strips and used them as ephemera, using the Paint Bucket to fill her background with the russet colour from one of the big circles. And her photo is masked so it spills over onto the paper behind it.

I so admire people who can use bold prints like these with such great results. Big, bold prints scare me! But not willow… she’s used them very nicely here, and turned one of the circles into a frame for her title.

PixyGirl has used it all, cutting the sides of the photo strip off, recolouring them yellow and using them as paper strips to anchor her photos. The photo strip makes another appearance, but separated into three independent frames.

I’ve never seen this effect jenazs has created before. It looks as though she’s turned her elements into overlays, allowing the papers’ patterns to show through. She has recoloured some of the flower elements with colours pulled from the papers and her photos and turned the brads into flair. Very interesting.

There’s a good amount of white space in this layout by mum23ms. She’s added some ricrac (maybe created using one of our tutorials?) and some splotchy paint behind her photo cluster. She clipped the big-circle paper to the photo strip – it took me several looks at it to figure that out!

Last but not least, we have this very inventive layout from Tbear. She’s used the whole kit, but in some unusual ways. The triangle paper has been snipped into tiny triangles, and scattered like confetti with some super-shrunken brads. The twine has been turned into stems for the flowers. The tiny heart paper has been desaturated somewhat and the big spot paper has been made smaller, duplicated and laid end-to-end to create a border along the bottom. I think this is my favourite of them all.

The first half of October has been unusually summery here in the Okanagan valley. But I see the forecast is showing a sudden descent into much chillier weather, bringing rain with it. I’m actually looking forward to it!

How many of last week’s fonts did you download? I picked up 14 of them! See you next week with a Quick Trick.

$1.00 Bake Sale NOW OPEN @ GingerScraps!

It is that time again. Time for the $1.00 Bake Sale at GingerScraps!! There are over 100 items for only $1.00 each. Whoop Whoop! Happy shopping.

Remember that with any purchase over $10.00 you will receive this months Free With Purchase Collab : Bootiful

October 14, 2022: Fresh Baked

Hello Scrappers! I hope you are enjoying your October! I’m loving all the fun Halloween/Fall festivities in my area. I’m taking lots of pictures to scrap too! I hope you are enjoying the spooky season so far. 

Remember any $10 spent in the store gets you this great collab. Get ready for those Halloween pictures. 

There are a lot of fall kits in this week’s Fresh Baked line up. Let’s see what’s new. 

We are half way through the month, if you haven’t started on your challenges yet, you still have plenty of time! If you complete 10 challenges in October you will get this great kit as a reward!

Tutorial Tuesday (Fonts)

October-y Fonts

PDF VERSION : https://bit.ly/3MB8f2u

The calendar says it’s fall, although where I am it’s still quite summery – I’m wearing shorts and flipflops, which is very much NOT October in Canada. The leaves are changing and the nights have a chill to them. So much inspiration for layouts, right? How about we look at some autumn-themed fonts for titles and journaling. And some dingbats too. All of them are free, from dafont.com and are linked so you can go right to them if you choose to grab them.

Autumn looks a lot like a vine, and is legible enough for journaling. It includes numerals and symbols as well as some alternate characters.

Autumn Pumkin is a more streamlined script that is also very versatile.

I like Autumn Leaves as a title font. It’s all upper-case, with a bunch of alternate characters and can be customized in so many ways.

Sketchy Autumn Dingbats can be incorporated into titles, filled with colour and turned into stickers or just resized and used much like a brush. The dingbats attached to the upper-case characters are different from the lower-case ones, so there are 52 sketchy little pics.

I like the simplicity of A Day in Autumn. It looks a little twiggy, a little leafy and is very legible so suitable for journaling. It has numerals and punctuation but no alternate characters.

LCR Autumn Harvest Dings is a limited collection of sketches. The characters A-P have dings attached. Don’t you love that scarecrow silhouette?

Falling is just a nice, curvy, script font; the only flaw is that it doesn’t include numerals.

KR Fabulous Fall is another 26-dingbat collection filled with leaves and other symbols of fall.

I think Harvest Fall would be ideal for subtitles, journaling and wordstrips. It has numerals, symbols and alternate characters galore!

WM Leaves 1 is another A-S dingbat font that includes a perfect Canadian-flag maple leaf. Yes please!

Tanaestal Doodle Leaves 01 looks like folk art. It includes 54 different shapes – upper- and lower-case and the period and comma keys have shapes attached.

Now, let’s do Hallowe’en! CF Halloween is up first. It’s an all-upper-case font with numerals but no punctuation.

I think Halloween Witches Script it my favourite, even though it doesn’t include the witch’s hat, spider or ghosts. It’s elegant and can (obviously) be combined with dingbats to make really fun text…

Dingbats like these! Freaky Halloween has it all.

Freaky Story is both creepy and refined. It’s another all-caps font, with the special characters hiding in the lower-case keys. It includes numerals and punctuation too.

Halloween is another fabulous assortment of dingbats you could use to customize your other fonts. What’s neat with this one is that the B, C and P keys give you the word “Halloween” plus some ghosts, bats, spiders and drippy blood. And it’s the only dingbat set I’ve seen that also has images attached to the number keys. Check it out!

Halloween Bell has 26 more themed dingbats.

I can see Spooky Halloween as a title font, can’t you? Unlike the other fancy fonts, this one DOES come with the fancy characters and you don’t even have to hunt for them. Numerals only though, no punctuation.

Halloween Rules doesn’t include those funky little skulls. I think it’s a cute-but-creepy, legible option.

I like Tricky Night for titles or subtitles. But don’t exclude it from journaling – it has numerals, punctuation and a bunch of alternate characters.

Last but not least, Spooky Webbie is cute, but still Halloween-y. It’s also the full package so you can use it for whatever your little heart desires.

Did you see anything that inspires you? I hope so!! Next week is Challenge Spotlight time, so I’ll be doing a Gallery crawl as soon as I recover from Canadian Thanksgiving…

PDF VERSION : https://bit.ly/3MB8f2u

October 7, 2022: Fresh Baked

Welcome to the first Friday in October. Did you all enjoy DSD? Did you find some great deals in the store and enjoy the fun and games in the forum? We hope so.

Remember any $10 spent in the store gets you this great collab. Get ready for those Halloween pictures. 

There are a lot of fall kits in this week’s Fresh Baked line up. Let’s see what’s new. 

Have you started on your challenges? There are so many to chose from and when you complete 10 you will get this great kit as a reward.

Designer Spotlight: October 2022

Wimpychompers!


I had intended to bring you this transcript of my visit with Christina, aka Wimpychompers yesterday but life had other plans. Now, before I forget the important details, let’s get after it!

J: As usual, we talked about the mundane first. Inspiration and motivation are big things, even if they might not be titillating. So first off, what made you decide to design?

C: I admired the digital signatures people were using and wanted to learn how to make them.  I started writing tutorials and learning Paint Shop Pro (I later switched to Photoshop).  Eventually I found digital scrapbooking and moved to that!

J: I think most of us have been drawn to digi-scrapping by seeing what others have done and a desire to be just like them. What do you use to create your designs?

C: Photoshop with different actions and add-ons such as Alien Skin.

J: [Editor’s note: I’d never heard of Alien Skin and had to look it up. It’s called Exposure now and it looks crazy good! Standalone photo editor or PS/LR plug-in, free trial… might be worth a look!]  Who or what motivates and inspires you as a designer? I’ve noticed many of your designs have a childlike influence.

C: Holidays, color palettes on Pinterest, clothing, inspiration is everywhere…

J: Oh, I know what you mean! When I’m shopping for kits, my mind is always sorting through my photos and significant events, and often layouts are creating themselves in my imagination. My family calls me The Brain that Never Sleeps. What one word would your friends and family use to describe you?

C: Passionate!
J: That’s a good quality to have, as long as it’s channeled in a positive direction. That’s a clumsy segué… What would you do if you won the lottery?

C: Pay off my house and loans (of course) as well as those of family members.  My kids would have college paid for and we would save it until they are older of course.

J: Financial freedom is pretty sweet. But then your family would need to call you passionately generous! This next question is one I’ve give, a lot of thought. If time travel was possible, would you go back in time or ahead? Why?

C: Back to visit my kids when they were babies

J: So far, nobody I’ve asked that has chosen to visit the future. I wonder what that means. As an armchair genealogist, I have some ancestors I’d love to spend time with… I have questions!!!!!! If you could have a super power, what would you like it to be?

C: Time travel would be pretty awesome… or speedy travel so I could get to my parents faster (they moved away two years ago).

J: So would you be a Quantum-Leaper, going back and righting wrongs? Or just a curious visitor? Oops, forget I asked that! I think teleportation would be SO handy! Can you play a musical instrument?

C: I played flute all through school.

J: Did you see the You Tube video of Lizzo playing James Madison‘s crystal flute? That woman has mad skills!! And she’s 100% comfortable in her skin. If you could change one thing about yourself, what would it be?

C: I get social anxiety and I hate it!

J: No kidding! It’s such a hard thing to manage when you HAVE to be in certain social situations. I’m finding it really amps me up when I have to be out in public these days, because people have stopped thinking about COVID and I have a family member who could die from it. Knowing I’m going to dread going out makes me want to go out less and less. But that’s enough doom-and-gloom. Let’s end on a high note! What did you want to be when you were small?

C: A mom, an author and a ballerina.
One out of three is pretty good! Thank you so much for letting us into your world for a few minutes. Enjoy your time in the Spotlight!
Before I go, here are the usual reminders: Christina is the hostess-with-the-mostest this month. She is providing this month’s Daily Download right here on the Blog. Links for the day’s piece of the kit are active for 5 days, so don’t stress about checking in every single day. If you miss a day or two, (or you KNOW you’re not going to be able to collect them all) the whole kit will be available in the Shop next month. You can find her Designer Spotlight Challenge here.

I’m starting to think WordPress has it in for me… the formatting curse is REAL!!

Next month we have TWO Designers in the Spotlight. You’re not going to want to miss them! See you then. [Read more…]

Tutorial Tuesday (Photoshop Elements)

Curvy Lines/Borders Method #2

PDF VERSION : https://bit.ly/3gdizBK

Hey ladies! I’m running behind today after being awake half the night, so this might break a bit late. I’ll be trying my darnedest to get it out on time. Today I’m going to show you another method for curved lines/borders using Photoshop Elements. This one is pretty easy, but there are a few steps.

Open up a new canvas on your workspace. Then choose the Custom Shapes Tool. The border I’ll make will have 4 layers, all created with the exact same Shape but looking quite different. [Editor’s note: Jan started out using Arrow 17 but didn’t like how it was turning out. The tutorial uses Arrow 14.]

To make a bit less work for us, I set a Fixed Size for the arrow Shape. I went with 12 in for the Width and 4 in for the Height. The easiest way to make sure the Shape ends up actually ON the canvas is to click along the left edge. Note that heavy outline on the Shape; that signifies that the Shape is a Smart Object. To do any of the following steps with it, it needs to be Simplified. If you’re working with Version 15 or newer, you’ll have a Simplify button right there with the Tool Options.

If you don’t see that button, right-click on the layer in the Layers Panel and choose Simplify Layer from the dropdown menu.

Now to dispense with the pointy part. Drag out a box around it with the Rectangular Marquee Tool.

Now, Edit>Cut or CTRL (Windows)/CMD (Mac)>X.

If you’re making waves and not a side border, you can skip this part.

These steps that follow are all subject to interpretation – they’re examples that show you HOW to make alterations, not orders!! Here I’ve Resized the curvy shape and Constrained Proportions so it looked exactly the same as before, only it extends from top edge to bottom edge.

If you want to make your curvy shape into a Clipping Mask, it may be necessary to fill in one side of the curvy part. Drag out a box with the Rectangular Marquee Tool, making sure the edge on the side you want to keep curvy doesn’t extend too far. Otherwise those nice swoops will get squared off.

Then just dump the Paint Bucket into the space!

To get rid of the box outline, Select>Deselect or CTRL/CMD>D.

This is just housekeeping.

The preceding steps will be repeated for each of the variations to follow. Turn off the finished layer’s Visiblity, change colours and let’s make another curve. I changed the Height to 5 in for this one. the curves come out a little tighter.

Rather than just Resizing it, I’m going to use the Image>Transform>Skew menu. In this option, only the corner ‘handles’ are active. You can move them horizontally or vertically.

Like this…

Then I stretched it top-to-bottom (NOT Constrained) so the left edge runs the full 12 in. This also changes the curve a bit.

Here’s how the first two layers look together.

Same shape, slightly different dimensions, very different look!

After beheading the arrow, I stretched the curve across the canvas. But it’s not different enough from the previous two, so…

I made a Copy layer: right-click>Duplicate Layer>OK or CTRL/CMD>J.

I moved one Copy so that it overlapped and aligned with the other Copy. Then the two layers need to be combined into one by Merging. Either activate both layers by click>SHIFT>clicking on them, right-click>Merge Layers… or CTRL/CMD>E. The Merged curvy shape extends off the canvas, but I’ll show you something that’ll help with that.

To see the whole extended curvy shape, Image>Resize>Reveal All. Boom!

Here you can see that my extended curvy shape is about 18 1/4 inches long.

Now let’s change the way the curves look. This time let’s use Image>Transform>Distort.

Distort has a lot more opportunities for weird. Each of the handles is active and can be moved horizontally, vertically and laterally until you see something you like.

All three shapes are visible now and I can move them around until I have a chartreuse curve I like. Once I’d made my choice, I went to the Crop Tool, set the size to 12×12 and Cropped the canvas.

Last one.

And again, I made a Copy, aligned and Merged.

There! Four curved border Clipping Masks, all ready to go. And they all came from the same source Shape.

In case you wanted to see them in action, I Clipped some papers from this month’s Buffet kits to them and hit them with Drop Shadows.

I’ll be back tomorrow to introduce the October Designer Spotlight superstar…

PDF VERSION : https://bit.ly/3gdizBK